
If you are buying your first DSLR camera, the available options that are out there can be pretty overwhelming. In this article, I’d like to walk you through the important similarities and differences between a few of Canon’s entry level DSLR cameras, currently the Canon EOS Rebel SL1, Canon EOS Rebel T5, Canon EOS Rebel T5i and Canon EOS Rebel T6i. While this won’t be an in-depth technical review, it will be a practical, hands on review that should give you enough information to make an informed decision about which of these cameras will work the best for your current needs.
1) How I Reviewed The Cameras
The way that I reviewed these cameras is by actually taking them out and using them. I walked around and photographed scenes that caught my eye. When I needed to test particular aspects of the cameras, I found scenes that worked for what I needed to know. I almost primarily used aperture and shutter priority modes so that I could get a good feel for how capable the camera’s light metering system was (although there were a few occasions when I used manual mode). I only used the kit lens that came with the camera or the Canon 50mm f/1.8 lens. All images were shot in the RAW format and edited in Adobe Lightroom.
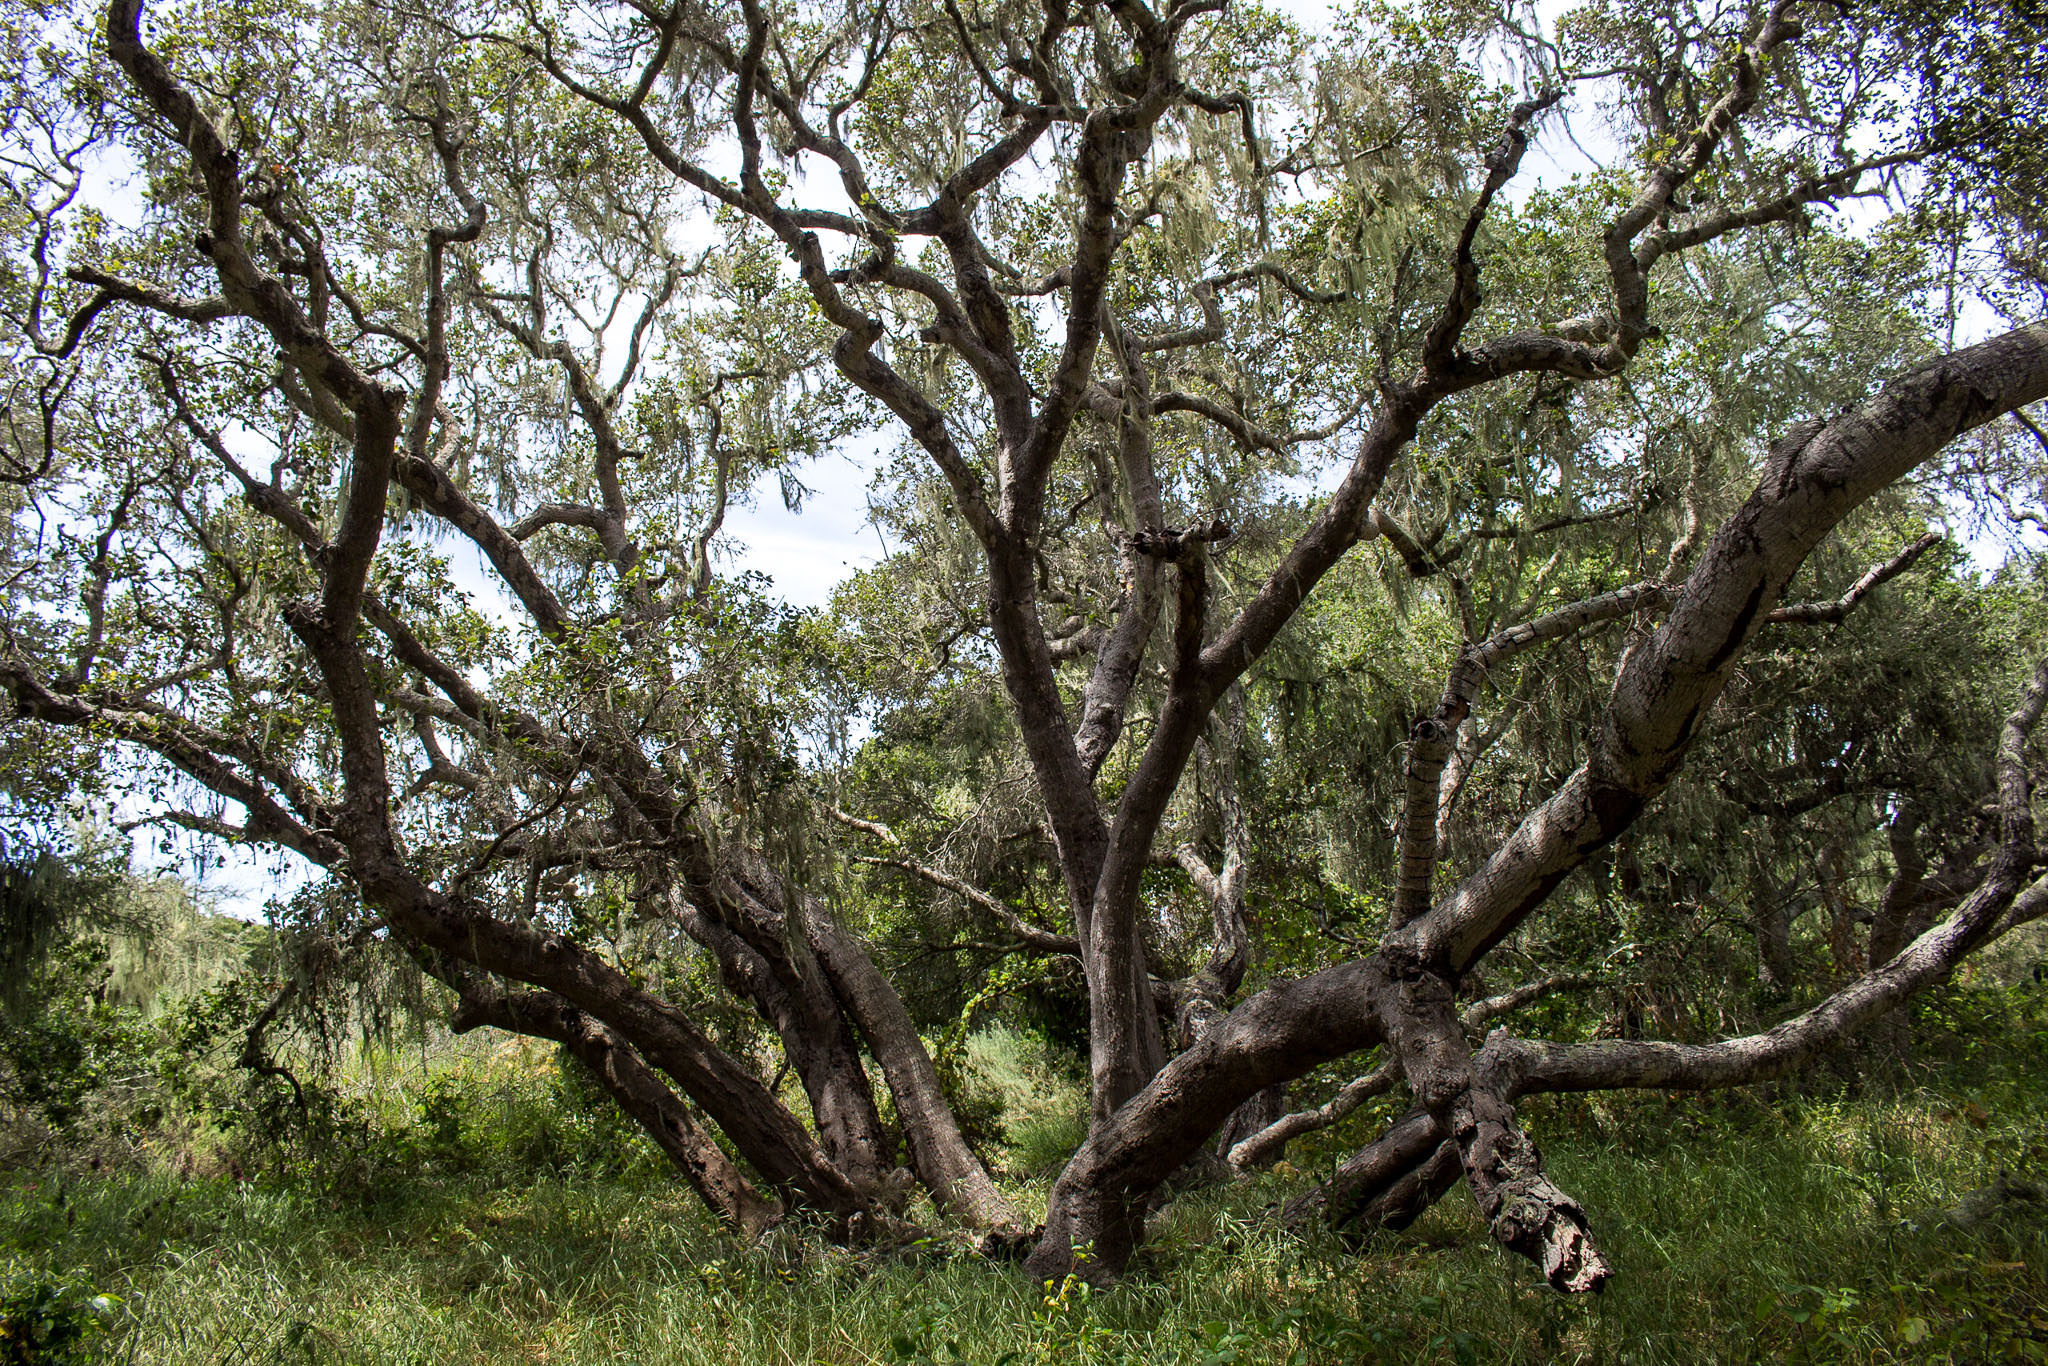
Canon EOS REBEL T5i + EF-S18-55mm f/3.5-5.6 IS STM @ 55mm, ISO 100, 1/125, f/5.6
2) Technical Specifications
When it comes to comparing DSLRs, most significant differences can usually be spotted when comparing the technical specs. I’m not going to list all of the specs for these cameras here, as they’re almost identical and won’t really have any impact on your experience while using them. I will list the most important specs and any that differ between the models (with the better specs shaded darker blue).
| Camera Feature | Canon SL1 | Canon T5 | Canon T5i | Canon T6i |
|---|---|---|---|---|
| Sensor Resolution | 18 Million | 18 Million | 18 Million | 24.2 Million |
| Max Image Resolution | 5184×3456 | 5184×3456 | 5184×3456 | 6000×4000 |
| Autofocus Points | 9 | 9 | 9, 9 cross-type, center dual-cross | 19, 19 cross-type |
| Viewfinder Magnification | Approx 0.87x | Approx 0.8x | Approx 0.87x | Approx 0.82x |
| Display Screen | 3 inch Rear LCD, touch | 3 inch Rear LCD | 3 inch Rear LCD, touch/swivel | 3 inch Rear LCD, touch/swivel |
| ISO Sensitivity | 100-12,800 | 100-6400 | 100-12,800 | 100-12,800 |
| Metering Modes | Evaluative, Partial, Spot, Center-Weighted | Evaluative, Partial, Center-Weighted | Evaluative, Partial, Spot, Center-Weighted | Evaluative, Partial, Spot, Center-Weighted |
| Continuous Shooting Rate | 4 fps | 3 fps | 5 fps | 5 fps |
| WiFi Capable | No | No | No | Yes |
| Weight (Body) | 370 g | 434 g | 525 g | 555 g |
3) Real World Use
Let me start out by saying that for my professional photography I use a Nikon D810. I shoot in manual mode and only use prime (non-zoom) lenses. This matters because shooting with these cameras and a zoom lens was so much different than what I’m used to. Since I’m a Nikon guy, using a Canon took a bit of getting used to, so how intuitive and user-friendly these cameras are really made a big difference.
The only significant changes I made to the camera settings before I started using them was to set them to shoot in RAW (by default they are set to capture JPEG images). Everything else remained unchanged from the factory settings.
3.1) First Impressions
The biggest difference between these four cameras is found in the size of the SL1 compared to the others. It is by far the smallest camera. This makes it the lightest camera, but for my hands it felt way too small. I did find that I could easily stick it in my jacket pocket, which is something that I can’t say about any of the other cameras I reviewed, so if having a small, portable DSLR is important to you, you might consider the SL1.
All of the cameras have a similar menu system and information display. The T5i and T6i have a better button configuration and both have a dedicated ISO button on the top of the camera (the T5 has it on the back and the only way to change ISO on the SL1 is through a menu setting). The T5i and T6i also both have buttons that are more tactile, which makes a big difference when you want to change settings without having to look at the camera.
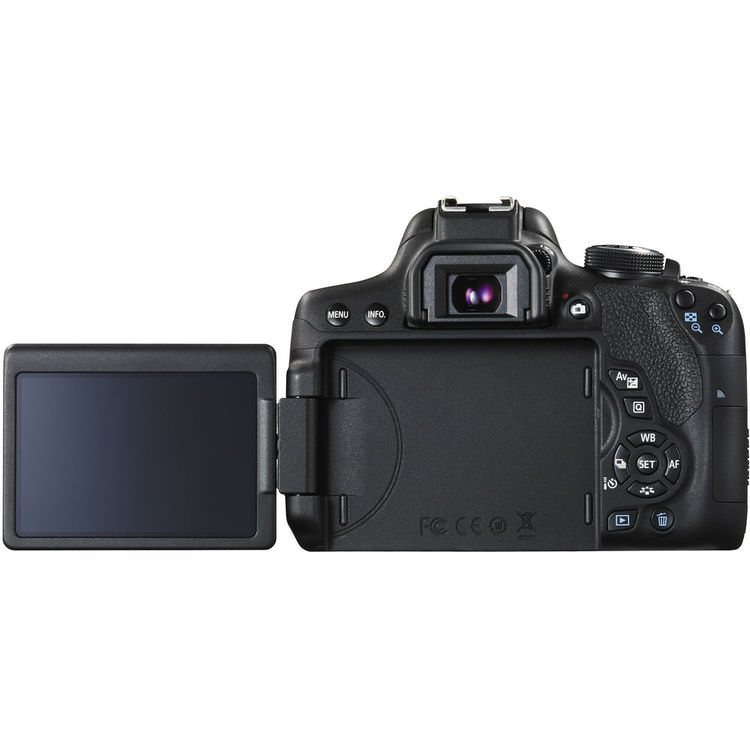
Both the T5i and T6i also have swiveling rear LCD screens. I have personally never owned a camera with this feature before, so I was excited to try it out. All of the cameras except for the T5 also have touch screens. To my surprise, I found myself occasionally using this feature to quickly make selections and change settings.
3.2.1) Hands On Use: Handling
Once I started using the cameras, I found it hard to tell the difference between the T5, T5i and T6i. Of course, the SL1 stuck out like a sore thumb because it is so much smaller than the other bodies and has more of it’s controls buried in menus versus having dedicated buttons on the camera body itself. The T5 is smaller than the T5i, especially in the grip. If you’re doing a lot of shooting and have larger hands, this is going to be a big deal. The T5i and T6i are roughly the same size (although the T6i is a bit larger).
As I mentioned, the menus in all of the cameras are very similar. Of course, the T6i has a lot more options than the SL1 (it’s a more advanced camera), but navigating the menus feels exactly the same. Navigating through images that I’d taken also felt very similar across all of the cameras. They are all responsive while zooming in on and scrolling through images.The T5 has a lower-resolution screen, so images don’t look nearly as clear or vibrant on it compared to the other three cameras.
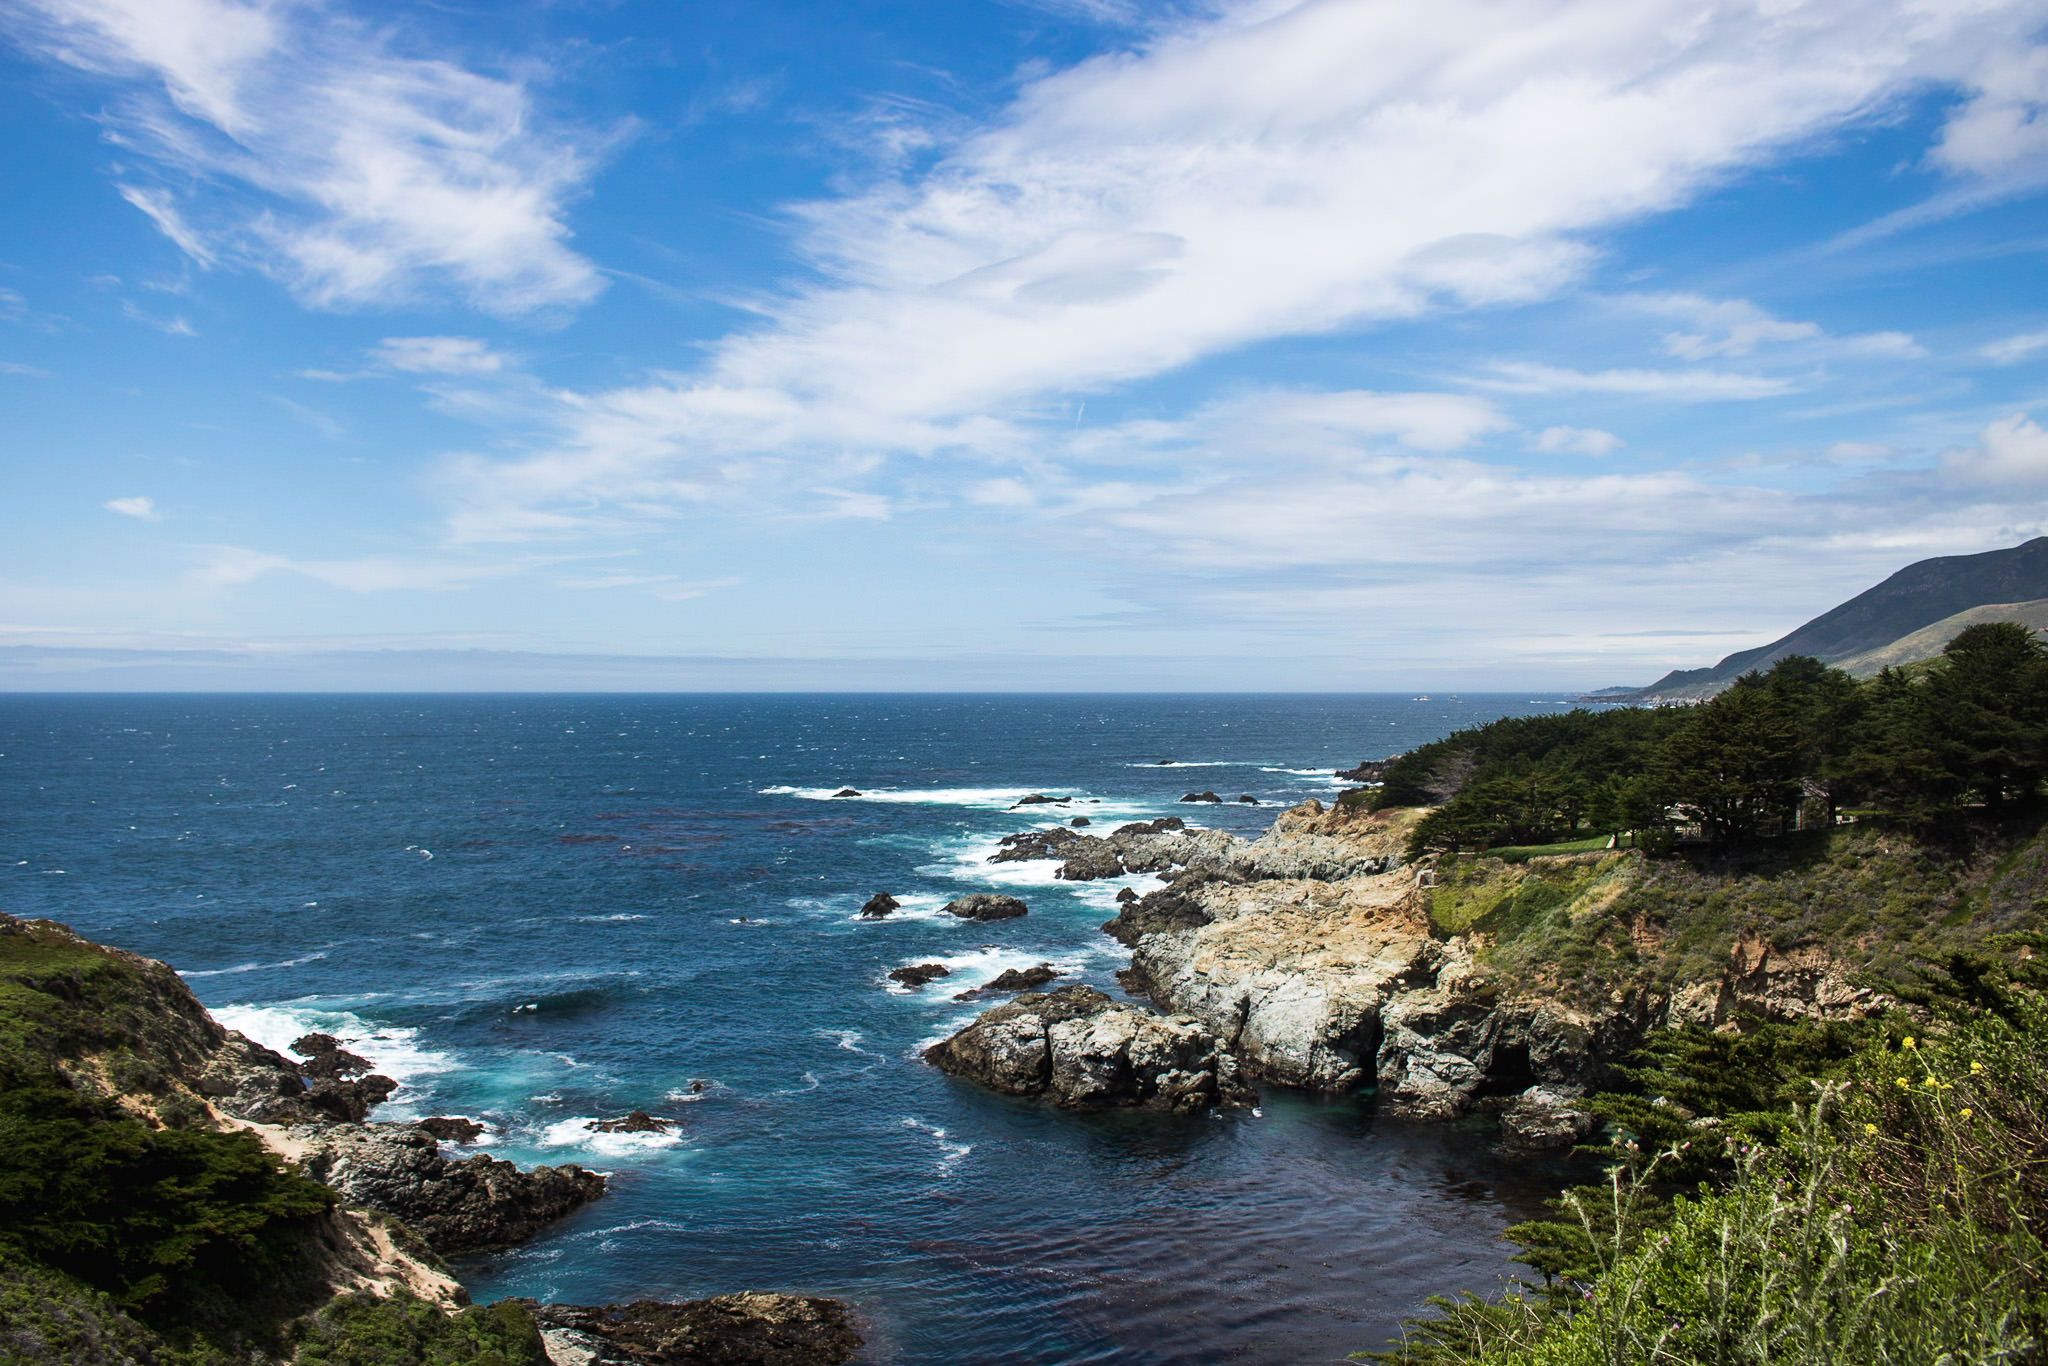
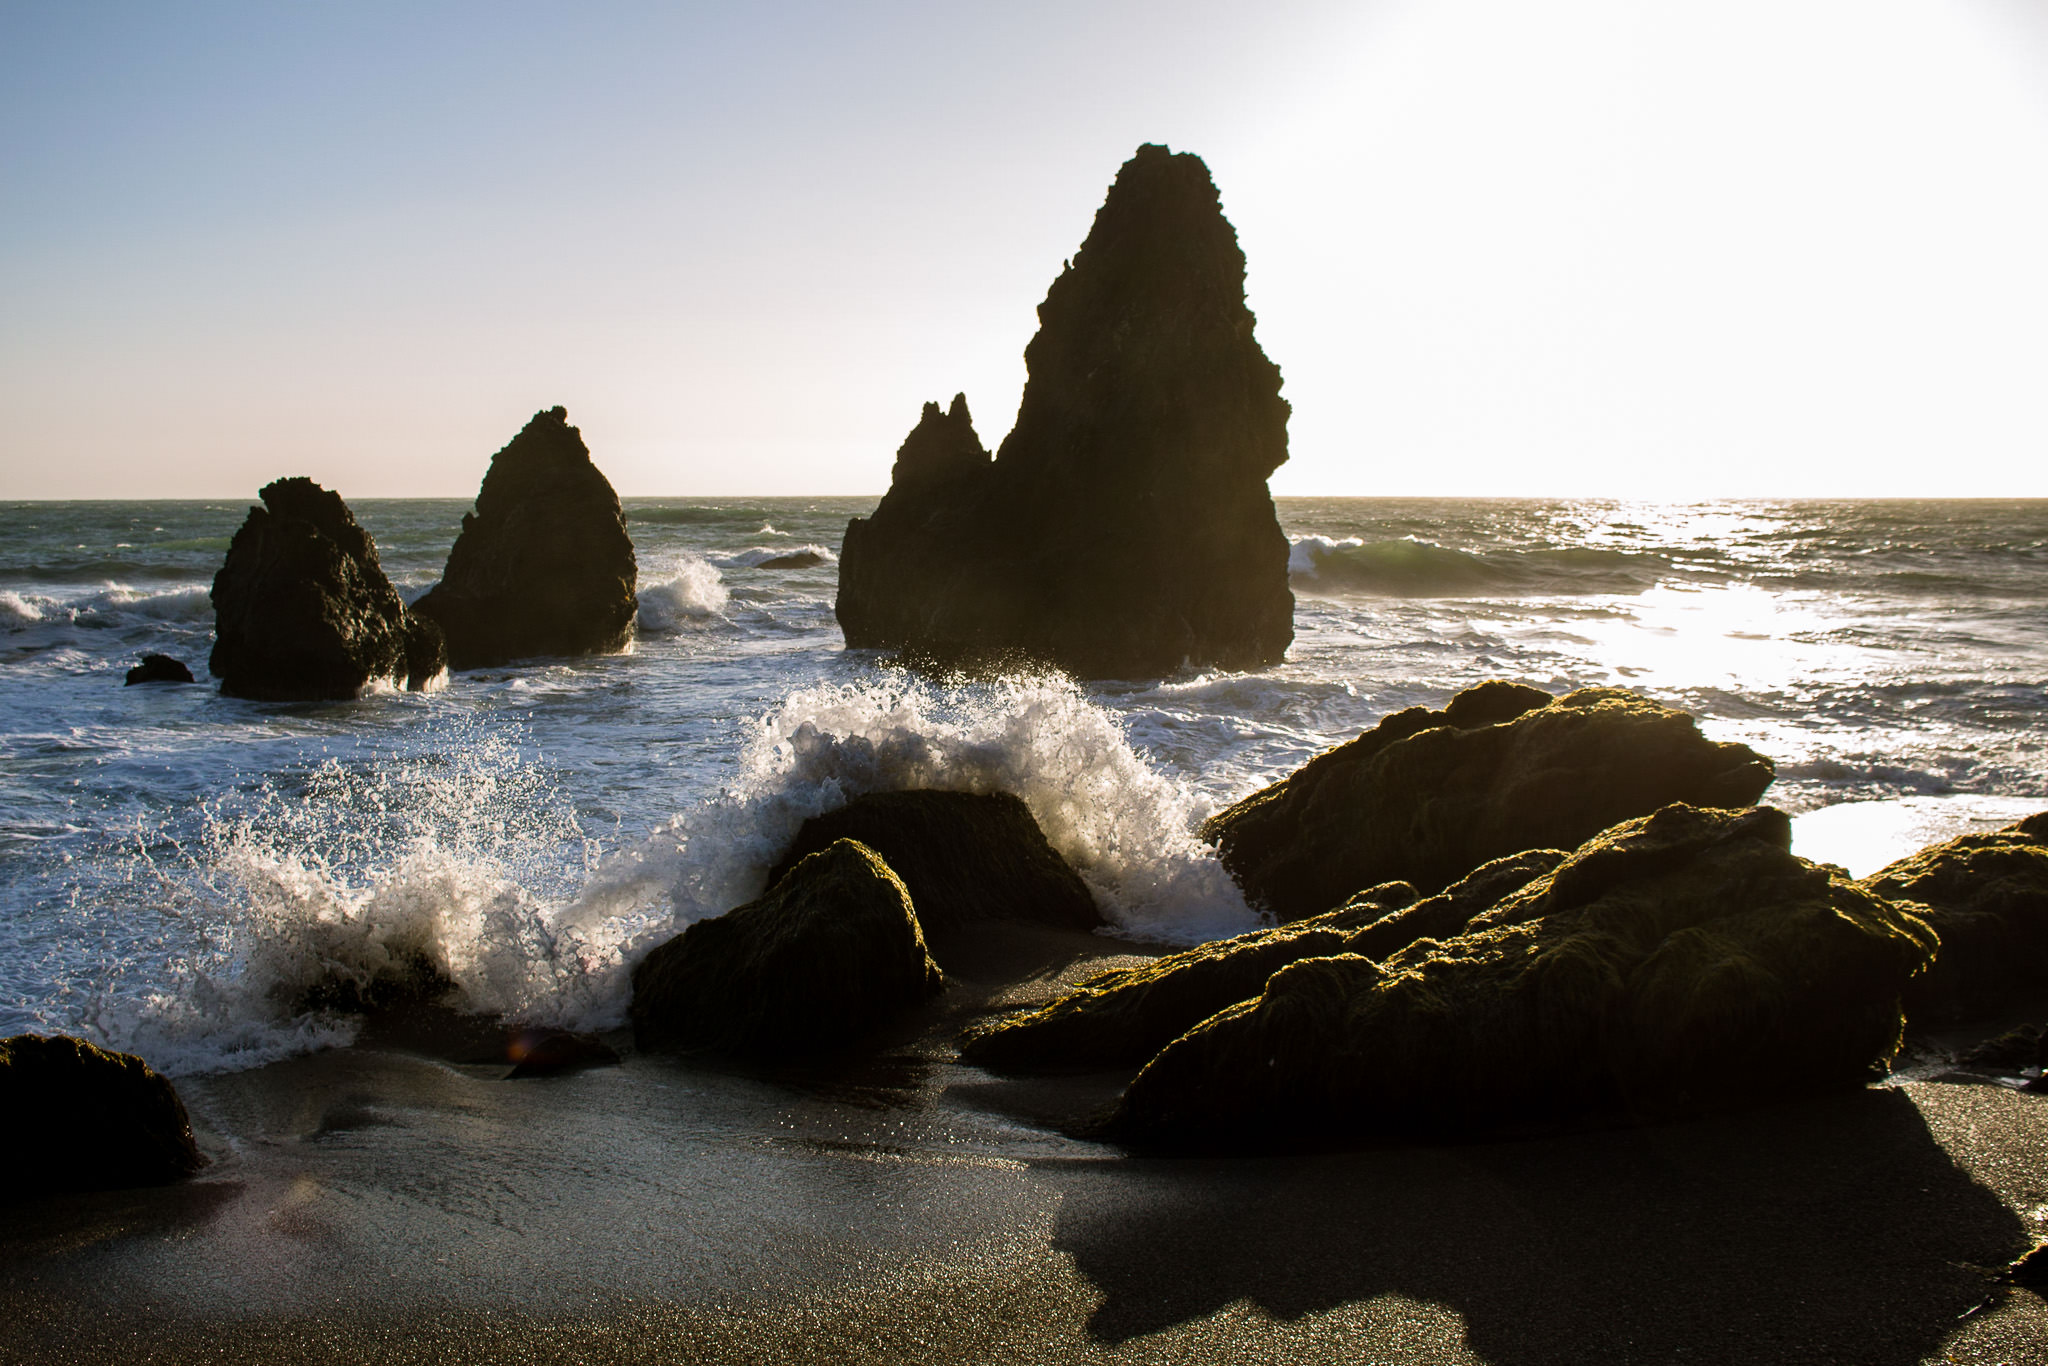
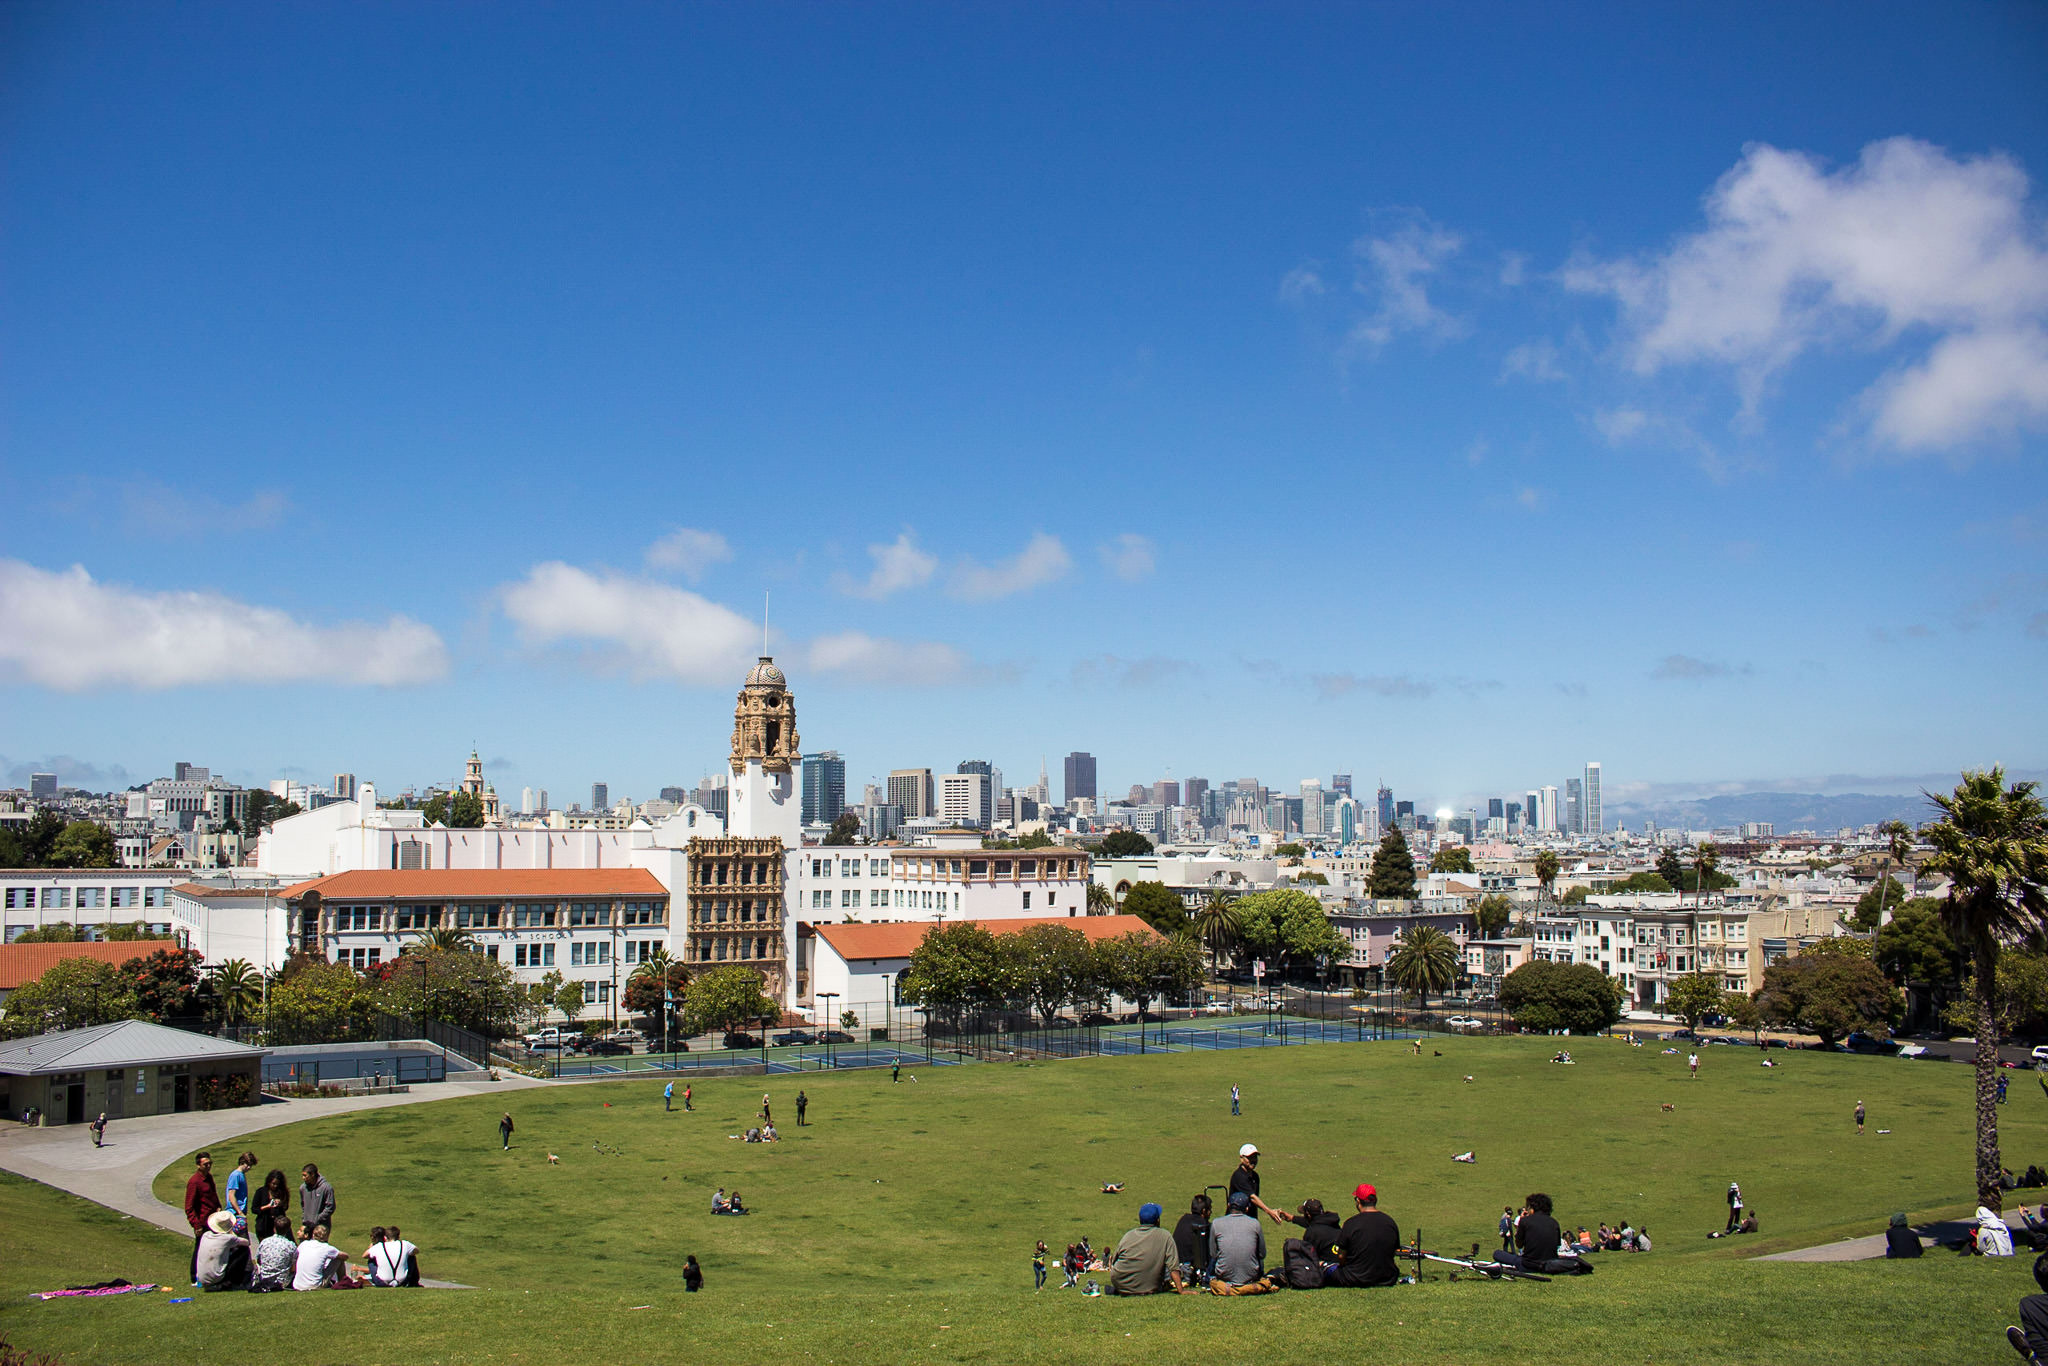
Canon EOS Rebel T6i + EF-S18-55mm f/3.5-5.6 IS STM @ 18mm, ISO 100, 1/800, f/5.6
3.2.2) Hands On Use: Shooting
A big difference between these cameras is the kit lens that comes with each camera. All of the lenses have the same focal length range (18-55mm) and have IS (image stabilization), which can help you to capture sharper images in low-light situations. The T5 has Canon’s older 18-55mm IS II kit lens, while the other three cameras have Canon’s newer 18-55mm IS STM kit lens. I found the newer lens to be both quieter and faster at acquiring focus than the older lens. The image quality did not seem to change between the different lens models.
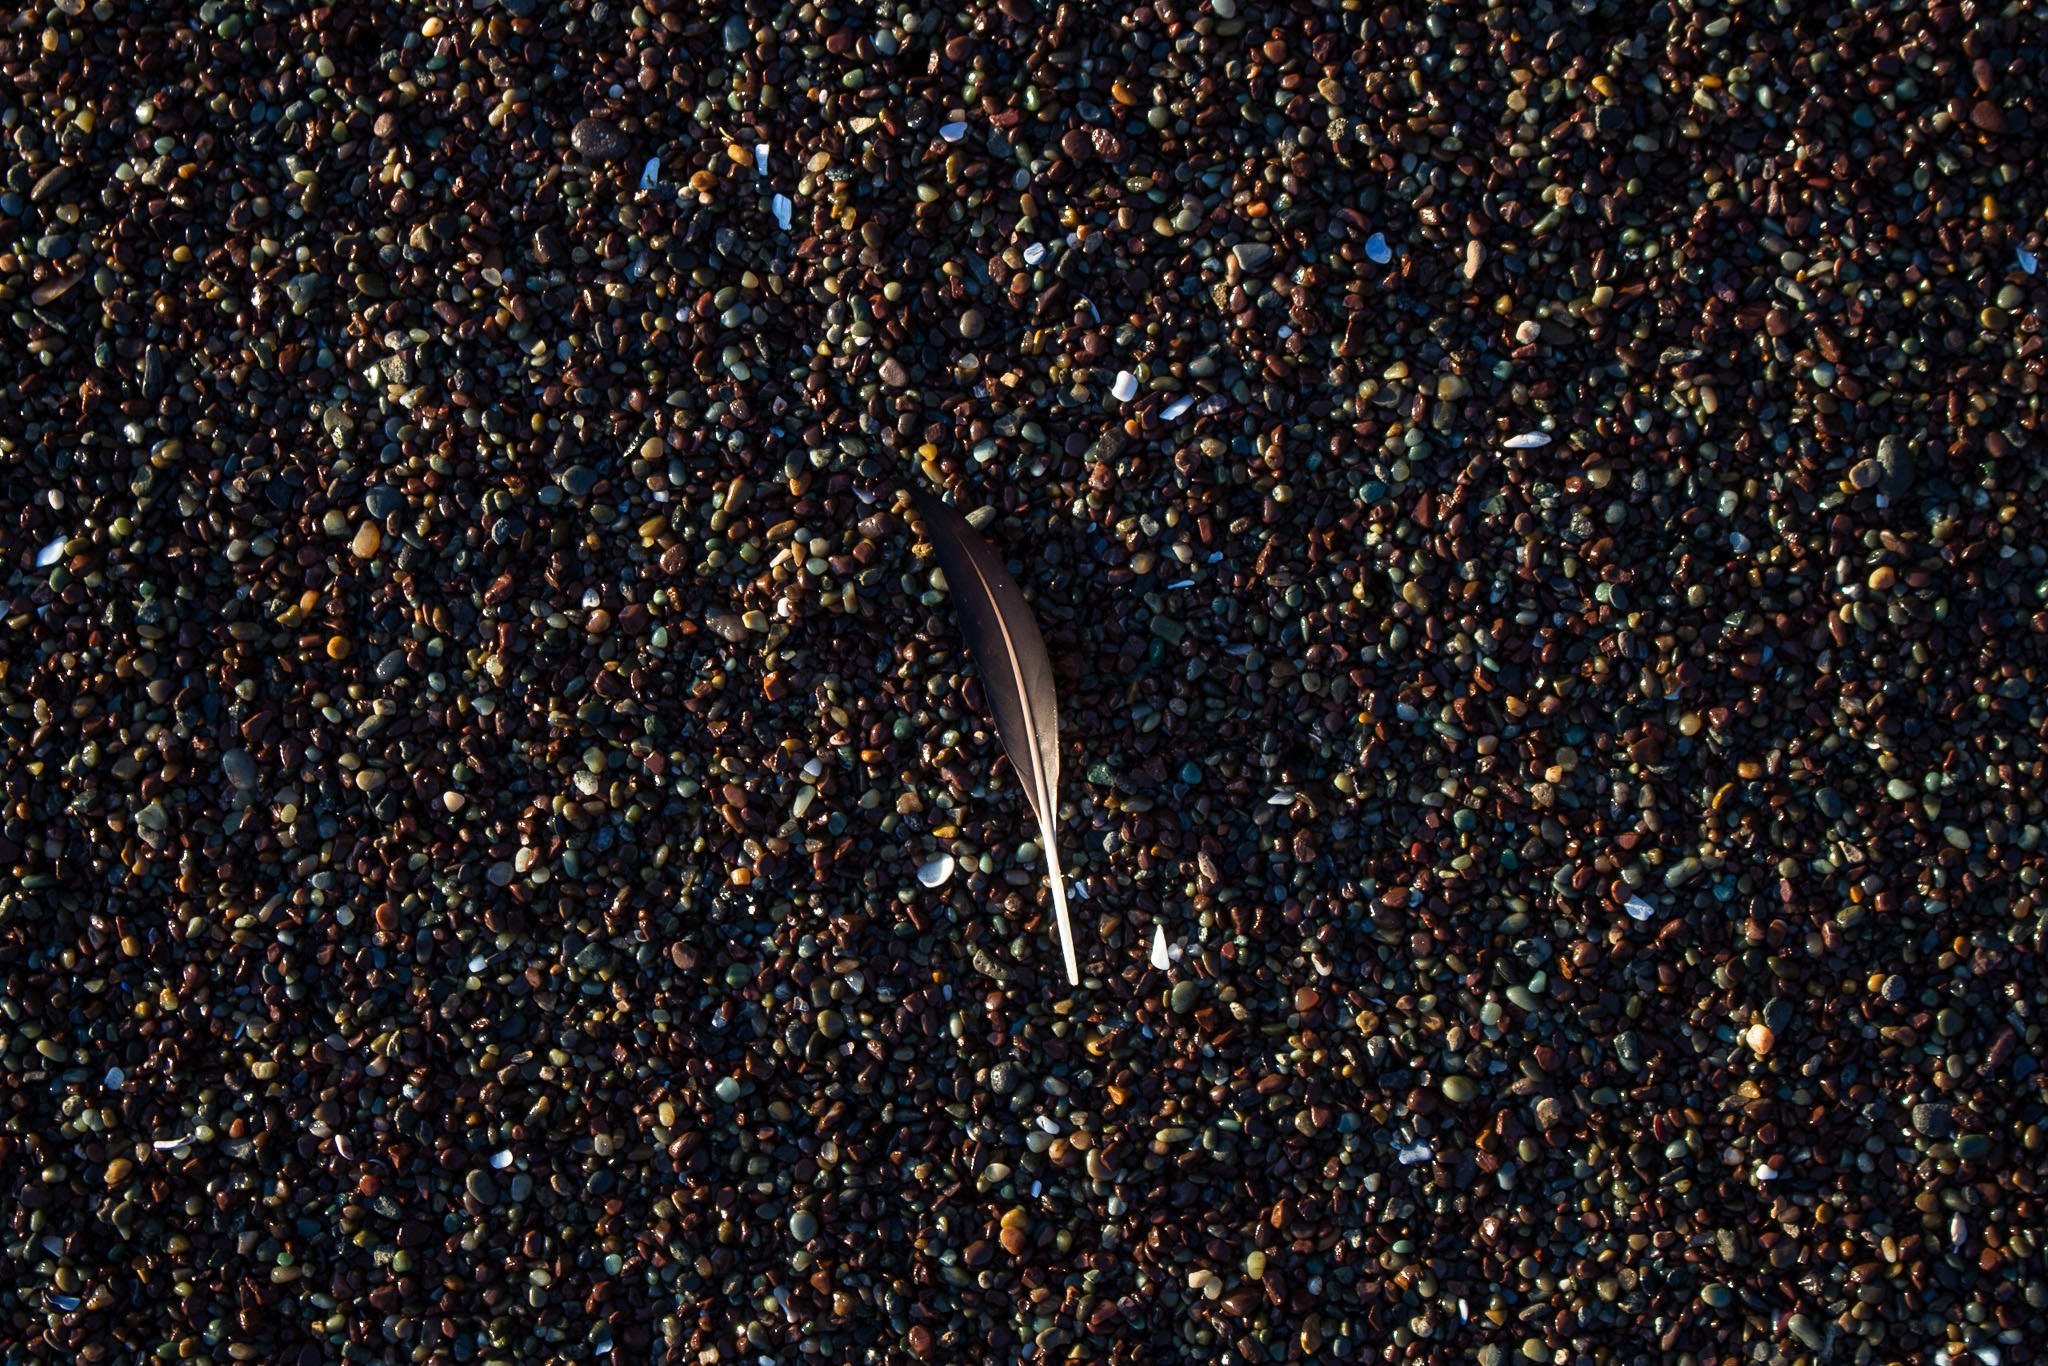
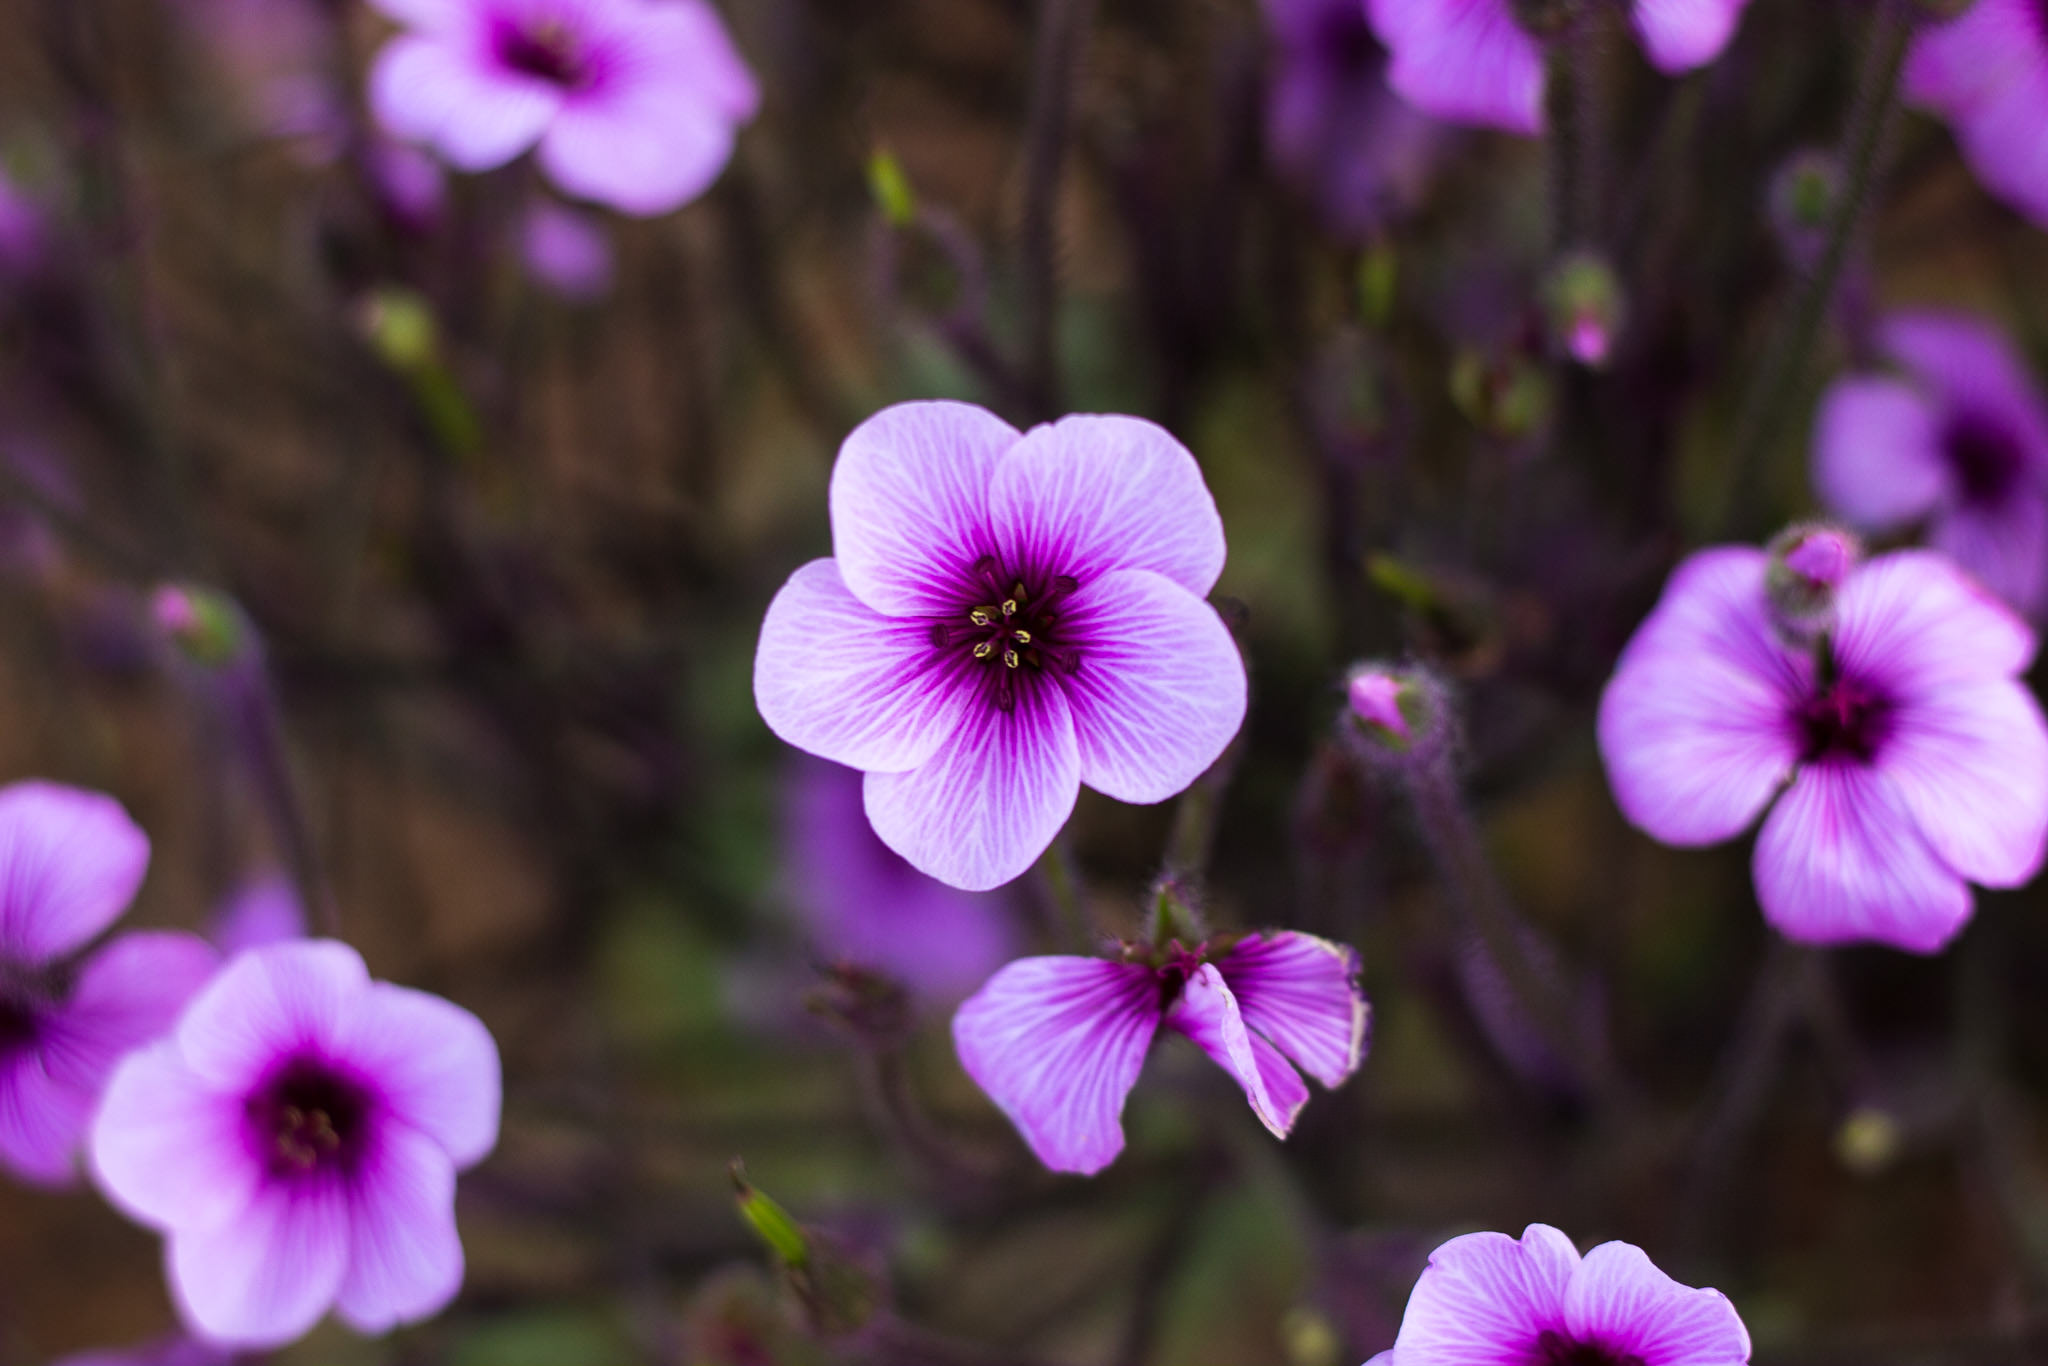
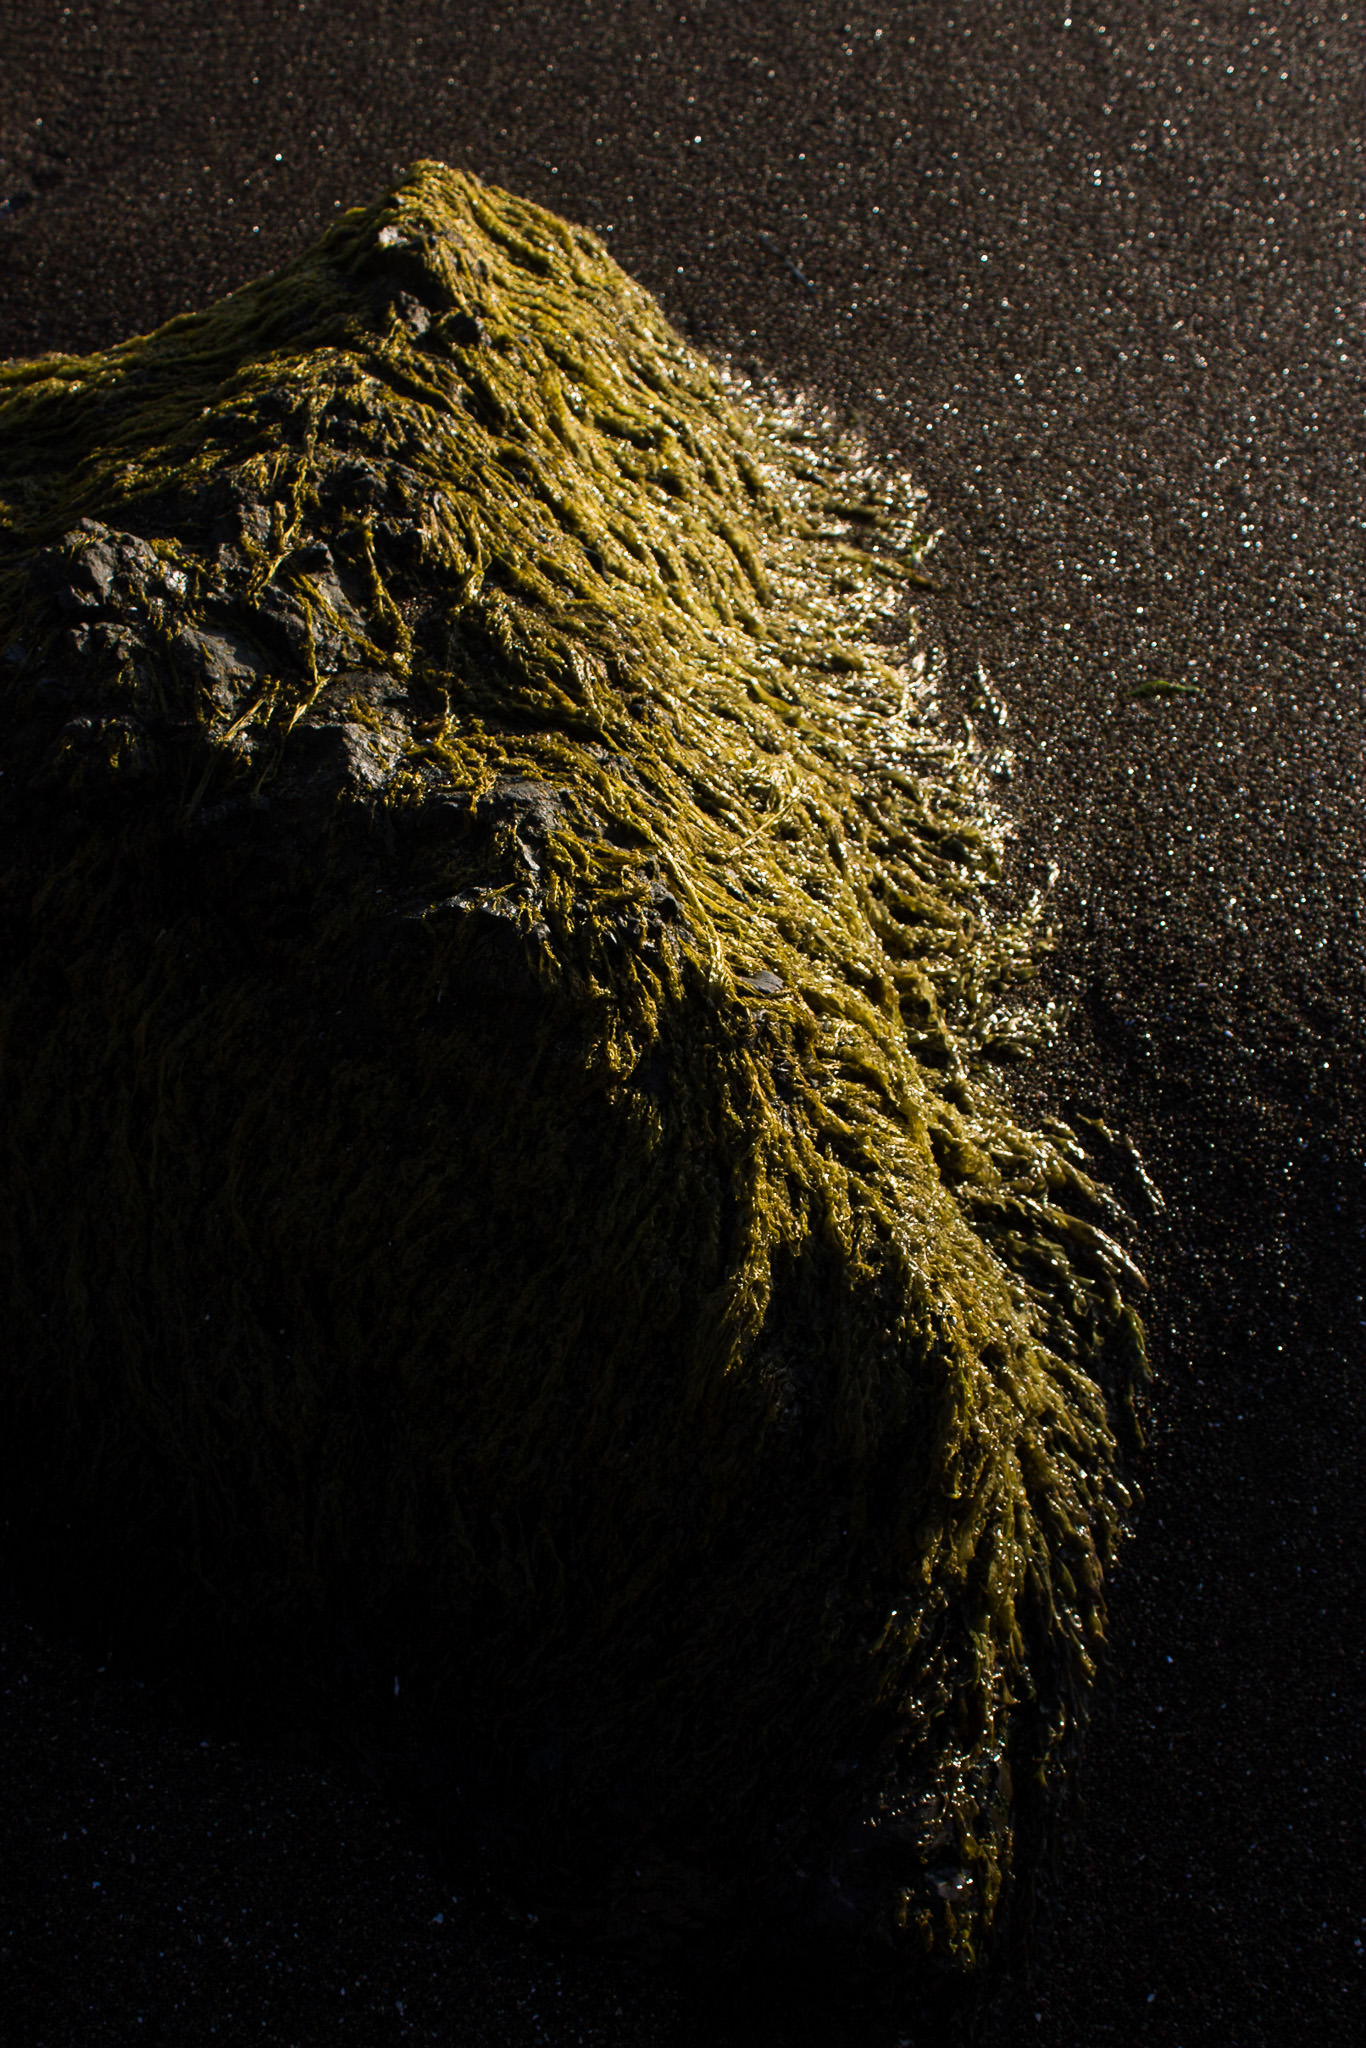
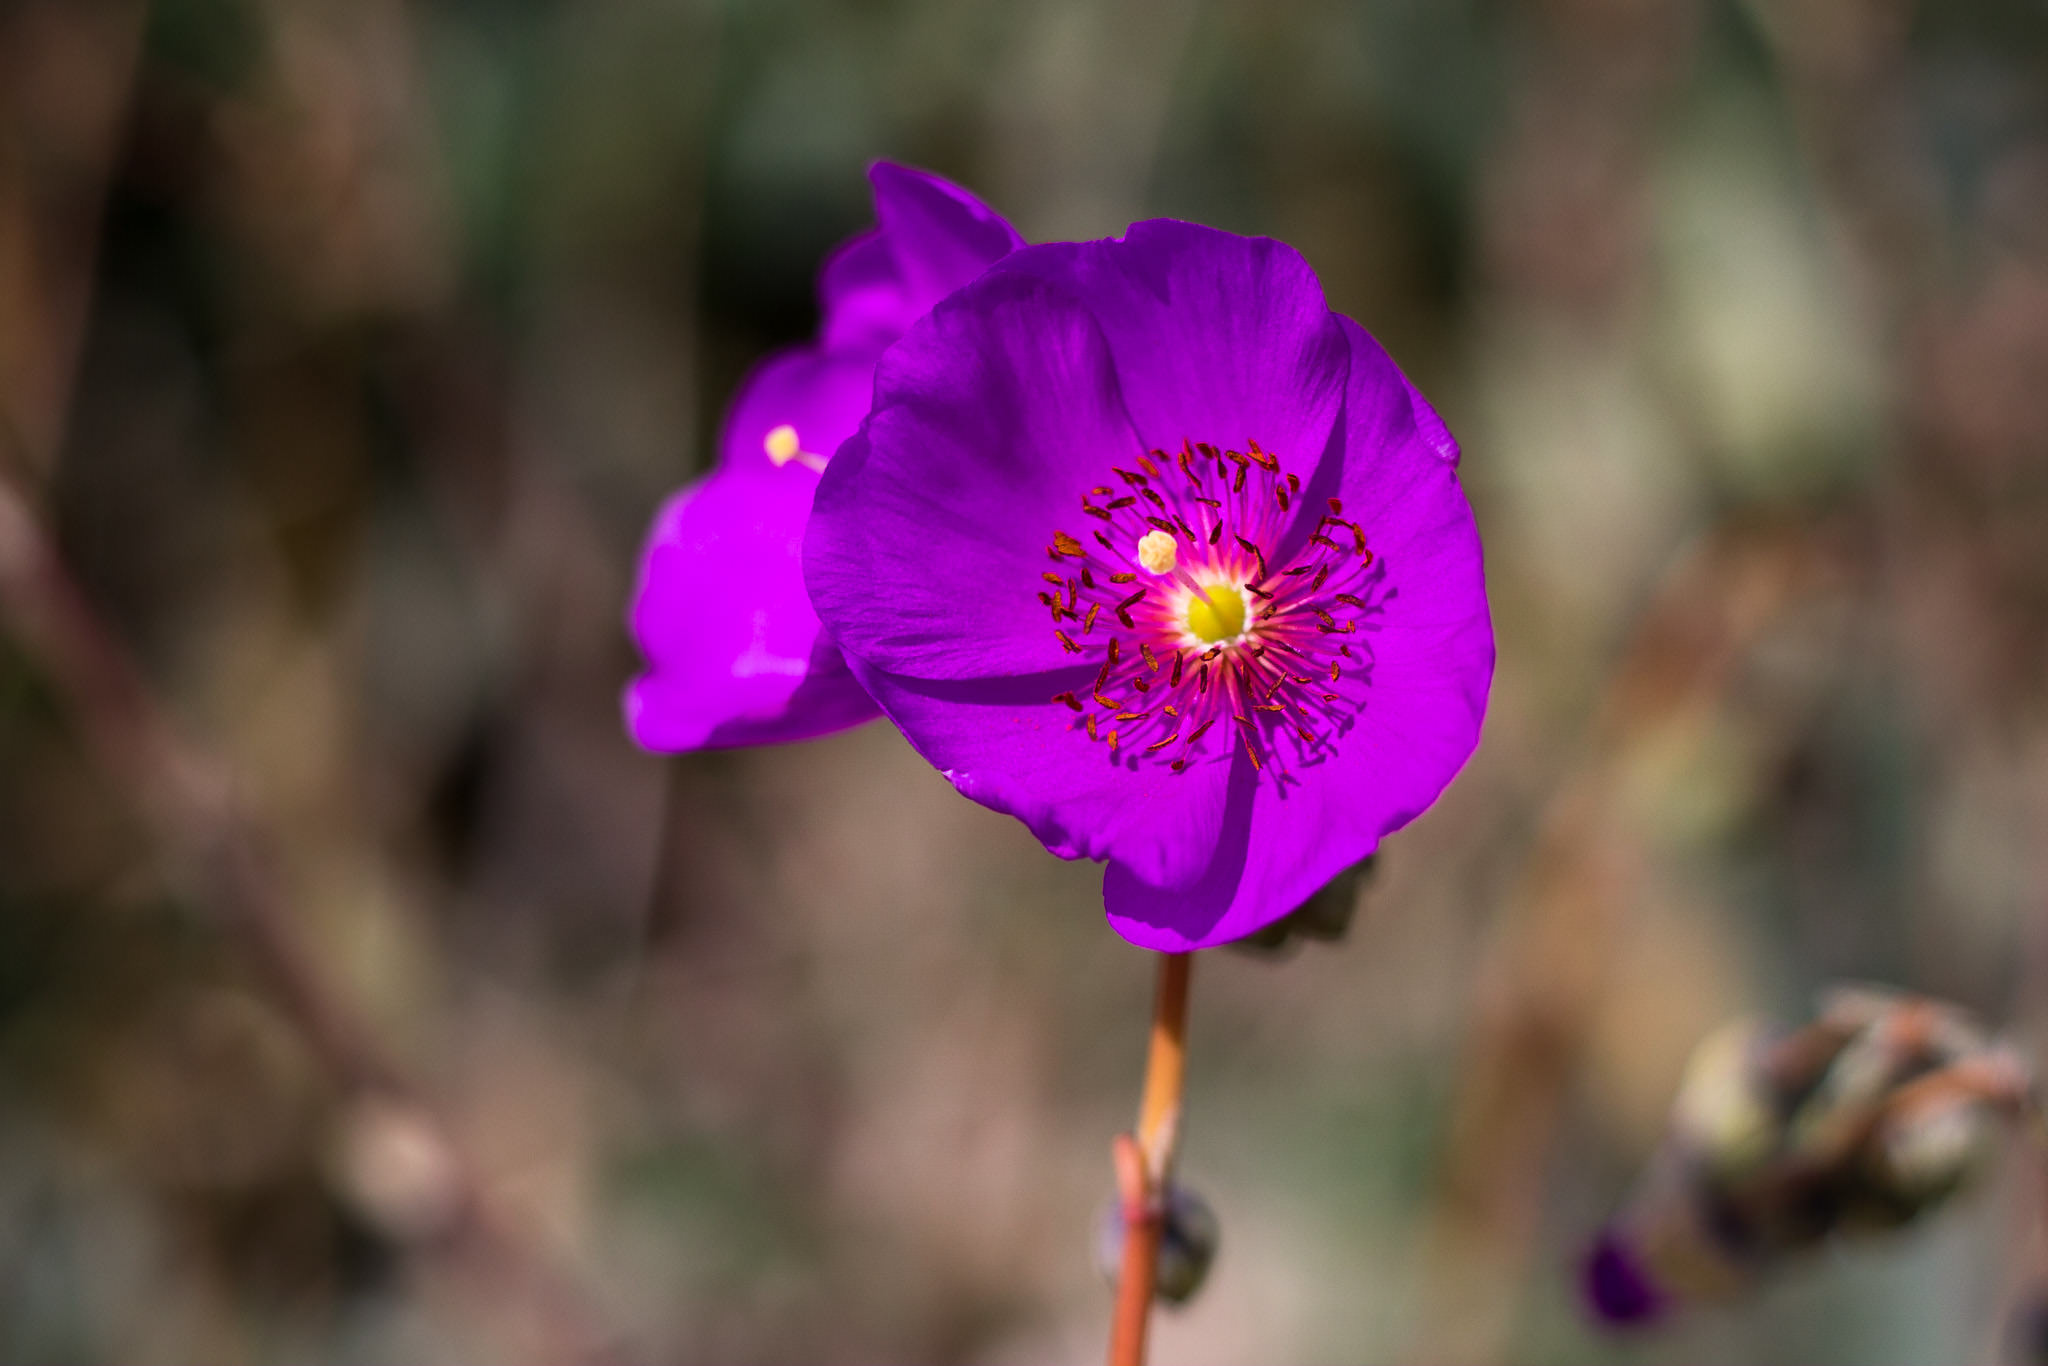
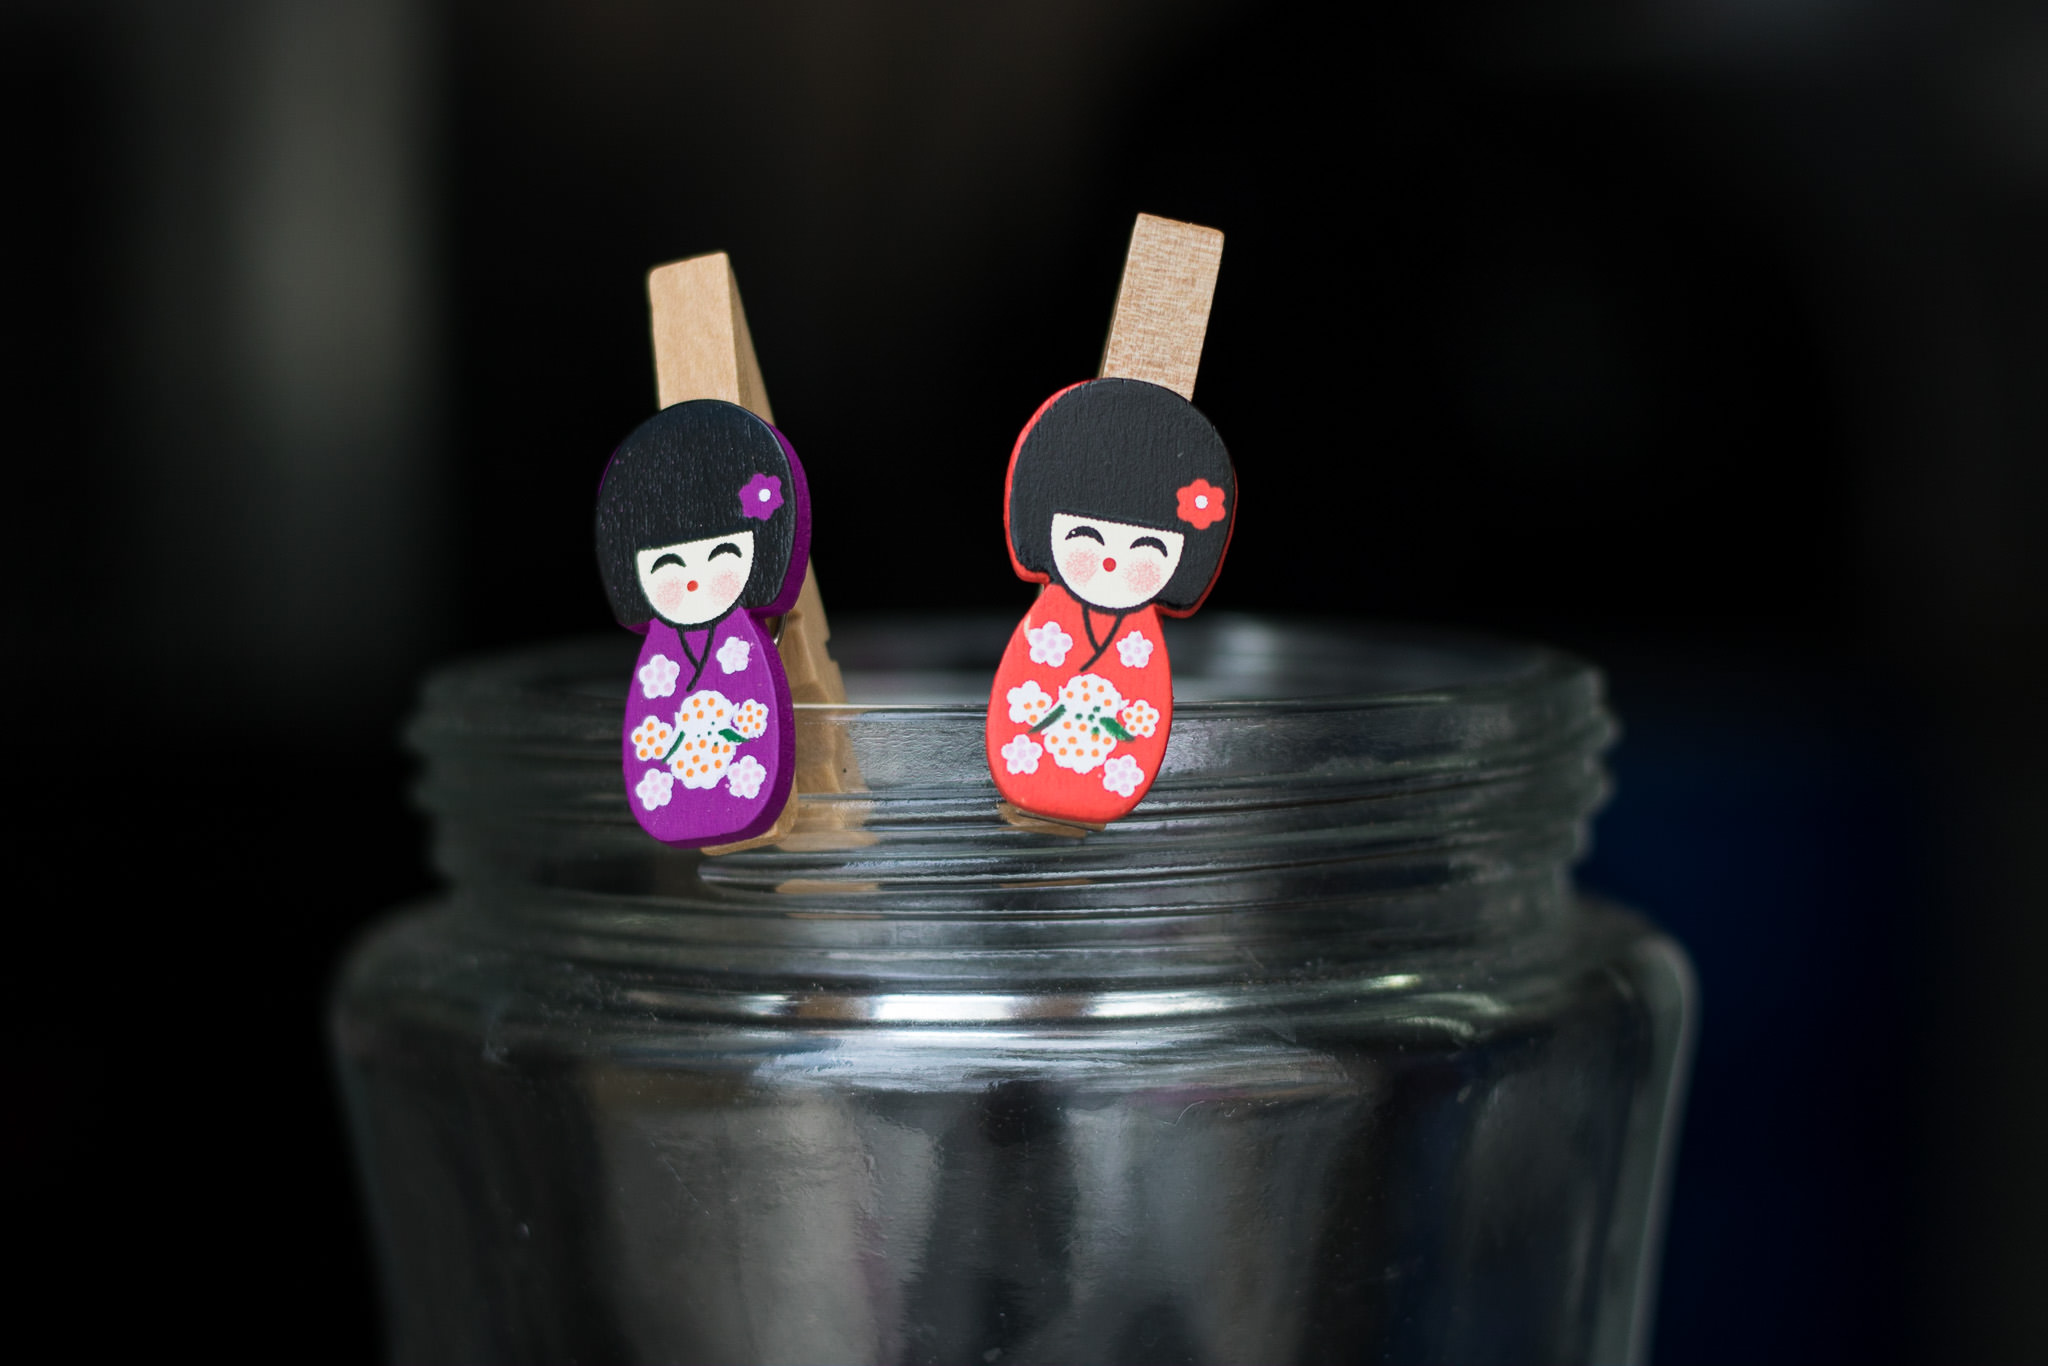
If you want to get a different look in your images while using the same camera, you might consider buying a new lens as well. A lightweight, inexpensive lens like the Canon 50mm f/1.8 can completely change the look of your images. For example, take a look at this image. It would be impossible to create with the kit lens.
Canon EOS REBEL T5 + EF50mm f/1.8 II @ 50mm, ISO 100, 1/250, f/1.8
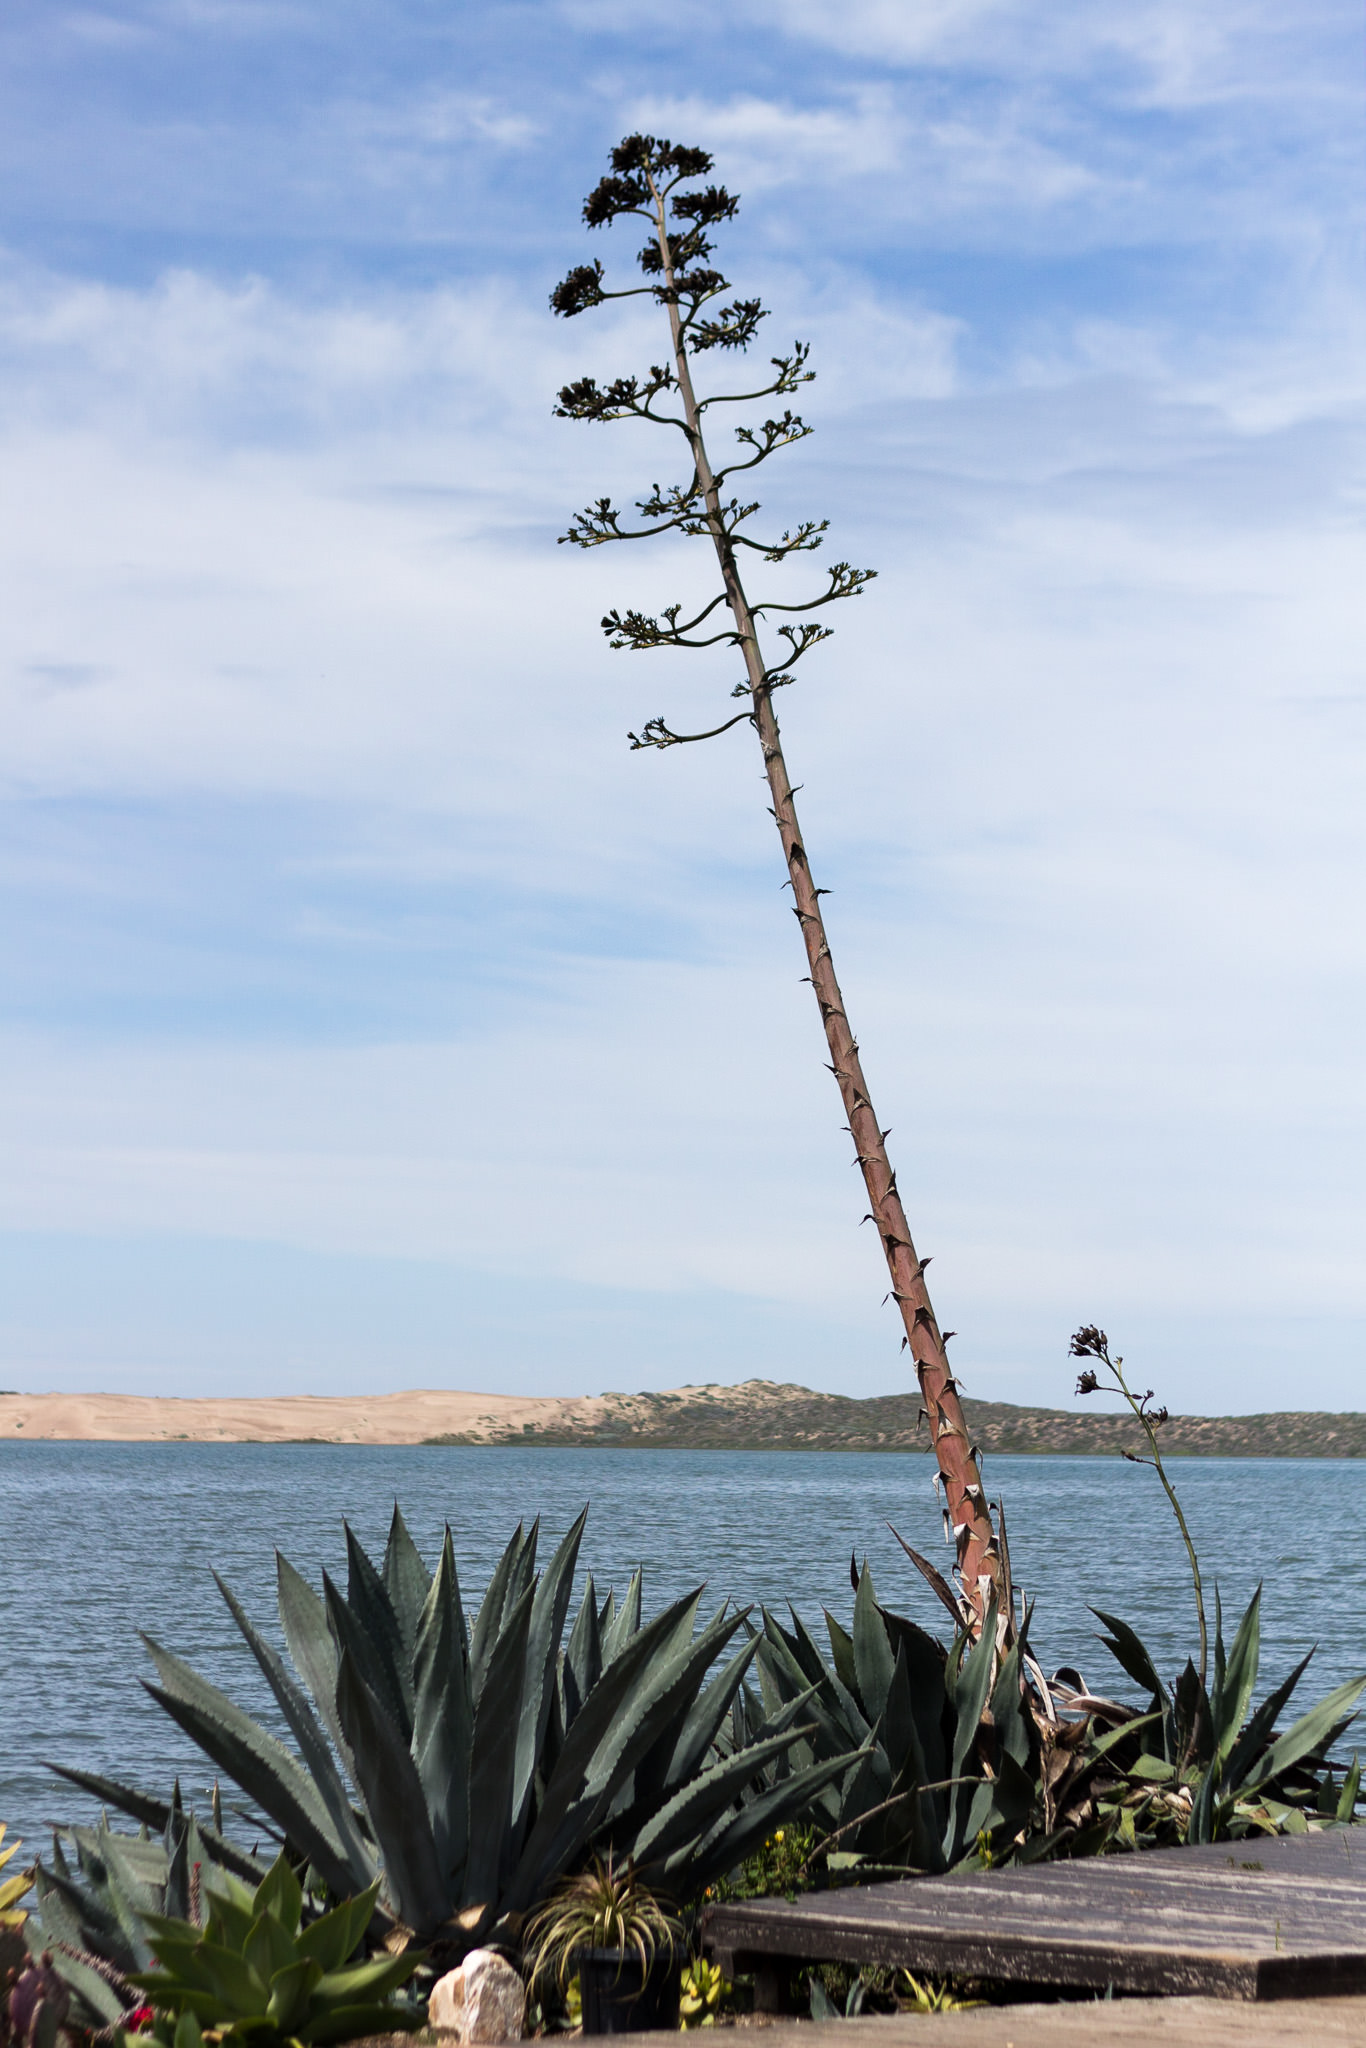
Not only does a lens like this give you the capability to create different looking images, but (much like IS) it also allows you to photograph in low-light situations without raising your ISO. How does it do that? It has a larger aperture than your kit lens, which lets more light into the camera (you can read more about what an aperture is here). So why do I even bother showing you images like this when they’re not something that the basic camera+kit lens can create? To show you that, by simply changing lenses, these cameras are capable of creating images like you’ve never created before!
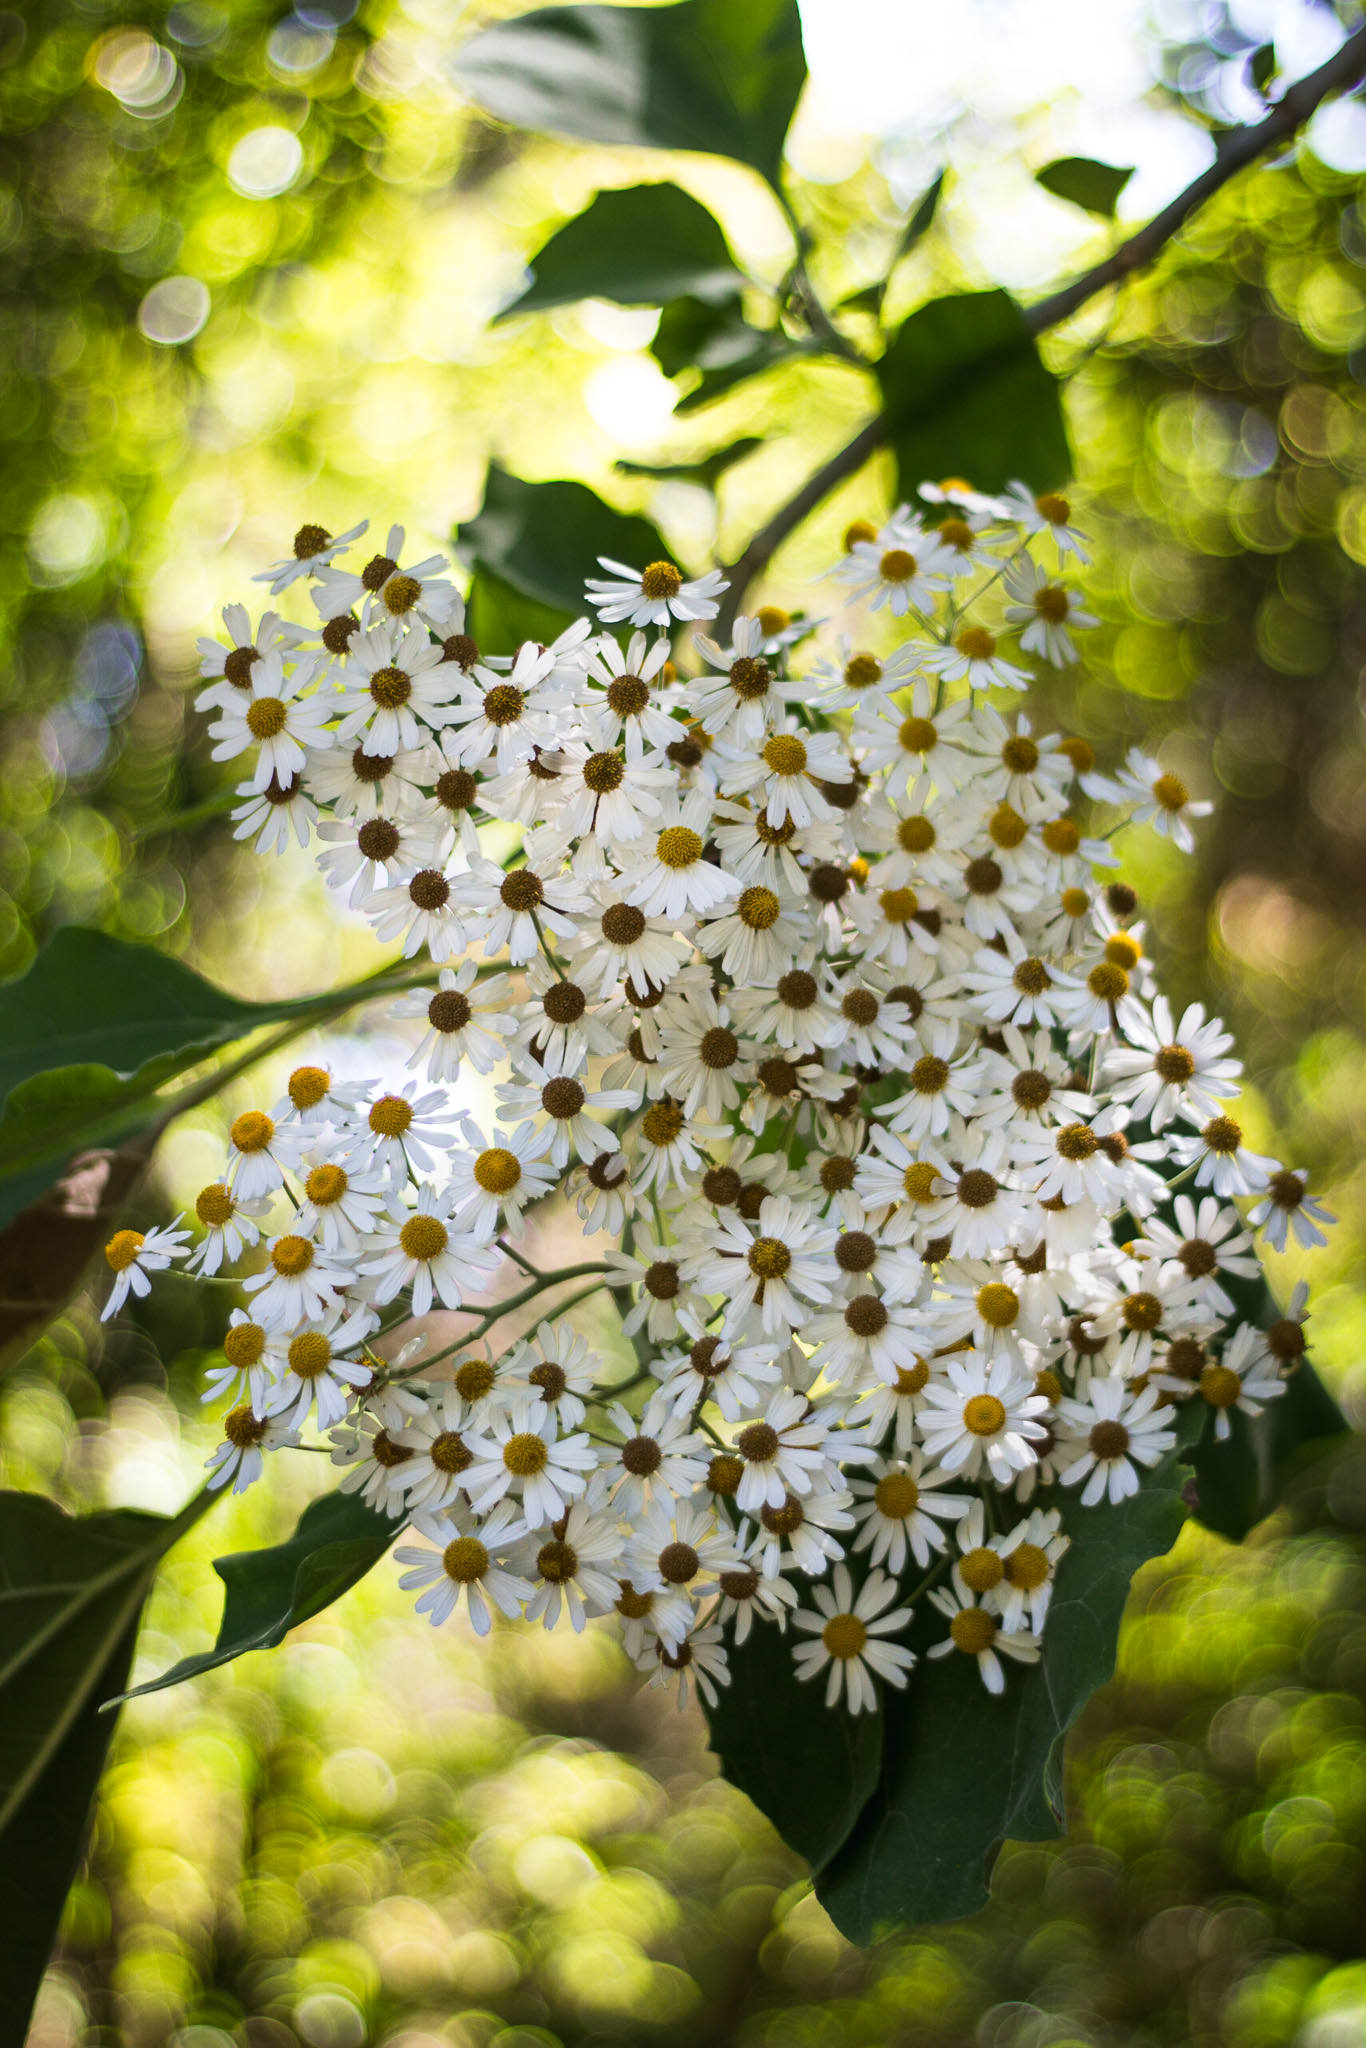
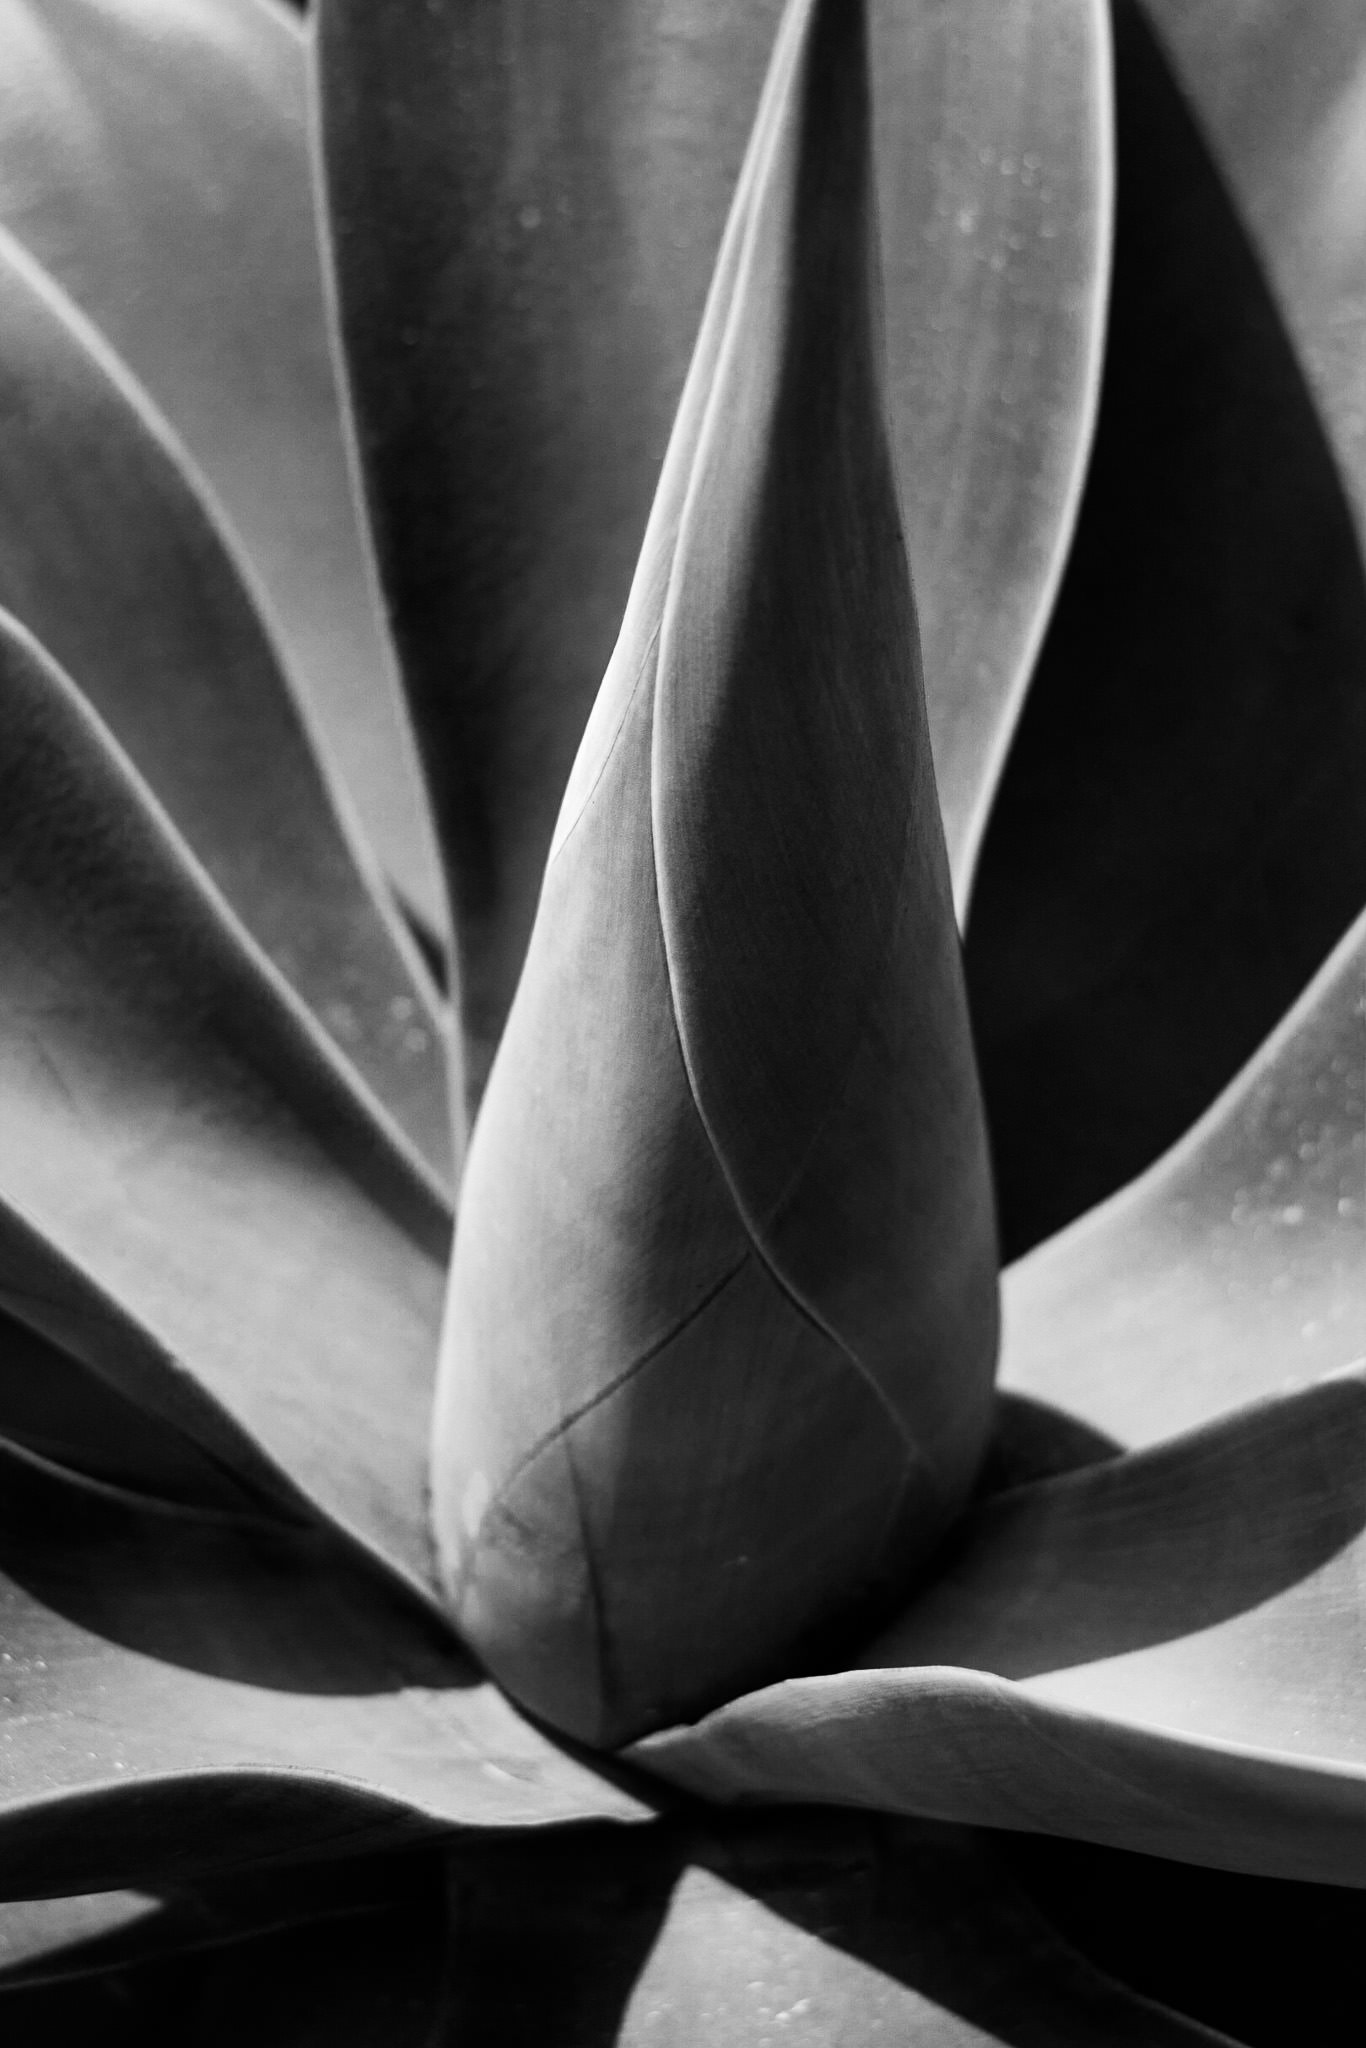
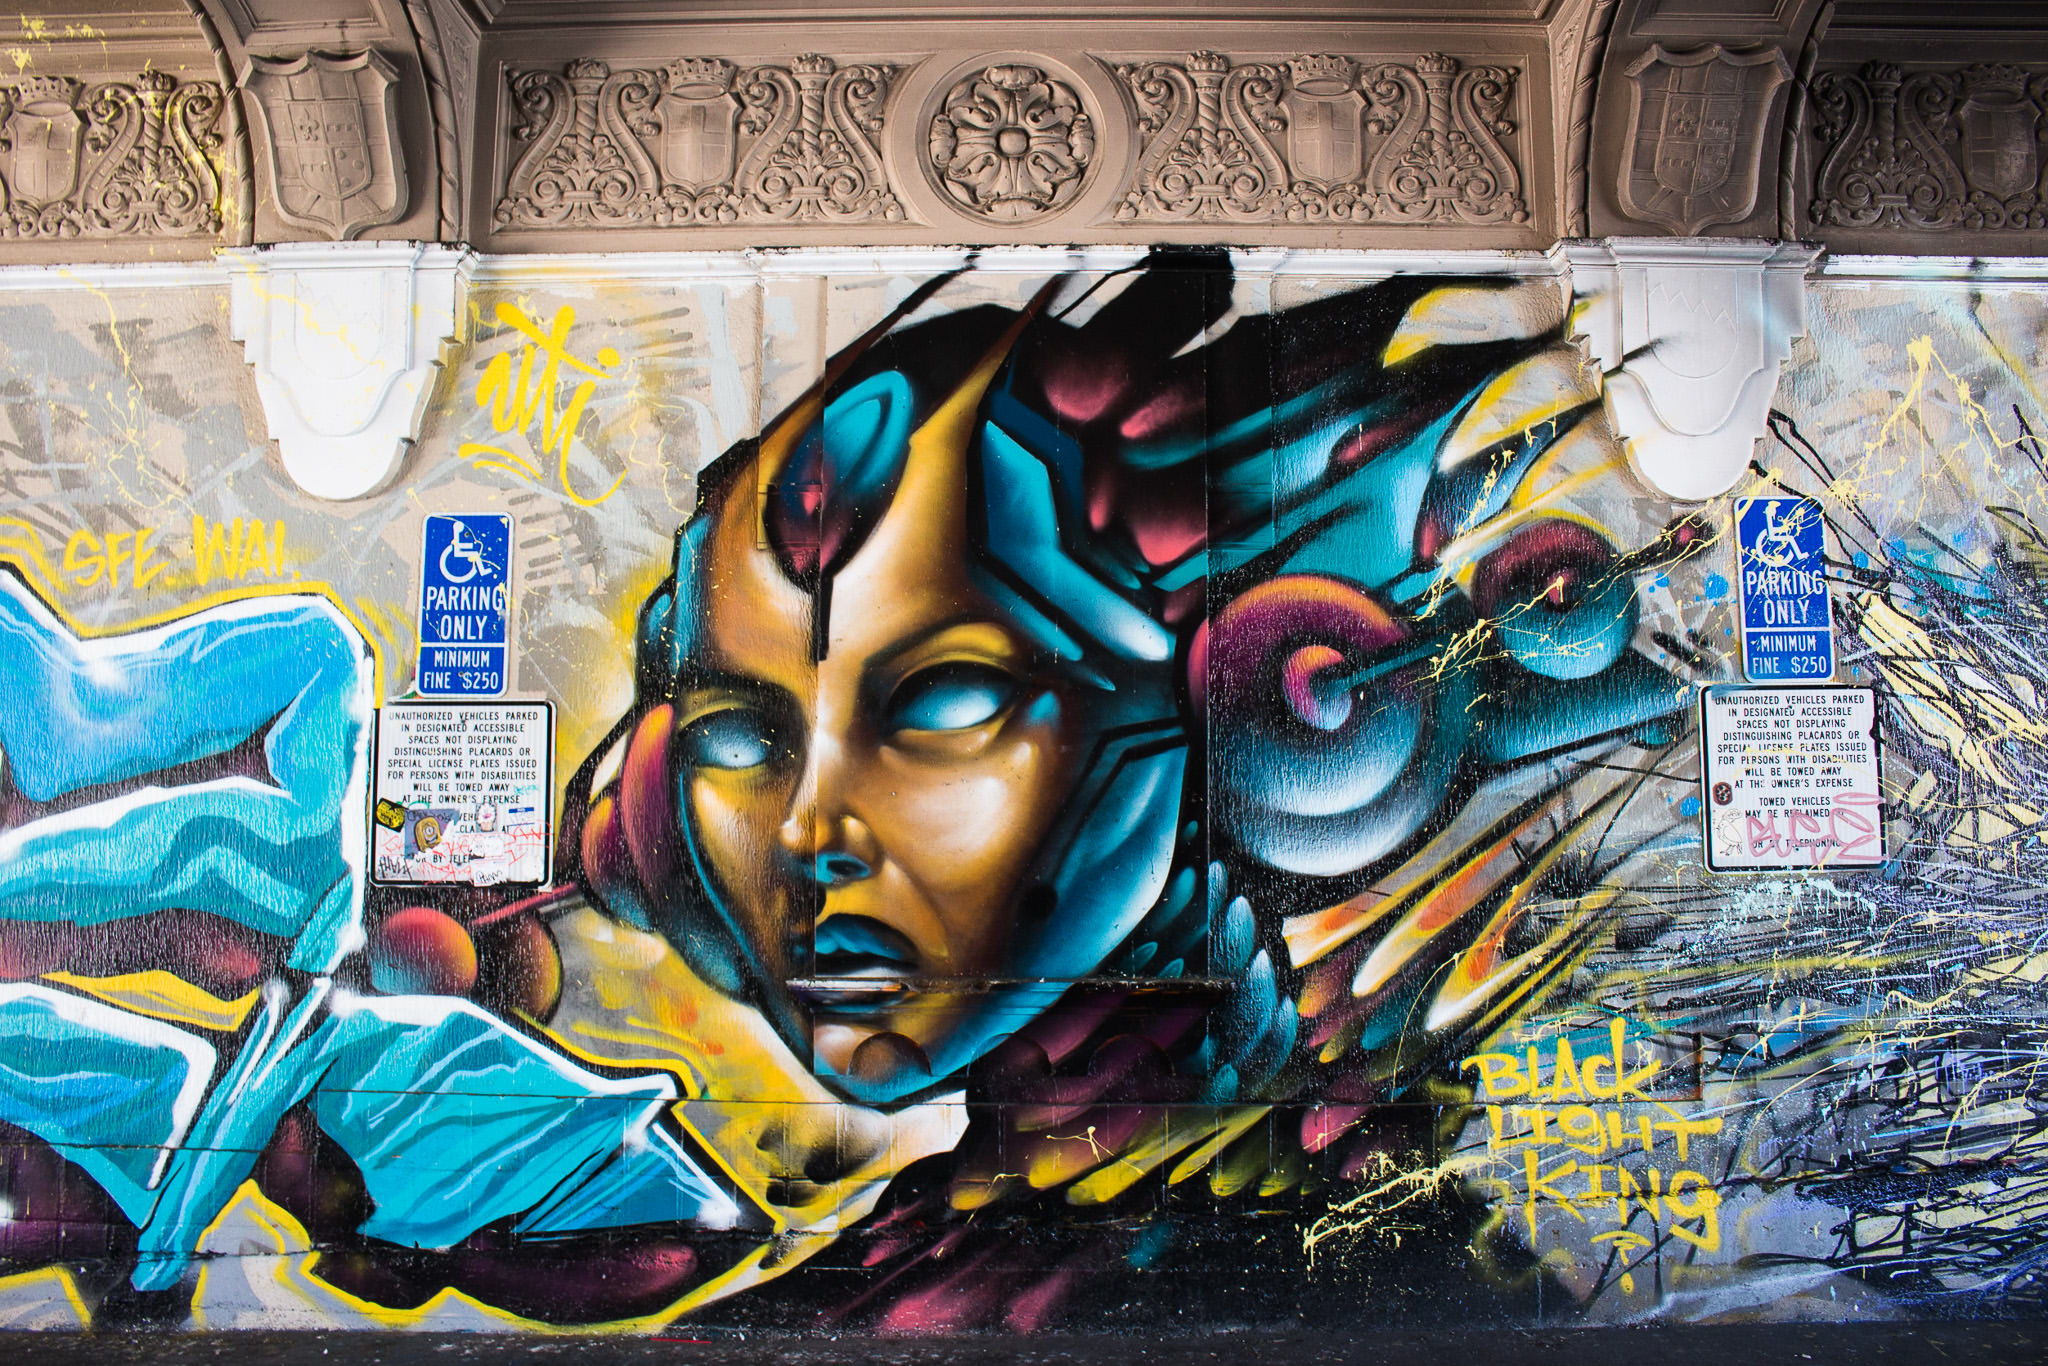
Canon EOS REBEL SL1 + EF50mm f/1.8 II @ 50mm, ISO 100, 1/640, f/2.8
If you tend to shoot bursts of RAW images (maybe of action or a once in a lifetime moment), you’ll appreciate the slightly faster frame rate of the T5i and T6i. Not only do they capture images faster, but they also write them to the memory card more quickly. I tested all four cameras and here’s how they stacked up:
– T5: The slowest all around. It has the slowest frame rate (3 fps), as well as the smallest buffer (6 RAW images before it filled up).
– SL1: Has a faster frame rate (4 fps) and can shoot 8 RAW images before the buffer fills up.
– T6i: Ties for the fastest frame rate (7 fps) and can shoot 7 RAW images before the buffer fills up.
– T5i: Ties for the fastest frame rate (7 fps) and can shoot 8 RAW images before the buffer fills up.
You’ll notice that the T6i’s buffer fills up faster than the T5i’s, which is no surprise since it has a higher resolution sensor than the other three cameras. To get the best performance out of this camera, you’ll want to be sure to use fast memory cards if you plan to shoot bursts of images.
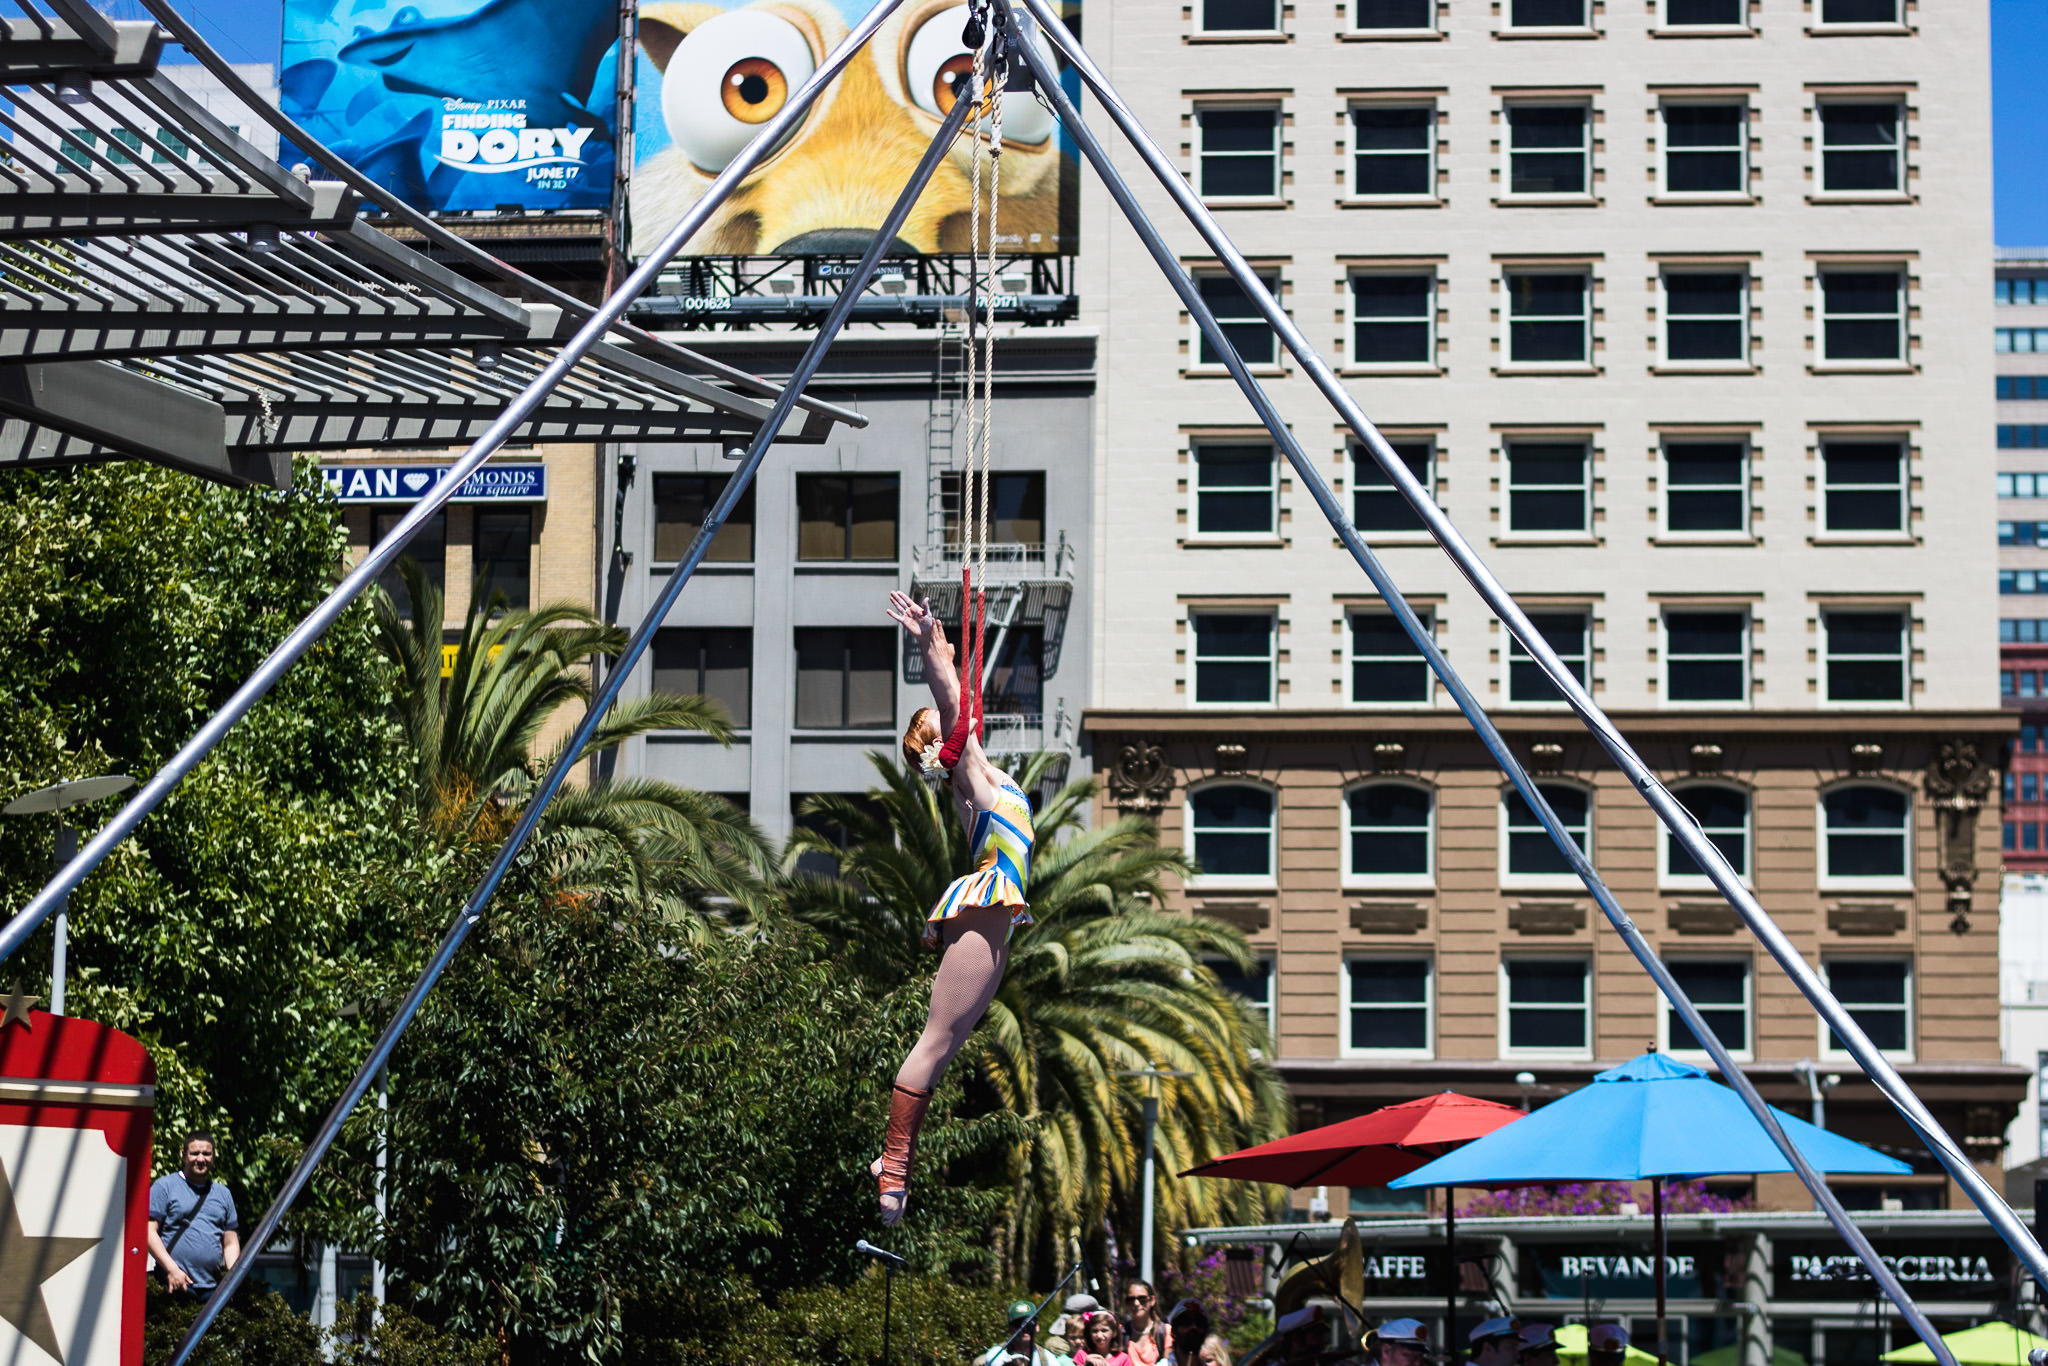
What about focus with moving subjects? If you have children or pets you plan on photographing, this can be an important feature of any camera you plan to purchase. I tested them out at a parade and on my cat walking towards me and, surprisingly, all of the cameras did a decent job at tracking and photographing motion. Of course, your results may vary depending on the lighting conditions and how fast your subject is moving, but based on my experience you should be able to photograph slowly moving subjects with any of these cameras.
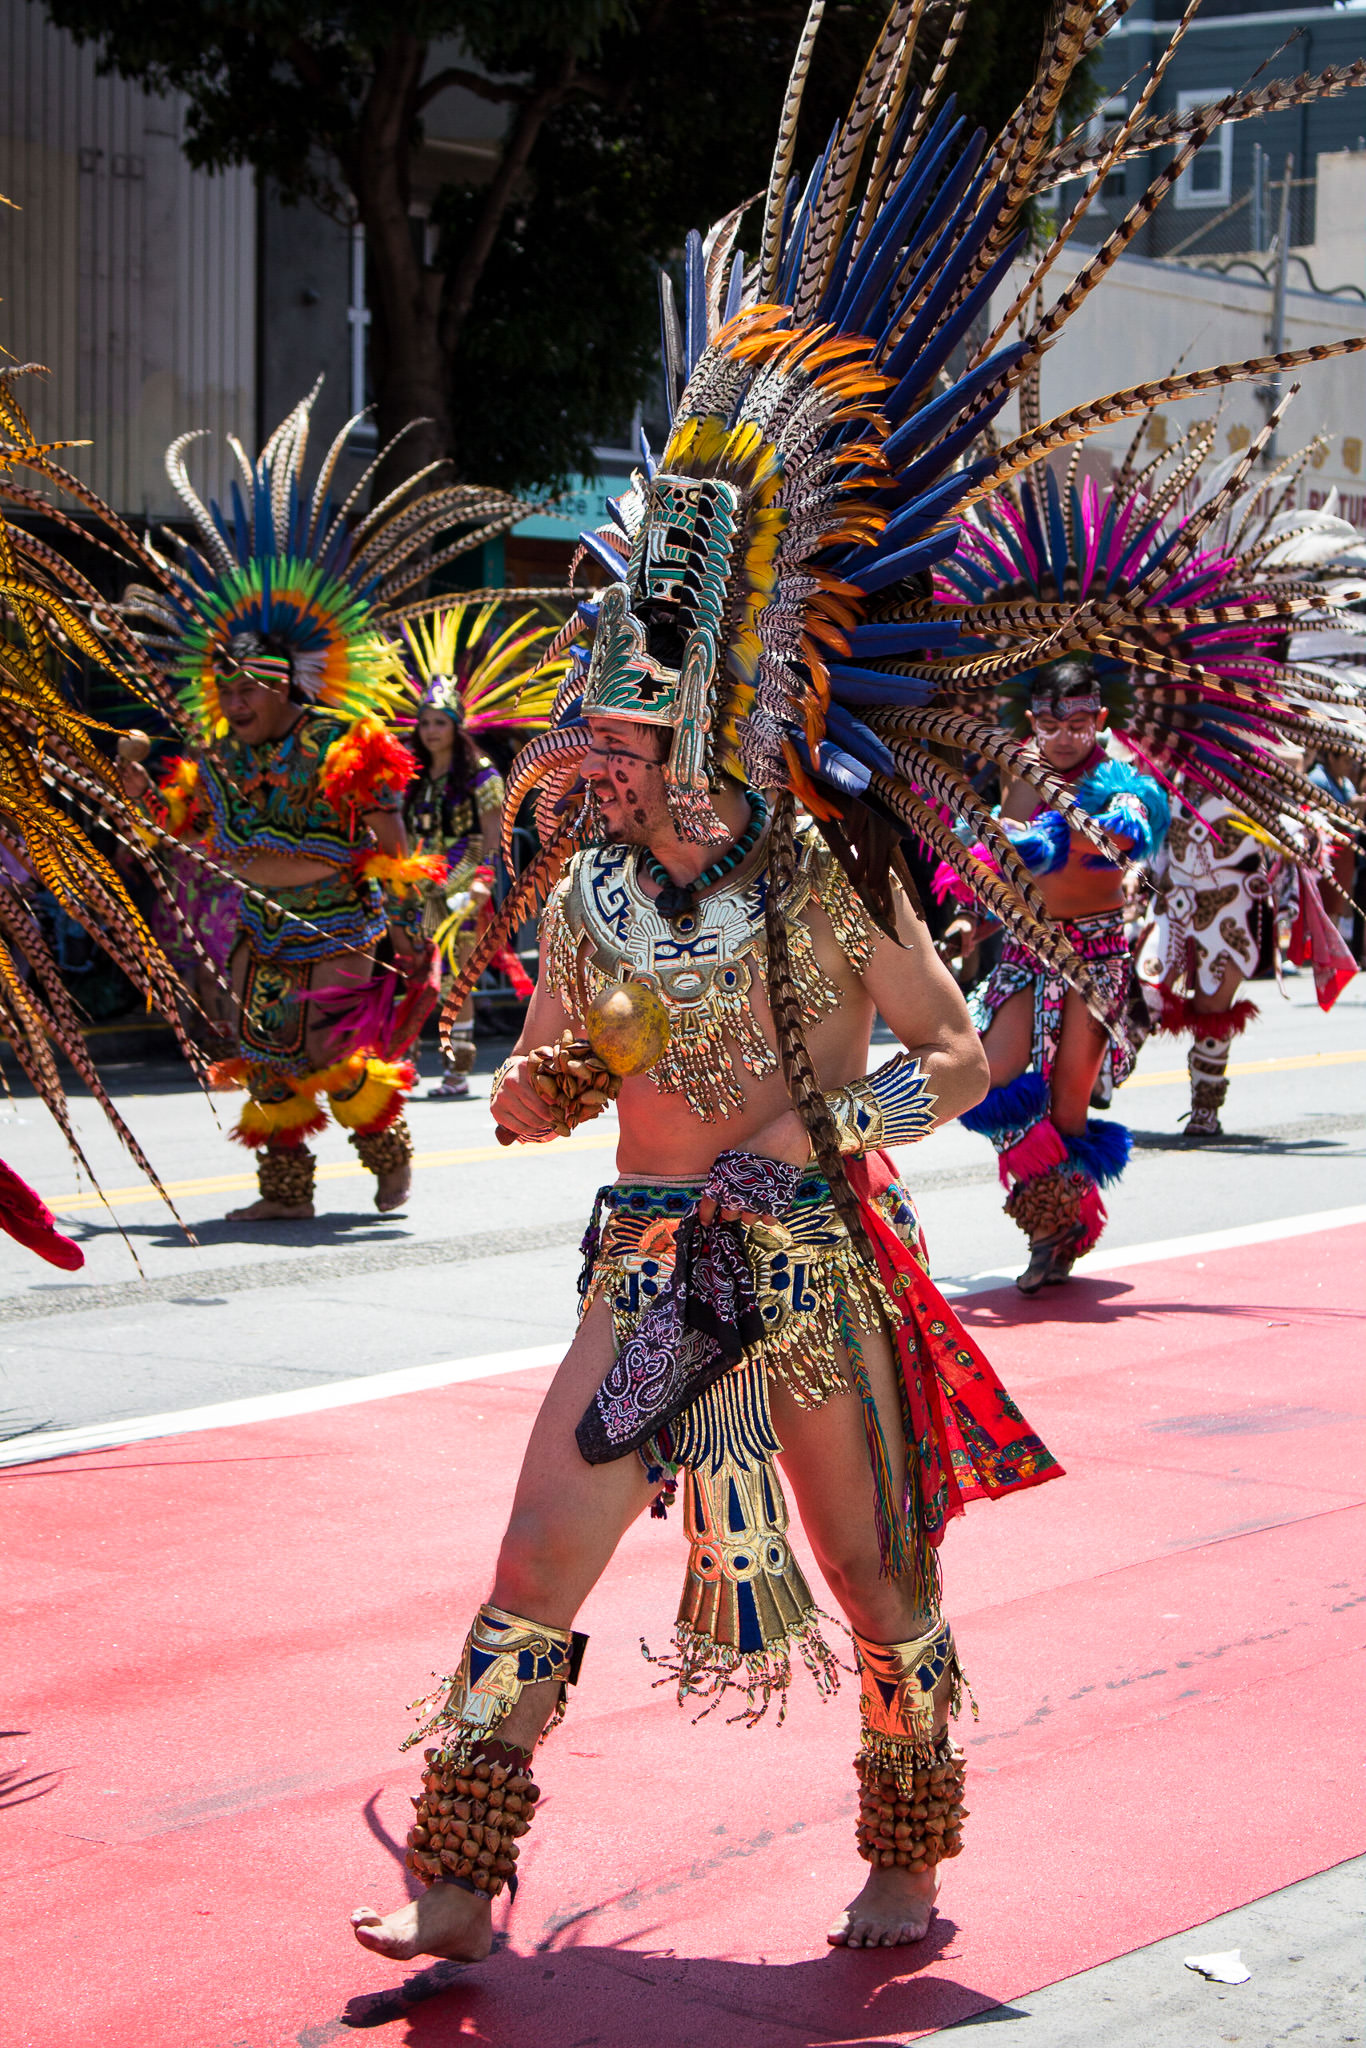
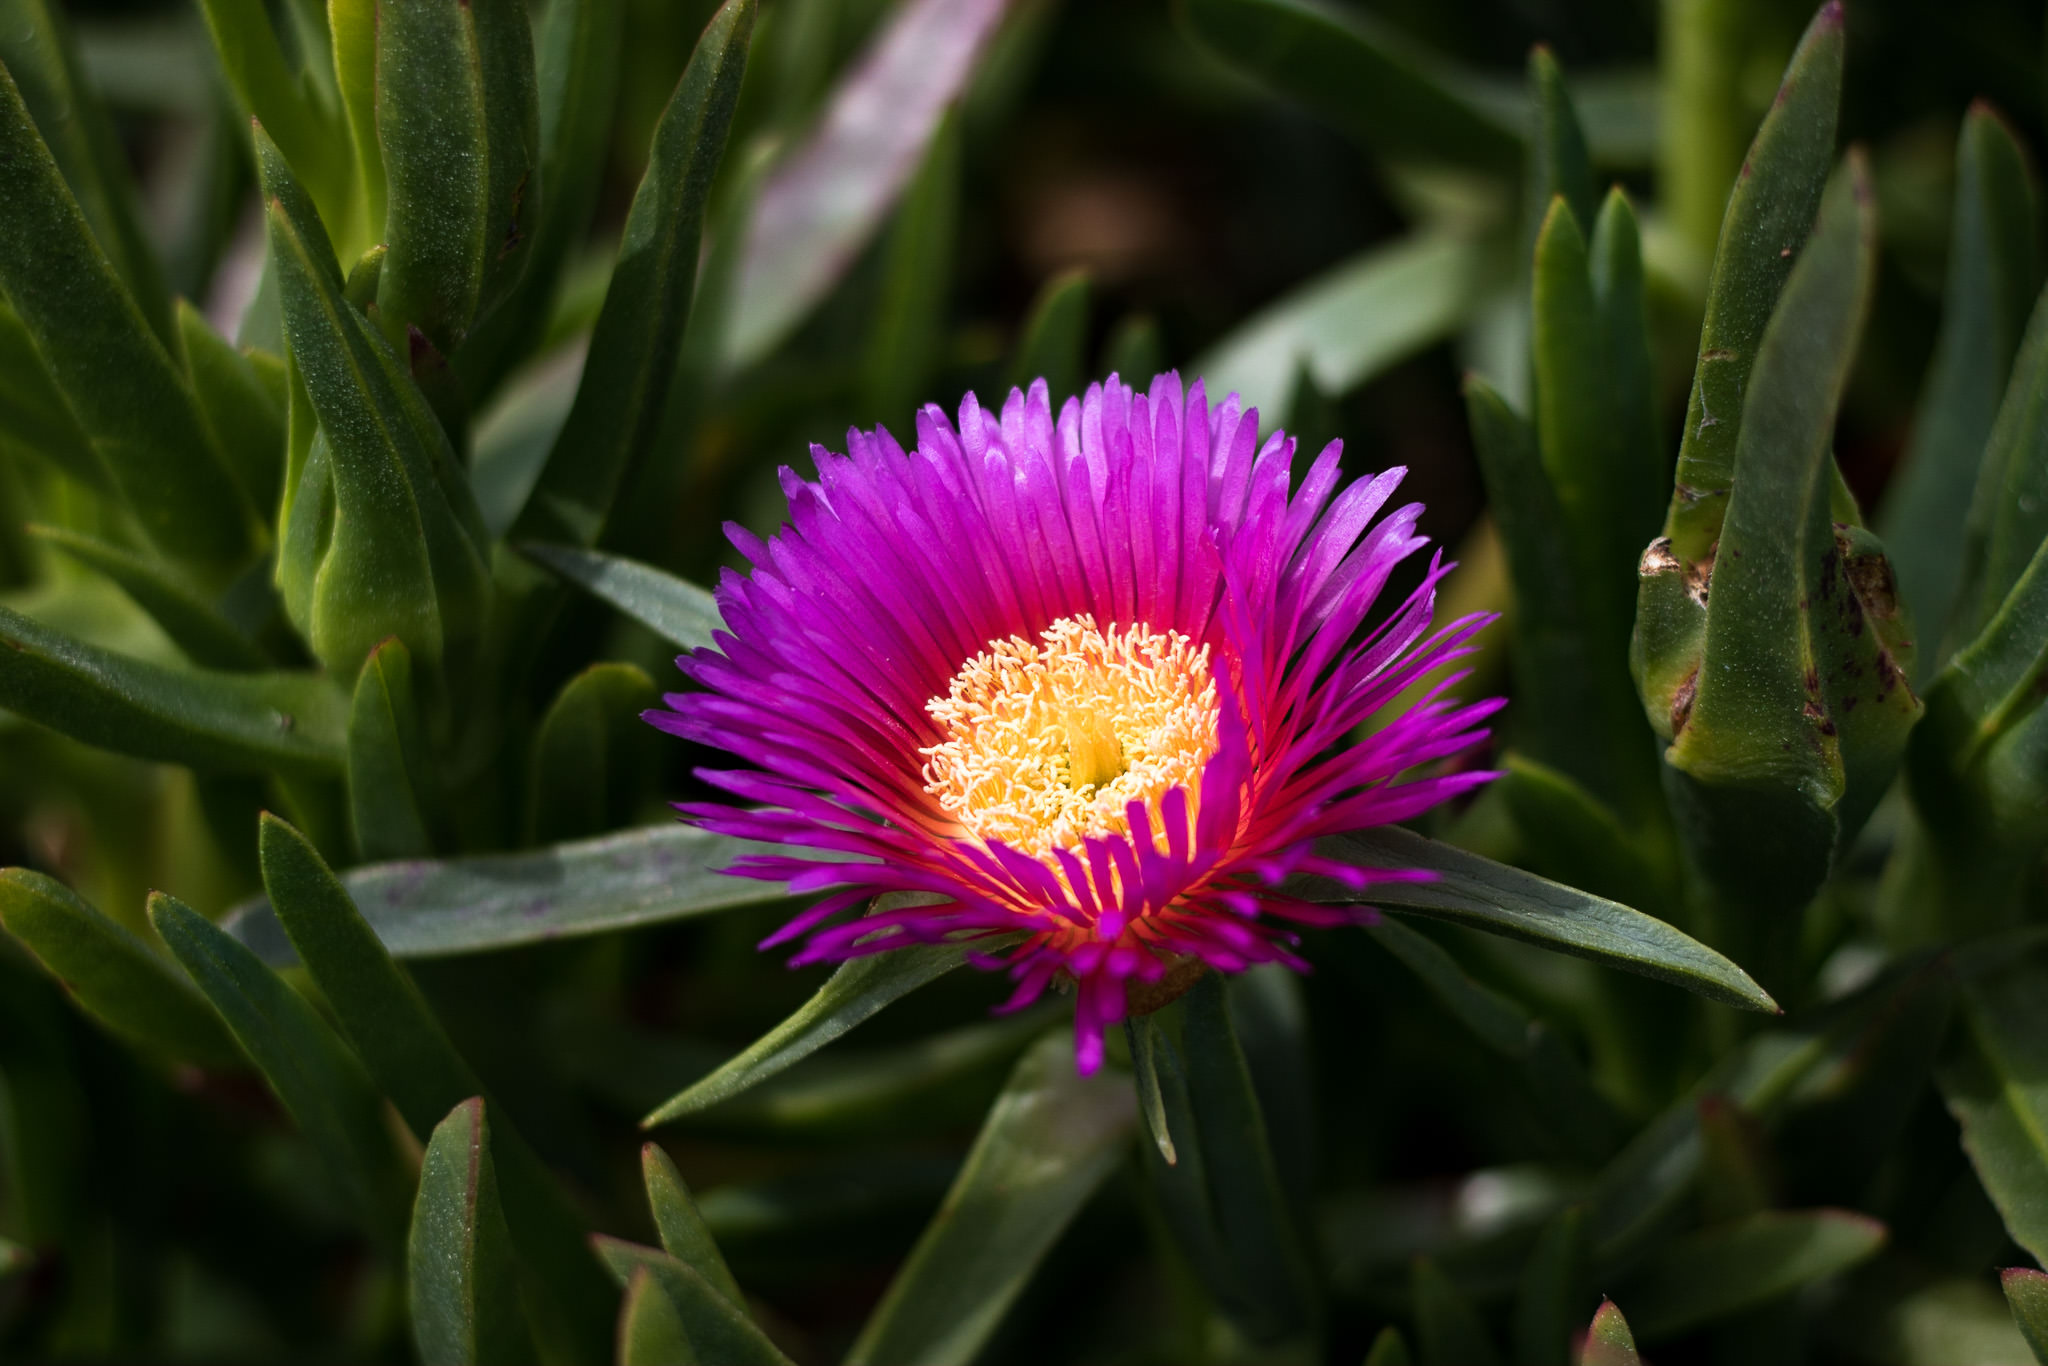
Canon EOS REBEL T5i + EF-S18-55mm f/3.5-5.6 IS STM @ 55mm, ISO 100, 1/400, f/5.6
3.3) Other Features
As I mentioned earlier, the T5i and T6i have rear LCD screens that tilt and swivel. I took the T5i to a parade and found myself using the tilt function of the screen quite a bit while trying to photograph over the heads of people who were standing in front of me. Unfortunately, that also meant I was shooting with live view, which meant the focusing system was slower to acquire focus, especially on moving subjects. I did end up missing many shots, either because the image was out of focus or the camera simply never took a photo because it couldn’t acquire focus.
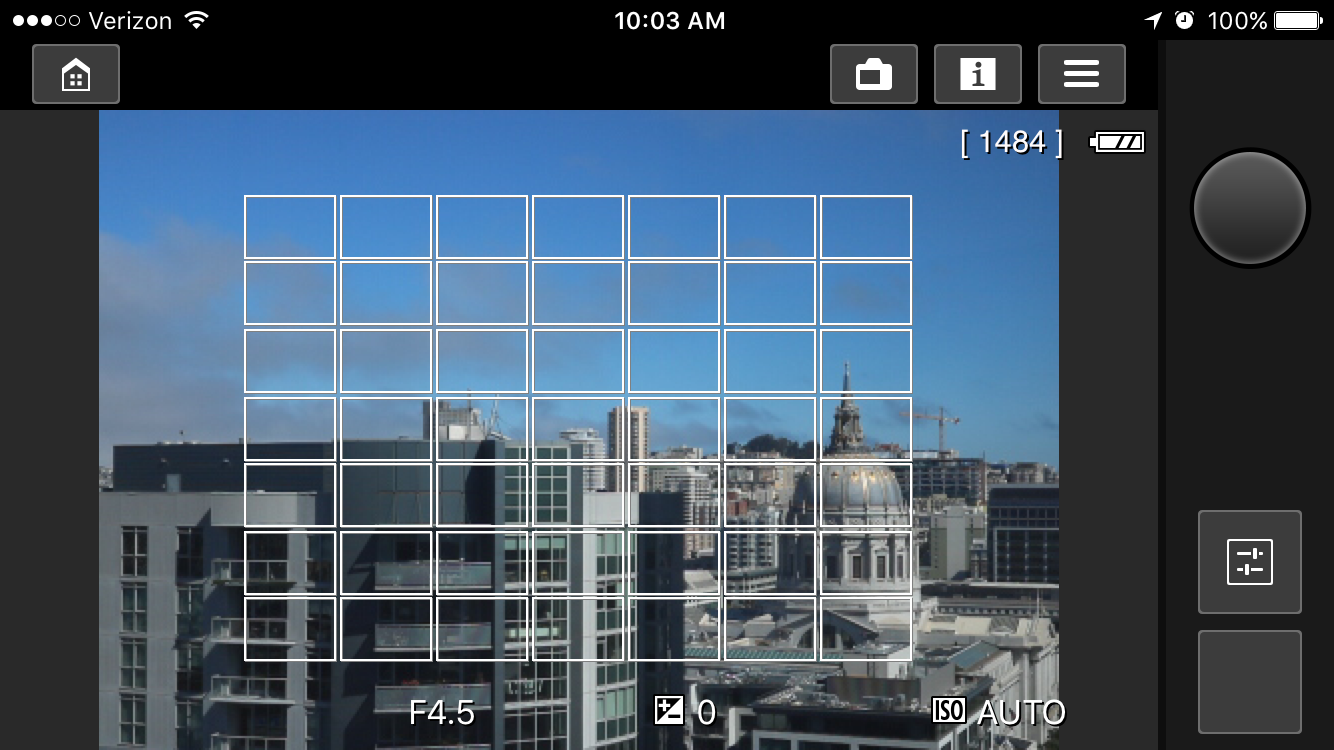
One feature that the T6i has that the others do not is built in Wi-Fi capability. After downloading the Canon Camera Connect app to my iPhone, I was able to use my phone to view the images on the memory card, download them to my phone and even use my phone to remotely change the camera settings and take photos!
4) Image Quality
As for overall image quality, I couldn’t really tell any difference between cameras while editing properly exposed images. Surprisingly, they all seem to have similar light metering and dynamic range capabilities. I found I was able to recover comparable amounts of shadow and highlight information from similar images taken by each camera. I did notice that when photographing the exact same scene with all four cameras set to Program Mode, the SL1 tended to miss the correct exposure more often than the other three cameras did.
An important factor for cameras is their high ISO performance. While the SL1, T5i and T6i max out their normal ISO rage at ISO 12,800, the T5’s limit is ISO 6400. When shooting at ISO 6400, they all perform similarly. When I took the SL1, T5i and T6i up to ISO 12,800, it definitely increased the noise in the images, but it’s nice to know the reach is there if you ever need it, as the images definitely were not unusable. Personally, I’d try to keep the ISO at 3200 or below on any of these cameras, but in a pinch feel free to use the full ISO range on any of them.
Another important test of a camera’s sensor is how well you’re able to recover an underexposed image shot at high ISO. To test this, I underexposed the same scene by 2 stops with each camera while shooting at ISO 6400. After using Lightroom to adjust the exposure to the correct value, only the T6i produced acceptable results. The other three demonstrated color shifts and extreme noise.
5) Overall Thoughts
At the end of the day, the T5 is the only camera out of these four that I would not recommend. When comparing it to the other models, it’s obvious that it simply has older technology and is less capable than the other three. Those other three cameras (SL1, T5i and T6i) are all capable cameras and fill different needs. They’re easy to use, produce great images and are relatively inexpensive.
To get even more out of a camera like this, using a lens like the 50mm f/1.8 will give you the ability to photograph in even lower-light conditions than the kit lens’ built-in IS, while at the same time giving your images a completely different look due to the shallow depth of field made possible by shooting at an aperture of f/1.8. This combo (kit lens + 50mm lens) has gotten many photographers (myself included) started down the enjoyable path of photography.
That’s not to say that these cameras are perfect. Of course, being entry level cameras, they don’t have the more advanced features that more expensive cameras have. They also don’t have any of the ruggedness that more expensive, professional grade cameras have. That means you’ll have to be careful around bad weather and rugged conditions to protect them from getting wet or banged around.
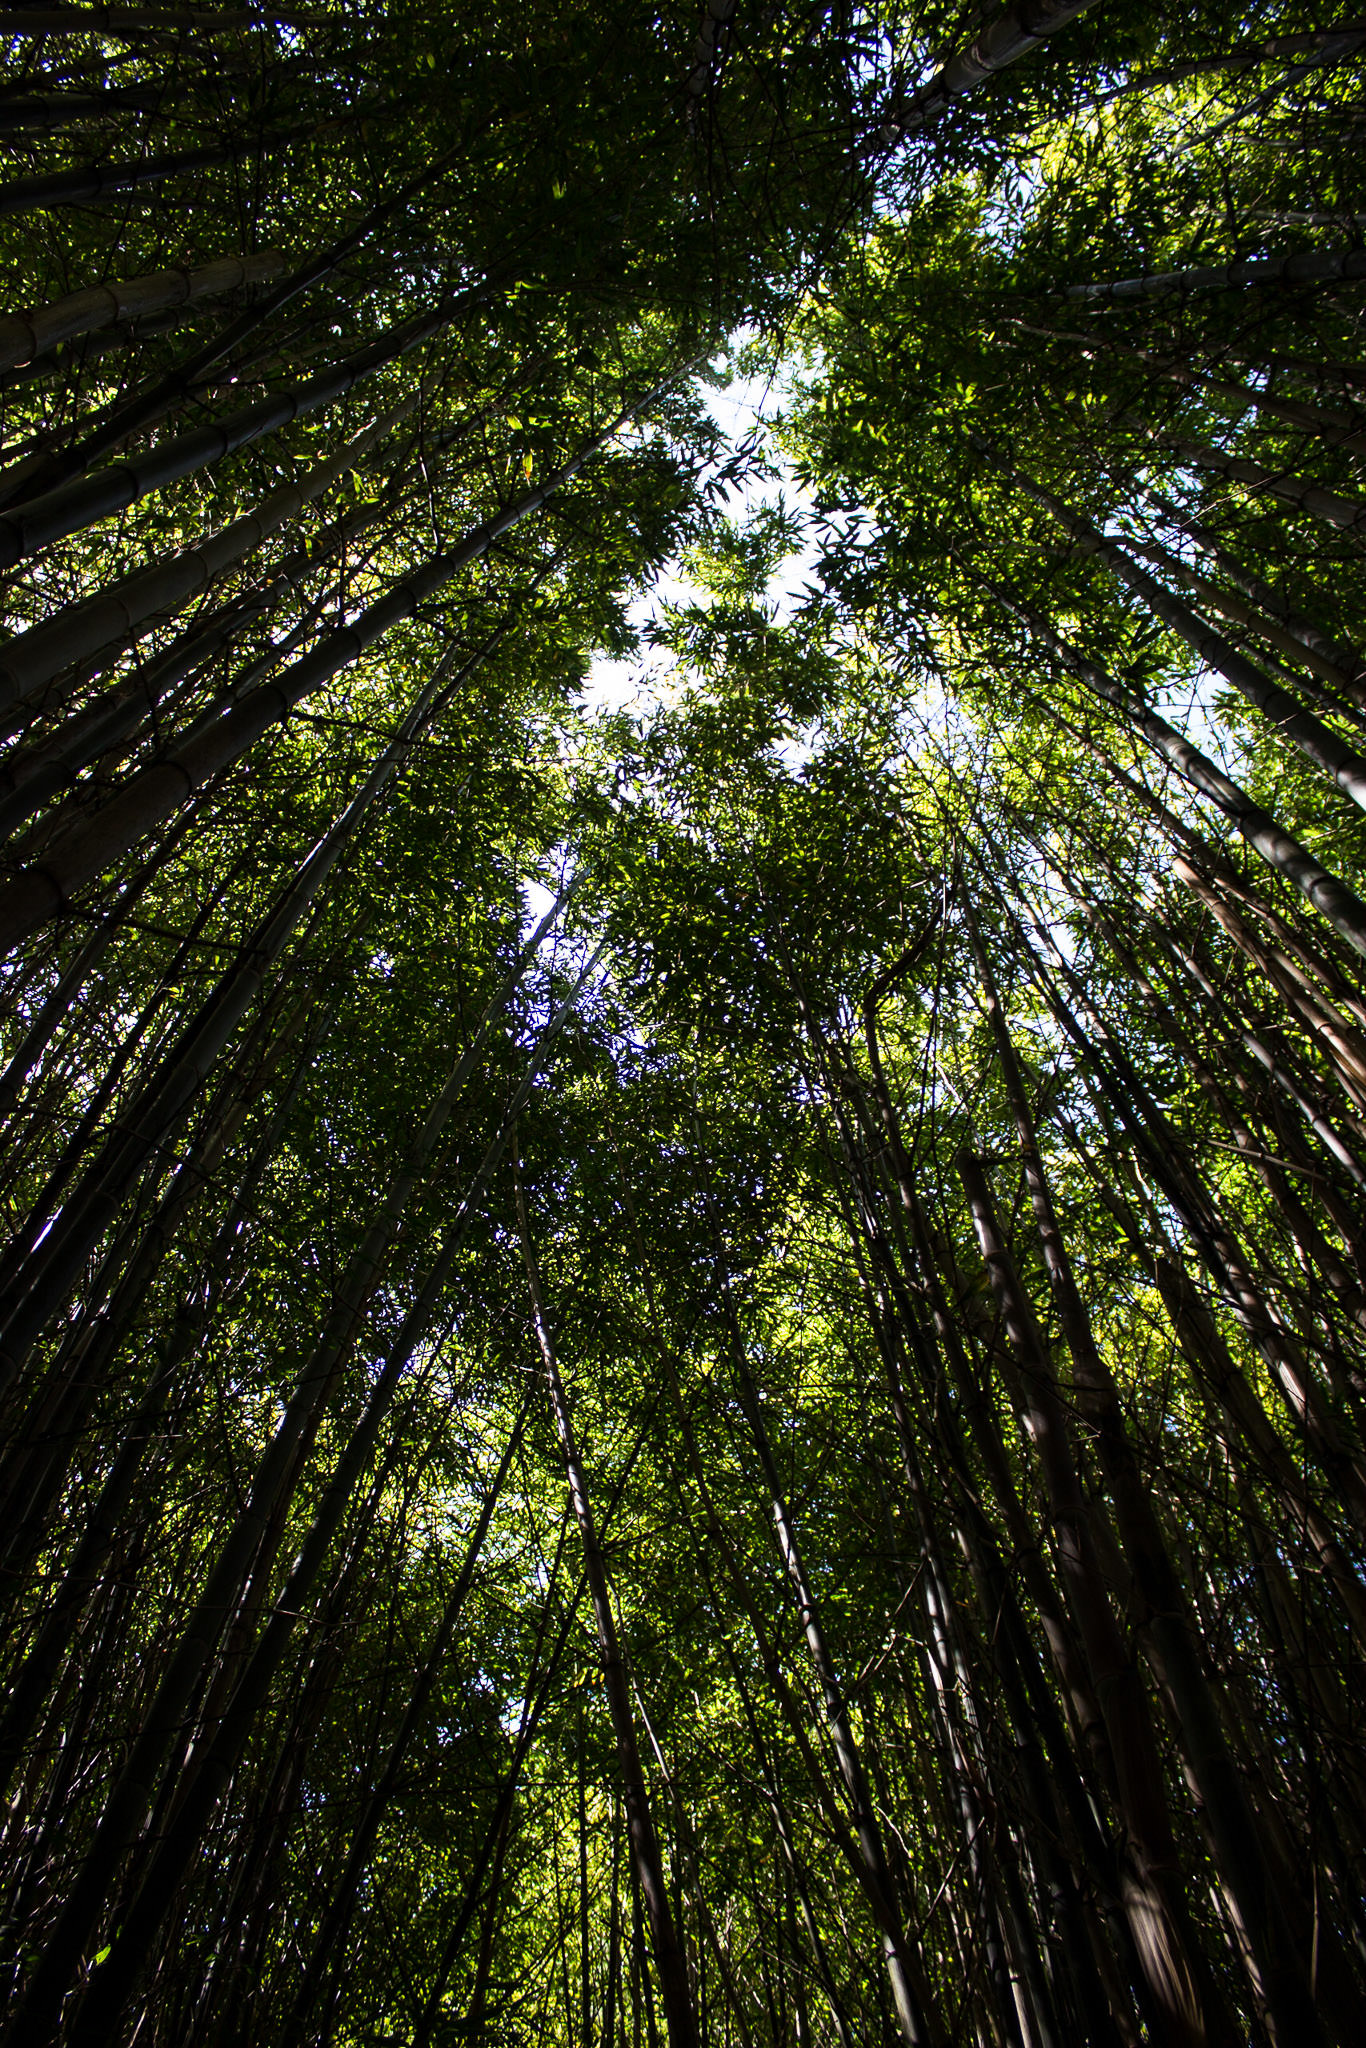
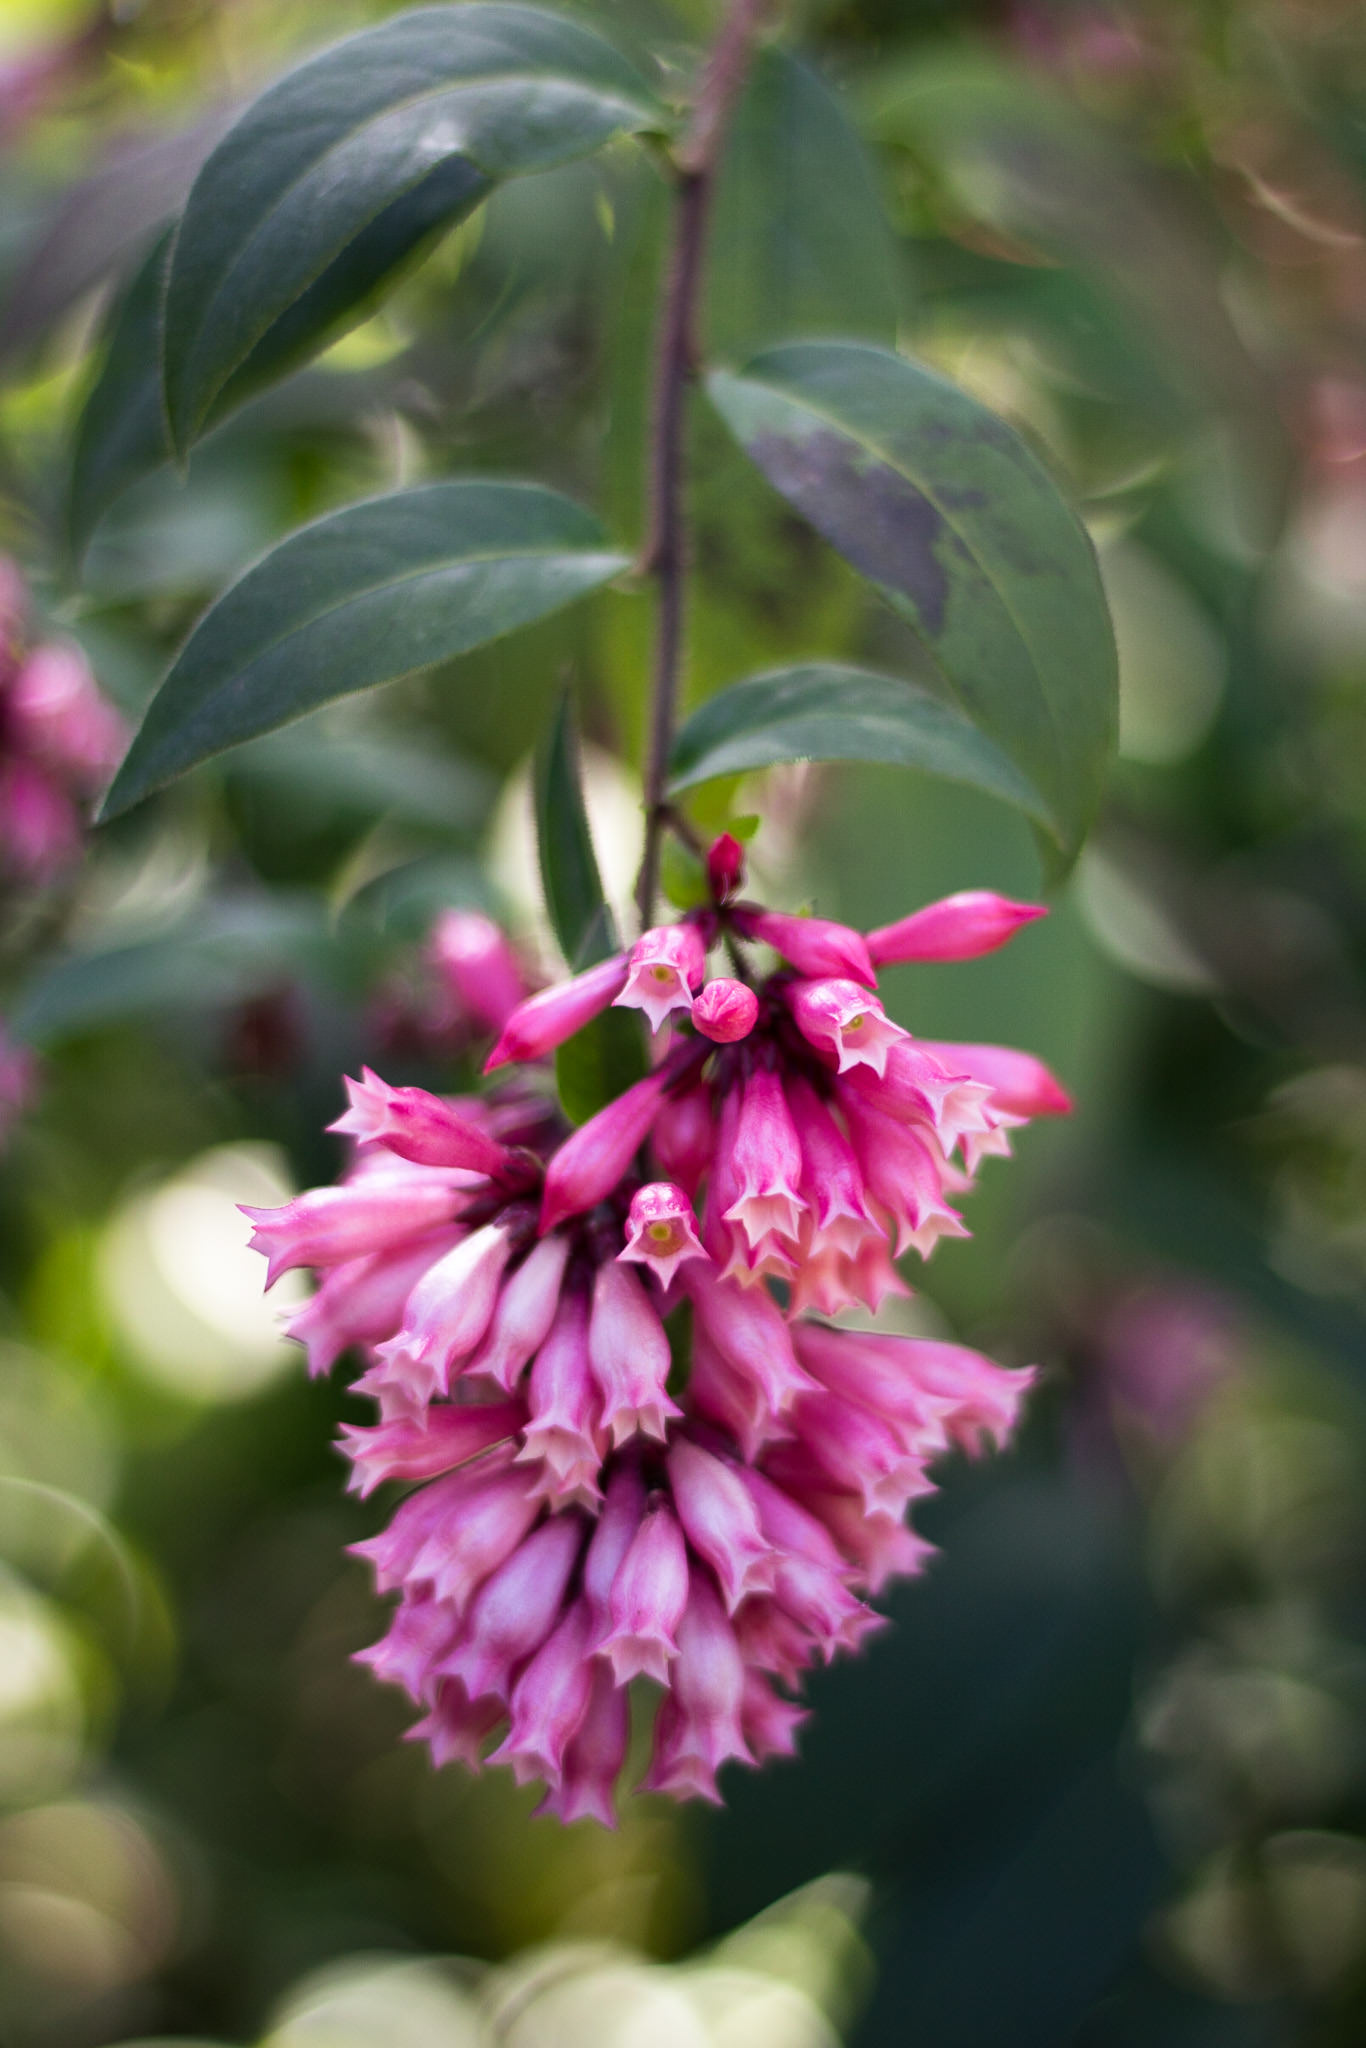
6) Additional Images
Here’s a few additional images for you to look over before getting to the conclusion. As always, be sure to click on them for the best image quality.
Canon EOS REBEL T5 + EF-S18-55mm f/3.5-5.6 IS II @ 18mm, ISO 100, 1/100, f/3.5
Canon EOS REBEL T5i + EF-S18-55mm f/3.5-5.6 IS STM @ 18mm, ISO 100, 1/250, f/5.6

Canon EOS REBEL T5 + EF-S18-55mm f/3.5-5.6 IS II @ 18mm, ISO 100, 1/320, f/5.6
Canon EOS REBEL T5i + EF-S18-55mm f/3.5-5.6 IS STM @ 24mm, ISO 100, 1/320, f/5.6
Canon EOS REBEL T5 + EF-S18-55mm f/3.5-5.6 IS II @ 24mm, ISO 100, 1/250, f/5.6
Canon EOS REBEL T5i + EF50mm f/1.8 II @ 50mm, ISO 100, 1/4000, f/2.8
Canon EOS REBEL T5i + EF50mm f/1.8 II @ 50mm, ISO 100, 1/3200, f/2.8
Canon EOS REBEL T5 + EF50mm f/1.8 II @ 50mm, ISO 100, 1/2000, f/2.8
Canon EOS Rebel T6i + EF50mm f/1.8 II @ 50mm, ISO 100, 1/1600, f/2.8

Canon EOS REBEL T5i + EF-S18-55mm f/3.5-5.6 IS STM @ 27mm, ISO 200, 1/2500, f/4.0

Canon EOS REBEL T5 + EF50mm f/1.8 II @ 50mm, ISO 100, 1/60, f/1.8
Canon EOS REBEL T5 + EF50mm f/1.8 II @ 50mm, ISO 100, 1/320, f/1.8

Canon EOS Rebel T6i + EF50mm f/1.8 II @ 50mm, ISO 100, 1/1600, f/2.8

Canon EOS Rebel T6i + EF50mm f/1.8 II @ 50mm, ISO 100, 1/1250, f/2.8
Canon EOS Rebel T6i + EF50mm f/1.8 II @ 50mm, ISO 100, 1/250, f/2.8
Canon EOS Rebel T6i + EF50mm f/1.8 II @ 50mm, ISO 100, 1/2000, f/2.8
Canon EOS REBEL SL1 + EF-S18-55mm f/3.5-5.6 IS STM @ 18mm, ISO 400, 1/13, f/5.6
Canon EOS REBEL SL1 + EF-S18-55mm f/3.5-5.6 IS STM @ 18mm, ISO 100, 1/1000, f/5.6
Canon EOS REBEL SL1 + EF-S18-55mm f/3.5-5.6 IS STM @ 18mm, ISO 100, 1/500, f/5.6
7) Conclusion
If you’re buying your first DSLR, one of these cameras is going to work great for you. While all of them have similar image quality, they do have their differences as well.
If you want something small, lightweight and inexpensive, you can’t go wrong with the SL1. It is a very capable camera, but still very user friendly. Although the T5 does cost less, it’s not as capable of a camera simply due to it being older.
If you want a larger, more advanced camera than the SL1, but don’t want to spend extra money for features like Wi-Fi and a higher resolution sensor, the T5i might be a great choice for you. Of course, if you want the latest technology and a high resolution sensor, the T6i would be the camera for you.
I can’t recommend purchasing the T5. Although it is currently the least expensive of these four cameras, it is also the least capable. On paper it is more advanced than the SL1, but it will ultimately limit your photography more than even the basic yet newer, more capable SL1 will.
For full camera specifications, current pricing or to purchase a camera, please visit the B&H website:
Canon EOS Rebel SL1
Canon EOS Rebel T5
Canon EOS Rebel T5i
Canon EOS Rebel T6i
Canon 50mm f/1.8 STM lens
If you have enjoyed this article, please check out our in-depth Level 1 Photography Basics Course, where we explore all the basics of photography in much more detail. It is an intensive, 5+ hour course with enough material to not only get you started today, but also to serve as a reference material in the future.
The post Choosing an Entry-Level Canon DSLR Camera appeared first on Photography Life.


