A Successful Model Photograph, How to Get It

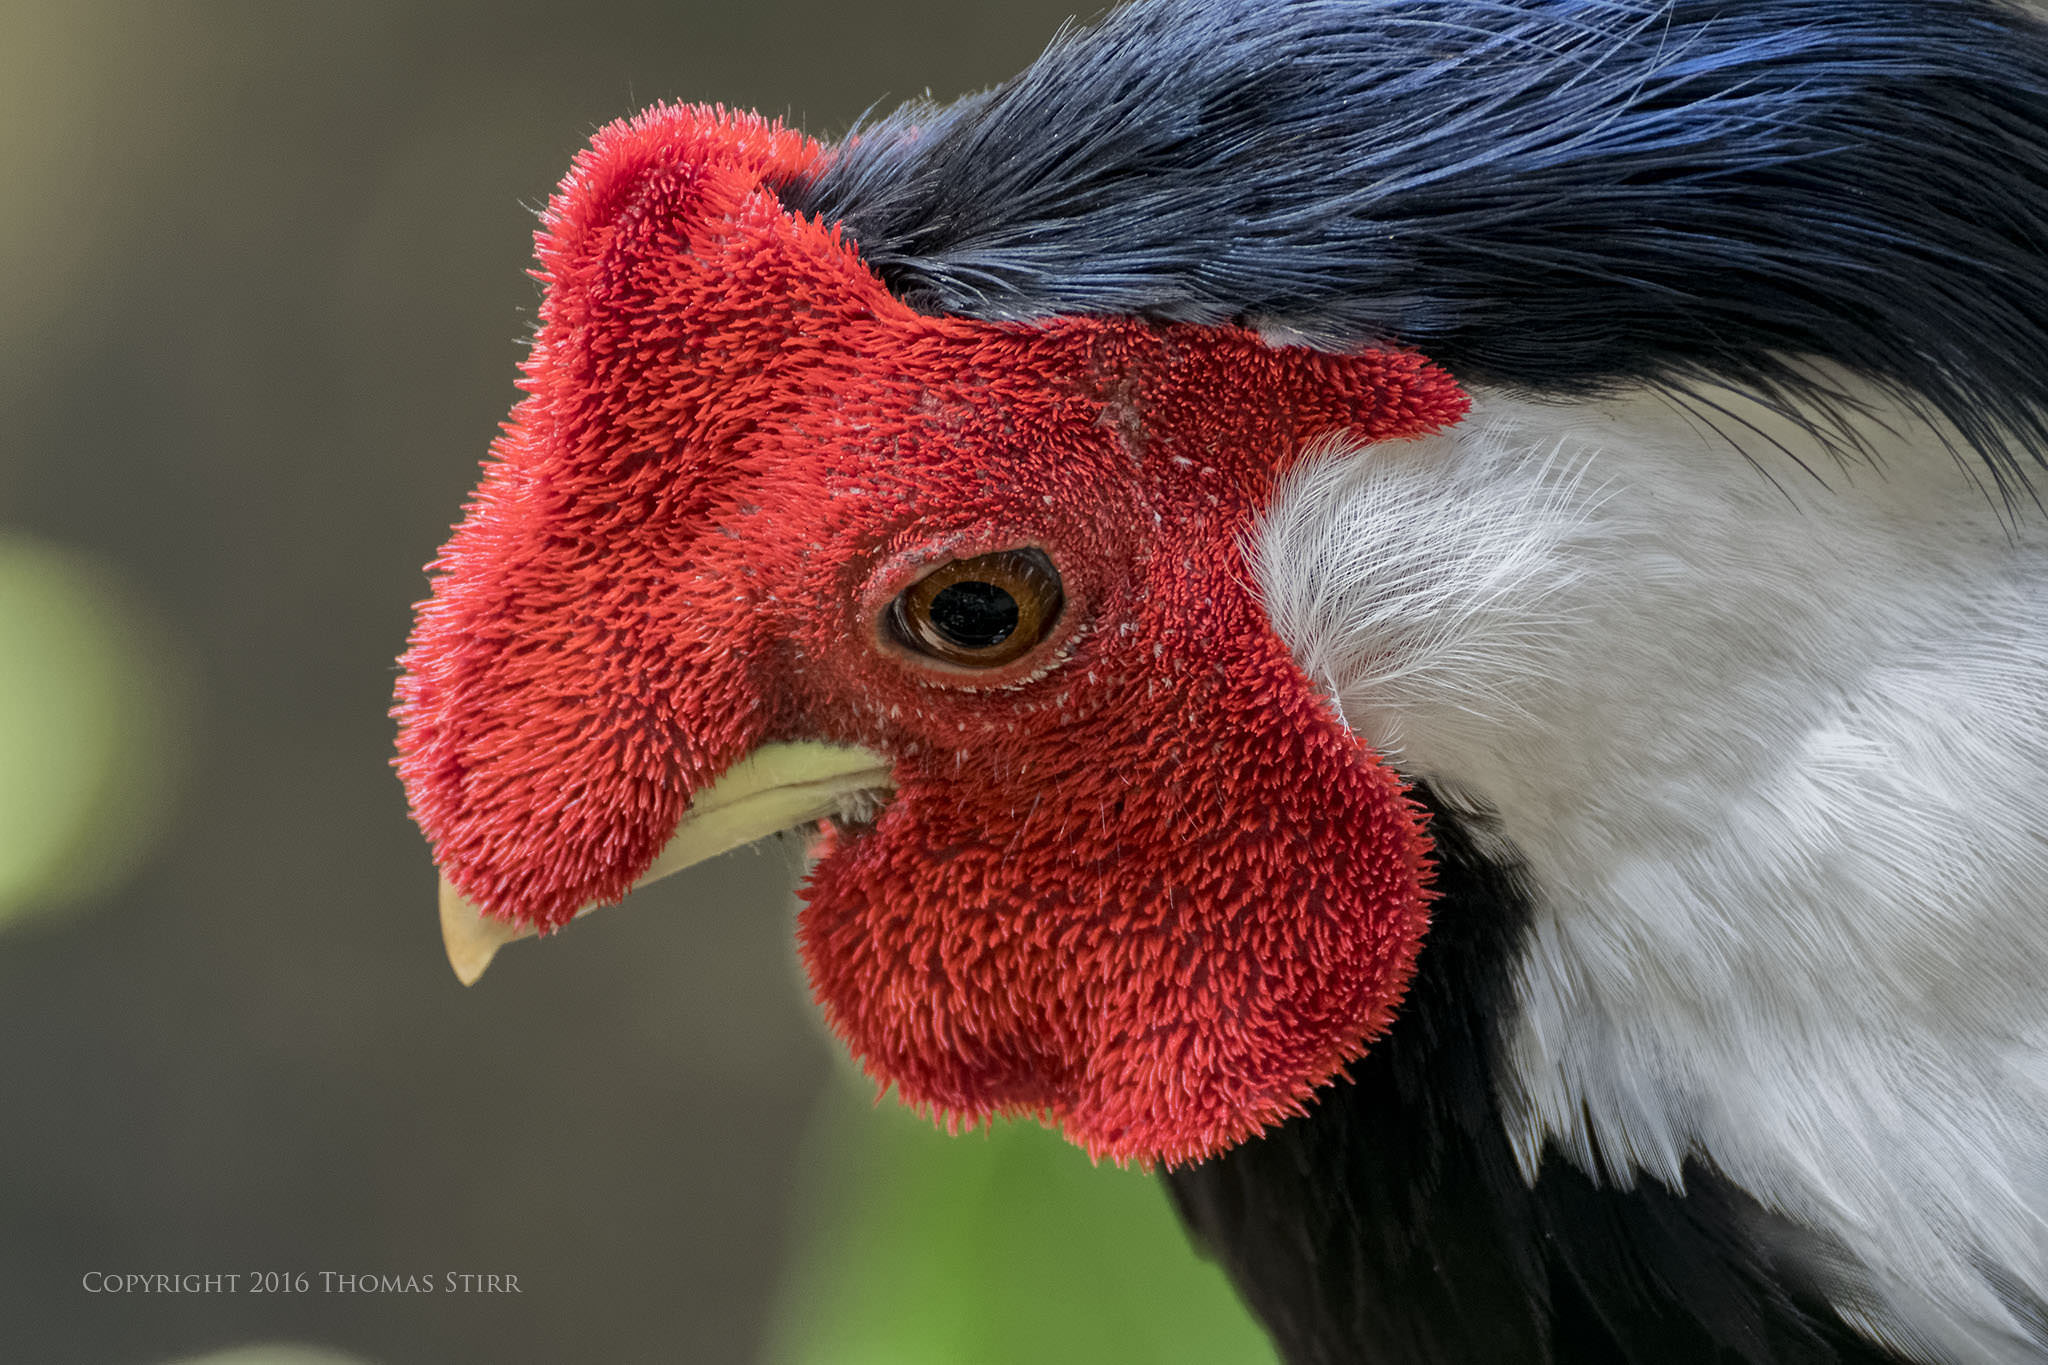
For a successful model photograph, head placement tells a story or creates an impression for the viewer even before the face gets into the picture. As the head turns, its very outline communicates mood and prepares the viewer for the message that expression will carry. A lift of the head may suggest hope or assurance; a drop … pensiveness or sadness; a tilt … concentration.

Extreme positions of lift, drop and tilt have an emotional quality usually associated with feminine or juvenile characters; conversely, conservative positions with but slight lift, drop or tilt give the impression of restraint, stability and strength.

Positions attained by combining the head movements, such as a lift-tilt are effective and add the style to a pose that distinguishes the work of the finished artist from that of the beginner.

Before we can note or direct head movement, we must establish the place from which we can define or distinguish all change: zero-position or true center-front.

From the photographer%u2019s point of view, zero is determined by the position of the model’s head as viewed by the camera. Her head is true center-front when, on the ground glass, a line through the lobe of each ear touches the tip of her nose, and her headline crosses it at right angles.

From the model’s viewpoint, zero position can be established when, using the camera lens as her target, she places her head-line parallel to the sides of the camera and aims the tip of her nose at the direct center of the lens.

With zero position mutually established, all movement can be directed and executed with synchronized precision.

THE FACE
functions mechanically and emotionally. The mechanical arrangement of the features creates the impression of character and attitude, while expression gives the viewer insight into the model’s mental and emotional processes. In an attractive model photograph, iImpression catches the eye, expression holds it.

To a helpful degree, expression can be planned and facial elements placed for the compatible effect of impression plus expression!

THE MOUTH
effects a change in the shape of the face when it moves. A round, laughing face becomes oval-shaped when the mouth opens to form words such as Hey! or Ah!, and a thin face appears rounder when the mouth is closed to say Mmmmm or Wheel.

The right mouth position can also correct facial defects. For instance, when a smile exposes the upper gum, you will find that when the lips form the word Gee, the upper lip is restrained and the smile normalized.

THE EYELIDS
in extreme positions, project impressions which can be combined with basic expressions for mixed emotions. Slightly parted eyelids add contemplation to any given emotion. Widely parted lids add a feeling of surprise if the white space appears above the pupil or an element of voluptuousness if it appears below.

THE PUPILS OF THE EYE
direct a viewer’s attention by their placement. Eyes are magnetic. Eyes gazing directly into the camera establish contact with the viewer of the finished picture, while pupils focused away from the camera direct attention to other areas.

The influence of the eyes’ directional message should never be underestimated. It is a well-known dramatic fact that in group scenes, figures of secondary importance must gaze at the main point of interest. No matter how large the group or how small the individual figure appears, the pupils of the eyes add or detract from the picture.

The eyelids normally part to disclose the pupils equally. Sometimes, due to an eye’s sensitivity to light, or poor muscular control of the lid, one eyelid droops more than the other. This inequality can be corrected if the other eye is closed for a moment or two and then opened slowly. As the strong eye re-accustoms itself to light, both pupils are revealed equal momentarily and can be photographed.

Except for comic effects, the pupils of the eyes should not disappear from view of the camera but should visibly aid expression and direct attention. If eyes leave the camera axis 90 degrees or more, (as happens easily in ¾ head and profile views) only the whites remain to startle the viewer.

Make sure your model understands how to use her facial expression for great model photographs.

Become An Expert At Model Photography

Posted in How To Photograph | Tagged , , | Leave a comment

Stop Taking Crappy Pictures!

Hi. My name is Elliot Madriss and I teach a successful class at the continuing education facility as part of the University of New Mexico called “Stop Taking Crappy Pictures!”. This class was created as a direct result of my reaction to the very poor quality of images being posted on the Internet and on many professional sites – in my opinion, collectively we are losing our ability to take great photographs. With the advent of incredible cell phone technologies as well as the great sensors that now populate most DSLRs, taking snapshots has been made much easier. However as always, photographs (which are great works of art) are still difficult to take. But don’t blame yourselves, its in your DNA not to see photographically!

This is taken from Margate, NJ looking towards Atlantic City. The early morning fog at sunrise created an atmospheric setting

This is taken from Margate, NJ looking towards Atlantic City. The early morning fog at sunrise created an atmospheric setting
DMC-FZ1000 @ 31.05mm, ISO 80, 10/2500, f/8.0

The Dilemma – Our Failed Biology

Our eyes were not designed for photography. Our 50-55mm eyes, great as they are, were designed to find food and prevent us from being eaten by saber tooth cats. Try this little exercise. Go to a location with lots and lots of people – it could be a parade, the Rio Olympics, a party – my ideal location would be Times Square at 6:00 PM on a Friday night. Once there, safely close your eyes for 10 seconds and then reopen them. What do you see? – what our ancestors saw – absolute Pandemonium! Lots of people with no photographic acuity whatsoever – its takes the trained photographic eye to separate out the confusion, find the details and create a real photo.

I had access to some great looking Great Blue Herons on my trip. This one was photographed in Alabama near the coast

I had access to some great looking Great Blue Herons on my trip. This one was photographed in Alabama near the coast
DMC-FZ1000 @ 143.76mm, ISO 125, 10/1000, f/5.6

The Fix Is In

So what does a person to do after spending thousands of dollars on equipment only to produce crappy pictures? A favorite quote of mine that I use in my class penned by Henri Cartier-Bresson states, “Your first 10,000 photographs are your worst”. How true and he would know. The quote that I have created for my class is, “The camera is the least important part of photography”. Blasphemous – how can this be? Doesn’t the camera take the picture? No – YOU take the picture – actually your mind does with its accumulation of millions of photographs previously viewed, hundreds of pages of manuals read, classes taken, dozens of books studied and more than enough cameras used to last a few lifetimes!

This was taken at sunset at the Spruce Run Reservoir in NJ. The egret kept moving closer to me, allowing to get a more detailed shot. The silhouette and beautiful reflections on the water really make this photo

This was taken at sunset at the Spruce Run Reservoir in NJ. The egret kept moving closer to me, allowing to get a more detailed shot. The silhouette and beautiful reflections on the water really make this photo
DMC-FZ1000 @ 146mm, ISO 100, 10/2000, f/4.5

I have invented a photographic game called “Where’s the Photo”. Its kind of like the game “Where’s Waldo”, where the player had to identify a person within the confines of massive confusion and among the extremely crowded scene. So wherever you are, your mission Jim (again without a camera), is to discover the photo within the confines of environment madness. Look for texture (the interesting flooring of a restaurant for example), color and saturation, the pretty waitress serving you some delicious sushi etc. This little game will exercise you mind’s eye and develop your visual acuity so that when you are at your dream location, your pictures will be great.

Macro of a Day Lilly

Macro of a Day Lilly
DMC-FZ1000 @ 146mm, ISO 80, 10/600, f/5.6

Closing Thoughts

Above all else, be gentle with yourself. Unless you are a genius or a savant, photography can be difficult. Bear this in mind when you are editing your images: every photographer whose has every lived has struggled with taking great pictures – yes even the greats. However, passion is the engine and energy that will propel you to greatness. Shoot what you love and shoot often. Like a Buddhist monk, become one with your camera – learn everything about it so that it just becomes an extension of your mind in the field wherever you shoot. I encourage you to make a ton of mistakes but learn from them. Now go out, have fun and take some great photographs!!

Even though this was not photographed during my trip, it illustrates what cane done with the proper lighting and just being at a great location. This is Angel Peak in New Mexico during a very dramatic thunderstorm.

Even though this was not photographed during my trip, it illustrates what cane done with the proper lighting and just being at a great location. This is Angel Peak in New Mexico during a very dramatic thunderstorm
DMC-GH3 @ 19mm, ISO 125, 10/400, f/5.6

The images found in this article are from the trip I recently took on a 7300 mile journey across America and back.


This guest post was submitted by Elliot Madriss. You can check out more of his work by visiting his online gallery.

The post Stop Taking Crappy Pictures! appeared first on Photography Life.

Photography Life

Posted in Photograpy How To | Tagged , , , | Leave a comment

Actor Clark Gable In Costume On The Set Of Fil Paper Framed Print 1 5/8″ White 24×30 Photo

Actor Clark Gable In Costume On The Set Of Fil Paper Framed Print 1 5/8″ White 24×30 Photo


Actor Clark Gable in costume on the set of the fil” is an art print by Alfred Eisenstaedt from The Life Picture Collection. Get photo prints of “Actor Clark Gable in costume on the set of the fil” in a variety of frames, styles, and materials. Photographer Bio Alfred Eisenstaedt (1898-1995), or Eisie to those who knew him, received his first camera as a gift from his uncle at 14, a few years after moving to Berlin from Poland with his family. At 17, he was drafted to the German army. His interest in photography blossomed while recovering from a shrapnel wound. He became a regular at museums, studying light and composition. By 31, he was a full-time photographer. In 1933 he was sent to Italy where he shot the first meeting between Hitler and Mussolini. Two years later, when Hitler came to power, Eisie immigrated to America. Soon after arriving in New York, he was hired along with three other photographers-Margaret Bourke-White, Thomas McAvoy and Peter Stackpole-by Time Inc. founder Henry Luce for a secret start-up venture known as “Project X.” Six months later, Life magazine premiered on November 23, 1936. The first issue sold for 10 cents and featured five pages of Eisie’s pictures. His most famous photo was the kiss in Times Square on V-J day, about which he said, “I was running along the street grabbing any and every girl in sight. Whether she was a grandmother, stout, thin, old, didn’t make any difference. None of the pictures that were possible pleased me. Then, suddenly in a flash I saw something white being grabbed. I turned and clicked the moment the sailor kissed the nurse.” Over his career, Eisie shot a total of nearly 100 covers for Life magazine and some 10,000 prints. The Life Picture Collection From one of the most iconic magazines ever to hit the shelves comes The Life Collection – an archive of some of the most recognizable imagery of the 20th Century. Documenting events in politics, culture, celebrity, the arts and the American experience, these compelling and provocative photographs include the works of some of the greatest photographers capturing some of the greatest moments in history.

Price: $
Sold by Photos.com by Getty Images

Posted in Camera Settings | Tagged , , , , , , , , , | Leave a comment

A Little Practice Never Hurts

I decided to take a small break from my client video work this week and went to Bird Kingdom for a few hours to take a few practice images.

practice 1

NIKON 1 J5 + CX 70-300mm f/4.5-5.6 @ 152.1mm, ISO 800, 1/40, f/5.3

Like most photographers I’ve found that a little practice never hurts, especially when one is getting used to handling new gear.

practice 2

NIKON 1 J5 + CX 70-300mm f/4.5-5.6 @ 300mm, ISO 1600, 1/80, f/5.6

I’ve been making the transition to using the rear screen of my recently acquired Nikon 1 J5s to compose images. I thought a return visit to Bird Kingdom would be helpful to practice capturing images of perched birds and a few other critters at the facility.

practice 3

NIKON 1 J5 + 30-110mm f/3.8-5.6 @ 66.4mm, ISO 3200, 1/60, f/8.0, 21mm MOVO extension tube

I brought a few 1 Nikon lenses with me as well as a set of MOVO extension tubes so I could get some practice with various species in different conditions at Bird Kingdom.

practice 4

NIKON 1 J5 + CX 70-300mm f/4.5-5.6 @ 87.4mm, ISO 3200, 1/320, f/6.3

The great thing about setting aside some practice time is that I can try a few new things, or attempt to improve on past attempts without any kind of pressure.

practice 5

NIKON 1 J5 + CX 70-300mm f/4.5-5.6 @ 300mm, ISO 12800, 1/60, f/5.6

It also gives me the opportunity to push my gear to its limits just to see what is going to happen. An example of that is the above image shot hand-held at 1/60 with my CX 70-300 f/4.5-5.6 fully extended, at ISO-12800. I wasn’t expecting any images that would be usable in terms of making printed enlargements, but rather as a simple performance test.

practice 6

NIKON 1 J5 + CX 70-300mm f/4.5-5.6 @ 141.3mm, ISO 1600, 1/500, f/5.3

Setting aside practice time is also a great way to reinforce habits like waiting for a profile composition when photographing a long-beaked bird like the Scarlet Ibis above. This helps to ensure that the entire length of its beak will be in focus.

practice 7

NIKON 1 J5 + CX 70-300mm f/4.5-5.6 @ 300mm, ISO 1600, 1/60, f/5.6

Or taking the time to choose a good capture angle to get a calming background in a composition.

practice 8

NIKON 1 J5 + CX 70-300mm f/4.5-5.6 @ 300mm, ISO 1600, 1/40, f/5.6

On occasion practice allows us to time our image captures during very slight pauses in the movements of a walking bird.

practice 9

NIKON 1 J5 + CX 70-300mm f/4.5-5.6 @ 300mm, ISO 1600, 1/320, f/5.6

Or exercising some patience to wait for a particular head angle that can help create a desired mood…

practice 10

NIKON 1 J5 + CX 70-300mm f/4.5-5.6 @ 300mm, ISO 1600, 1/250, f/5.6

Or photographing a rather plain subject just to see what will happen with the image in post.

practice 11

NIKON 1 J5 + CX 70-300mm f/4.5-5.6 @ 300mm, ISO 1600, 1/640, f/8.0

It can also be quite fun to experiment with symmetry and depth-of-field when opportunities present themselves.

practice 12

NIKON 1 J5 + CX 70-300mm f/4.5-5.6 @ 300mm, ISO 1600, 1/200, f/5.6

At other times there is a small feeling of accomplishment when I capture a decent image of a particular specimen that has been especially challenging in the past.

practice 13

NIKON 1 J5 + 10-100mm f/4-5.6 @ 100mm, ISO 3200, 1/250, f/5.6

Going to venues we have photographed in the past also allows for some anticipation of a particular type of technique or approach to capture an image. Like taking an image of a perched bird with one hand, with my arm fully extended, in order to get my camera physically closer to a particular species of bird.

Most of us enjoy creating photographs in new locations, or of new subjects. Sometimes I forget that going back and practicing with something familiar can help prepare me for new opportunities in the future.

Technical Note:
All images were captured hand-held using a Nikon 1 J5 in available light. All photographs were composed using the rear screen of the J5 only. Images in this article were produced using RAW files using my standard process of OpticsPro 11, CS6 and Nik Suite.

Article and all images are Copyright 2016 Thomas Stirr. All rights reserved. No use, adaptation or duplication of any kind is allowed without written permission. Photography Life is the only approved user of this article. If you see it reproduced anywhere else it is an unauthorized and illegal use.

The post A Little Practice Never Hurts appeared first on Photography Life.

Photography Life

Posted in Photograpy How To | Tagged , , , | Leave a comment

Ordering Shutters

When ordering shutters you have to be extremely careful to get the measurements absolutely correct. If you get this wrong you can simply assume that your shutters will not fit correctly and will look unsightly in your room(s). This is not a mistake you want to make because put simply you will be out of pocket quite heavily as plantation shutters are not cheap by any means, especially if you are looking to cover large areas which is normally the case for most people.

The first place to start is to ask you supplier exactly what measurements they require to achieve the finish you want for your windows. Your supplier can only work off the dimensions you provide so if incorrect or they are left to assume this will result in problems for both parties. Ultimately if things do go wrong you can send them back but do not expect refunds and do expect alteration charges as this will not be down to the company.

If you are not confident enough to make the measurements yourself then get some help or ask your supplier to come and measure up for you. This may cost you a little extra but will ultimately save you a lot more money and hassle, also in this case it means your supplier will be responsible for a flawed product. Bear in mind aswell that the measurement taking is very much dependant on the blinds you are ordering. One mistake here could mean the positioning of your shutters will go absolutely wrong.

Some considerations to make when measuring for shutters is they are mounted from the inside which means they are buried in the window or wall. In this case you would seriously have to consider the depth that you are working with. The minimum depth or clearance to a window relates to fully opened shutters allowing them to smoothly move and make this transition.

Take care when taking the measurements of height, width, top, bottom and middle. Always be double sure when taking measurements and always get specific information in regards to the units required from your supplier. Ideally feet or meters should be used but never get yourself into a situation where your supplier has to make conversions because this is where things can go wrong.

One major consideration that is often overlooked is the shape of the window and how the shutters would actually be fitted. You need to check for tilts, angles, misalignments and frame strips and any other restrictions you may have when fitting the shutters. A small but simple recommendation for the masses out there never ever use a fabric tape measure always use a metal tape measure to ensure absolute accuracy.

I hope this helps anyone looking to install blinds, plantation shutters or anything else of the like in their property. Remember get the measurements correct for a brilliant finish or deal with the hassle of returning and having the whole job possibly redone. Good luck hope it works out for you.

Mithul Mistry is writing on behalf of Signature Shade, specialists in Plantation Shutters.

Posted in Shutter Speed | Tagged , | Leave a comment