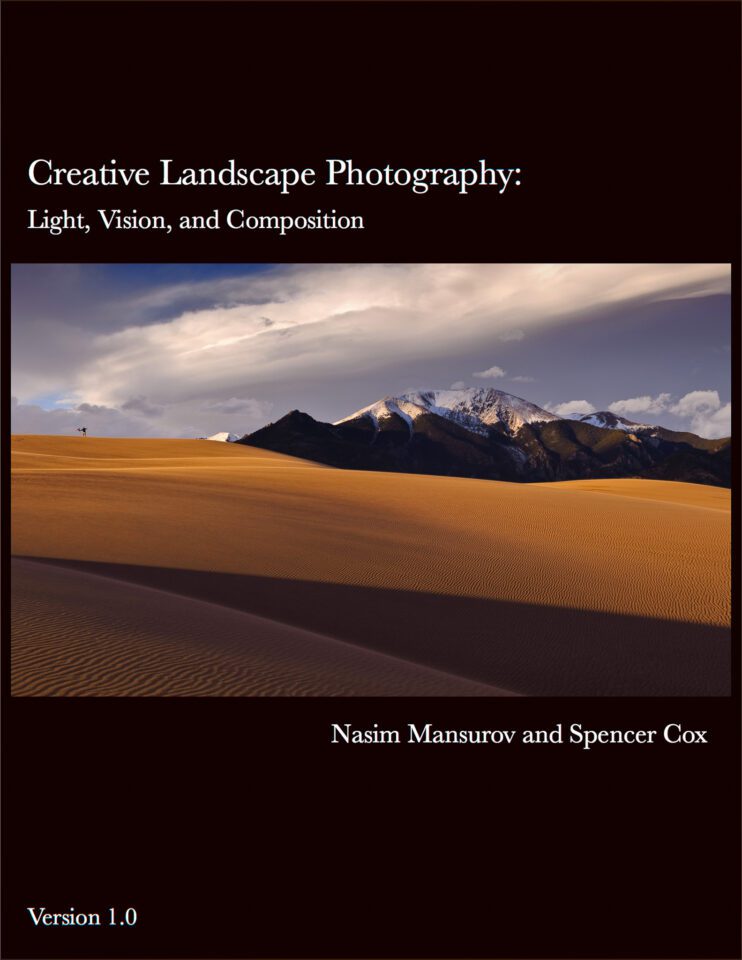
To culminate more than a year of work, Spencer and I are very excited to announce the release of our first eBook, Creative Landscape Photography: Light, Vision, and Composition. This 149-page Level 3 book dives into the creative side of landscape photography, including everything from finding subjects to composing difficult scenes. There are some exciting details below, so we encourage you to keep reading:
First, let’s address something important – as a whole, eBooks have a poor reputation. They are often free, short books intended to expand mailing lists rather than convey useful information. Spencer and I have worked hard to make sure that Creative Landscape Photography is different.
It has taken countless hours to plan, write, edit, rewrite, and perfect all the topics that we cover. The final result is one of the most comprehensive discussions on creativity that you will find in a book about photography, whether in print or online. This is not a quick or cheap eBook.
1) Specifications
How does Creative Landscape Photography measure up? Here are some of the product specs:
- 149 pages, totaling over 40 thousand words
- 138 photos and diagrams
- A .PDF file available for download and use on most portable devices (79 megabytes).
- Access to a Photography Life customer forum, where you can ask us questions about any topic (not just this eBook) and receive quick, personal responses from the two of us.
- $ 14.99 price, with a two-day discount of $ 9.99 for Photography Life readers. This price expires at 11:59pm Eastern time on Friday, December 2nd.
Feel free to ask in the comments below if you have any questions about the specifications!

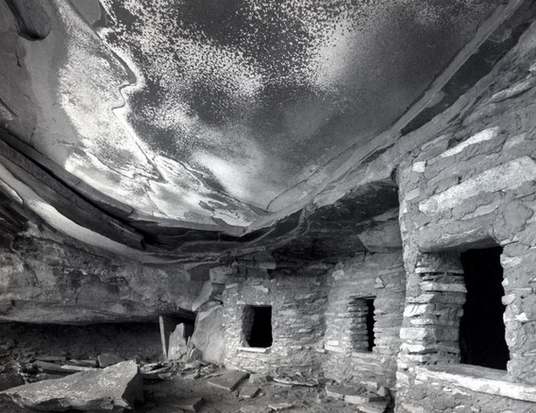
Photo by Nasim Mansurov
2) Why This Book Stands Out
Most books about photography are entirely about the technical side of things rather than the creative process. Of course, these are also useful topics to learn – no one starts taking pictures with a full knowledge of focusing, exposure, post-production, and so on (which is why Photography Life covers them so extensively).
At the same time, technical information isn’t the most important part about photography. Instead, great landscape photos succeed because of their creativity. They tell intricate stories, brim with emotion, and show us new, beautiful places for the first time.
Many photographers – even those who have taken pictures for a while – have mastered the technical side of things, but their photos still aren’t as good as they want. That’s the main problem that we are aiming to fix.
This book will not teach you about exposure. It doesn’t dissect technical settings or post-processing tricks, and it hardly mentions camera equipment at all. Instead, it covers the entire artistic side of landscape photography, starting with the basics of light and color, then moving to advanced topics like vision and composition.
Throughout the eBook, we also go into behind-the-scenes detail on our best photos and describe the specific reasons why they are successful. Even more importantly, parts of the book cover our bad photos, including exactly what went wrong and how we fixed the problems in a later shot. Very few books about photography do this, but it is one of the best ways to learn how to take your photos another step further.
Finally, this eBook will continue to grow as time goes by. As we take new photos, we will write additional case studies; when we use new creative techniques in the field, we will add more and more chapters about them. Everyone who buys the eBook will have access to all the new additions, completely free of charge.

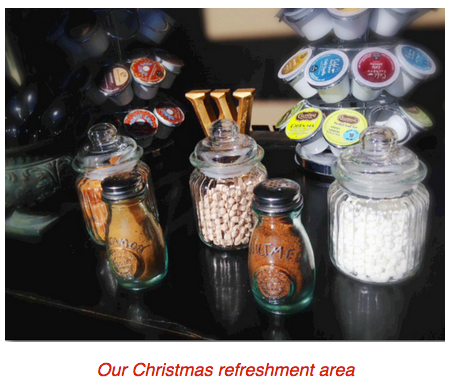
Photo by Spencer Cox
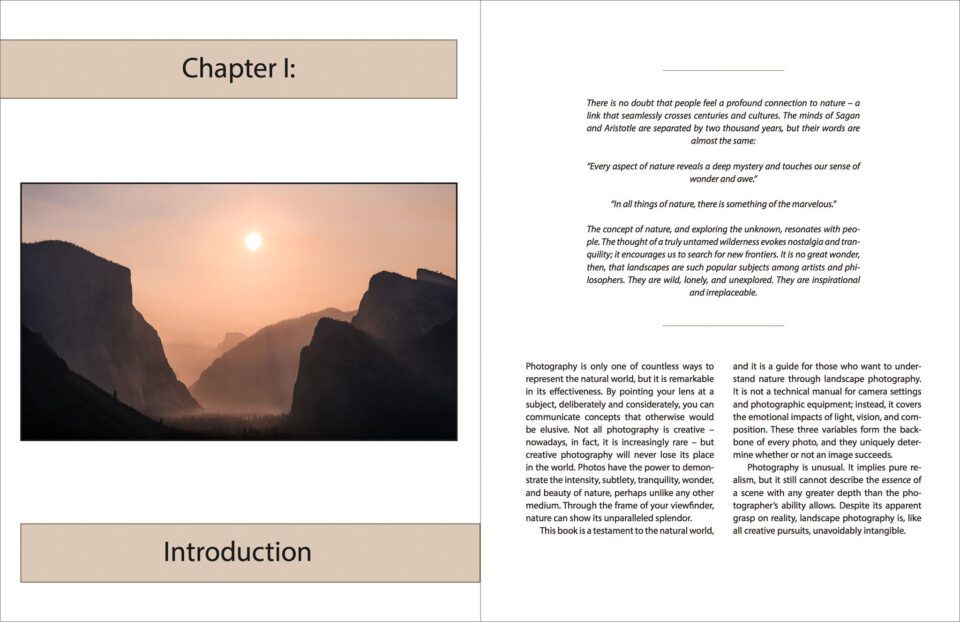
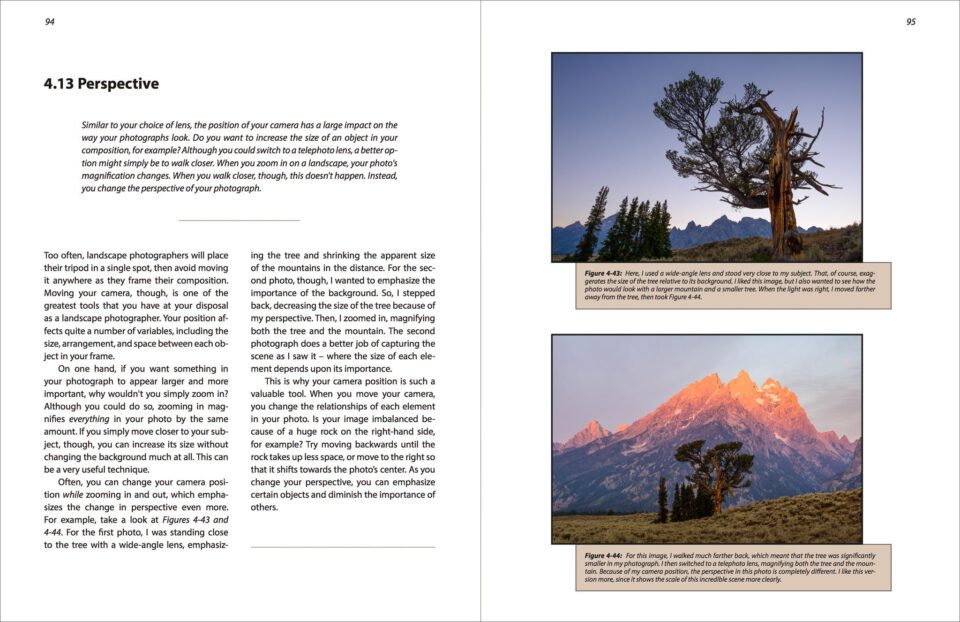
3) Content and Sample Pages
This book is divided into five main chapters:
- Light and Color
- Forming a Vision
- Composition
- Case Studies
- Continuing to Improve
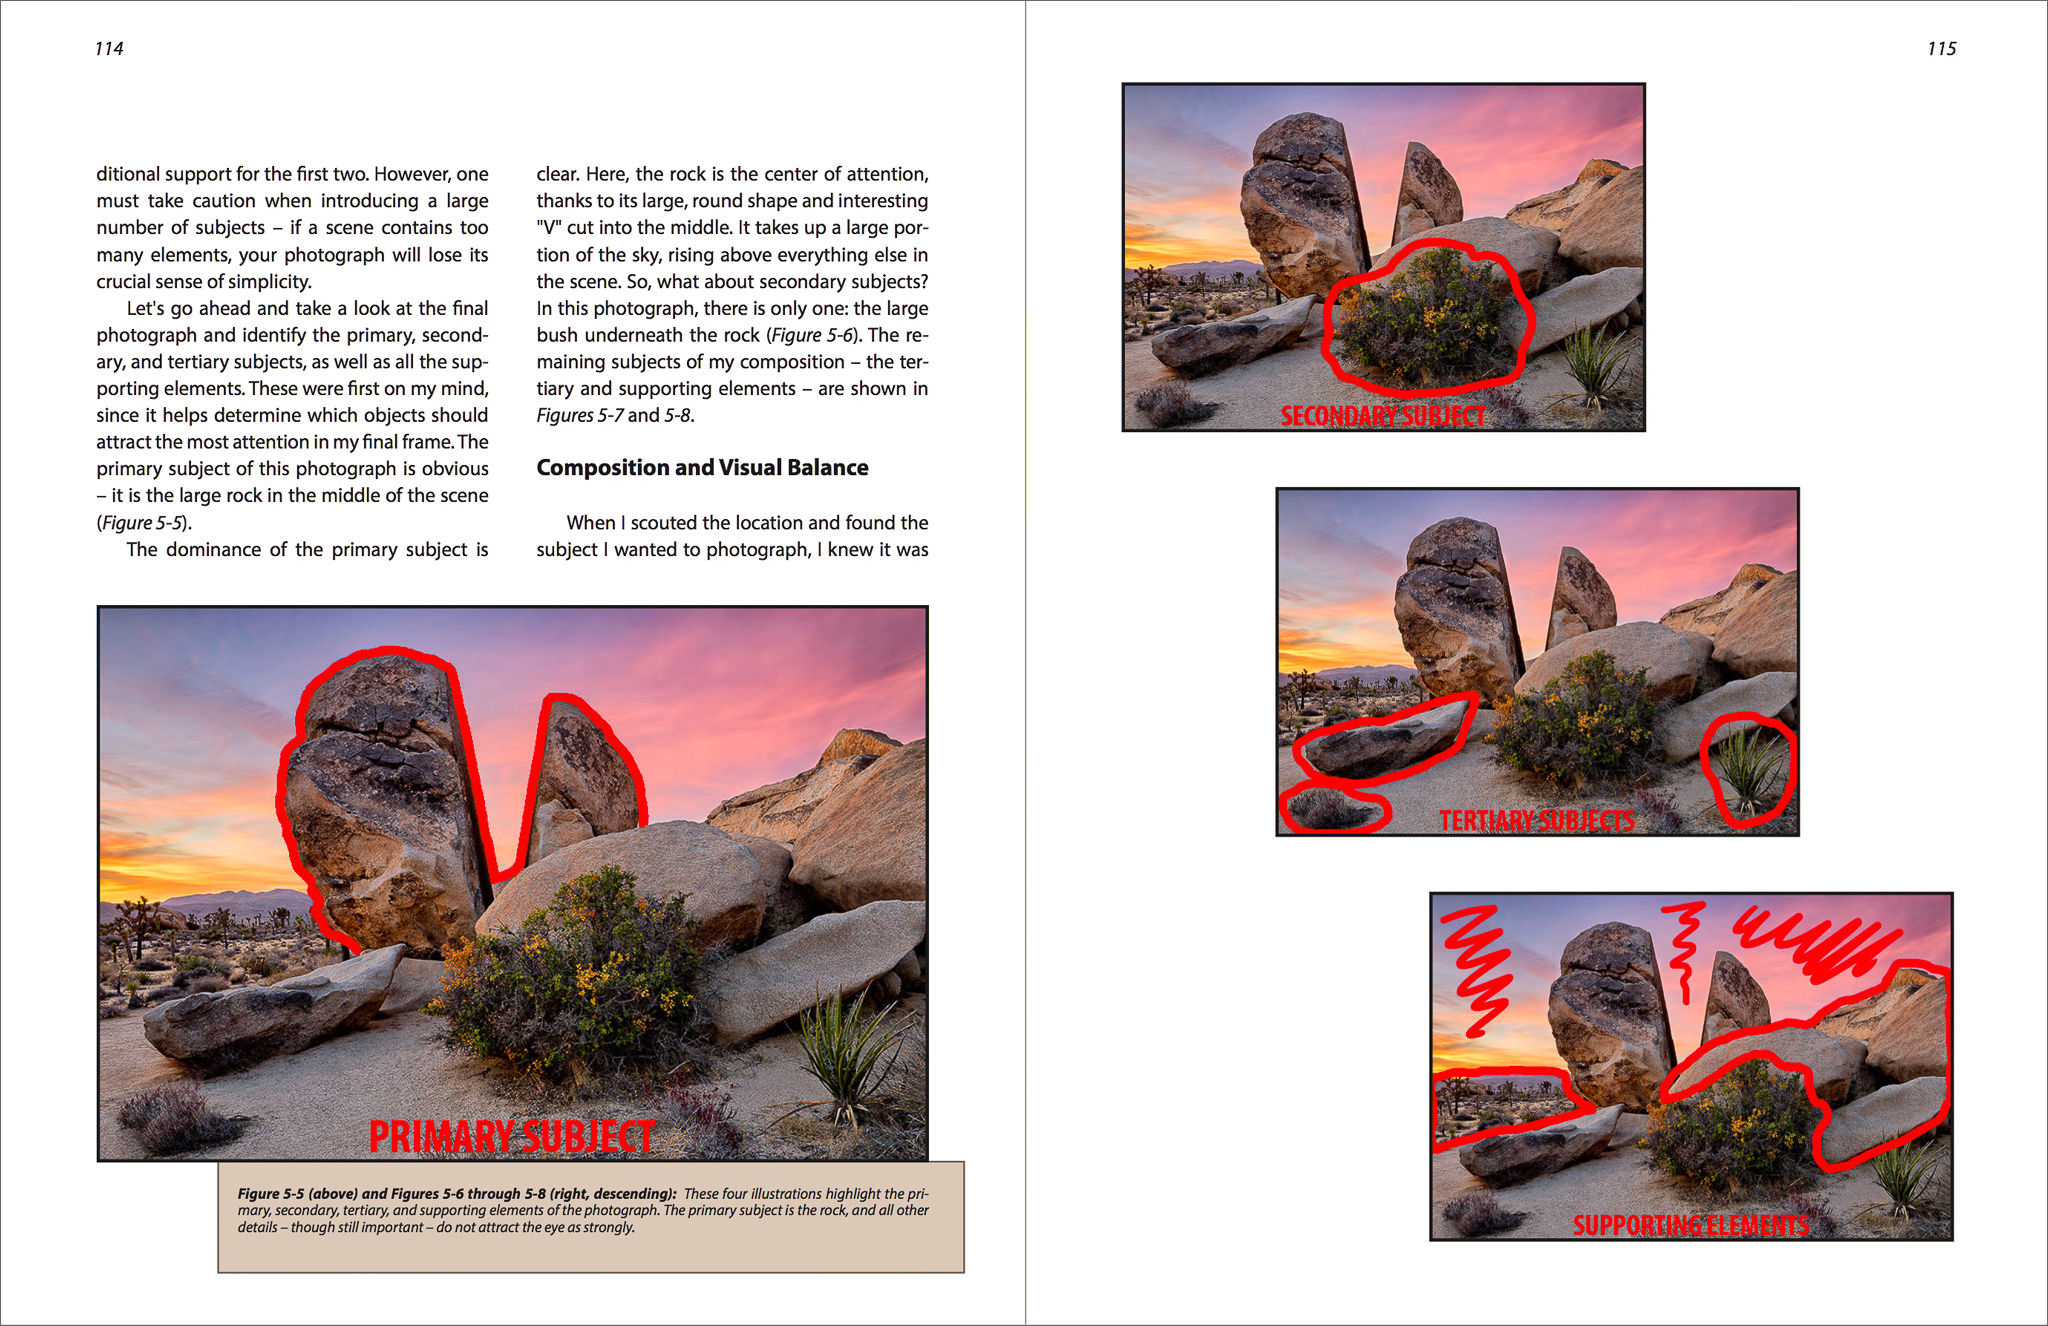
A screenshot of the index appears below:
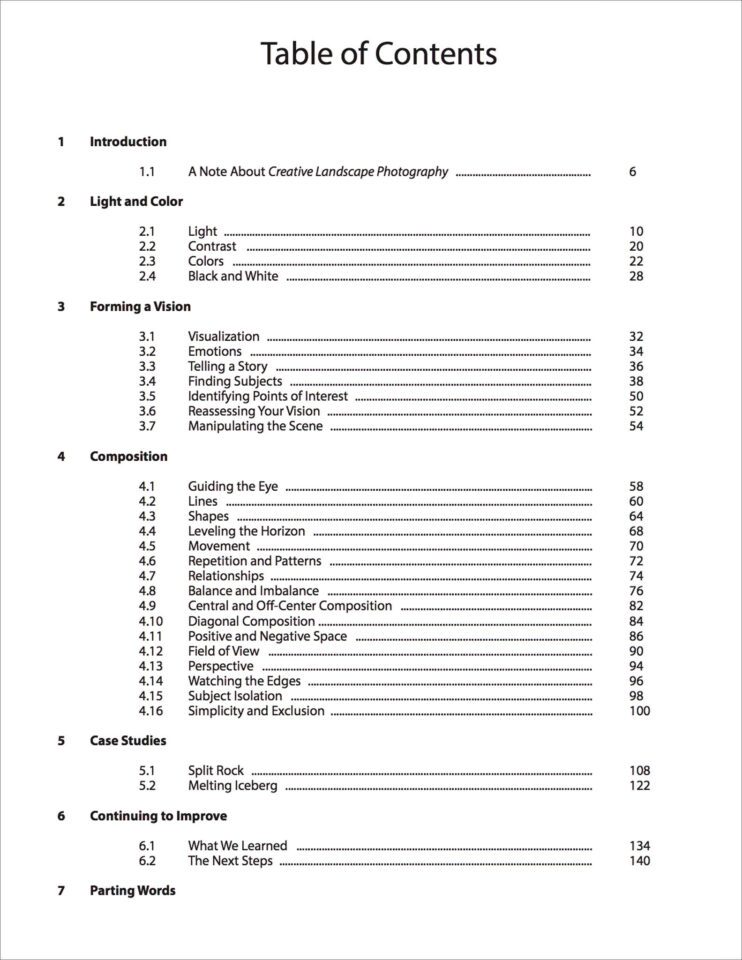
Along with the index, here are a few more sample pages that show the layout and style of the eBook:

4) Potential Questions
Why isn’t the book also sold in print?
We are hoping to release a printed version if there is enough interest in the eBook. For now, the PDF format has several advantages. You can read this book almost anywhere – your tablet, phone, laptop, or desktop, whether or not you have wifi – as well as receive updates as they are written. The layout of the book is very easy to follow, even on phones or tablets with small screens. (When you open and close full screen mode on a computer, the PDF automatically switches between single pages and a two-page spread, depending upon your device.)
What qualifies the two of you to write this book?
No matter whose eBook you read, this is a very important question to ask. Anyone can publish anything online, and there are quite a few non-experts out there who try to write expert-level books about photography. Keeping that in mind, there are a few points to support our decision to write this book together. Hopefully, for one, our library of articles on Photography Life shows the quality of work that we always take care to provide. We pride ourselves on offering the best possible content, whether in the form of an article or a book, and Creative Landscape Photography is no exception.
However, the most important measure is simply whether or not you like our photos. If you don’t like someone’s work, we do not suggest you listen to what they have to say about photography – you might learn the opposite of what you want to know! You can see our landscape photographs at the following links: my photos and Spencer’s.
Finally, a book like this succeeds only if it provides valuable information in a clear, readable way. That was our goal, and that is why we chose to write Creative Landscape Photography together.
Is it accurate?
Quite a bit of research has gone into Creative Landscape Photography. This book isn’t just a product of our own thoughts – as much as possible, it is based upon proven concepts and techniques used throughout history (in photography and other visual art). However, the concepts in this book are inherently subjective. We cover what looks good and how to get your photos to that point. Not everyone will agree on these topics, and that is completely understandable. That said, the information in the book is as accurate and verifiable as possible. If you ultimately have questions about something that we wrote in the book, or even something that we didn’t, you’ll always have access to quick replies from us on the private Photography Life forum.
Other Questions?
If you have questions about the eBook, please feel free to leave a comment below.
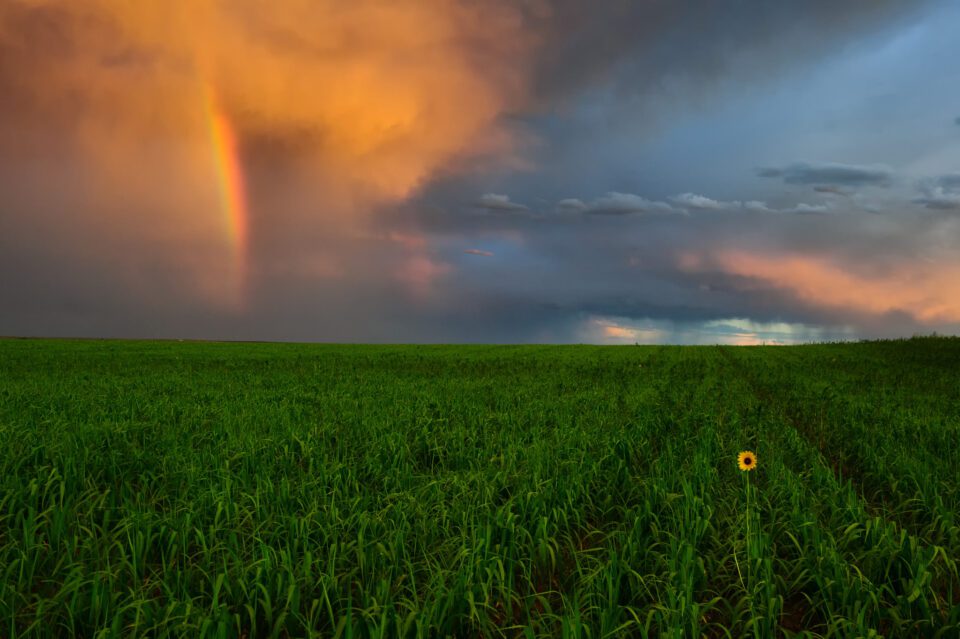
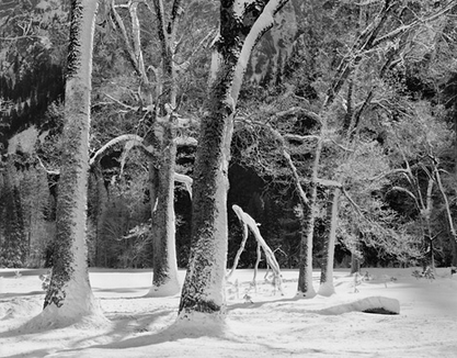
Photo by Nasim Mansurov
5) Our Guarantee
You will learn a lot from this eBook – about light, vision, composition, and creativity – even if you have been taking landscape photographs for decades. We stand by that statement. Our confidence in Creative Landscape Photography should be clear. In fact, we will refund the full purchase price to anyone who asks – and it doesn’t matter why you want your money back. Perhaps you didn’t learn anything, or you thought the book covered a different topic, or you never got around to reading it in the first place. No matter what, we will issue a complete refund. We don’t want you to pay for this book unless you know it was worth it.
Finally, it is important to mention that Photography Life doesn’t pass any of your personal data on to third parties, and we never will.

Photo by Spencer Cox
6) To Purchase
You can purchase the eBook as a .PDF download through the link below:
There is a 2 day sale price of $ 9.99. After December 2nd, it will return to the typical price of $ 14.99.
Thank you for supporting Photography Life. Our readers are the reason why we can complete long-term projects like this, and we hope to do many more in the future.
The post Creative Landscape Photography eBook Announcement appeared first on Photography Life.
Photography Life