Everywhere in the world, across the course of a year, the sun will be below the horizon just about 50% of the time. Although it can take a while for sunset to fade away completely, it’s safe to say that we spend a huge portion of our lives under dark skies. Normally, nighttime isn’t something that people equate with being awake, of course, but landscape photographers are strange people. In fact, moonlight and the Milky Way can lead to some of the best photos you’ll take, and they are well worth exploring with your camera. In this article, I’ll go through the characteristics that make some lenses better than others for star and nighttime landscape photography.
1) Criteria
More than almost any other type of equipment, a lens for nighttime landscape photography has to fulfill a wide range of difficult requirements. Here’s what the best of these lenses have:
- A large aperture: At night, you’re fighting for every photon. A large aperture lets more light onto your camera sensor.
- A wide focal length: As the Earth spins, the stars in your photo begin to blur across the sky. When you use a wide focal length, though, they don’t appear to move as much. So, with a wide angle lens, you can use longer shutter speeds and let more light onto your camera sensor. (If you are intentionally trying to capture star trails, though, a wider focal length isn’t necessary — in fact, you may prefer a longer focal length, since you’ll see blur more quickly.)
- High sharpness: For night photography, pay special attention to the corners of an image, since you’ll be shooting at wide apertures, where most lenses are significantly less sharp.
- Low coma: Some lenses cause bright pinpoints of light, like stars, to smear when they are at the corners of your frame. Good lenses have less coma.
- Low vignetting: If the corners of your photo are excessively dark, you’ll need to brighten them in post-production, which adds a lot of noise/grain.
Typically, the most important features of a nighttime photography lens are its maximum aperture and widest focal length. Why do these matter so much? Simple: they affect the amount of light that reaches your camera sensor.
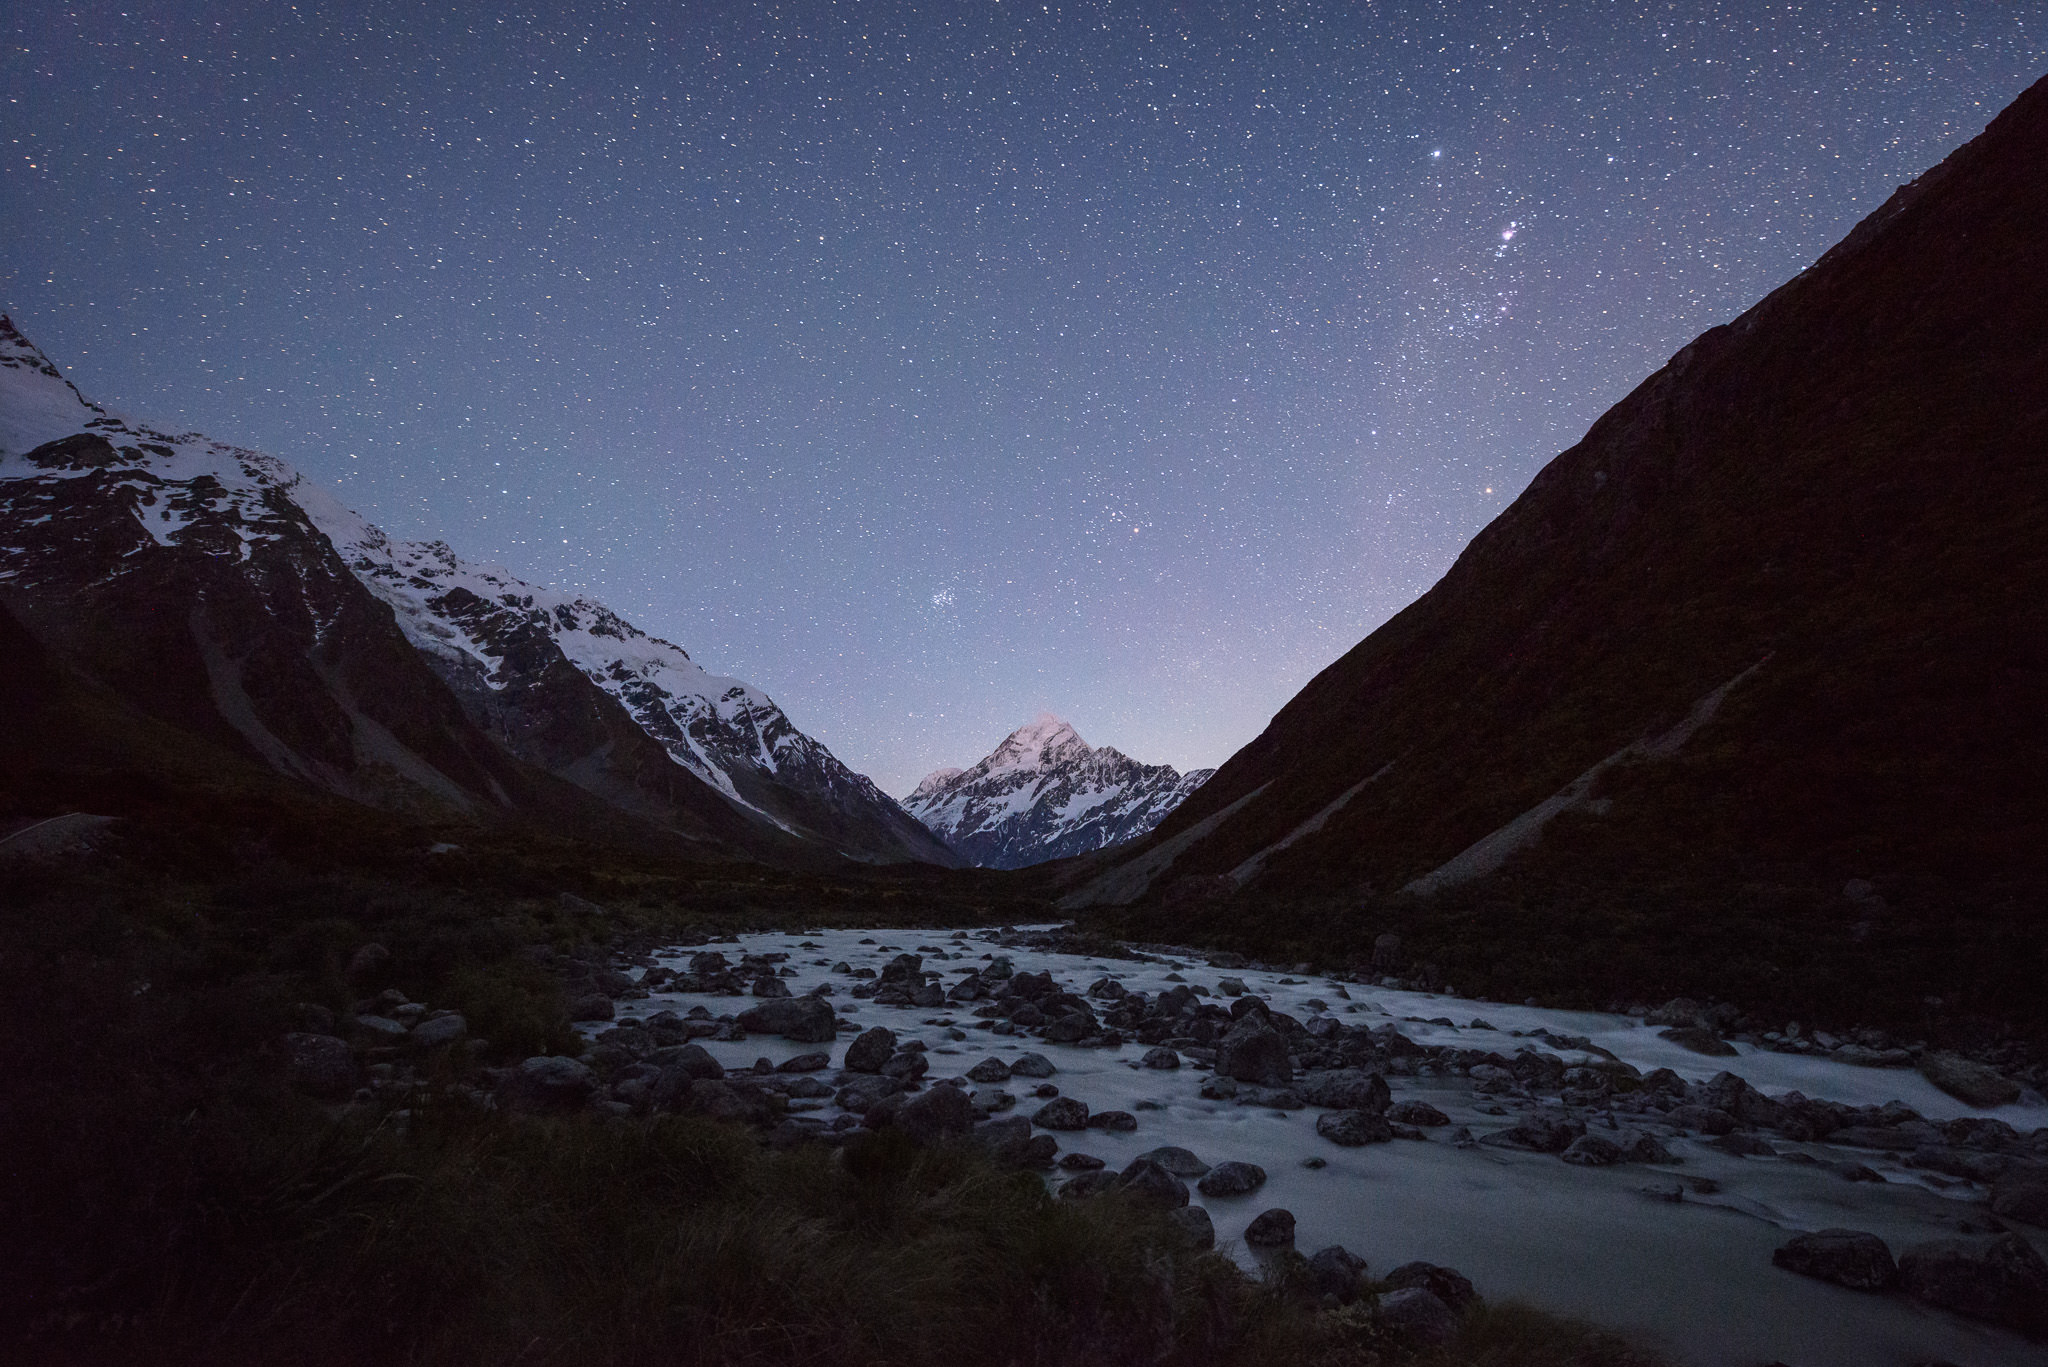
NIKON D800E + 14-24mm f/2.8 @ 14mm, ISO 3200, 25 seconds, f/2.8
2) The 500 Rule
Before we dive deeper, let’s cover something known as the 500 rule. This rule says that — in order to avoid blurry stars — the longest shutter speed you can use is equal to 500 divided by your focal length.
For example, if your focal length is 20mm, the 500 rule says that you can use a shutter speed of 500/20, or 25 seconds. Here’s a quick chart of the longest shutter speeds you can use at night for a given lens. (The numbers below are full-frame equivalents. If you have, for example, an 18mm lens on a 1.5x crop-sensor camera, you’ll need to look at 28mm on this chart):
- 11mm: 45.5 seconds
- 12mm: 41.7 seconds
- 14mm: 35.7 seconds
- 16mm: 31.3 seconds
- 18mm: 27.8 seconds
- 20mm: 25 seconds
- 24mm: 20.8 seconds
- 28mm: 17.9 seconds
- 35mm: 14.3 seconds
- 50mm: 10 seconds
- 85mm: 5.9 seconds
The 500 rule used to be called the 600 rule, and now I’m starting to hear some people call it the 400 rule. The numbers keep changing because new cameras have more and more pixels, which means that they can detect smaller and smaller star movements. The chart above is a good guide, but you’ll want to test your own camera to confirm that there isn’t too much movement, particularly if you have a recent camera with an extremely high megapixel count (more than 36).

NIKON D800E + 14-24mm f/2.8 @ 20mm, ISO 3200, 25 seconds, f/2.8
3) Combining Aperture and Focal Length
Quick, which one is better for star photography — a 14mm f/2.8 lens, or a 24mm f/1.8 lens?
The 500 rule favors the 14mm, but the 24mm has a wider aperture. To calculate which one actually lets in more light, you’d need to see if the wide aperture of the 24mm offsets the longer exposure of the 14mm.
Things get even more complicated when you start using lenses on cameras with different sensor sizes. Which is better at night — a 7mm f/2.8 lens on a micro four-thirds camera, or a 24mm f/4 lens on a full-frame camera?
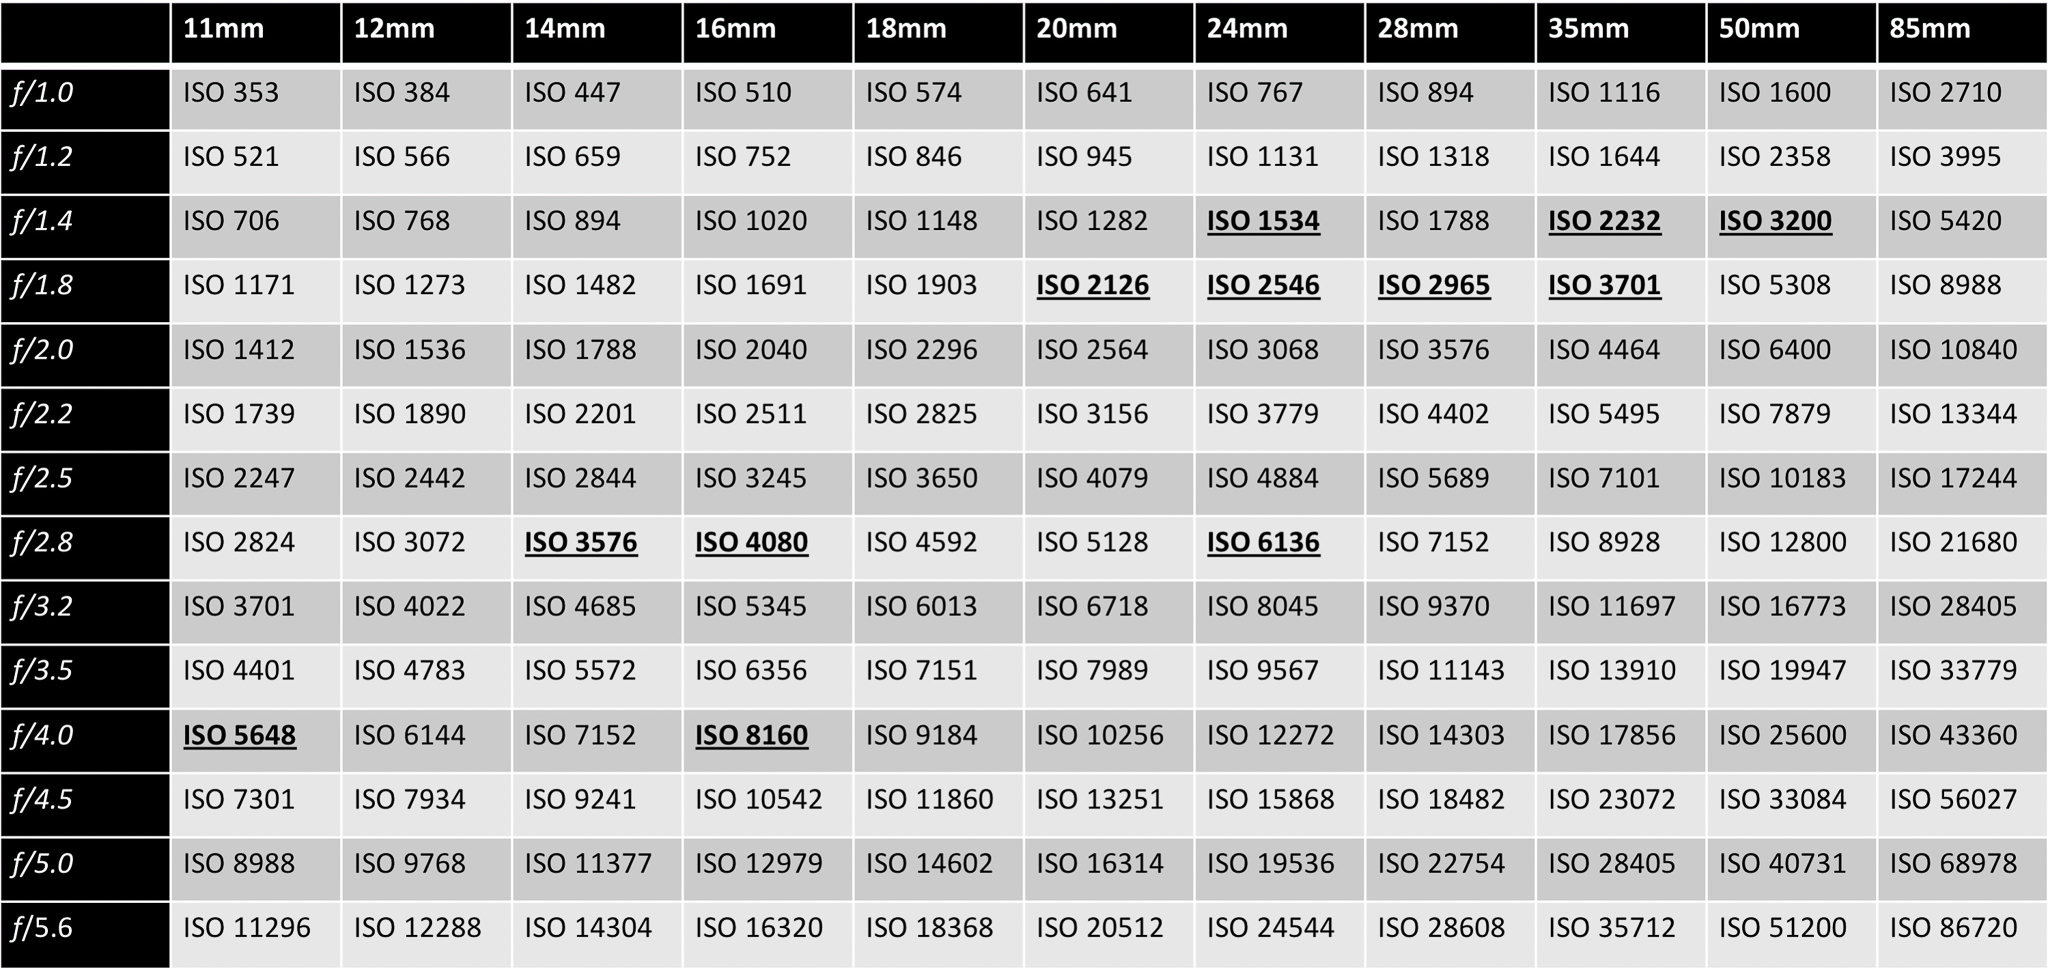
I’ve always found these questions time-consuming, so I made a chart that rates lenses for their nighttime photography potential. This chart has gone through many different versions, but I ultimately decided that the best way to arrange it is based upon the ISO that gives your photos an acceptable brightness at night. (Obviously, a lower ISO is better, since your final photo isn’t as noisy.)
For example, with a 20mm lens — a 25 second exposure by the 500 rule — at f/2.0 on a full-frame camera, what ISO do you need in order to capture a photo that is bright enough? ISO 2563 (rounded to ISO 2500, which your camera allows you to set), according to the chart below. I also bolded and underlined some popular lenses that people use for nighttime photography, so you can see how they compare to one another:

Important note: As you might have been wondering, this “proper brightness” exposure will not actually be accurate in every case, depending upon the conditions that you encounter. At certain times of night, and under different moon conditions, I have used everything from ISO 200 to ISO 6400 successfully, even with the same aperture and shutter speed settings. The values above are calibrated for the brightest portions of the Milky Way under a clear, moonless night without light pollution, and a lens that doesn’t have any vignetting — pretty ideal conditions. In other words, this is a score that helps you compare lenses, and not necessarily a recommendation for your ISO setting in the field, unless you are shooting under ideal conditions.
A few other points to mention:
- Obviously, round these values. Your camera doesn’t let you pick an ISO value of 2965, for example, so just round up to 3200.
- This chart is designed for a full-frame camera, but you can still use it with a crop-sensor camera — just pay careful attention to the values you pick. On one hand, if you’re trying to figure out which ISO to use (which, as mentioned above, isn’t necessarily recommended), just multiply your lens’s focal length by the crop factor, and you’re good to go. For example, with the Olympus 8mm f/1.8 lens on a micro four-thirds camera (2x crop), the proper ISO is at the intersection of 16mm and f/1.8. Here, that’s ISO 1691, or ISO 1600.
- However, if you are trying to compare the nighttime quality of lenses across sensor sizes, the process is different. Multiply both your focal length and your aperture by the crop factor to find your “full-frame equivalent” ISO performance. This lets you compare lenses across different sensor sizes to see which one is best for nighttime photography. In this case, the Olympus 8mm f/1.8 at ISO 1600 has the same nighttime photography “score” as a 16mm f/3.6 lens would on a full-frame camera. In this case, that’s ISO 6356.
- Looking at this score, the Olympus 8mm f/1.8 would outperform a 16-35mm f/4 lens on a full-frame camera, since the 16-35mm f/4 “scores” an 8160. However, it would lose to a 16-35mm f/2.8 lens on a full-frame camera, which “scores” ISO 4080. Pretty easy!
(If anyone wants the formulas that I used to create the chart above, they’re messy, but I can take photos and add them to the comments section below. Essentially, all I did was look at a good exposure under ideal conditions — 20 seconds, f/2.0, ISO 3200 — and then calculate ISO values that give exactly the same brightness, just with different aperture and focal length (shutter speed) inputs.)
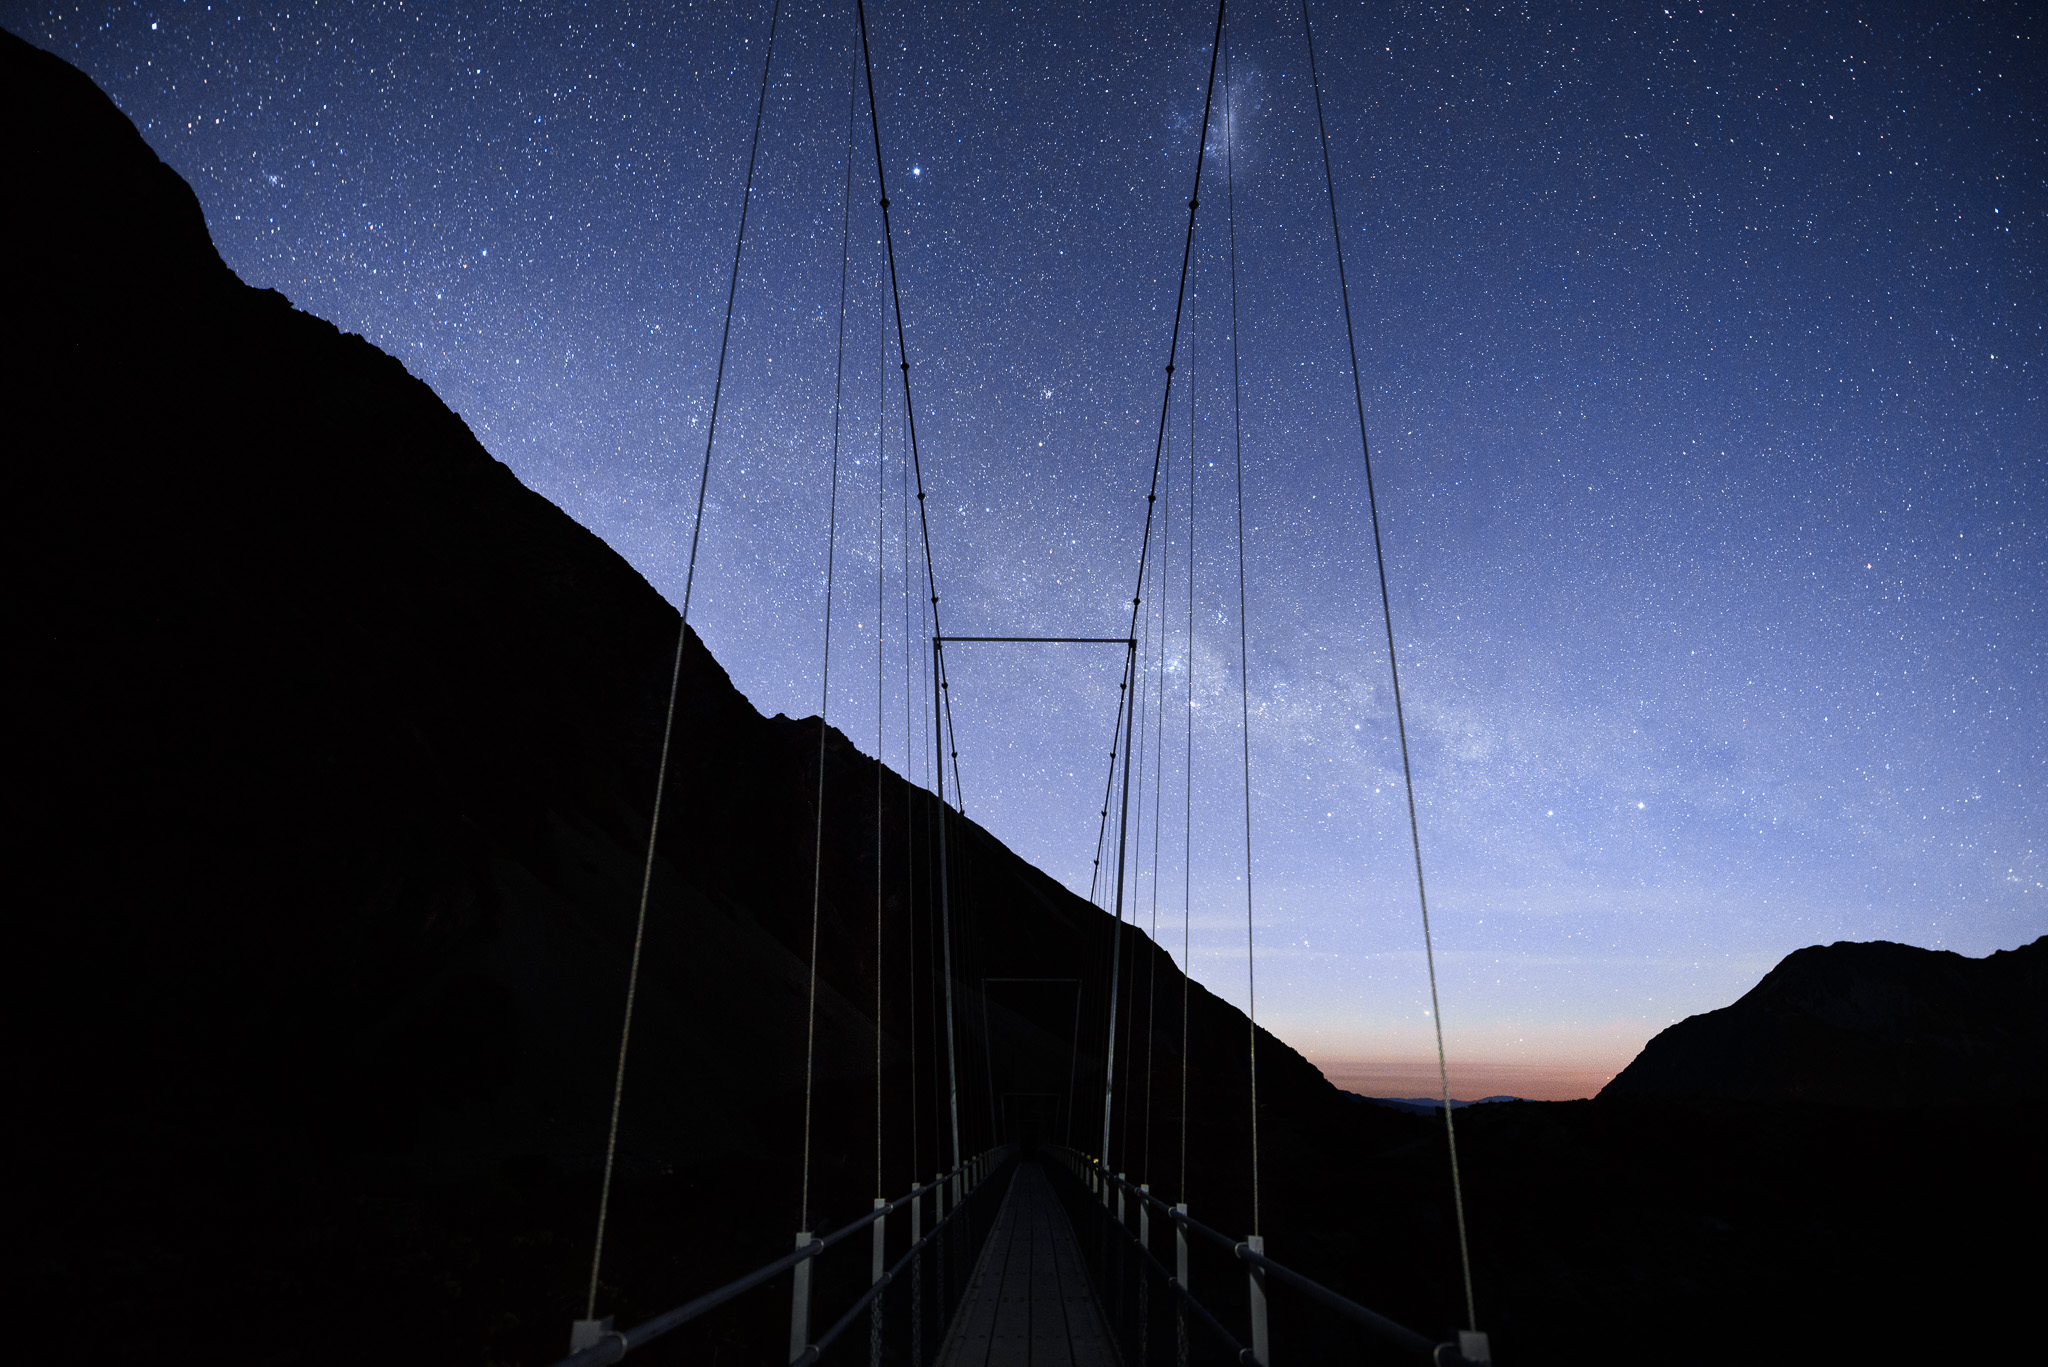
NIKON D800E + 20mm f/1.8 @ 20mm, ISO 3200, 15 seconds, f/2.0
This is close to the ideal exposure, but it was a bit too dark out-of-camera, and my lens has some vignetting. Ultimately, I had to brighten this photo slightly in post-production. Ideally, my settings here would have been 25 seconds, f/1.8, ISO 2000 (or ISO 2500). Although this photo still turned out fine, I could have used a lower ISO — and done less brightening in Lightroom — if I had exposed more carefully.
4) Depth of Field at Night
You wouldn’t know it from the charts above, but a 14-24mm f/2.8 lens is significantly better than a 50mm f/1.4 for nighttime photography. (According to the charts, the 50mm wins out, since it allows an ISO of 3200; the 14-24 requires an ISO of 3576.)
Why is the 14-24mm f/2.8 better? Simple: depth of field.
Wide angles have more depth of field than any other lens. A 14mm f/2.8 is almost perfect here — it can capture the entire landscape in focus, from 1.2 meters to the stars. By comparison, the 50mm f/1.4 only renders a sharp image from 30 meters on.
(Technical side note that you can skip: How did I get these numbers? It all boils down to this: every object in your photo has — at least — a slight blur to it, both from diffraction and from missed focus. Traditionally, when the size of that blur was larger than 30 micrometers on your camera sensor or film, it was said to be “out of focus.” I find that this definition isn’t good enough for today’s cameras, where a 30 micrometer blur can be very noticeable. However, for nighttime photography, you’ll have to relax your standards a bit. In this case, the old 30 micrometer definition actually works fine, so I was able to use an ordinary online depth of field calculator to find the values above.)
Even with an ultra-wide angle lens, though, you’ll still have problems getting everything in focus at night. Physics is simply working against you. If you’ve tried everything else, consider moving backwards as much as possible — place the foreground farther away from your lens. Of course, that isn’t always feasible, and, for the closest foregrounds, it still doesn’t help enough. Sometimes, I’ll even stop down slightly (and then raise my ISO) if it’s a particularly difficult landscape.
Ultimately, you may have no choice but to focus stack your images. Take a series of photos at different focusing distances, then combine them together in post-production. At night, though, this is very difficult and time-consuming, and I strongly recommend against it unless you have no other choice.

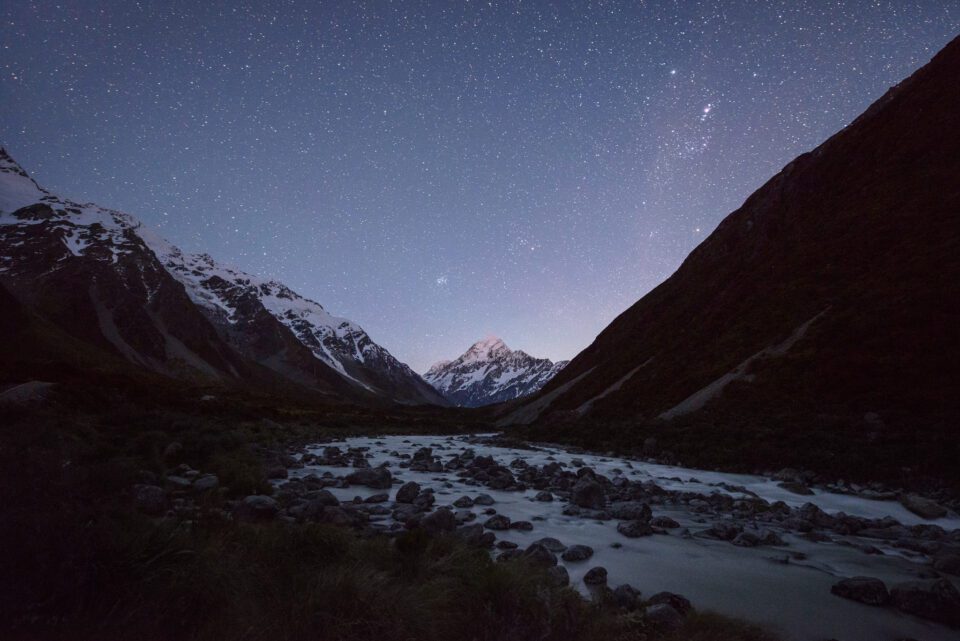
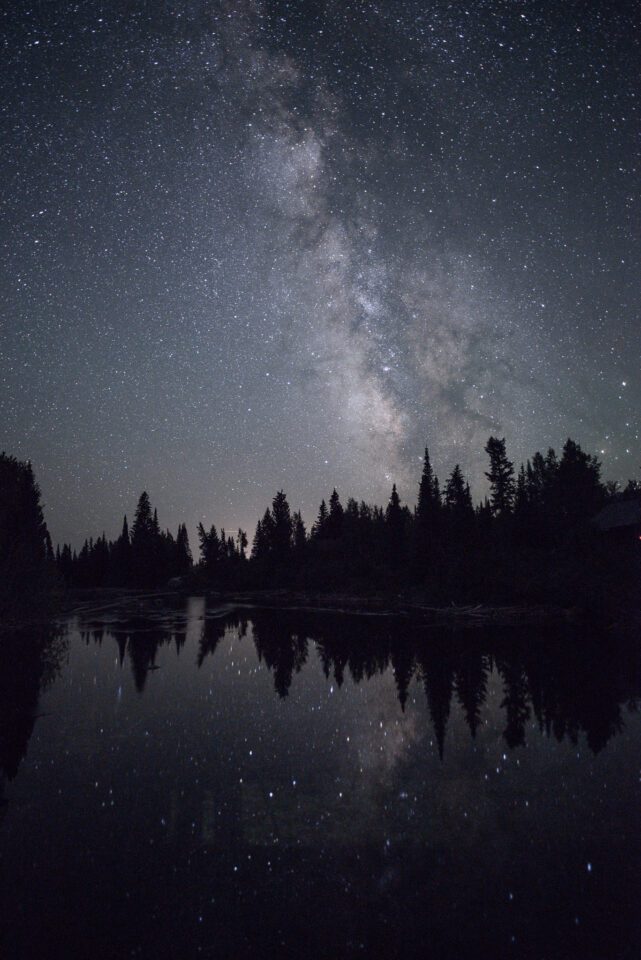
NIKON D800E + 14-24mm f/2.8 @ 14mm, ISO 3200, 25 seconds, f/2.8
5) Conclusion
Nighttime photography is one of the most demanding ways to use your equipment, and not all lenses are up to the task.
Along with the expected image quality difficulties (sharpness, vignetting, and coma), you have to find a way to work with as little light as possible to create your images. The only tools at your disposal — shutter speed and aperture — will be pushed to the breaking point.
The chart above gives you a good idea of the ISO you’ll need for your setup, but that isn’t the only that information that matters. You should also pay attention to depth of field; at night, there won’t be much.
Clearly, nighttime landscape photography is a tricky job. However, it’s also well worth the effort. The first time you bring back a good photo of the Milky Way or a starry sky, you’ll be hooked — I know I was. And, although the lenses you use certainly matter, they aren’t everything. The hardest part is just staying out at night in the first place. When you do, good images will follow.
The post What Makes a Good Night Photography Lens? appeared first on Photography Life.
Photography Life