How to photograph your teen and respect their feelings

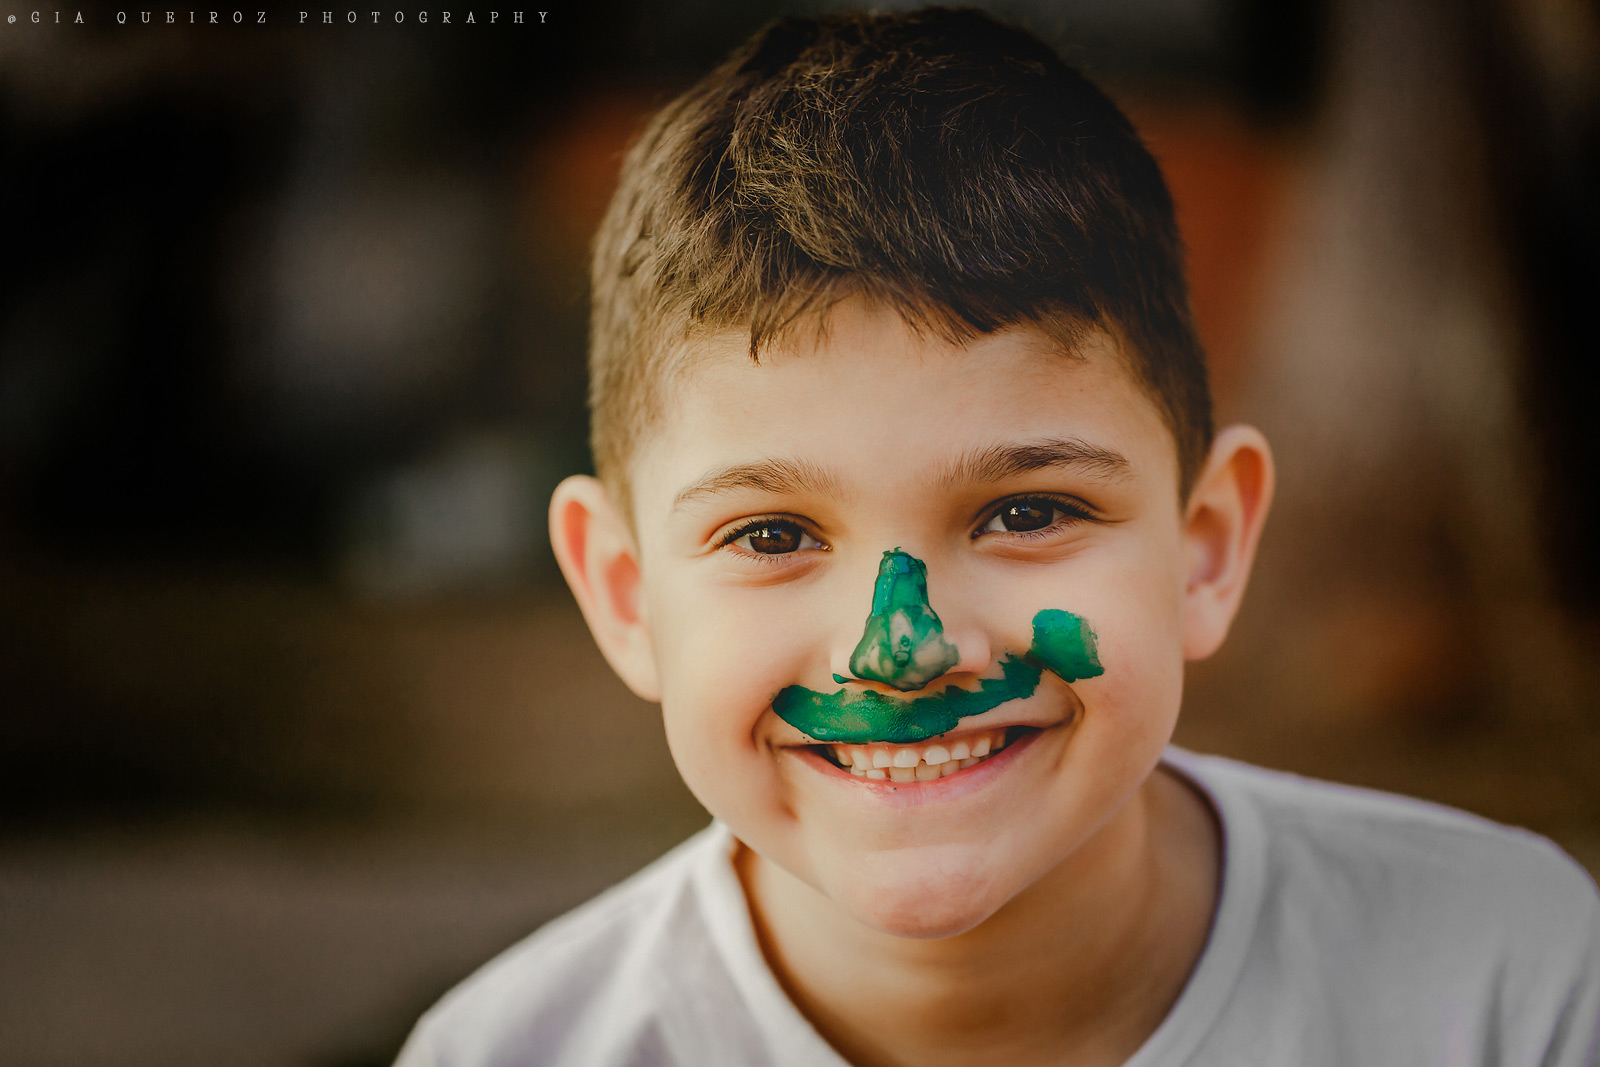
As a mother of a growing boy and my own small army of nieces and nephews, I always felt natural photographing children. There was something inherently free and joyful about it.

With zero inhibitions and a healthy dose of ego, kids can be delightful in front of a camera. My son was no exception to this rule.

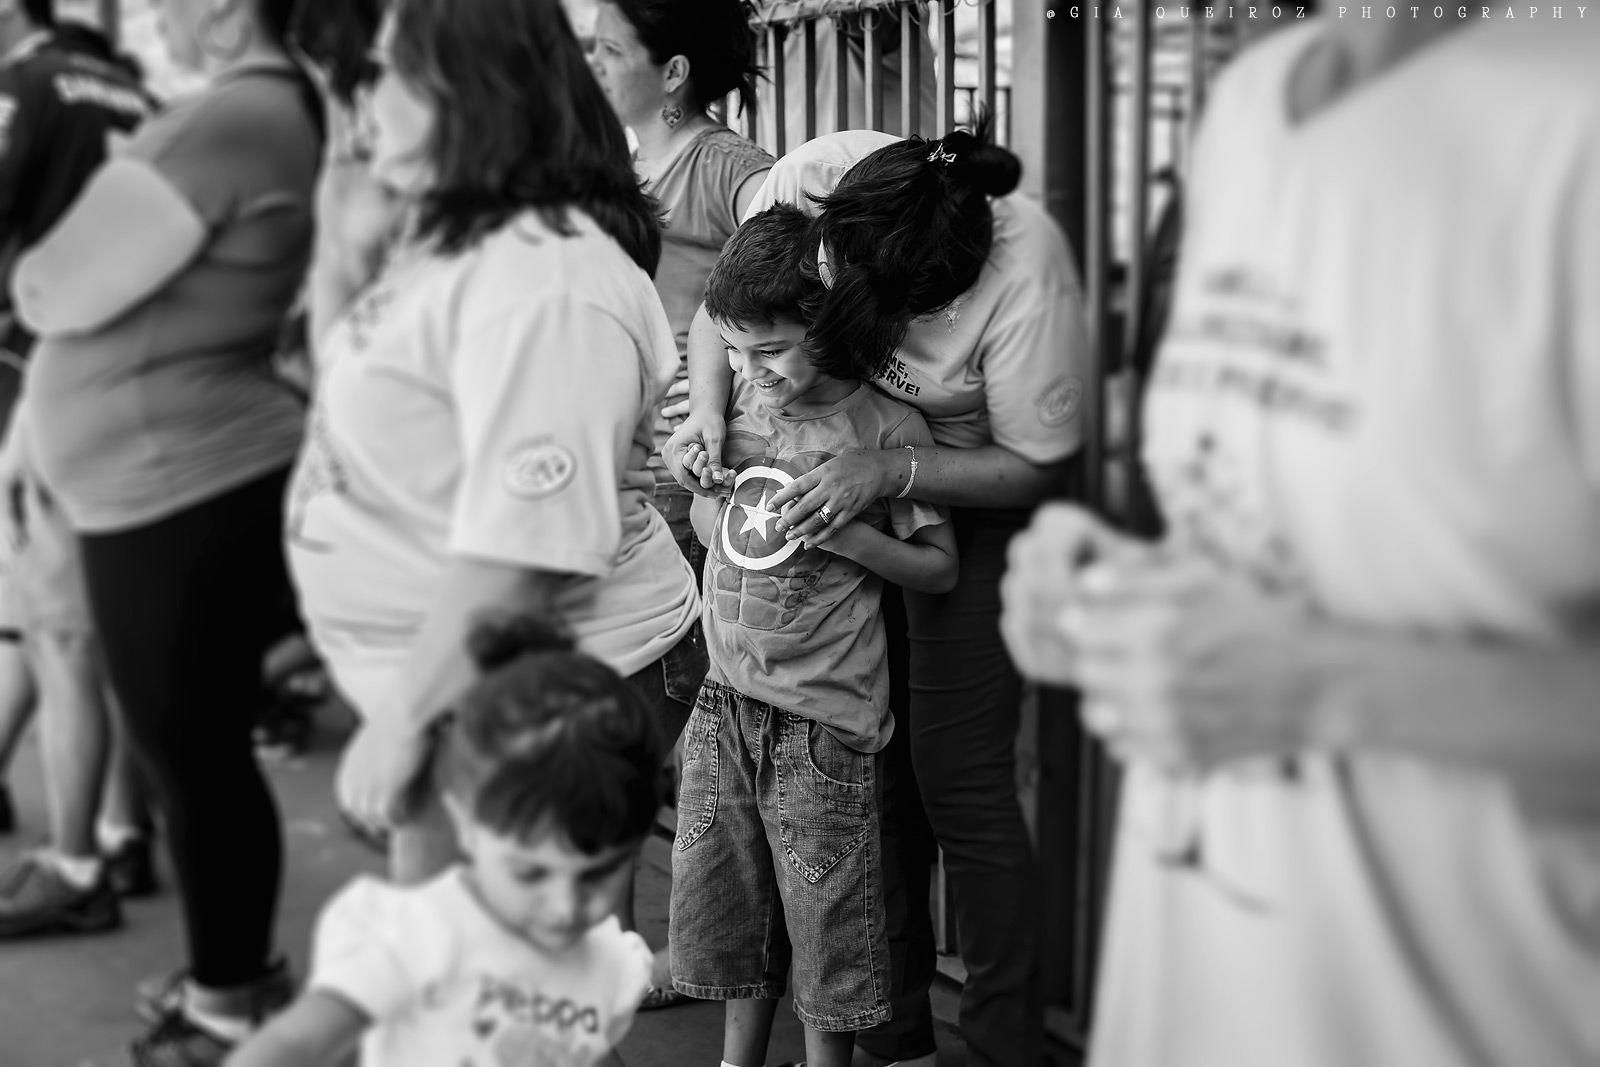
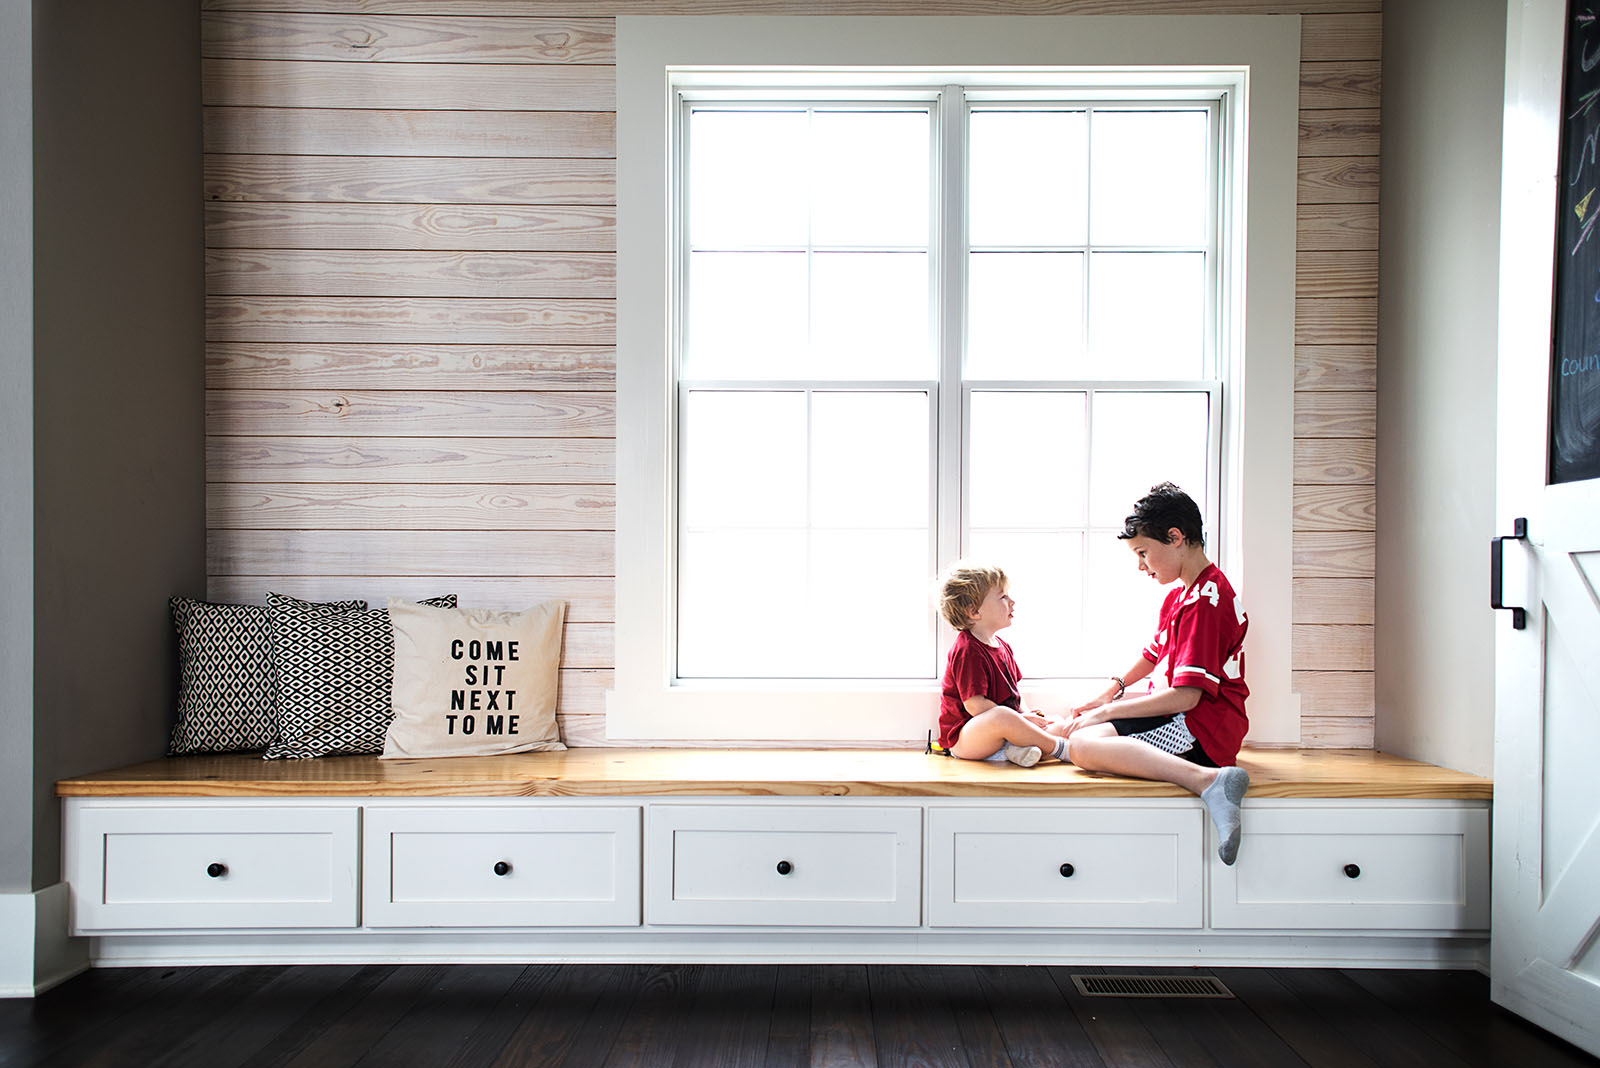
The challenges of capturing my son grew significantly as he got older each year. While kids often have a mind of their own, teens grow more conscious of how they fit into a complex, growing world around them.

They become acutely self-aware in these evolving teen years. Their “what will people think” meter as well as their “I don’t have time for you” gauge become altered dramatically as their age increases – both seemingly exponential.

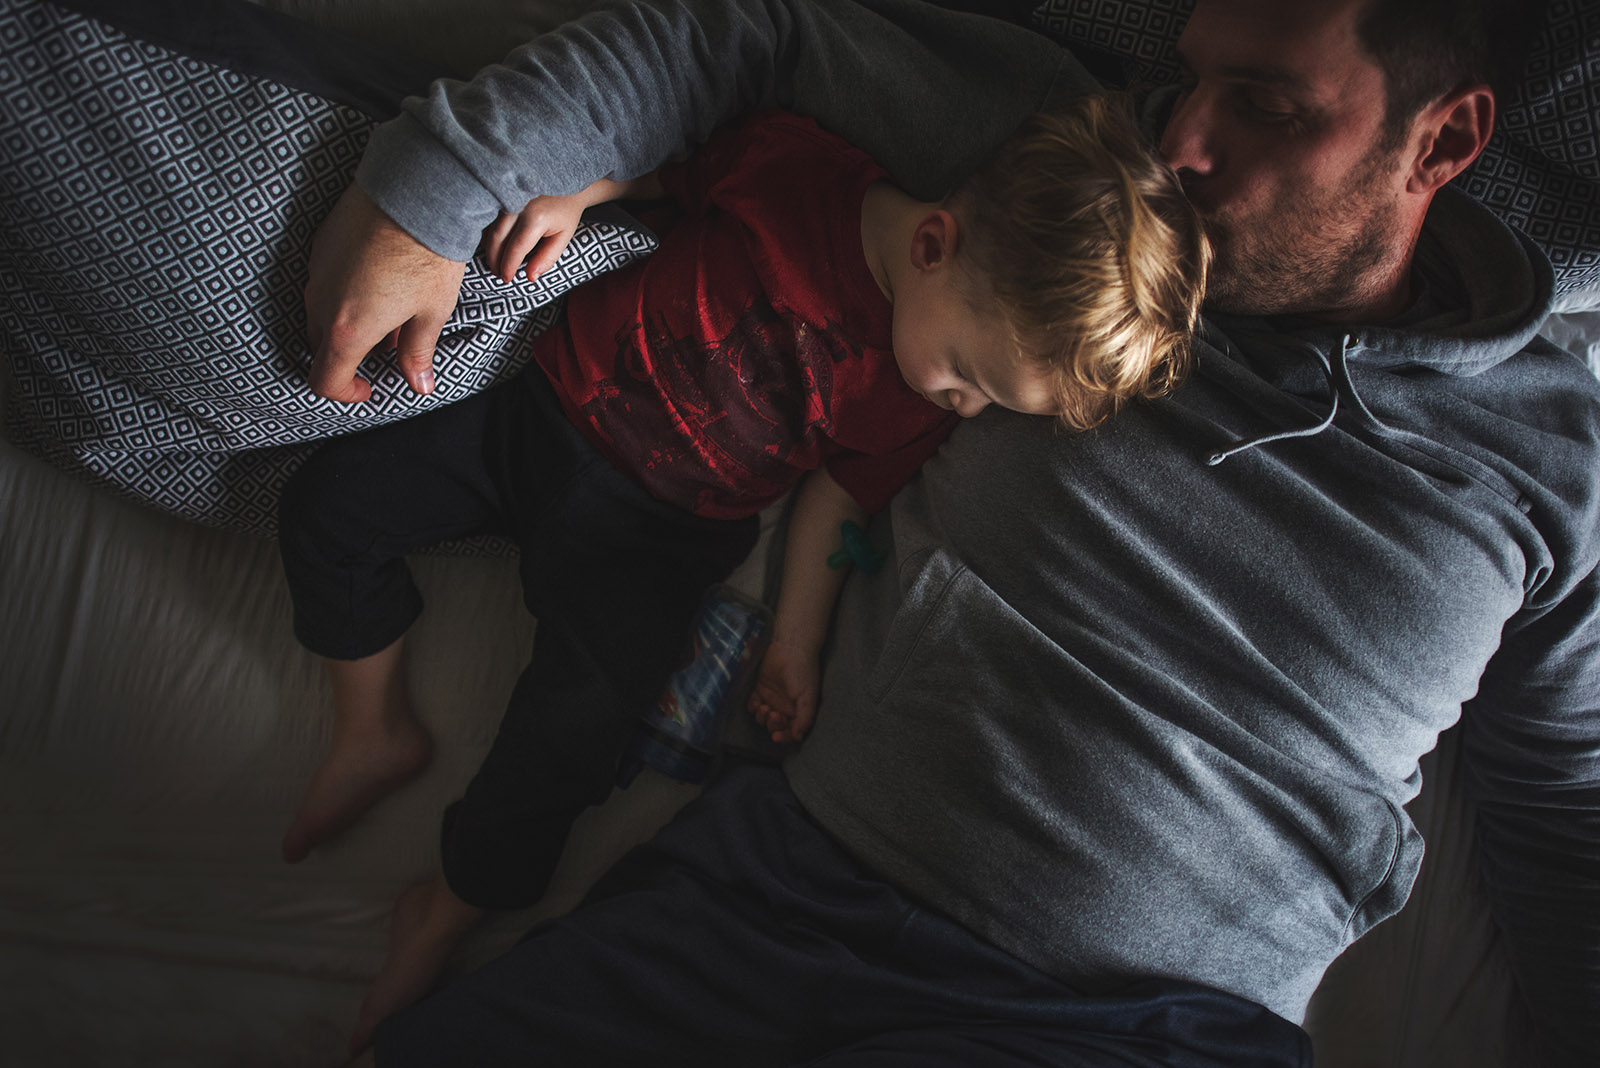
As the little ones often don’t mind you having a camera in their faces 24/7 to try to get those sweet, lasting memories, it becomes a little more invasive to take a photo of your sweet, sleeping teenager.

Privacy and trust become the forefront of conversation as doors literally close that were once open. Things that didn’t matter so much when they were young suddenly become a big invasion of privacy, despite their own oversharing on their social media platforms (that Snapchat is gonna be the death of him).

It’s no longer on your terms to bribe them with candy, treats or a trip to the toy store. At this age, their reward is their privacy.

How to photograph your teen and respect their feelings

As my son grew past that sweet, squishy little boy phase that didn’t mind my camera in his face into a child who cringed at the mere sight of a camera in my hand, I knew I wanted a way to capture who he still was without losing any of these special moments.

The more he grew, the more he seemed to slip away, like water through my cupped hands. The memories seemed to be disappearing with a fevered pitch.

So I devised a plan that would allow me to get a photo and him to not spend so much time in front of the camera.

Now, as his birthday rolls around each year, I take a few minutes to write some thoughts about him on my blog. I write about where he is. I ponder about where he is headed in life. I wax poetic about how I feel about being a mother – being HIS mother. I do it to record him a little more deeply. I do it to tell his ever evolving story from my perspective.

Blogging a birthday post about him becomes something that I do every year now. I imagine I will do it for as long as I can, as long as it feels right and not too invasive.

At fifteen, I am not sure what that means anymore. But that’s okay because as I have found, life is an evolution. It’s a series of stories woven together by words and captured memories.

Related: Meeting them on their terms: Photographing older kids

How to photograph your teen and respect their feelings

How to photograph your teen and respect their feelings

My posts about him are as varied as he is. Some punch a wallop of emotions for what we have been through that year. Others are lighthearted and free, like his summer birthday. And some are just reflective and simple.

Each year is different. The words are as different as the variety of photos I seem to get of him.

Photographing him feels a little like stolen time now. He hesitates, but still cooperates.

I am lucky though. It seems that the older he gets, the more he understands how important this is to me.

While I try to keep things brief when I do get him in front of my camera, I always manage to capture something authentic and sweet. It feels comfortable, like the old jeans I love to pull on at the end of a long week. It feels like him. Like home.

How to photograph your teen and respect their feelings

There are a few ways to get what you want from your private teenager. Here are a few of my best tips.

1. Trust

One of the most important factors I find works best is trust. If I promise not to share something on social media, I better not go back on my word.

Their privacy is important to them. And, just as you feel in your daily life, your trust with them should not be broken.

2. Communication

Whether you are setting out expectations (Let’s go outside and grab a few photos. I won’t take more than 10 shots) or just shooting the breeze about new bands, a favorite hobby, or what their weekend plans are, I find a good communication is key in both loosening them up and setting expectations.

If you plan on sharing this on social media, have a conversation abut that. They need to know where they are going.

Related: How I successfully photograph my older kids

How to photograph your teen and respect their feelings

3. Empathy

You are going to get a lot further with them if you remember what it was like to BE them. Trust me on this.

4. Brevity

The quicker you can get the shot, the better your chances of continuing this process. So set it up without them. Check the light. Get in and get it done.

How to photograph your teen and respect their feelings

5. Engagement

Maybe conversation isn’t enough. Take a portrait of them doing what they love. Playing guitar. Playing their sport. Or playing video games. If that is what they are into, meet them on their level.

6. Respect

Treat them as you would be treated. Leave your preconceived notions at the door and stop complaining about their hair/skin/clothes. That closes doors for them to feel good about themselves.

Join the Clickin Moms photography forum

The post How to photograph your teen and respect their feelings appeared first on Clickin Moms.


Clickin Moms

Posted in Photograpy How To | Tagged , , , , | Leave a comment

How to find and use open shade for your photos

I love using open shade to photograph my kids but what is it exactly?

Open shade is when your subject is standing in the shade with the sunlight above them.

The magic of open shade is that it creates a beautiful even light across your subject’s face and eyes that sparkle with catchlights.

How to find open shade.

You can find open shade at the edge of a forested area or a tree, near a doorway or awning, in front of a tall building or even right by your open garage.

When hunting for open shade, it can be easiest to look down. You know the line you see on the ground dividing the light and shadows? In the shadow part of that line is where the open shade is!

How to use open shade.

With open shade, you want your subject to look out of the shade and towards the open sky. Your subject should be illuminated by light but not actually in the light.

See where I’ve positioned my dog and daughter? Notice how they are on the edge of the shade?

How to find and use open shade for your photos by Gia Querioz

Look at the images I got in this position:

How to find and use open shade for your photos by Gia Querioz

How to find and use open shade for your photos by Gia Querioz

Here my daughter is facing the open sky right on the edge of grandma’s balcony. See below close to where I placed her:

How to find and use open shade for your photos by Gia Querioz
pullback

How to find and use open shade for your photos by Gia Querioz

How to get side light with open shade.

We all love side light but is it possible to get in open shade? Yes, yes it is.

I love being in open shade and positioning my subject in a way that brings shadows on one side. Rotate your subject until you see a soft shadow start to fall across their face. If needed, move your subject closer to a wall or tree to increase the shadow on their face.

In the image below, on the right side of my son is a high wall which is blocking the sun and creating some shade. On the left side of my son is the wall of my house and it’s reflecting some sunlight on him. He has his face turned to me , but with the open sky above us and you can see that sparkle in his eyes!

How to find and use open shade for your photos by Gia Querioz

Keep your eye out for dappled light and blown out areas in the background though as these are not ideal. Like always, meter for the brightest part of the skin to accentuate the shadows.

How to find and use open shade for your photos by Gia Querioz

How to find and use open shade for your photos by Gia Querioz

Join the Clickin Moms photography forum

The post How to find and use open shade for your photos appeared first on Clickin Moms.


Clickin Moms

Posted in Photograpy How To | Tagged , , , | Leave a comment

Photographing Jordan

Petra Jordan (11)

Having just spent almost two weeks conducting a workshop in Jordan, I wanted to share a few images that I was able to capture during this incredible trip. We spent a total of 11 days touring and photographing this stunning country and although I have not yet had a chance to properly edit most of my images, I was able to go through a number of them using my portable laptop that I have been carrying around when traveling. Right after the workshop, I decided to tour Turkey for a week and explore both Istanbul and Cappadocia for future photographic opportunities, which is why I have not been able to post anything on the website. I will be posting images from Turkey after I get back home and catch up with some work. In the meantime, I hope you enjoy a photographic tour of Jordan!

[Read More…]

Photography Life

Posted in Photograpy How To | Tagged , | Leave a comment

Want a fancy camera? 5 things to know before digging into photography

Let’s rewind to Christmas morning eight years ago.

For months I had been dropping not-so-subtle hints to Mr. Bieser about wanting a “nice camera” and on this day I gleefully opened my very first DSLR: a Nikon D-something-thousand that held all the promise of capturing my family beautifully while giving me the creative outlet that I had been craving as a mother of young children.

I was filled to the brim with excitement and I couldn’t wait to start shooting.

So imagine my disappointment when those very first photos weren’t the frame-worthy images I had been dreaming of.

Why were my pictures so dark? And then why were they really bright? Why couldn’t I get that blurry background that I saw in magazines and why were my kids’ faces fuzzy when I tried to take a portrait?

Clearly there was something wrong with this camera!

Or not.

See, while I knew that a fancy camera held the potential to make my photographs better, I didn’t take the time to figure out how and why it could do that; I just thought it would come out of the box and create instant magic!

I would like to say that I quickly learned the error of my ways, but it took me YEARS to learn the lessons I am going to share with you in just one blog post…

I knew a fancy camera had potential to make my photos better but I didn’t take the time to figure out how and why. It took me YEARS to learn these lessons.

I knew a fancy camera had potential to make my photos better but I didn’t take the time to figure out how and why. It took me YEARS to learn these lessons.

1. The photographer takes the picture, not the camera.

It is 100% true that great cameras can take great photographs, but it is also true that great cameras can take terrible photographs.

I have seen weddings shot on phone cameras that look like they belong in a museum and I have seen images shot with top-of-the-line gear that look like they belong in the trash can (all you have to do is dig for a bit on my old hard drives for those!).

The point is, if you don’t know how to make that camera do what you want it to do and you don’t take the time to use light, composition, and subject matter to create an interesting scene, then it won’t matter how fancy the camera is, the picture won’t be good.

While I am all for you investing in a new camera, I don’t want you to think that it’s going to do all the work for you. That will only lead to frustration.

I knew a fancy camera had potential to make my photos better but I didn’t take the time to figure out how and why. It took me YEARS to learn these lessons.

I knew a fancy camera had potential to make my photos better but I didn’t take the time to figure out how and why. It took me YEARS to learn these lessons.

2. Having a fancy camera is not going to save you money.

Oh, I was so cute all those years ago when I told Mr. Bieser how much money I was going to save us by taking our *own* family photos with my new camera. It would be like having a professional session every single day!

Turns out, it took a long time for my photos to look anywhere close to a professional. By the time I got there, I had invested a LOT more money in camera body and lens upgrades, education, props, lights, and accessories (because have you SEEN all the cute camera bags out there?!?!).

This isn’t to scare you away by any means, just understand that professionals charge you because photography isn’t cheap and this isn’t likely going to be a money-saving venture.

I knew a fancy camera had potential to make my photos better but I didn’t take the time to figure out how and why. It took me YEARS to learn these lessons.

3. Consider buying the camera and lens separately.

Most entry-level cameras come with something called the “kit lens.”

On the plus side, this lens is usually pretty versatile as the manufacturer wants to accommodate as many kinds of photographers as possible. On the negative side, it’s going to have some limitations in respect to its performance as the manufacturer wants to keep costs down on the camera-lens package as to not scare away potential buyers.

My advice is to consider buying the camera body and lens separately so that you can get something that has the potential to give you the results you want even if it means sacrificing a bit of the versatility. I love the 50mm f/1.8 as a starter lens as it has a wide enough aperture to perform well in low light, gives great bokeh for portraits, and won’t break the bank.

Related: What is a kit lens and what is it good for?

I knew a fancy camera had potential to make my photos better but I didn’t take the time to figure out how and why. It took me YEARS to learn these lessons.

I knew a fancy camera had potential to make my photos better but I didn’t take the time to figure out how and why. It took me YEARS to learn these lessons.

4. Take the time to learn your camera.

You know that big old manual that is the first thing you see when you open the box? Read it!

I know it isn’t the most thrilling read you will ever come across. However, having a working knowledge of where to find different functions on your camera and all of the things it’s capable of doing will only help you in the long run.

If you just can’t bring yourself to read that, search on YouTube for some unboxing videos and tutorials for your specific camera model. The more comfortable you get with the camera and how it works, the better prepared you will be to start taking the kinds of photos you want.

I knew a fancy camera had potential to make my photos better but I didn’t take the time to figure out how and why. It took me YEARS to learn these lessons.

5. Take the time to learn about photography.

Even after you know all about the functions of your camera, you will need to learn how to utilize them to create a successful photograph. Understanding the exposure triangle, color theory, and composition will be key in getting the results you want consistently.

Whether it be at a community center, your local camera store, or through an online program like Click Photo School (where I learned *everything* I know about taking pictures), continually educating yourself on the skill of photography will allow you to create technically sound images that also match your style and help you develop a unique artistic voice.

One thing I did have right all those years ago? I was EXCITED.

Photography is fun. While it is a journey that requires patience and practice, it’s a complete joy when it all starts to come together and you’re able to capture the world around you in a way that matches the beauty of your memories.

Join the Clickin Moms photography forum

The post Want a fancy camera? 5 things to know before digging into photography appeared first on Clickin Moms.


Clickin Moms

Posted in Photograpy How To | Tagged , , , , , , , , | Leave a comment

DxO Now Owns Nik Software

DxO screenshot

These past couple weeks have been a roller coaster for photography software. For some companies, the past couple years have been a roller coaster, too — Nik software in particular. In May of 2017, Google (which had owned Nik software since 2012) announced they were ceasing new developments on the program. No new features, bug fixes, or guaranteed support for updated operating systems. That happened just a couple months after making the software completely free. Justifiably, Google’s decision to end developments disappointed many photographers who relied on the software, and who happily would have paid for further updates. Today, though, there is some cautiously good news: DxO, the company behind DxO OpticsPro (which — also as of today — is now called DxO PhotoLab), announced that they bought Nik from Google. On top of that, they announced the development of a new version of the Nik Collection planned for mid-2018. If you use Nik software as part of your workflow, what does this mean for you?

[Read More…]

Photography Life

Posted in Photograpy How To | Tagged , | Leave a comment