Everything Aperture Does to Your Photos

Everything aperture does starbursts.jpg

Have you ever wanted to learn everything about aperture? Not just the basics — every single effect aperture has on your photos? Although you can find that sort of information scattered across a handful of sources online, I don’t know of any resource that combines everything into one single place. That can make things difficult if you’re trying to get the big picture of how aperture works. So, here, we’ll explain everything aperture does to your photos, from sharpness to sunstars, and tell you exactly why each effect matters.

[Read More…]

Photography Life

Posted in Photograpy How To | Tagged , , | Leave a comment

How to take macro pictures of snowflakes

With shorter days and colder temperature, many photographers struggle getting out their cameras during winter.

However, the icy weather brings beautiful snow which can provide great inspiration.

Photographing macro snowflakes can be a fun and rewarding winter challenge, especially since no two snowflakes are the same!

Gear

Many snowflakes are only millimeters in diameter. This means you’ll need a way for your camera to magnify the snowflakes and get as close as possible. A few options are:

  • Macro lens: A macro lens that can provide a 1:1 magnification factor is a great starting point.
  • Macro extension tubes: These fit between the camera body and the lens and extend the lens to get closer to the subject. They can be used individually or stacked together.
  • Macro filters: Like reading glasses for your camera, these attach to the end of the lens and provide magnification.
  • Mobile macro lens: These small, light lenses attach directly to your smartphone, making them a great option if you don’t want to take your nice camera outside in the snow. You might also be surprised by the quality of the photos as the cameras on most smartphones are getting better each year. (all the photos here were taken with my iPhone and olloclip)

Related: How to create macro pictures without a macro lens

Be sure to take care when bringing your camera in and out of cold, wet weather. Use a camera cover to avoid water damage while you’re outside.

Then, before coming back inside, place your camera in a zipped bag. Once inside, wait until it has come to room temperature before taking it out of the bag.

How to take macro pictures of snowflakes by Karen Schanely

With colder temps, many photographers struggle getting out their cameras during winter. But photographing macro snowflakes can be a fun and rewarding winter challenge!
How to take macro pictures of snowflakes by Karen Schanely

Weather conditions

Snowflakes are obviously formed when it’s cold. But, it’s helpful to understand and observe the weather conditions that create the kind of snowflakes you want to photograph.

In my experience, the best conditions are when it’s lightly snowing with no wind. With heavy snowfall, it’s more challenging to get a shot of a snowflake without other snowflakes photobombing your frame.

Temperature is also a major contributor. It’s best if the ground temperature is at least several degrees below the freezing temperature of 32° F. Higher temperatures only give you a few seconds before the snowflake melts.

In addition, colder air temperatures and higher humidity in the clouds result in more complex and elaborate crystal designs in the snowflakes as they fall through the moisture-rich atmosphere.

With colder temps, many photographers struggle getting out their cameras during winter. But photographing macro snowflakes can be a fun and rewarding winter challenge!

Backdrops and surfaces

With your gear ready and an eye on the weather forecast, you can also prepare by identifying some interesting backdrops or surfaces against which to shoot.

It’s hard to see a snowflake on a light background like the snow-covered landscape that is most often present on a snowy day. So find a background that is darker than the snowflake such as tree branches, leaves, a building, or a car.

With colder temps, many photographers struggle getting out their cameras during winter. But photographing macro snowflakes can be a fun and rewarding winter challenge!

With colder temps, many photographers struggle getting out their cameras during winter. But photographing macro snowflakes can be a fun and rewarding winter challenge!

You can also use interesting textures to shoot against such as blankets, scarves, mittens, or other fabrics. I like to set material out in the cold (or even the freezer) for a few minutes before shooting, so that the snowflakes don’t melt immediately.

With colder temps, many photographers struggle getting out their cameras during winter. But photographing macro snowflakes can be a fun and rewarding winter challenge!

One of my favorite ways to capture snowflakes is from the comfort and warmth of my home by shooting through the glass in a window or door. Watch for snowflakes to land on the glass, and then quickly shoot them before they blow away.

With colder temps, many photographers struggle getting out their cameras during winter. But photographing macro snowflakes can be a fun and rewarding winter challenge!

With colder temps, many photographers struggle getting out their cameras during winter. But photographing macro snowflakes can be a fun and rewarding winter challenge!

Getting the shot

Because snowflakes are so incredibly small, the focus window is very narrow. As a result, a cluster of snowflakes could look like a big blurry mess.

So, as the snow lands on your surface, look for a snowflake that is all by itself and isn’t broken. You can use a toothpick or small paintbrush to gently separate snowflakes, move other snowflakes out of the way, or nudge your snowflake into a better position.

Generally, snowflakes are flat, which is quite helpful when focusing. In order to get as much of the snowflake in focus, angle your camera lens so that it is as parallel to the snowflake as possible. Starting with a smaller aperture like f/11 is also helpful to get all of the snowflake in focus, adjusting for exposure as needed.

You can also take multiple shots and combine them in post processing with focus stacking.

With colder temps, many photographers struggle getting out their cameras during winter. But photographing macro snowflakes can be a fun and rewarding winter challenge!

Post-processing polish

To take snowflake images to the next level, I love to add some editing magic. This usually involves cloning out distractions like other snowflakes, rogue fibers, or dust on the glass. I also add clarity and contrast to the snowflake to highlight all its intricate details.

With colder temps, many photographers struggle getting out their cameras during winter. But photographing macro snowflakes can be a fun and rewarding winter challenge!

With colder temps, many photographers struggle getting out their cameras during winter. But photographing macro snowflakes can be a fun and rewarding winter challenge!

Winter doesn’t have to be all gloomy and grey. So consider photographing nature’s ordinary miracle with the next snowfall and be sure to have a mug of hot chocolate ready to enjoy afterward!

Join the Clickin Moms photography forum

The post How to take macro pictures of snowflakes appeared first on Clickin Moms.


Clickin Moms

Posted in Photograpy How To | Tagged , , , | Leave a comment

Camera? Check! Lens? Check! What other photo gear do I need?

You’ve got your camera and your lens. Maybe even a flash.

Basic photo equipment- check!

But wait, there’s more!

When it comes to photo gear, there’s a whole world of nifty items out there just waiting to make your acquaintance. From apps to straps, here are a few things you might want to consider adding to your photo wish-list!

1. Polarizing filter

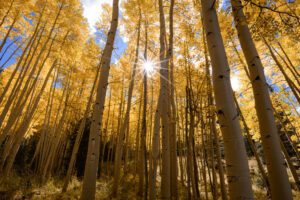
Have you ever worn a pair of polarized sunglasses and noticed the sky was more vivid and the world just seemed a bit more colorful? A polarizing filter is like a pair of sunglasses for your camera – it darkens skies to a deeper blue and reduces haze and glare so that outdoor images in bright light pop with color instead of looking washed out.

As a bonus, it also offers protection to your lens from scratches. A polarizing filter is perfect for keeping vibrant colors in your images when shooting in bright sunlight, and a hood loupe (#6) can help you to check those images on your LCD screen.

Good to know: Most filters screw onto your lens, so look for the mm diameter of your lens to know which size will work for you. Cost varies a lot; you can pick up a low-end polarizing filter for around $ 10 to start, or splurge on a top-notch one around $ 1,000, but there are plenty of highly rated filters in the $ 50-$ 100 range that will give you beautiful results.

When it comes to photo gear, there’s a whole world of nifty items out there beyond your camera and lens just waiting to make your acquaintance.

2. Camera bag

If you are going to take photos, you need to carry your gear with you, of course! Perhaps more of an accessory than gear but necessary none the less, the hardest thing about camera bags is deciding whether to go fashionable or practical.

Camera bags differ from other types of bags and backpacks by including special padding for protection and space saving design so you can carry more with you. They also usually have places to stash necessities like memory cards, lens wipes and extra batteries. I like the Shootsac, Kelly Moore’s 2 Sues, and the Lowepro Flipside backpack.

Good to know: Prices vary from inexpensive backpacks to quite pricey couture bags. An alternative can be to buy a padded insert to hold your lenses (check stores on Etsy for a start) and use a sturdy tote or large purse for a one-of-a-kind, functional bag.

3. Remote

There are several different types of camera remotes but they all do the same basic thing – allow you to take a photo without having to press the shutter button. Some plug into your camera, some are wireless devices, and if your camera has WiFi, you can even download apps that function as remotes!

Using a remote allows you to get in front of the camera instead of always being behind it, and can be really essential for some genres like macro, landscape or astrophotography.

Good to know: Remotes are super useful and very inexpensive, often priced less than $ 10 for a device and a dollar or two for an app. Some of the apps not only work the shutter, but also let you control camera settings and focus right from your phone!

4. Tripod

Tripods are helpful in all sorts of situations, like taking a photo with a slower shutter speed to eliminate any movement of the camera, or even for taking “selfies” and getting in the frame on images with your “big” camera.

Good to know: There are travel tripods that are lighter and smaller if you plan to take it on the go, or the bigger varieties that are a bit sturdier and less susceptible to wind outdoors. Like filters, there is also a wide range of prices but expect to find a solid tripod in the $ 200 range.

If you have a mirrorless camera, check out the flexible tripods that can be shaped and hooked onto almost any surface. There are also one legged “monopod” alternatives if you’re just looking to add stability to your shooting.

When it comes to photo gear, there’s a whole world of nifty items out there beyond your camera and lens just waiting to make your acquaintance.
30 second exposure with a tripod and remote

5. HoodLoupe

If you’ve never heard of this one, you aren’t alone, but I’m happy to let you in on this lesser known secret. HoodLoupes are devices that shield sunlight from your LCD screen so you can see an image on your display clearly in bright light.

They are often used by videographers but are an outstanding addition to the natural photographer’s gear. Small and lightweight, once you try one you will probably wonder how you ever shot in sunlight without it.

Good to know: They come in different sizes to fit your screen exactly, and have an adjustable diopter just like a viewfinder. You can either wear it on a strap around your neck or affix it to your camera with an optional strap. Prices average around $ 80 or so.

6. Reflector

In photography, light is everything. Reflectors bounce light, giving you a way to add light, fill in shadows or produce catchlights in challenging light.

They come in a number of colors (gold, silver, white, translucent) each giving the bounced light a different quality so you can customize the look of the light to warm, contrasty, natural or softened. They come in a variety of sizes and many of them collapse down to a very small size for portability.

Good to know: Cost for most reflectors will be reasonable, but there are some DIY alternatives to purchased reflectors too.

A piece of white foam core board or even a white sheet can work wonders. Black reflectors absorb light instead of reflecting, a process called flagging, and can be used to add drama or moodiness to low-key images.

In the following photos from Kristin Dokoza, you can see the difference a reflector to the right side of the camera can make.

When it comes to photo gear, there’s a whole world of nifty items out there beyond your camera and lens just waiting to make your acquaintance.
Without a reflector

When it comes to photo gear, there’s a whole world of nifty items out there beyond your camera and lens just waiting to make your acquaintance.
With a reflector

7. A good camera strap

To me, the perfect camera strap combines form and function, comfort and design – you will look good and save your shoulders/neck from discomfort at the same time.

Whether you prefer the strength of leather or the comfort of a padded or scarf strap, the options are endless. Crossbody, holster and wrist straps are also popular.

Good to know: Between sites like Etsy and Pinterest and online and local photography stores, you should have no problem finding options for hand-crafted artisan straps and heavy-duty no-nonsense varieties. Prices run the gamut, but are generally in the $ 25-50 range.
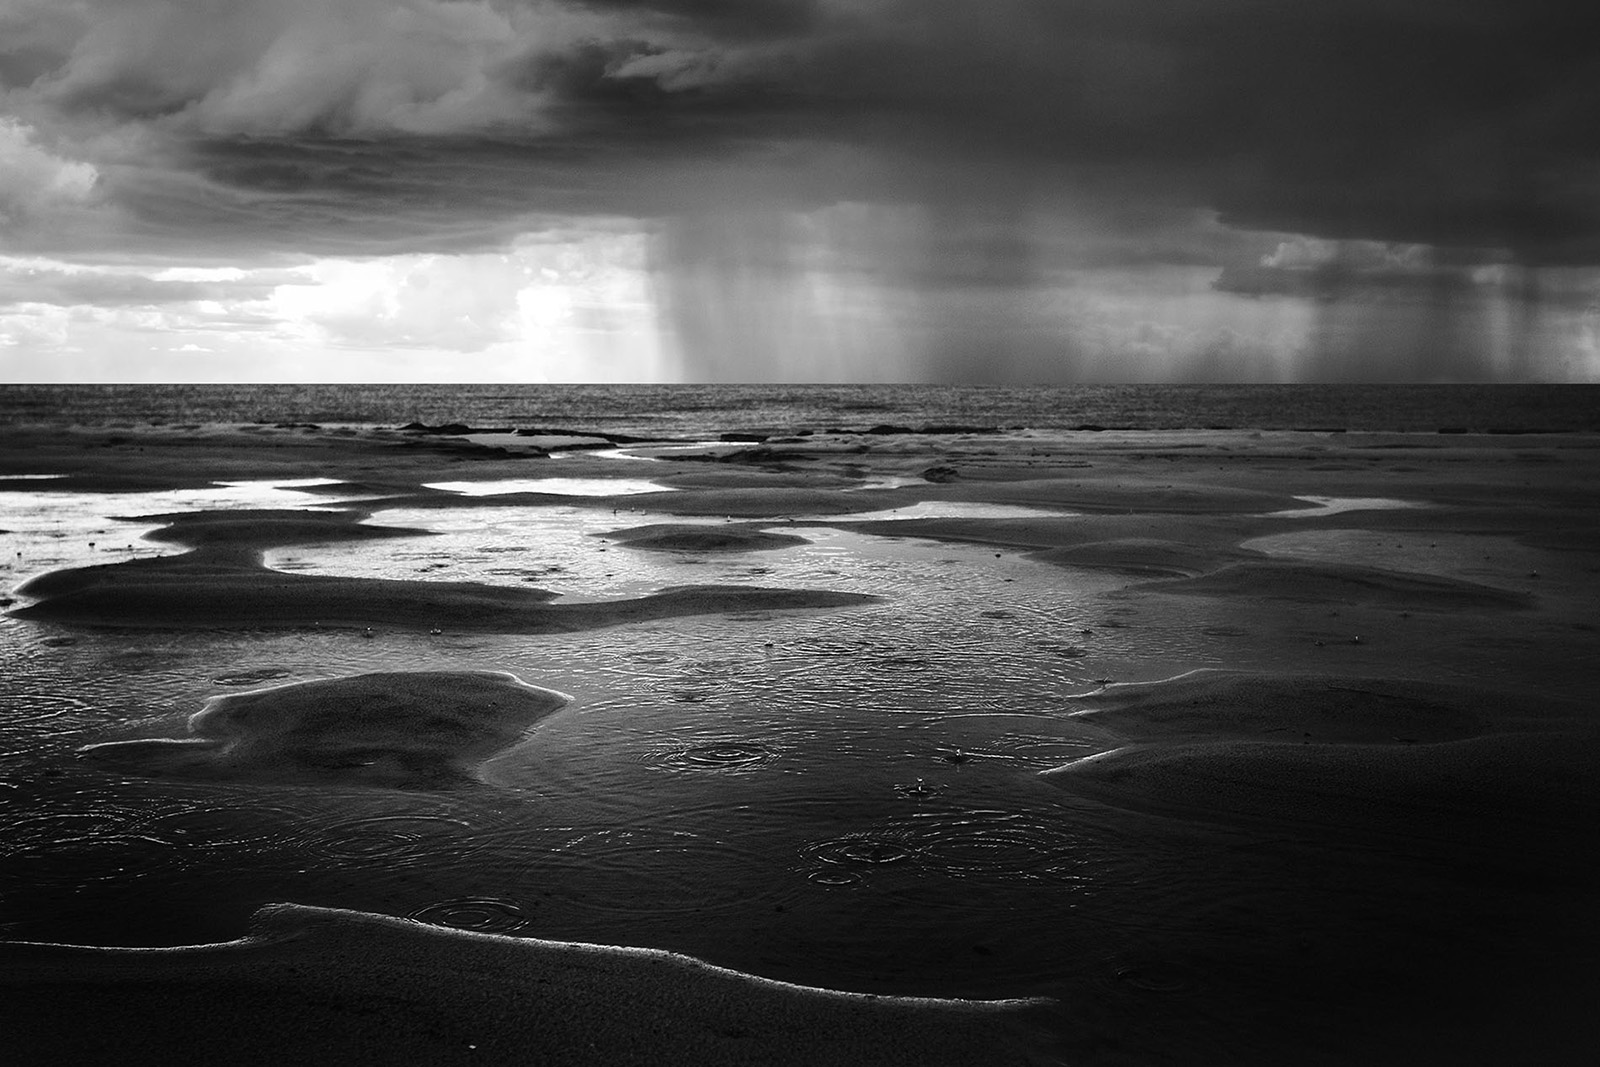
8. Camera rain gear

Camera rain gear will protect your camera and lens from contact with rain or spraying water, allowing you to keep shooting no matter what the weather is like.

While many cameras are “weather sealed,” there is a limit to how much exposure to water they can take without being damaged, and that limit is not something anyone is enthused to test.

Good to know: In a pinch you could always try a plastic bag to cover your camera from the elements, but for around $ 10 you could buy rain gear that is designed to cover your gear safely and snugly while still easily being able to shoot – definitely worth the small investment. There’s hands-free rain gear options, too.

When it comes to photo gear, there’s a whole world of nifty items out there beyond your camera and lens just waiting to make your acquaintance.

When it comes to photo gear, there’s a whole world of nifty items out there beyond your camera and lens just waiting to make your acquaintance.

9. Lens cap leash

The answer to the age-old question of what to do with your lens cap while shooting. If you’ve ever put down a cap somewhere and left it behind, or got home from a shoot only to find you’ve been walking around town with that lens cap tucked into your bra all day, a lens leash might be just what you need!

Some call them cap savers, and designs vary, but bottom line is one end will attach to your lens and the other will stick to the cap to keep track of it.

Good to know: These little items only cost a few dollars and can save you much more in replacement lens cap costs.

SHOP THIS POST:

Happy shooting!

Join the Clickin Moms photography forum

The post Camera? Check! Lens? Check! What other photo gear do I need? appeared first on Clickin Moms.


Clickin Moms

Posted in Photograpy How To | Tagged , , , , , | Leave a comment

Five Landscape Photography Tips for Beginners

Landscape photography tip - know your camera

If you’re first starting out in landscape photography, you probably have a lot of questions. It isn’t always an intuitive field, and not everyone finds a connection to it. That said, landscape photography is such a rewarding pursuit that many photographers want to learn more tips and techniques to practice it as well as possible. In this article, I’ll share some of my top landscape photography tips for beginners, including some suggestions that might fly in the face of what you’ve heard before. Hopefully, you learn something that helps you out along the way.

[Read More…]

Photography Life

Posted in Photograpy How To | Tagged , , , , | Leave a comment

Microsoft Surface Book 2 vs Apple MacBook Pro

Surface Book 2 vs MacBook Pro

I have to admit, ever since Microsoft released the Surface Pro laptops, I have been a fan of these travel-friendly and light two-in-one machines. I have written about my experience with the Surface Pro 2 from a photographer’s perspective a while back, then we wrote a detailed Surface Pro 3 review and my experience with the first generation Surface Book pretty much sealed it for me as a very desirable machine for working on the go, thanks to its excellent performance, flexible design, a built-in memory card slot, superb touchscreen experience and plenty of connectivity options. Earlier this year Microsoft finally released the Surface Book 2, a second generation laptop specifically designed to challenge Apple’s MacBook Pro. Since it was about time to start replacing my aging Surface Pro 3, I wanted to evaluate both the new Surface Book 2 and Apple’s MacBook Pro to see which I would pick for my photography needs. So I bought both laptops and decided to run them side-by-side to see which one would be more suitable to use for traveling and post-processing images. In this article, we will take a look at both the Surface Book 2 and the MacBook Pro and see how they stack up against each other.

[Read More…]

Photography Life

Posted in Photograpy How To | Tagged , , , , | Leave a comment