Nikon Z 24-70mm f/4 S Review

Nikon Z 24-70mm f4 S

This is an in-depth review of the new Nikon NIKKOR Z 24-70mm f/4 S that was released together with the 35mm f/1.8 S and 50mm f/1.8 S as the first Z-series Nikon lenses. To see exactly how the lens measures up, we tested four different samples of the 24-70mm f/4 for our comprehensive review below. After all, this is one of the most important lenses Nikon has announced in recent years.

Photography Life

Posted in Photograpy How To | Tagged , , | Leave a comment

A fresh start: 43 photos that illustrate the beauty of “new”

Have you ever wondered how your favorite photographers stay inspired?

Do you wish that you could have access to their unending ideas and creativity?

Well guess what? We know the secret: COMMUNITY!

Over at Clickin Moms, we are always thinking of new contests, games, and exercises to strengthen our photographic skills while having fun and making friends. One of our favorite traditions is the monthly forum contest. We announce a theme and the Clickin Moms members share all of the ways that they were inspired to capture it.

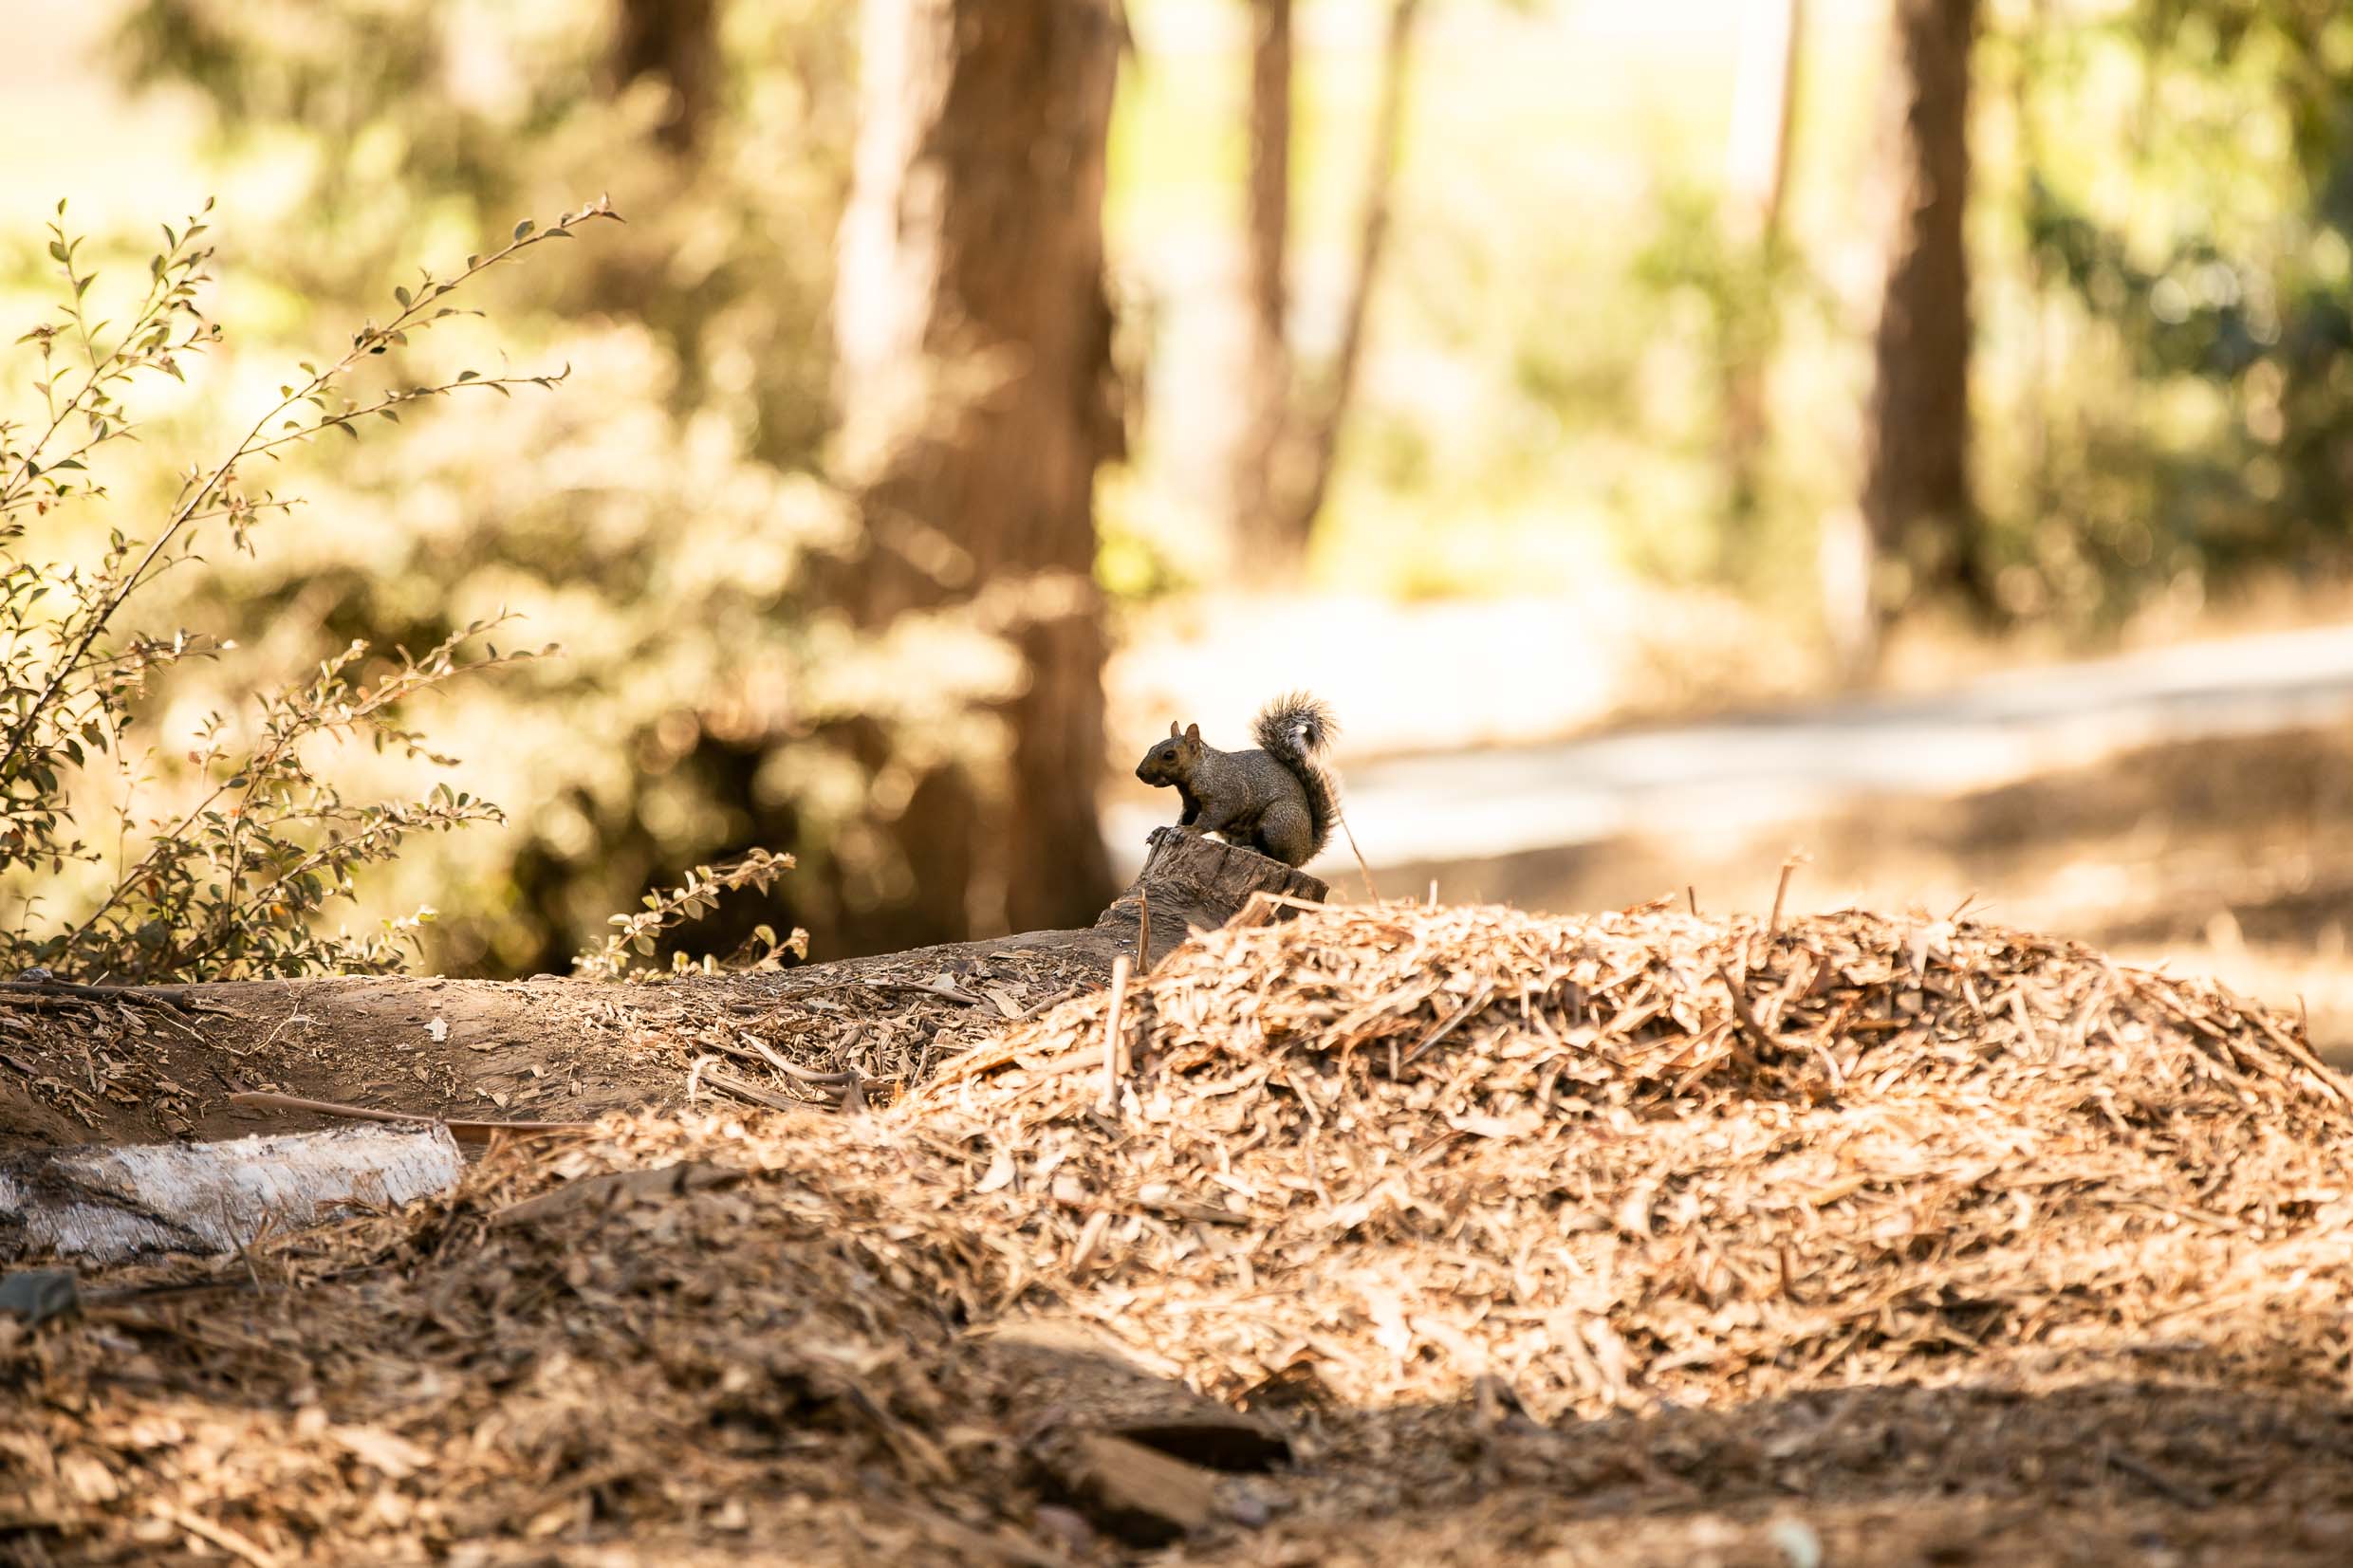
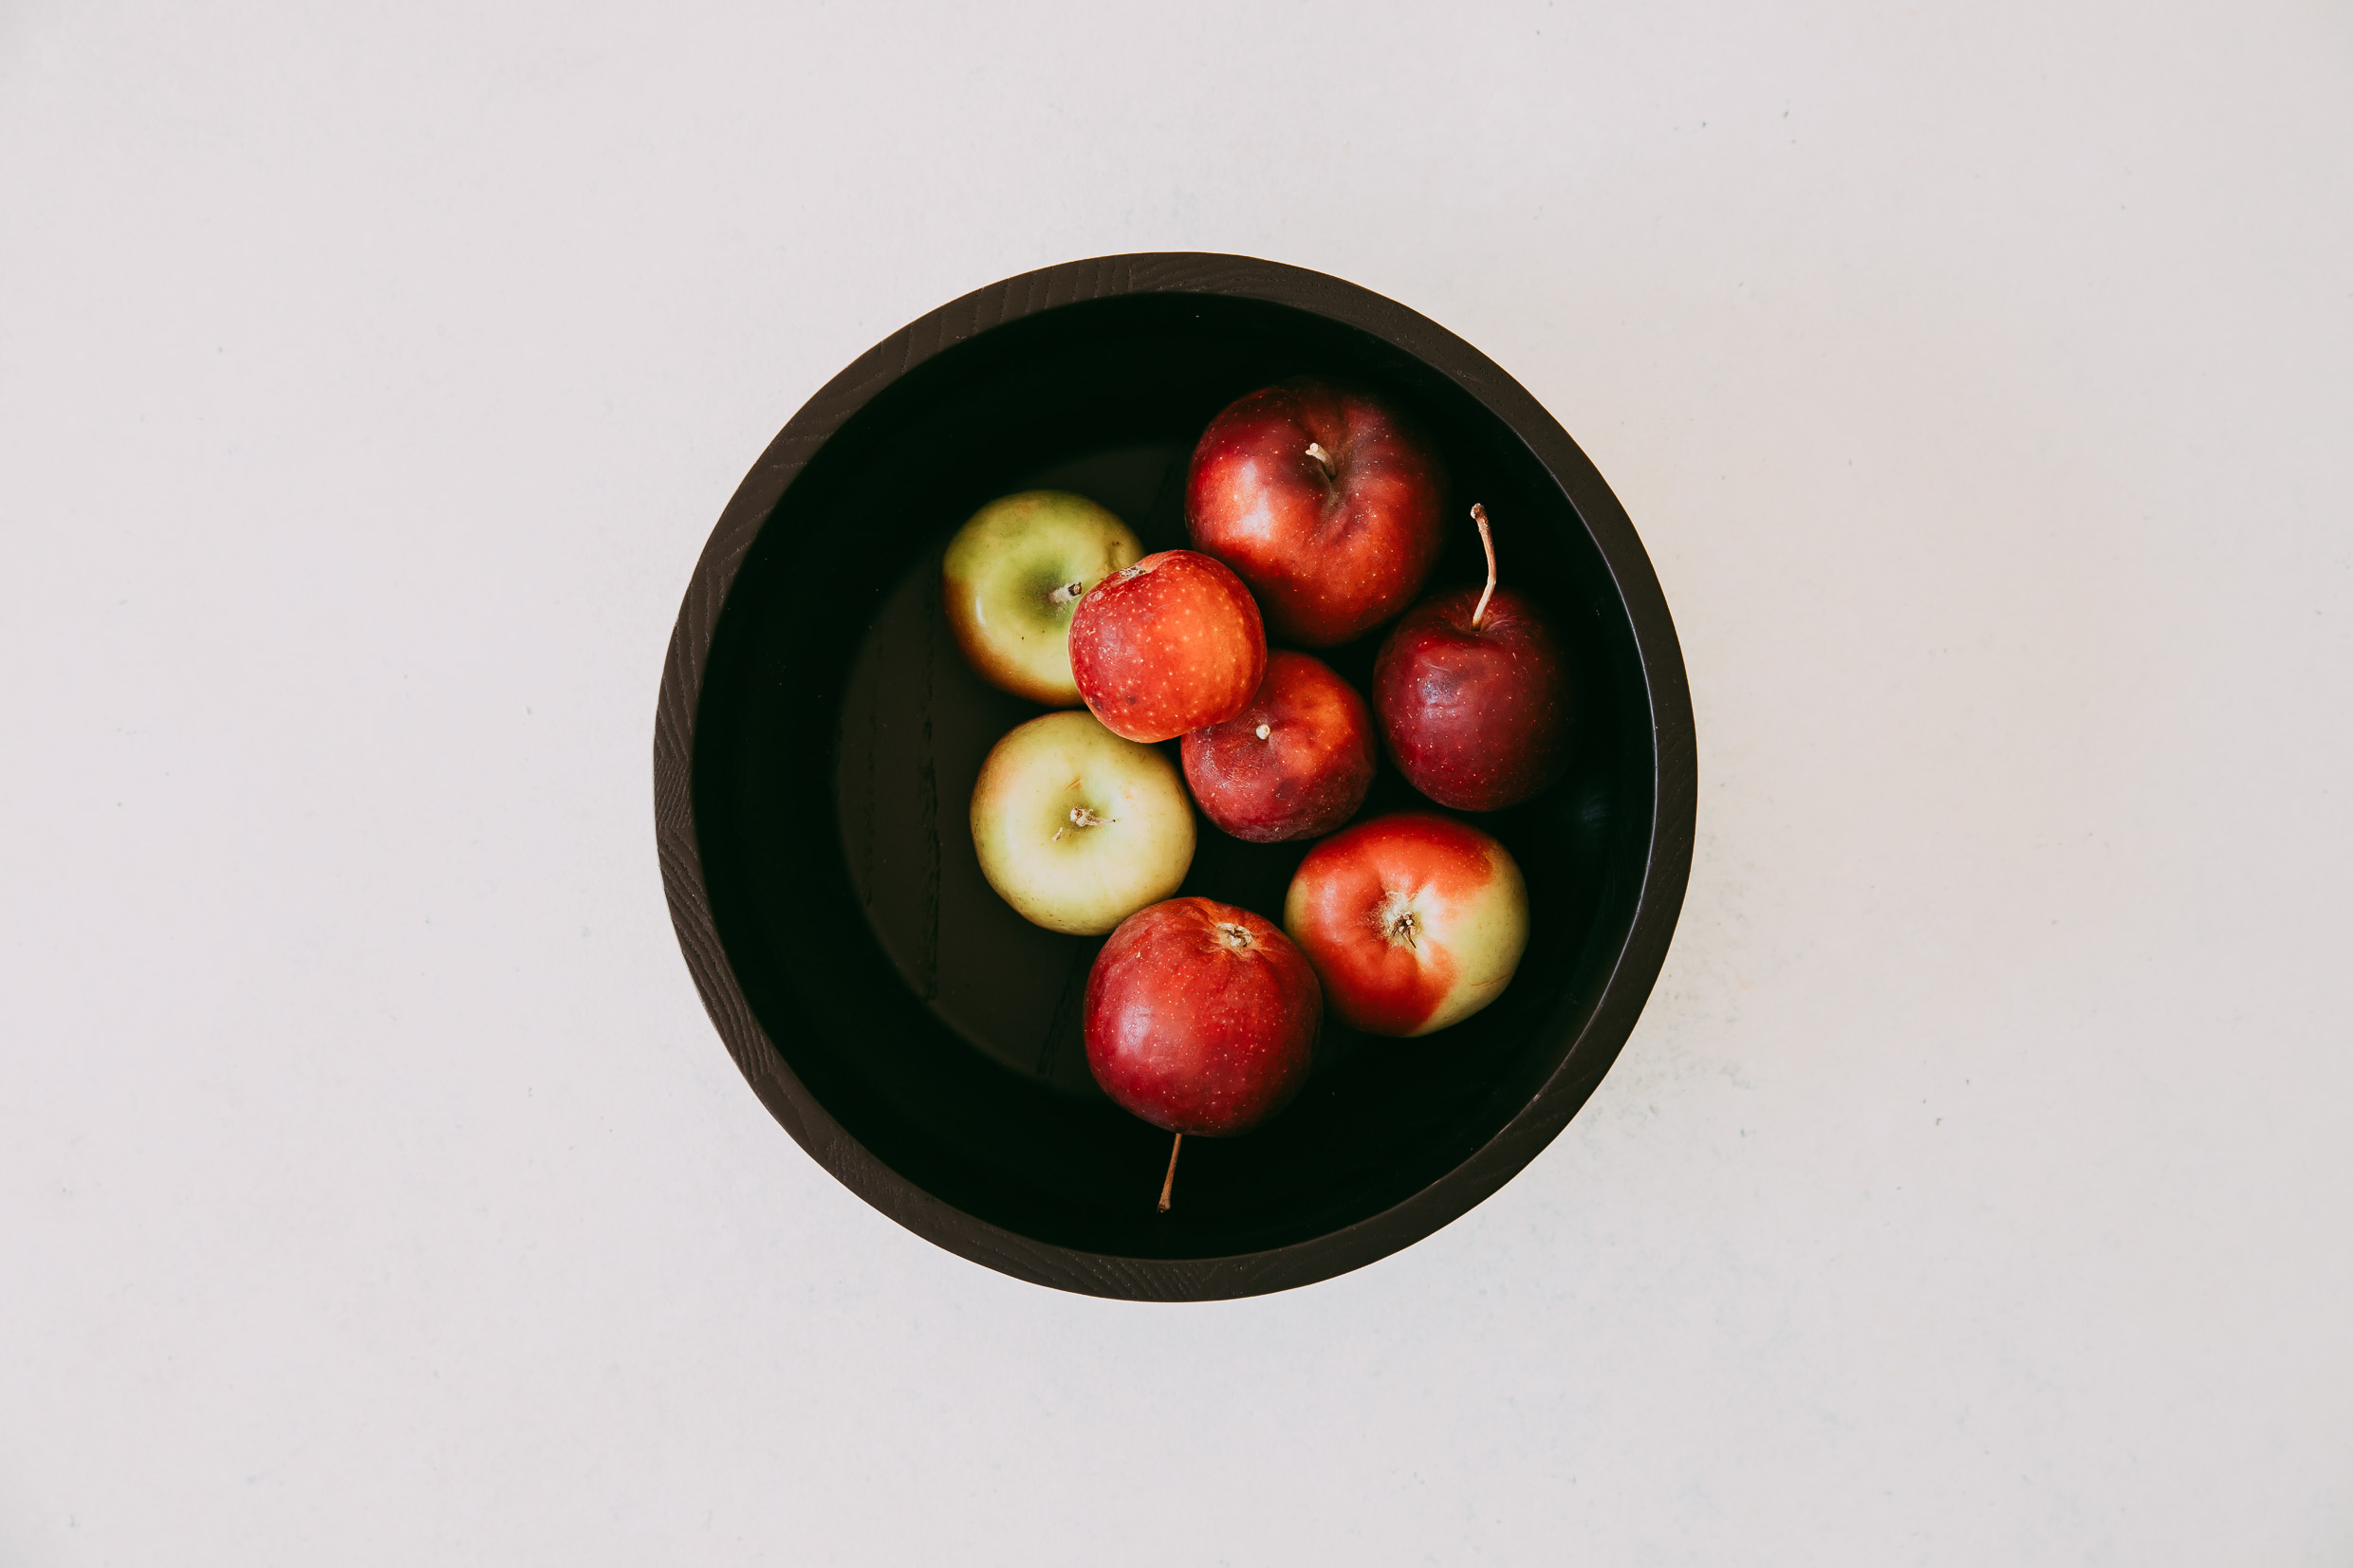
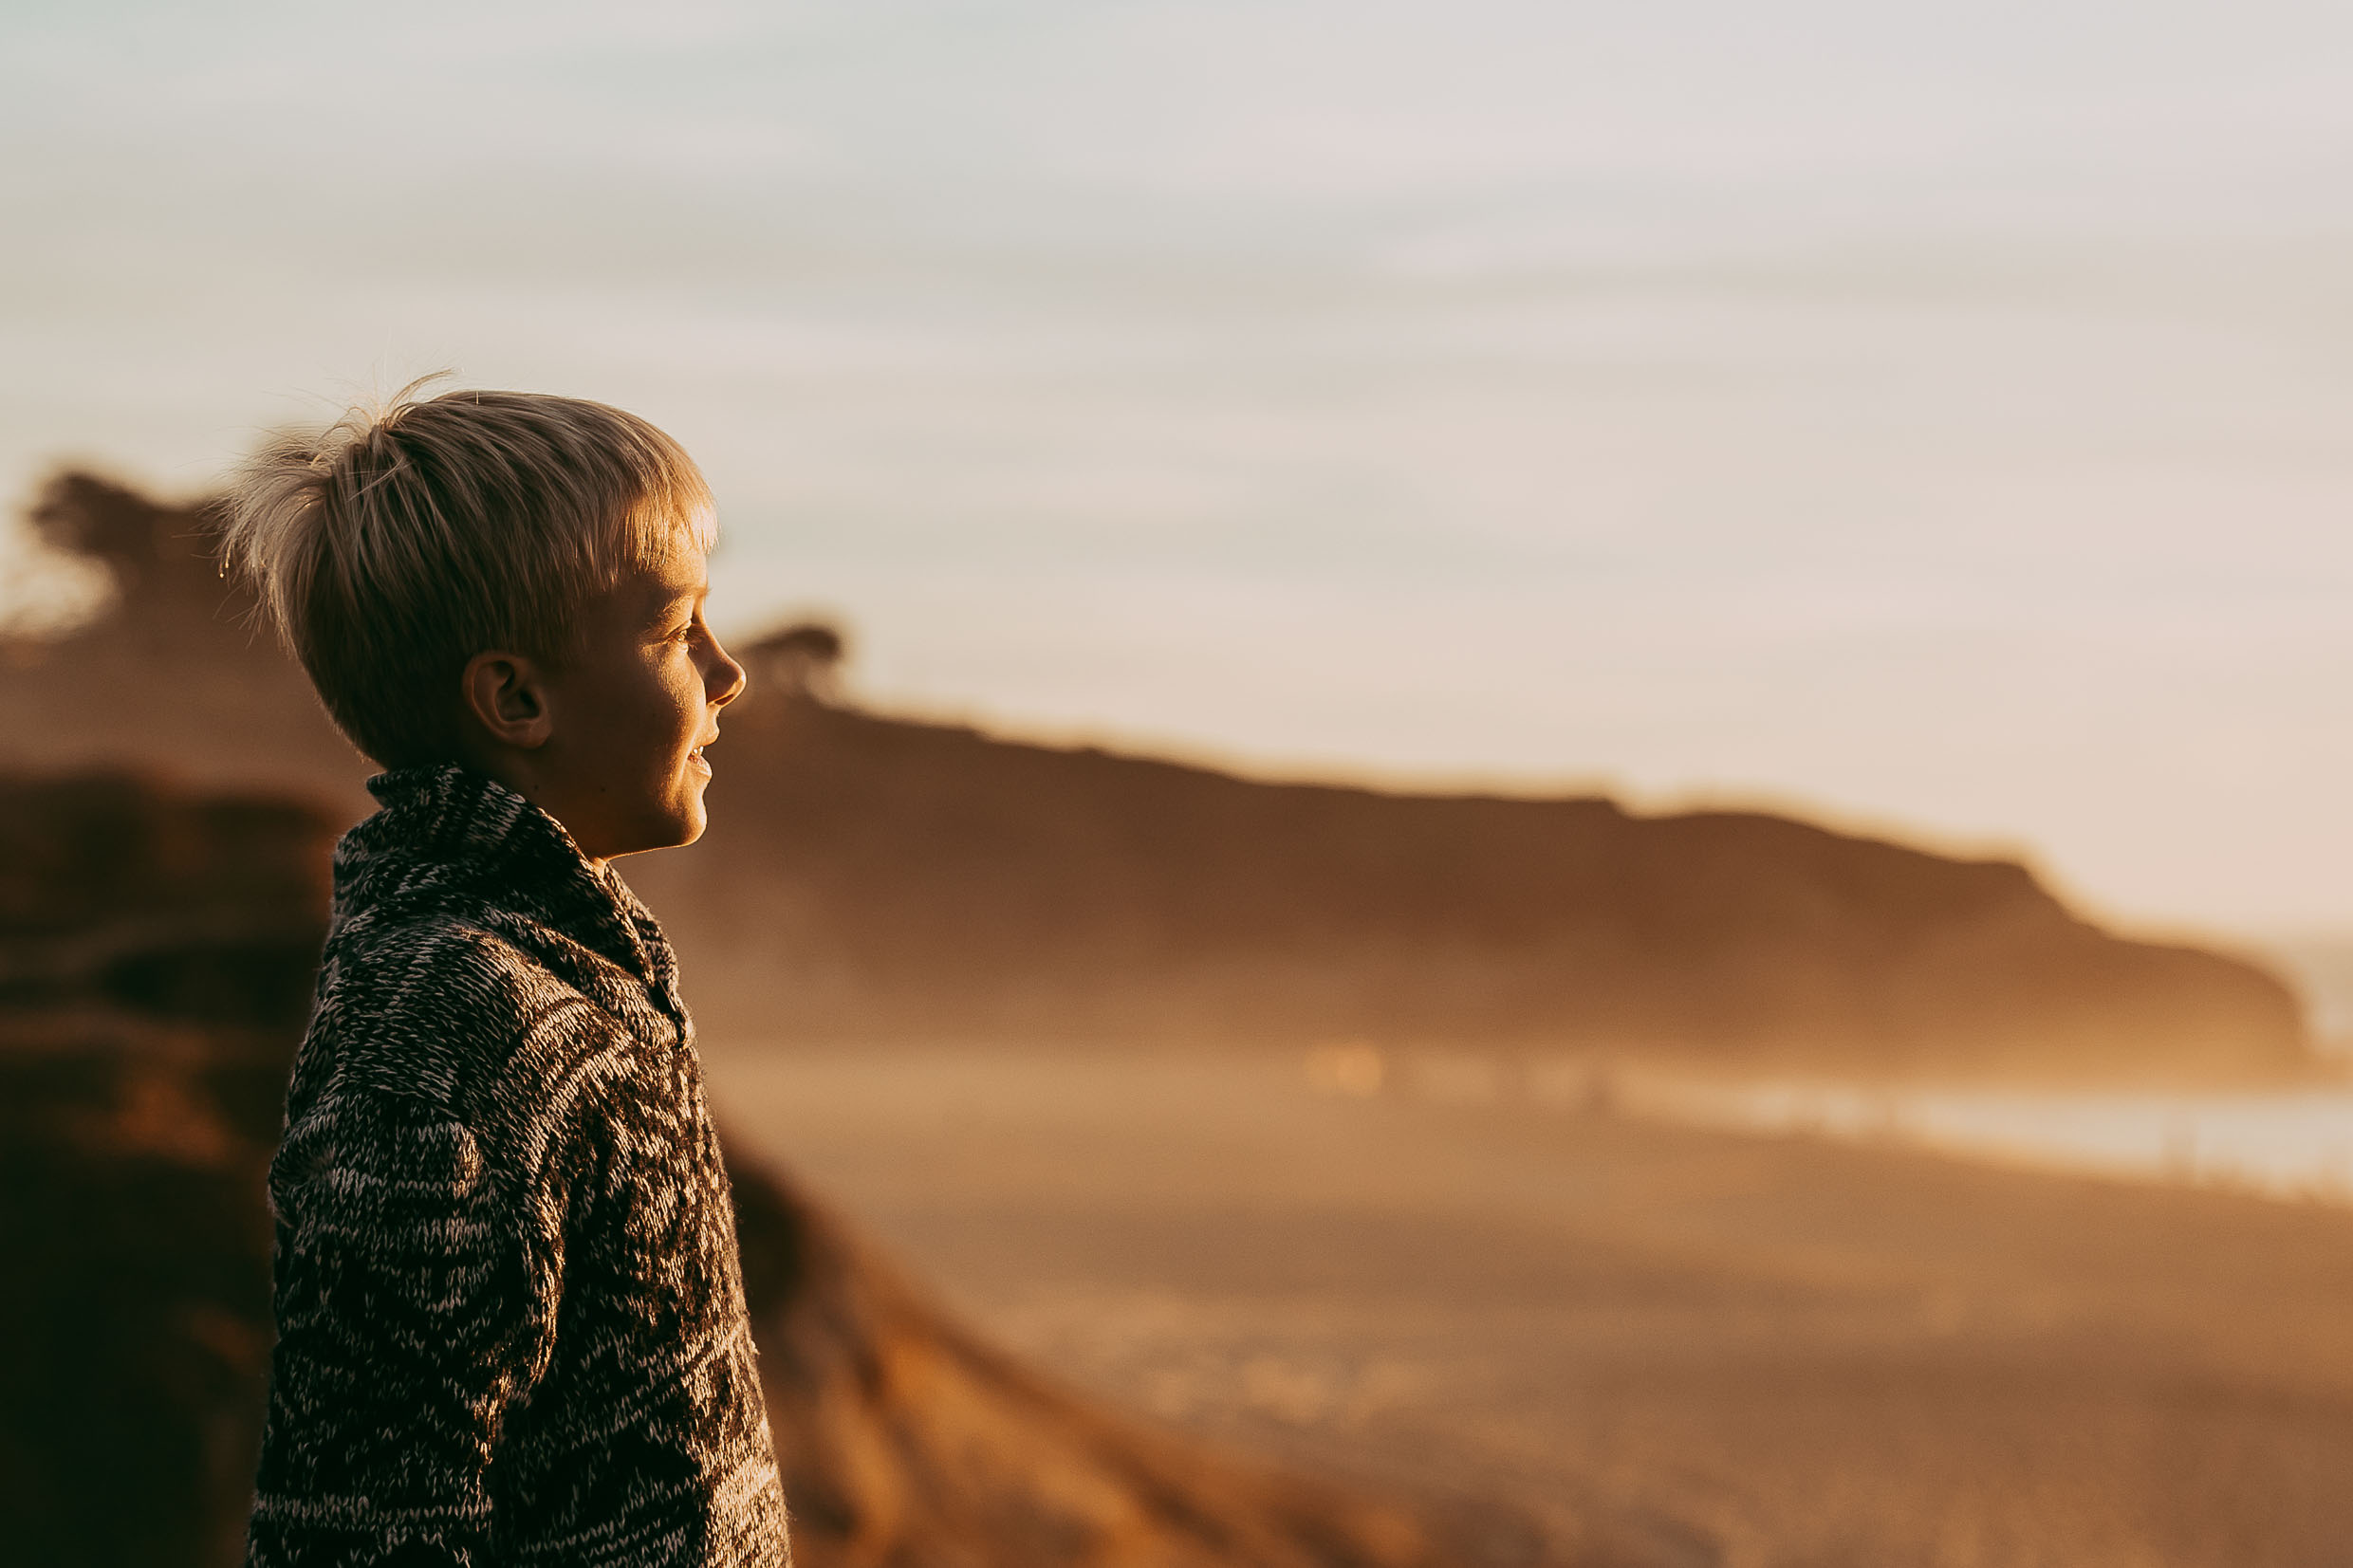
In January, the Clickin Moms community worked to create images for the theme of “New.” These photographs beautifully illustrate the wonder and hope of discovery, fresh starts, and beginnings.

Today we are sharing some of our very favorites for you to enjoy here and we know that you are going to be just as inspired as we are by the amazing artists of the Clickin Moms community. We are thrilled to congratulate Heather Hmrva for her winning shot (above) that has earned her a live Breakout session from Click Photo School!

Camille Camacho

Amy Murgatroyd

Chanelle Torckler

Agata Polak

Cariely Benitez Lemus

Bonnie Cornelius

Charis Kauffman

Dallas Denoo

Join Clickin Moms today

Jacque Holmes

Daphné Lamontagne

Erin Reinholtz

Elizabeth Sandoval

Dustyn Yonke

Whitney Elyse

Christina Rittenburg

Tara Needham

Kristin McGowan

Libby Myers

Christina Rittenburg

April Wood-Vargas

Tina Krafts

Tricia Pompilio

Melissa Hunt

Clare Midock

Stephanie Hance

Niki Murphy

Meredith Minor

Melissa Sessa

Llaria Cossettini

Megan Larochelle

Liz Binder

Lisa Northum

Lisa Schwenneker

Lindsey Bohlen

Laura Kuisle

Kathleen Collins

Kayleen Schultz

Jenny Rosenbring

Katharine Vogel

LaDonna Whitlock

Jen Cooke

Jessica Meyers

Do you want a chance for your work to be featured on the Clickin Moms blog and to be eligible to win a live seat to a Click Photo School Breakout Session? Then join us for this month’s forum photo contest by sharing your best photos for this month’s photo contest theme: Hearts.

Are you not yet a member of Clickin Moms? As a Clickin Moms member you get access to contests like this, thousands of free tutorials, and so much more. Nothing would make us happier than for you to join us!

Clickin Moms online photography forum information

The post A fresh start: 43 photos that illustrate the beauty of “new” appeared first on Clickin Moms blog: Helping you take better pictures one day at a time.


Clickin Moms blog: Helping you take better pictures one day at a time

Posted in Photograpy How To | Tagged , , , , , | Leave a comment

BenQ SW271 Monitor Review

BenQ SW271

Earlier last year I had a chance to test the BenQ SW320 monitor, which turned out to be a solid choice for my photography needs. I was able to calibrate the display using both BenQ’s native Palette Master Element software and DisplayCAL, which provided me with great results at the end (you can see my calibration results in my detailed BenQ SW320 Review). I wanted to explore BenQ’s product line even further and this time I will be taking a closer look at the smaller 27″ version of the monitor, the SW271. Quite a few things have changed since last time I looked at BenQ monitors and with the most recent updates to calibration software, it seemed like I could get even more out of these wide gamut displays. Let’s take a look at what I was able to achieve with the BenQ SW271 in my environment.

Photography Life

Posted in Photograpy How To | Tagged , , , | Leave a comment

Intro to composition: Where should you put your subject and why?

Where you place subjects within a photograph is called composition. And yet composition does so much more than tell us where the subject is. 

It can impact how we feel about a subject. 

It can guide us through an image.

And it can be the difference between a successful photograph and an unsuccessful one.

Composition can drive the emotion, storytelling ability, and technical success of a photo. But how do we know where to put our subjects? 

Luckily, there are some rules that can guide us as we compose our frames. Let’s dive into some of the more popular compositions and why they work.

rule-of-thirds-guide-kristin-dokoza

The rule of thirds

The rule of thirds is an age old guideline used to compose visual images. Derived from the Fibonacci’s spiral, the rule of thirds gives us rough guidelines for the mathematically-ordained areas of the frame toward which we are naturally drawn.

The guideline states that an image should be divided into nine equal parts, spaced equally by two horizontal lines and two spaced vertical lines. Important elements should be placed along these lines or where they intersect.

By placing subjects using the rule of thirds, we ensure that the viewer’s eye immediately falls on the elements in the frame that are most important. We also ensure that the image does not feel static or boring as this slightly off-center placement naturally adds some movement to the image.

Pro tip: When using the rule of thirds for a portrait, place one eye alone a rule of thirds intersection.

Centered composition

This might be most commonly used to compose an image when first starting out. It is natural to put what we want to be the center of attention in, well, the center.

The center can sometimes feel boring unmoving, and static, making a lot of seasoned artists gravitate toward the rule of thirds. However, center placement can also translate as balanced, steady, and strong. The key is to pick the best opportunities where a center placement can work for you rather than against you.

Join Clickin Moms today

Placing your subject in the center commands the viewers attention. Especially when the subject is directly gazing back to the viewer.

If you find the foreground and background are too busy, try placing the subject in the center. It can can help draw the viewer’s attention and create stability in the midst of the busy-ness.

squirrel-on-log-centered-composition-kristin-dokoza

Placing a subject in the center of the frame is also effective in helping to tell the viewer where the main focus is. In this example, my subject is a relatively small portion of the frame. Using centered composition helps to emphasize his importance.

bowl-of-fruit-centered-composition-kristin-dokoza

I also love centered compositions when shooting flat lays. Shooting from this different perspective and using shape while centering the subject can create a powerful composition.

Pro tip: when there is a lot of dynamic movement and activity in the frame, use a centered composition to create stability so that the photo doesn’t feel chaotic.

Right side composition

We tend to read images as we do words in a book. We naturally scan them from left to right.

As you move your subjects away from the middle, you want to look for balancing elements within the frame. Negative space on the left with the subject on the right is a comfortable subject placement. It allows our eyes to travel through the negative space until we land on the subject.

girl-looking-over-shoulder-right-composition-kristin-dokoza

This is an opportunity to tell a story with your compositions and subject placement. A subject may be comfortably placed on the right side of the frame. But what if they were gazing back towards the left?

Does that force your gaze back in the other direction?

And does that make you feel uncomfortable?

Do you question what it is the subject might be looking at or thinking about?

Is their placement and gaze a part of the story you want to tell?

Or would a different placement work better to tell your story?

Pro tip: Use leading lines from the left to lead the viewer to your subject placed on the right.

yellow-flower-left-composition-kristin-dokoza

Left side composition

Meeting your primary subject on the left is initially a little less comfortable for the viewer. It is an unexpected placement and halts that natural path from left to right.

And yet that very discomfort can be used to command attention. You are telling the viewer this is where their attention should stay. That you do not want their eyes to be distracted from anything else in the frame.

Placing your subject on the left can also give the feeling of implied movement. We are no longer following negative space into the frame as we do with the right side composition. Rather, we are following that negative space from the subject out of the frame. In our imaginations, that can translate to the subject moving along that vision path.

man-riding-horse-left-composition-kristin-dokoza

Here I have balanced the subject on the left with plenty of space on the right for the horse and rider to move across the frame.

boy-looking-away-sunset-left-composition-kristin-dokoza

In this image, I placed the subject on the left rule of thirds line. It is natural for the viewer to follow the subjects offer gaze across the frame, left to right. The horizon acts as a leading line to guide the viewers eye across the frame.

Pro tip: You can find overlays in Lightroom and Photoshop to help you create stronger compositions.

girl-with-hair-blowing-right-composition-kristin-dokoza

Have fun!

Photography is an art. We will all interpret and see things differently. For every rule or guideline that I’ve listed above, there will be an awesome shot to prove it wrong!

So try various compositions every time you photograph any given subject. Then see what speaks best to you. Perhaps following the rules will work best at times. Other times, you may find that bending the rules is what tells your story best.

Clickin Moms online photography forum information

Just remember that composition is yet another tool that you get to use to tell the stories you want to tell with your camera.

The post Intro to composition: Where should you put your subject and why? appeared first on Clickin Moms blog: Helping you take better pictures one day at a time.


Clickin Moms blog: Helping you take better pictures one day at a time

Posted in Photograpy How To | Tagged , , , | Leave a comment

Nikon Lens-Only Discounts on 13 Lenses

Screenshot 2019-02-04 13.28.45

Nikon has released a new set of lens rebates on some of their most popular options, from the 24-70mm f/2.8 VR to the 85mm f/1.4 and 105mm f/2.8 macro lens. Below, we’ll cover all the discounts and which ones are the best deals.

Photography Life

Posted in Photograpy How To | Tagged , , , | Leave a comment