
A strength of Photoshop is being able to perform edits non-destructively. Most edits can be performed on their own layer, preserving the original background layer. The Spot Healing Brush, Clone Stamp, and Patch tools all work this way and they can all be used to remove unwanted objects non-destructively. However, if you have ever tried to remove an object from an image using Content-Aware Fill, you will have noticed that you can’t do this on a new blank layer. This tool requires pixels to work. But if you use Content-Aware Fill on your background layer, you end up changing those pixels permanently. You could create a copy of the background and use the tool here. However, this needlessly increases the size of your document. In this short article, I want to show you an easy workaround, which will keep your original background layer intact.
Steps to use Content-Aware Fill Non-Destructively
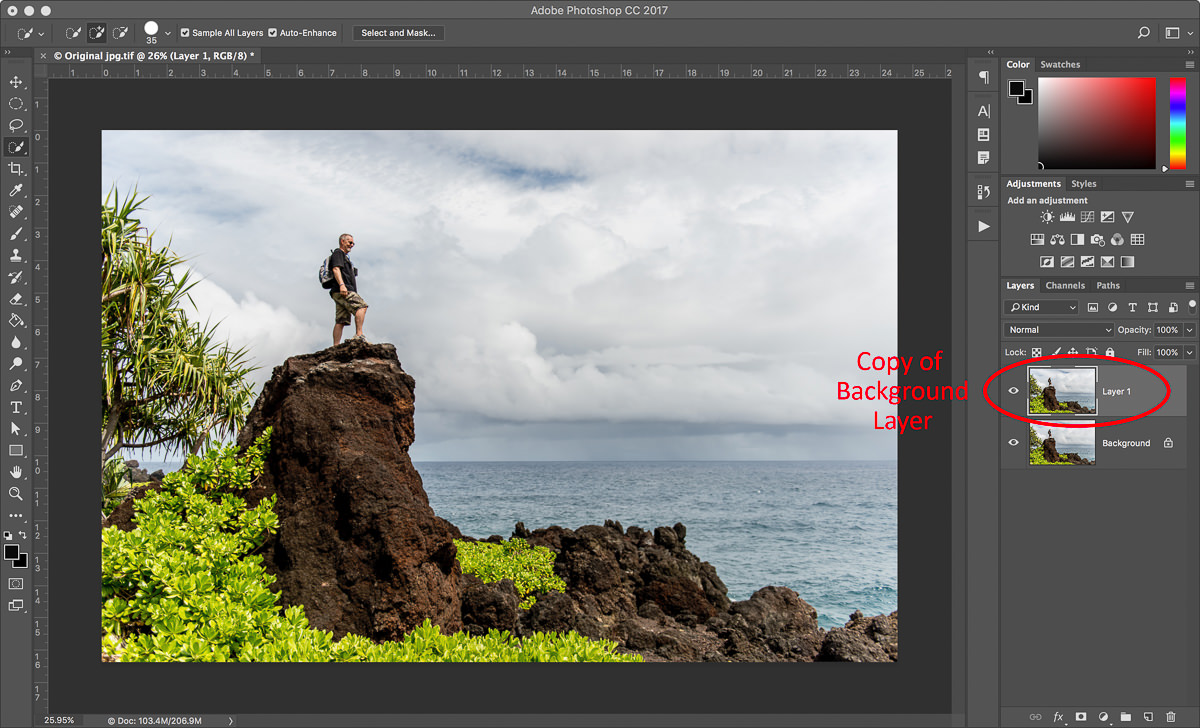
To illustrate the technique, let’s take a look at this image. I shot it last year on the Road to Hana in Maui with some friends. Now whenever possible, I try and get the image right in camera. But sometimes that isn’t possible. So apologies to Keith, but let’s remove him from this landscape!

Here is a photo of my friend, Keith, who did a bit of rock climbing to get to this vantage point. No hard feelings, but let’s remove him from this image!
Create a copy of your background layer. To do this, select the background layer and press Cmd+J (Mac) or Ctrl+J (PC). You don’t need to rename this layer because we will be deleting it in the end.
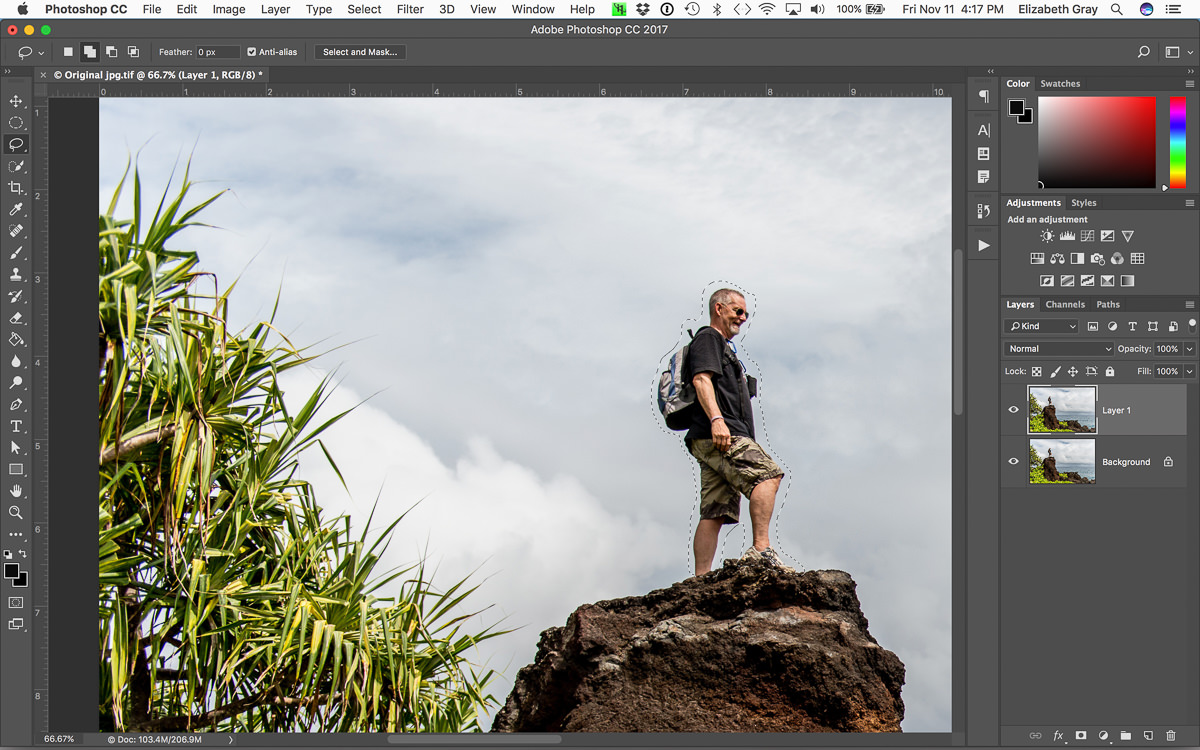
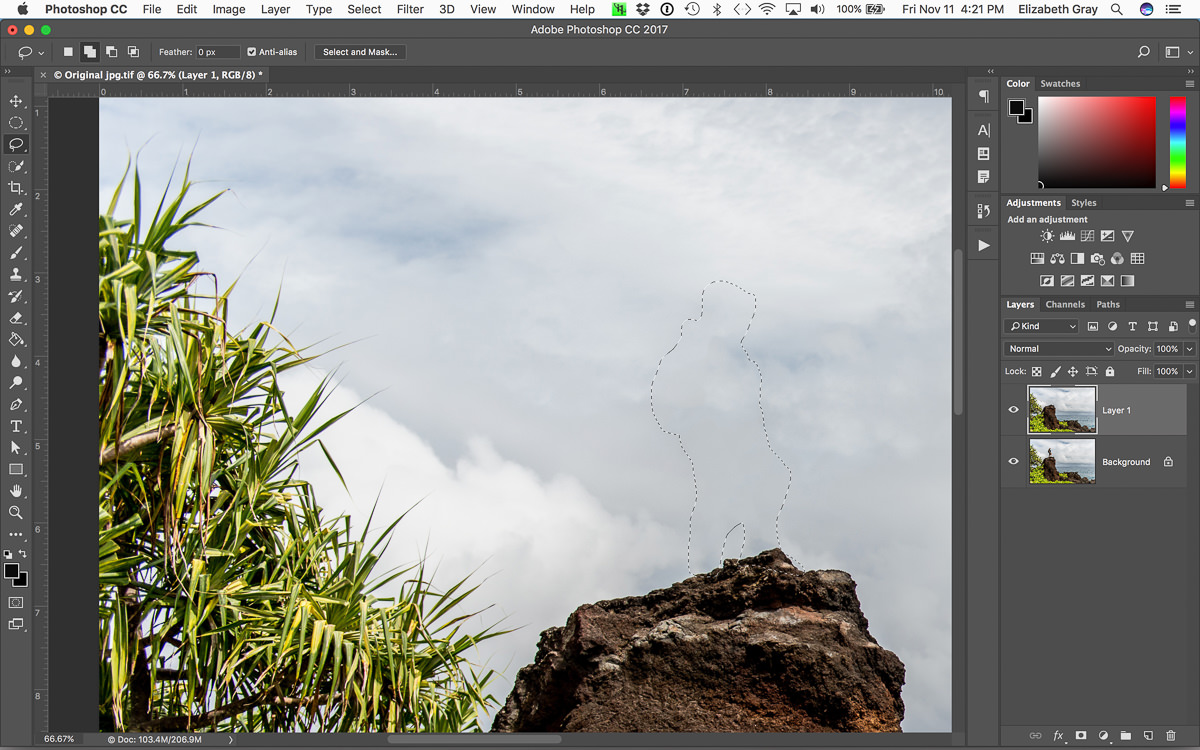
With the copied background layer selected, use the lasso tool and create a rough selection around the object you want to remove. You could also do this using the Quick Selection tool and expand your selection by several pixels. The selection does not have to be perfect.
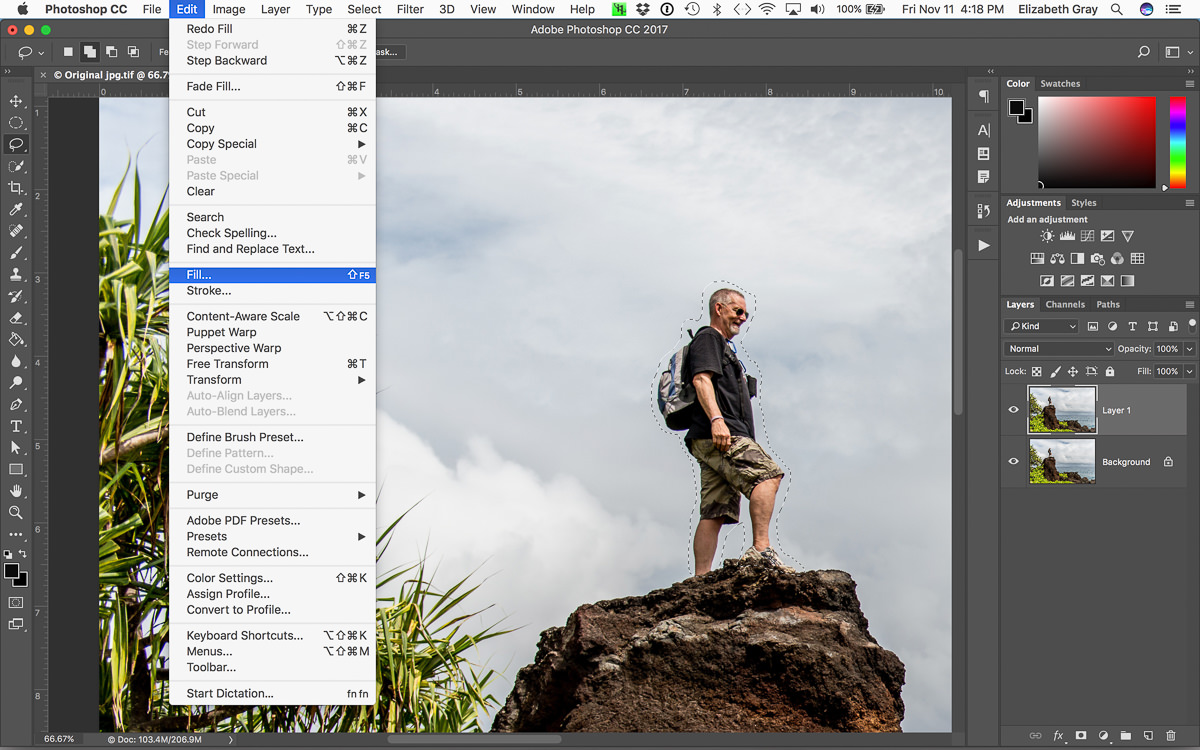
From the Edit menu, choose Fill.
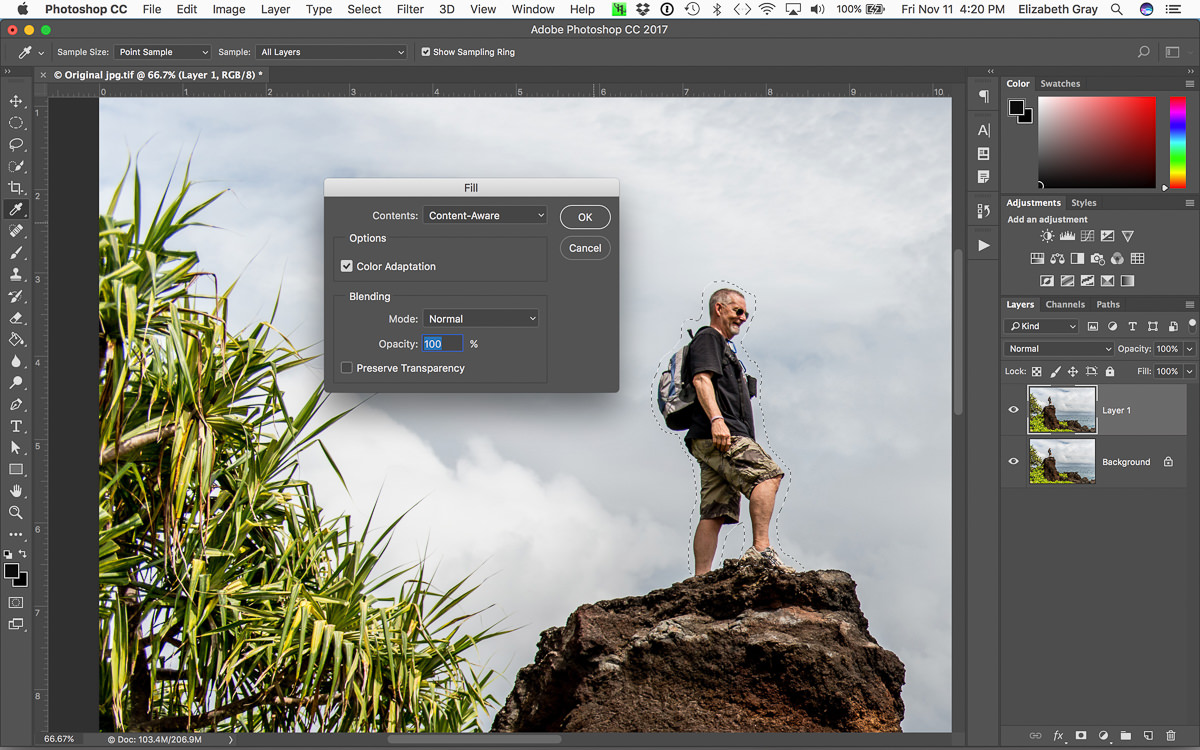
Make sure that Content-Aware Fill is selected from the drop-down menu, that Color Adaptation is selected, and choose Normal as the blending mode. Now click OK.
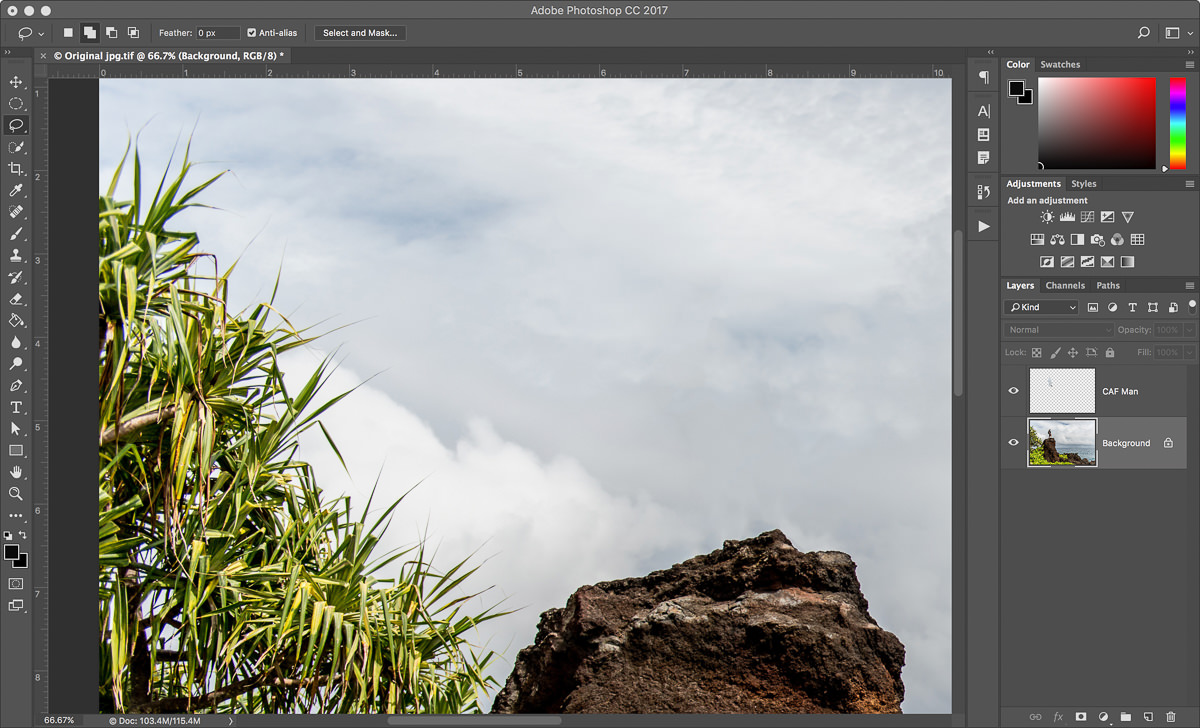
At this point, the unwanted object should have miraculously disappeared and your selection will still be active. This next step is the important one!
With the selection still active, copy it to a new layer. You can do this in one step using the shortcut Cmd+J (Mac) or Ctrl+J (PC). Now the pixels that Photoshop created to fill in space originally occupied by the object are on their own layer.

You are almost done. Delete the copy of the background layer that you made in the first step and rename the layer with the new pixels on it. Renaming will help you keep track of your layers, especially if your final document contains more than a few.
Finishing Touches
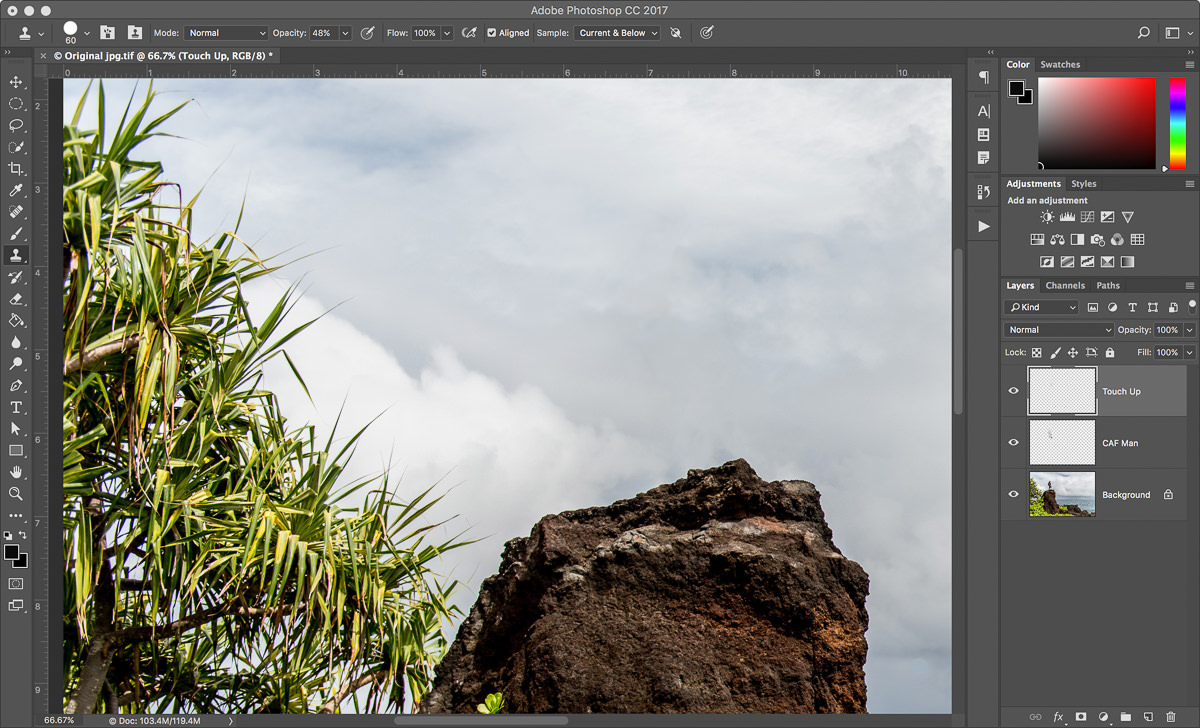
Sometimes Content Aware Fill does a perfect job. Other times, you may need to clean up a few areas, especially if you see any pattern repetition. In this example, I didn’t like the light area on the rocks.
To take care of this I created a new layer and used the clone stamp tool to replace the bright rock with something darker. Make sure you have sample ‘Current & Below’ selected and work from a new layer to continue working non-destructively.
Now you are finished and the original background layer remains untouched. You can turn the layers with the new pixels on and off to confirm this.

And here is the final image with Keith removed.
Conclusion
Now I realize that each of you will have your favorite way of removing objects in Photoshop, and in no way am I trying to tell you to use Content Aware Fill all the time. What I have found is that if one method doesn’t work, try another. For small spots and blemishes, the Spot Healing Brush usually works well. Sometimes a combination of techniques works best. For large objects, I find Content-Aware Fill usually does the trick.
What I hope you take away here is that there is no one ‘best’ way. But there are ‘smart’ ways to work inside of Photoshop. Whatever method you use, make sure that you are working non-destructively.
The post Using Content-Aware Fill Non-Destructively in Photoshop appeared first on Photography Life.


