
Even though my first camera was the digital Nikon D5100, I always have felt a sort of secondhand nostalgia for the days of film photography. The vast majority of history’s great photographs were taken on film; masters like Ansel Adams and Galen Rowell defined the medium of landscape photography in my mind, and both were entirely film photographers. Personally, by using a digital camera so early, I felt that I was missing a more hands-on appreciation for photography’s complex history. Perhaps this thought was not first on my mind while in the field, but it certainly surfaced from time to time.
For that reason, I was thrilled to have a chance to shoot traditional, darkroom-based black and white photography throughout the past three months. I used the Nikon F100, since it works with all of my modern lenses (including vibration reduction and autofocus), along with Tri-X ASA 400 monochromatic film.
1) Choosing Subjects Carefully
With 35mm film, you only get a few dozen photographs per roll. As a digital photographer, I have gotten into the habit of taking a handful of photographs for every subject, testing different compositions and making sure that my settings are as accurate as possible. Not so with film.
Shooting on the F100, I found myself spending far more time on every photograph than typical. Sometimes, I wouldn’t even take a photograph that I had started framing – even if I already spent more than a minute on my composition. Film isn’t hugely expensive (roughly fifteen cents per frame, not counting development costs), but you only get a handful of photos per roll. I also had just ten rolls, and they needed to last me three months (which is how long I had access to a darkroom).
All of this meant that I had to choose my subjects very carefully, and I had to visualize how each photograph would look as a print. This was valuable – and I’m sure that it improved my compositions – but it also took a lot of time. Honestly, that was the main difference for me between film and digital; film takes far more time to shoot.
2) Lack of Instant Feedback
Before I bought the F100, I felt fairly certain that the most difficult part about film photography would be the lack of feedback. I love my digital camera’s LCD screen; as a landscape photographer, I shoot in live view mode at least as much as through the viewfinder. I also rely heavily on the Image Review mode in order to check my focus, composition, and other settings. None of this, of course, is possible with a film camera.
In the end, though – despite occasionally checking the back of my F100 in a failed attempt to review a photo – this was not as difficult as I had expected. There certainly were times when I would have wanted to review my shots, but not particularly often. I credit this to the care that I had to take with every film photograph; I simply checked my framing in the viewfinder rather than on an LCD screen.
At the same time, I know that the lack of instant feedback would have made it difficult to begin photography with a film camera. If I had not been shooting digital for several years, I wouldn’t have had a clue how to choose the proper shutter speeds and aperture settings. I can’t imagine the learning curve for film photographers, and I am quite glad that I began my journey with a digital camera; otherwise, I know it would have taken much longer to learn everything I know.
3) Seeing in Black and White
Tri-X film is black and white, which worried me initially. Although I love monochromatic photographs, most of my personal images are in color. When I do convert to black and white, I tend to spend quite a bit of time getting the tones and contrast correct; it is not something that I like to leave at the default values.
With Tri-X, of course, everything is at a “default” value; you don’t have nearly as much control over the conversion of a color world to black and white. Although it certainly is possible to use filters for this purpose, I did not purchase any, since I knew I would be shooting film for no more than a few months. So, for me, the F100 became an exercise in seeing the world as levels of light rather than colors and hues.
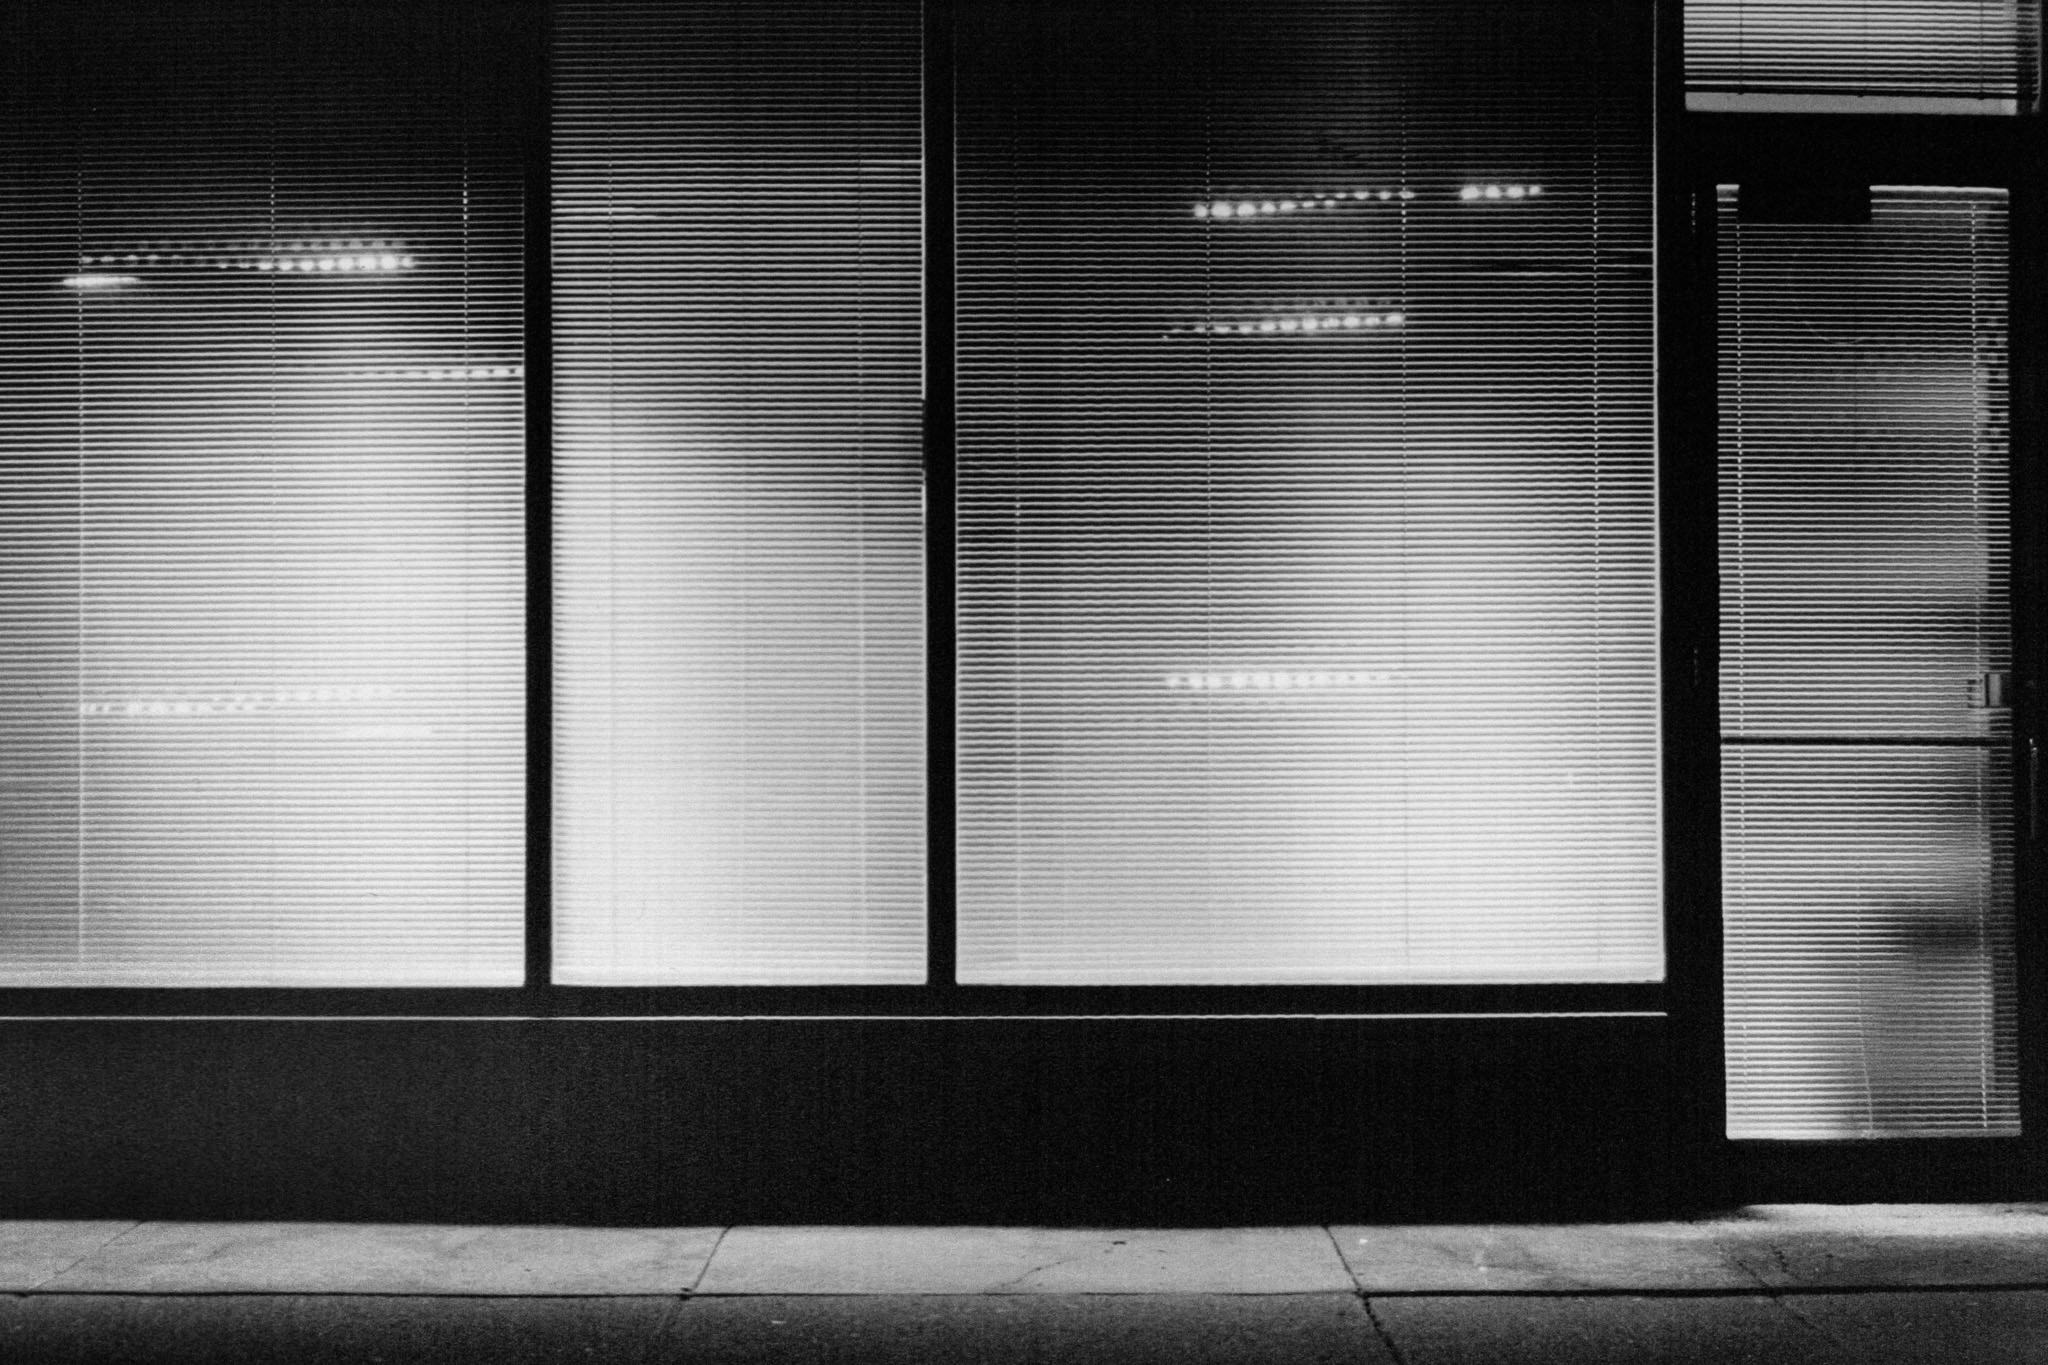
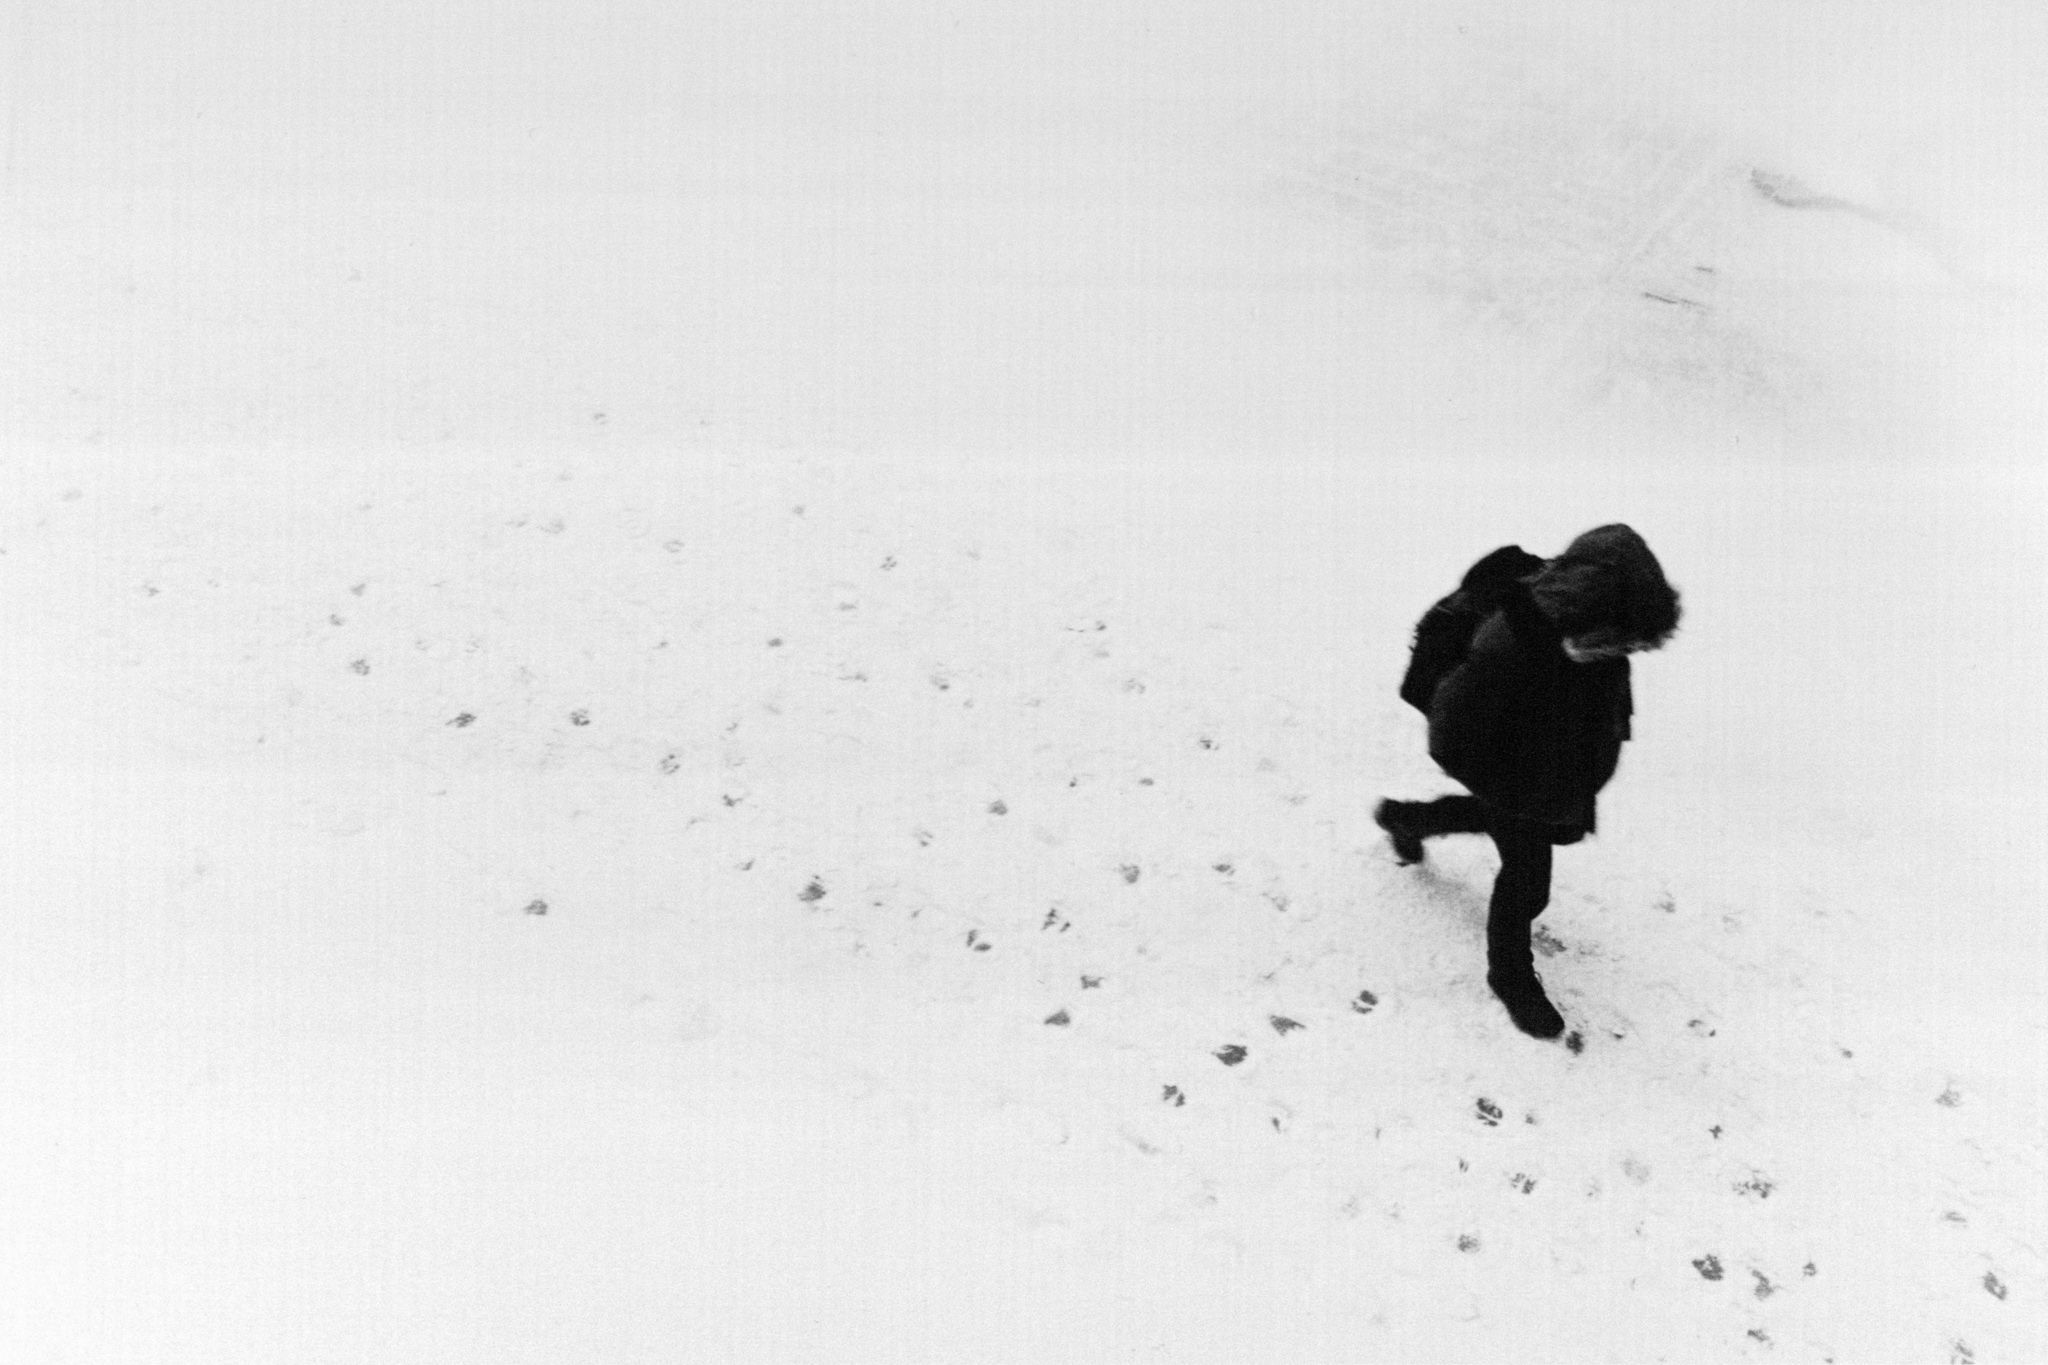
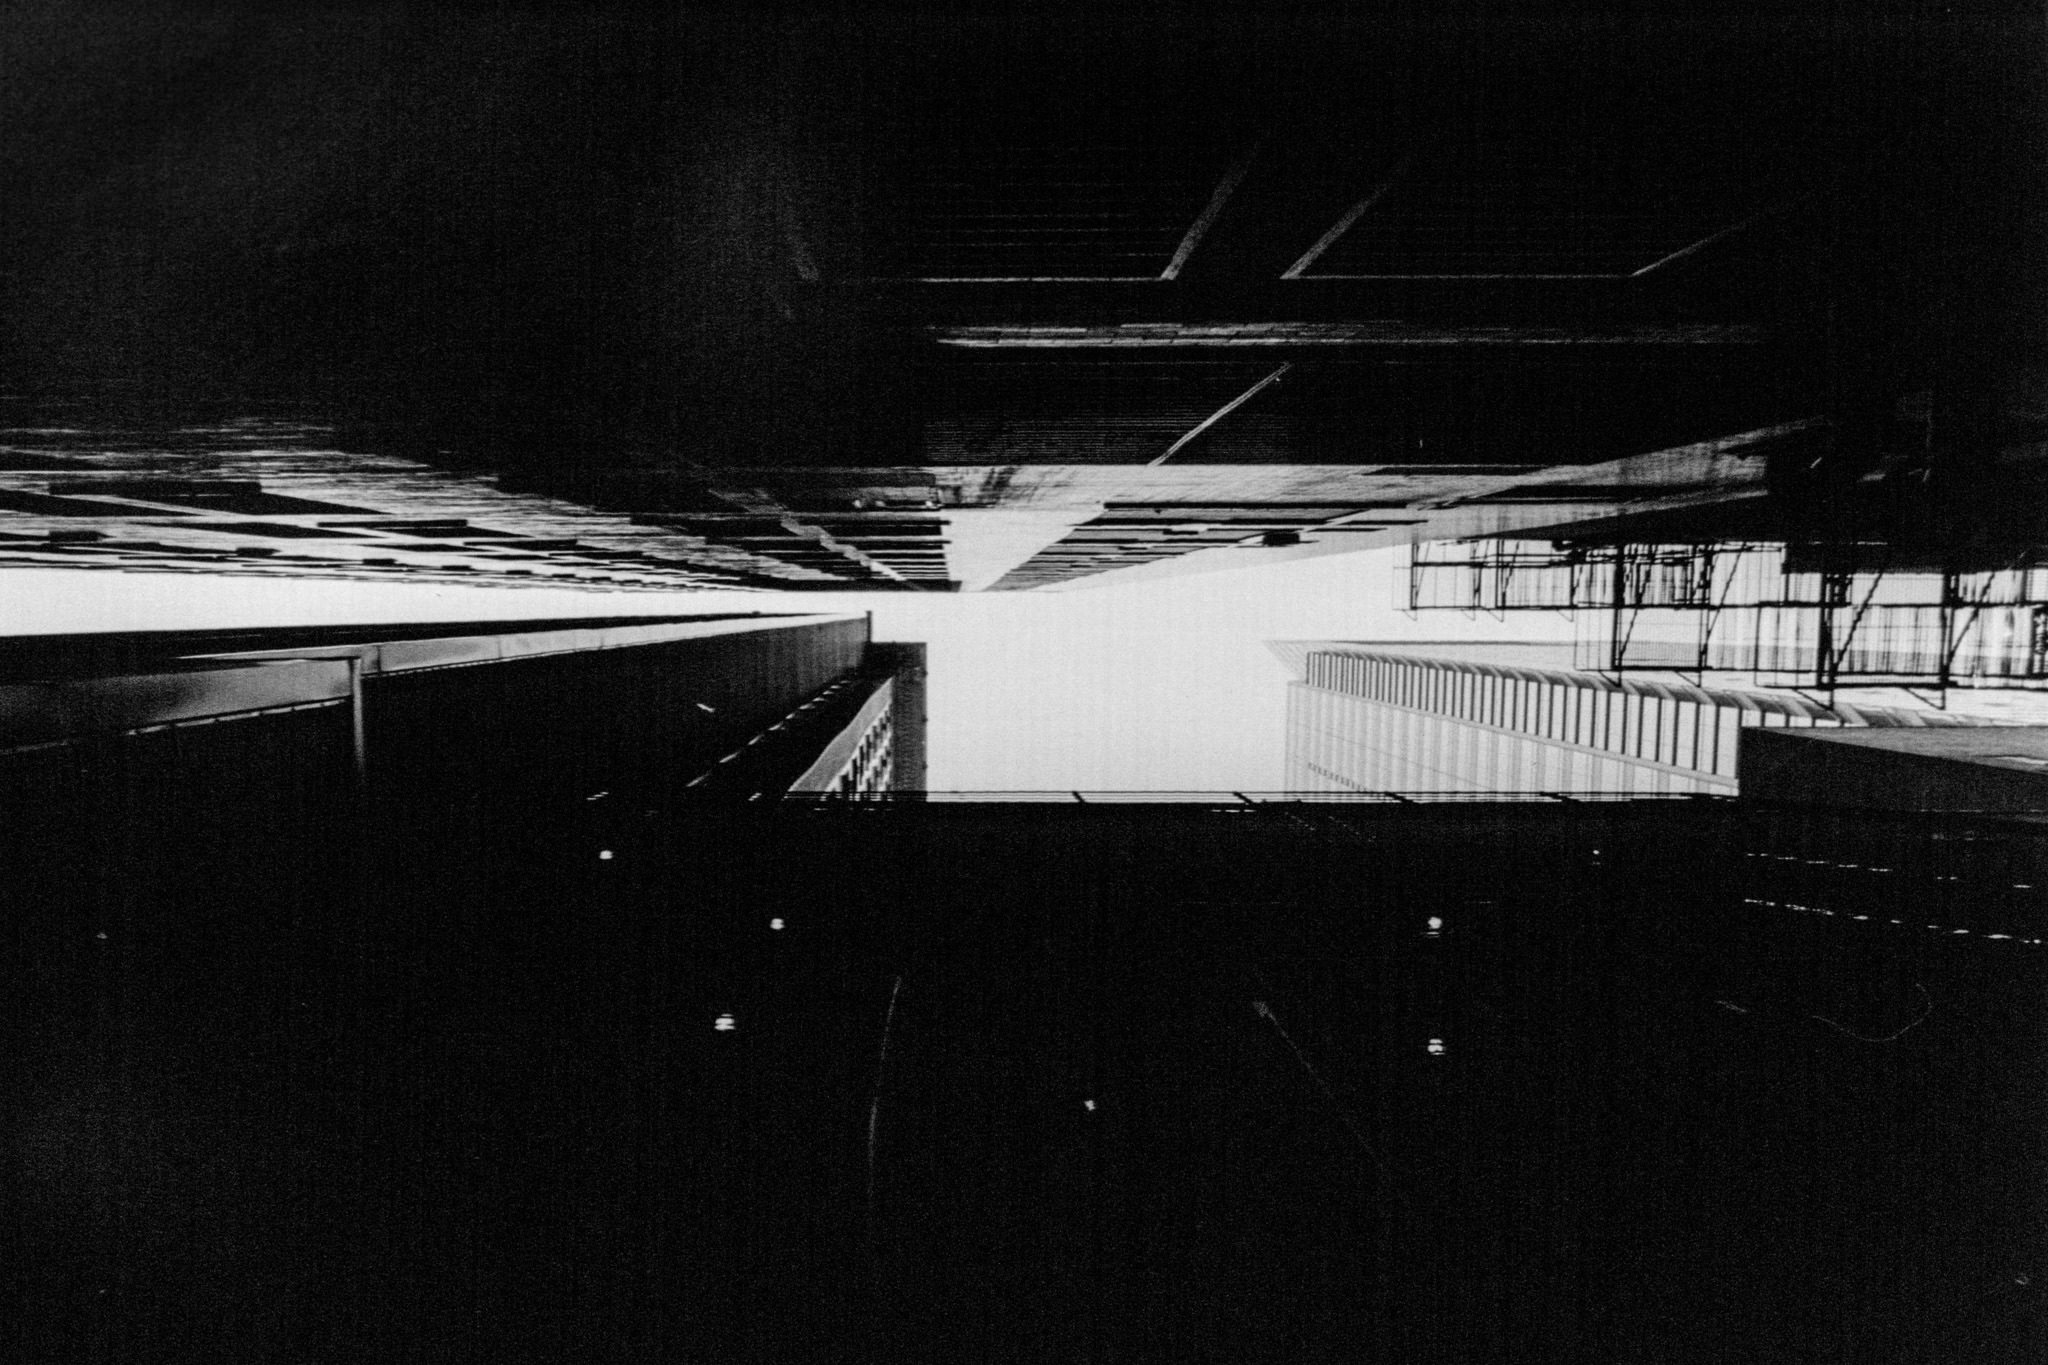
Luckily, I took many of my film images in downtown Chicago during the winter; there weren’t many bright colors in the first place, which made it easy to envision how a monochromatic image would appear. Still, at times, I found that a photo was significantly different than I expected – a yellow taxi losing its intensity, or nighttime scenes appearing more drab than they did in my viewfinder. I am sure that my monochromatic eye would improve over time, so these issues may only be relevant for beginning film photographers.

4) The Darkroom Process
I knew nothing about the darkroom prior to shooting film, and I am sure that some of our readers – although certainly not all – are in the same boat. The complex, mysterious concept that I had in mind was quite far from how darkrooms truly work; in reality, they are quite simple and ingenious.
First, you would need to develop your film. This process begins by opening a canister of film (which already has been shot, of course) in the dark, then winding it around specially-sized reels. The reels are placed in a light-tight container, where water (and other chemicals) can be poured.
Now, you can turn back on the lights. It then takes an hour to develop the film, which you do by pouring developer, fixer, and other chemicals into the container at specified intervals. It is not worth covering the specifics; this is a time-consuming process. Higher-tech machines exist for developing film, of course, but this is the method that I used.
The fun part – and the true darkroom work – comes after the film is removed from its reel and then dried. At this point, you slide the film into an enlarger, which projects an inverted version of the photograph onto a sheet of light-sensitive paper. The longer the projection lasts, the darker your ultimate print will be. In the mean time, though, the paper stays pure white; you can’t yet see any differences between an exposed and a non-exposed sheet of paper. (Also, although the paper is sensitive to light, it only responds to certain wavelengths. This means – luckily – that you can turn on a dim, amber-colored lightbulb while you make your prints, and the paper is not affected.)
After exposing your paper, the next step is to place it into three different chemical baths: developer, stop bath, and fixer. The developer causes your image to form, which is quite fun to watch; you literally can watch the photograph appear before your eyes. Next, you put the paper into a stop bath, which halts the development process. Finally, place it into the fixer to ensure that your paper no longer is sensitive to light.
If you’re following along, these steps can be summarized in seven steps:
- Shoot a roll of film.
- In a pitch-black room, unload the film from its canister and place it in a special light-tight container. You can now turn on the lights again.
- Pour chemicals into the container, including developer and fixer.
- Unload and dry the film.
- Place the film into an enlarger, and make sure that the only light in the room is amber-colored.
- Put light-sensitive paper under the enlarger, then project your image onto the paper.
- Place the paper into developer, a stop bath, and fixer. Wash off the final print in water. Now, it is ready to display.
If all of this is familiar to you, my apologies. However, I hope that some digital-only readers now have a better sense of the darkroom process (at its simplest, that is – there are many ways to make these steps more involved). It certainly was exciting for me, and I honestly enjoyed this sort of hands-on style of photography – even though it was so time-consuming.
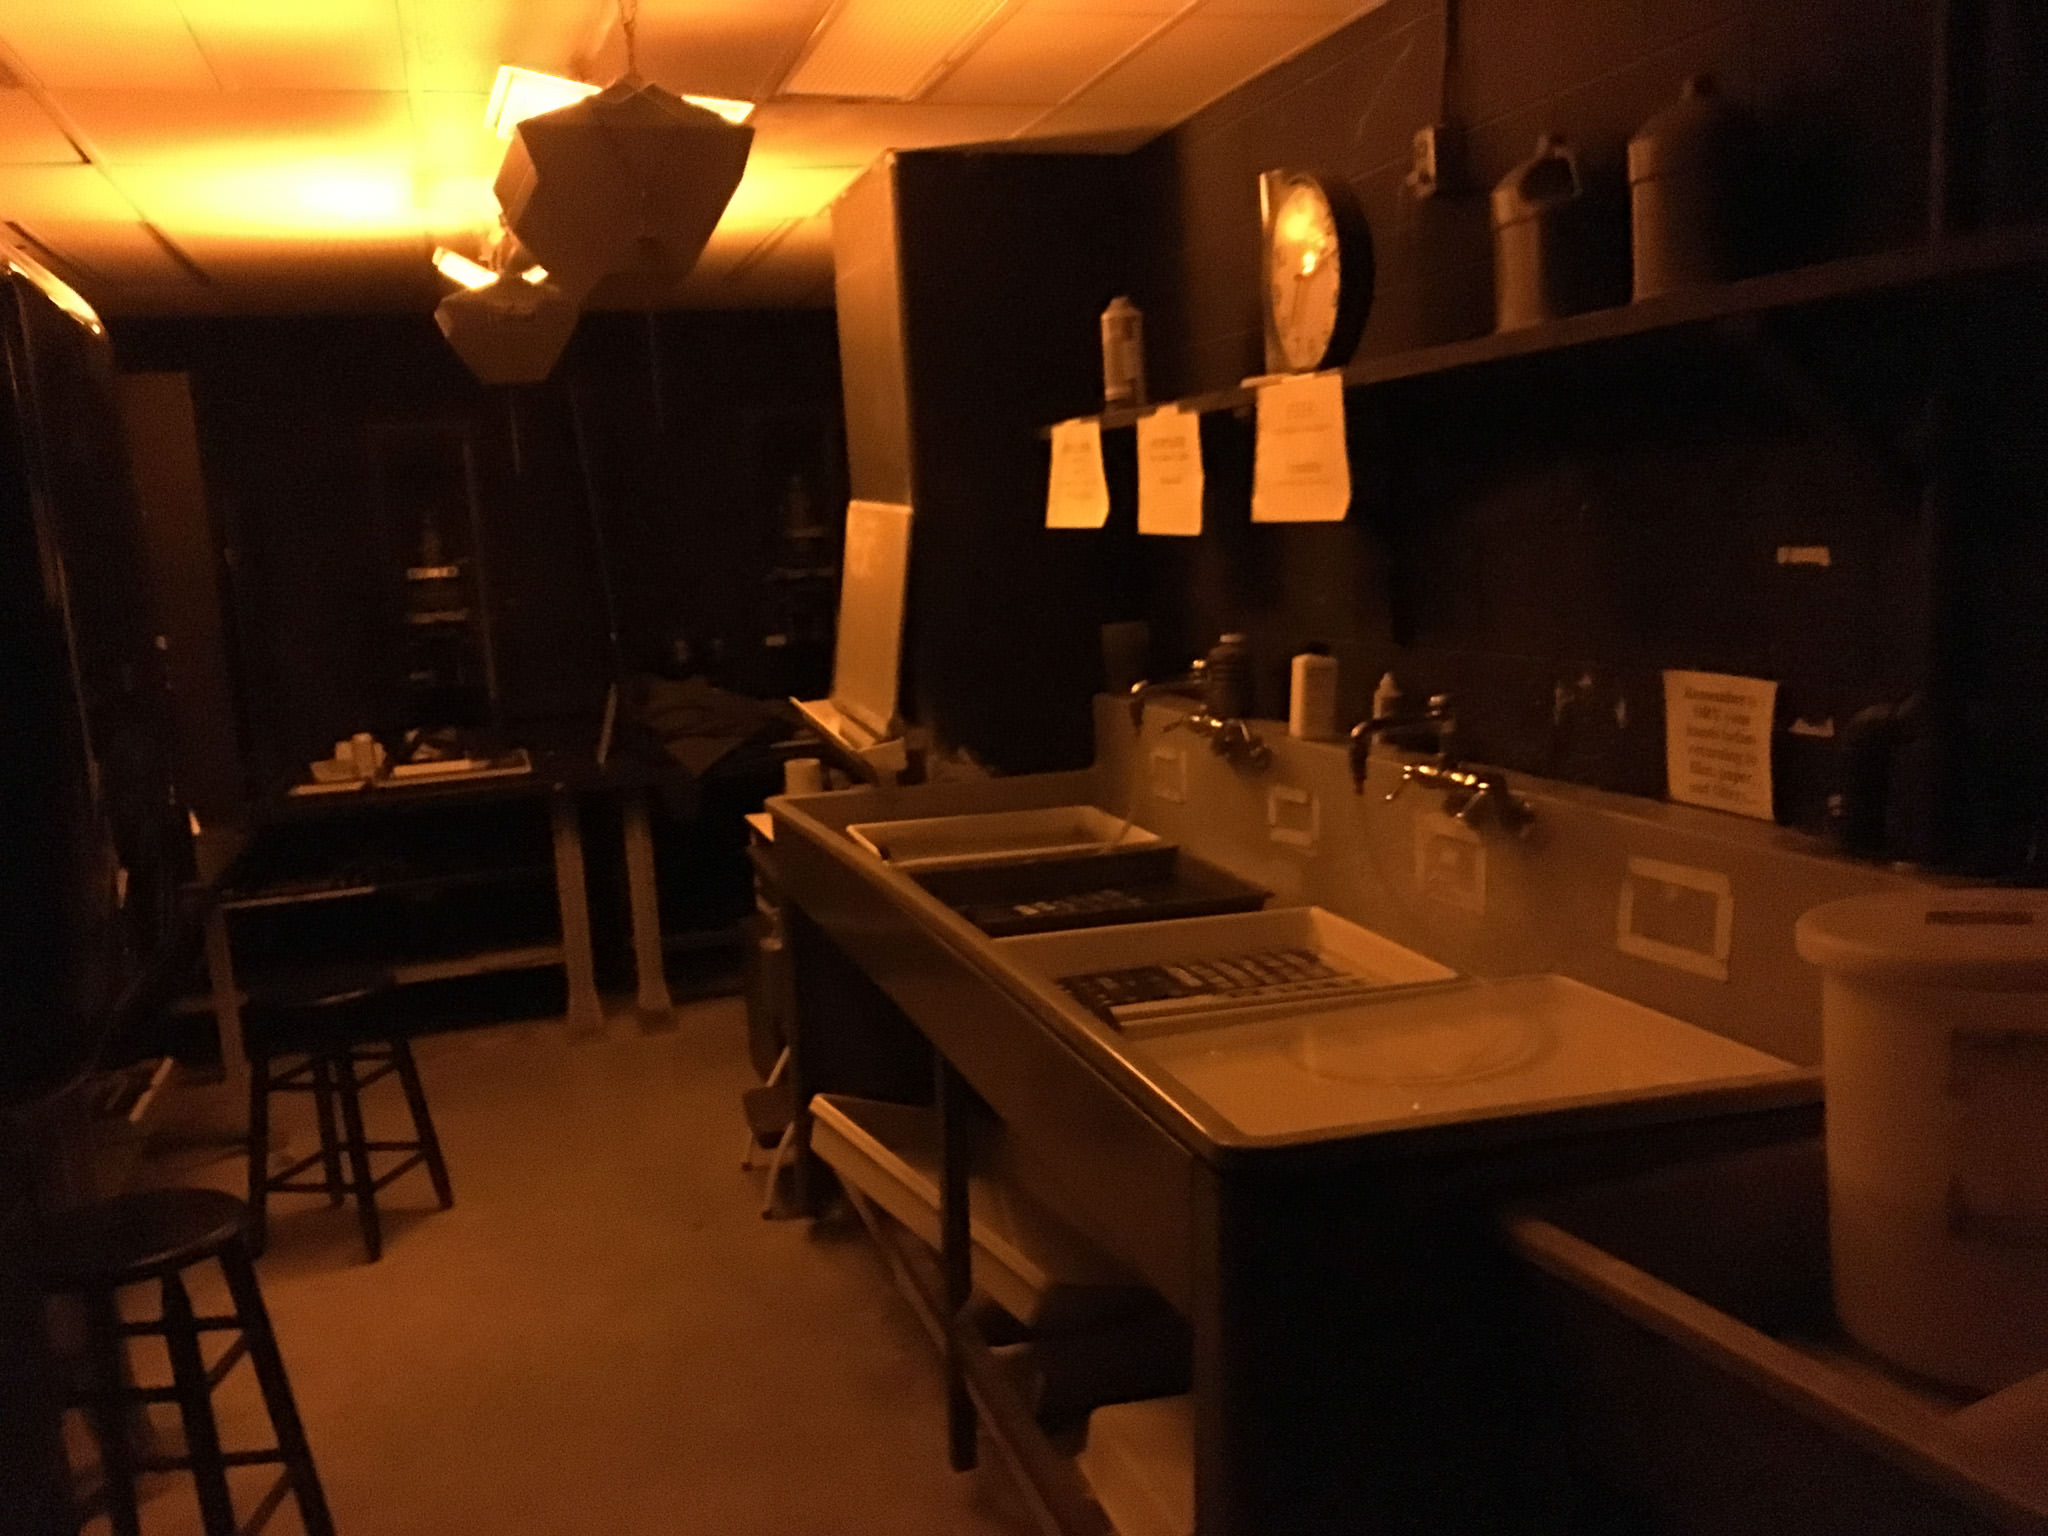
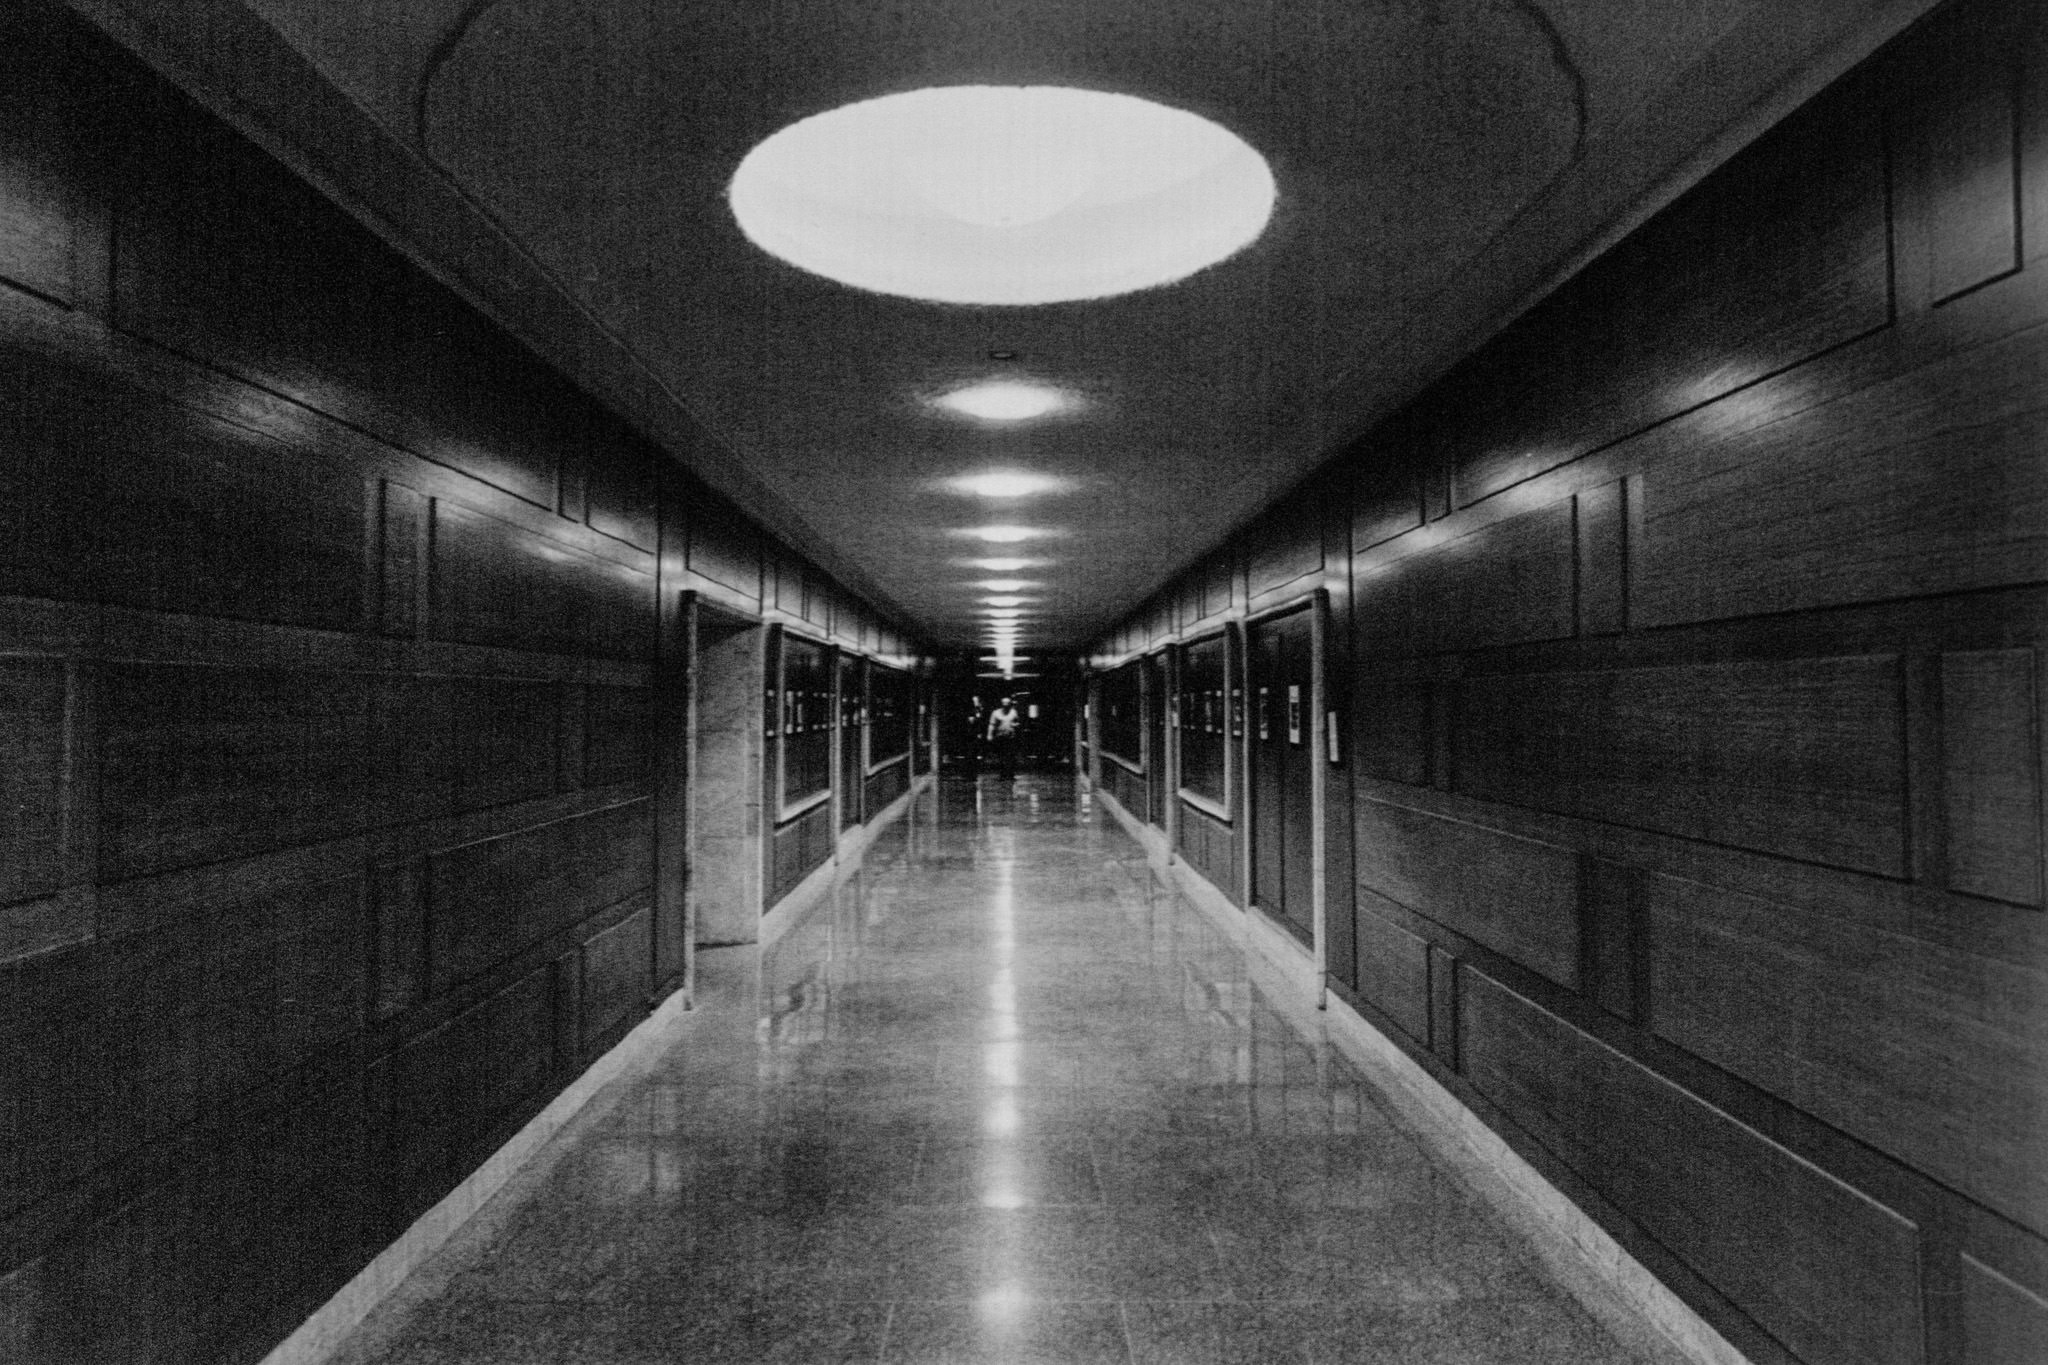
This is low-quality phone photograph, but it shows the darkroom’s characteristic amber light.
5) Accepting Imperfections
Perhaps the biggest lesson that I learned from film photography was to accept that there is no way to make every photograph look perfect. With digital, I constantly struggle with this; an image is never “good enough,” and I always see a number of ways to make every photograph better. Unfortunately, despite the plethora of digital edits that I can make, there never is a truly “finished” state; a month later, I will look back at the photo and see dozens of new changes to make.
Film is this same feeling, but magnified. Every time that I needed to change a small aspect of a print in the darkroom, I needed a new sheet of paper and fifteen minutes of processing. If my horizons were crooked or my framing was wrong, I could only go so far to fix the mistakes. Given unlimited time and paper, I certainly could have made more edits – but even then, my darkroom skills would not come close to replicating the post-processing that is possible on a computer.
In the end, I had to accept the imperfections of my prints – which was a good thing. As I took more and more pictures, I became less interested in technical perfection and more interested in lighting, composition, and timing. Since I knew that the photos weren’t going to look “perfect,” I didn’t try to attain an impossible level of precision. Once I understood the limitations of film (and the general darkroom process), I started to feel more comfortable displaying photos that were slightly different from what I wanted. This same mindset can be equally valuable for digital photography; it is rarely worthwhile to spend hours correcting the nearly-invisible errors in your images (although I find myself doing so all the time).

6) Conclusions
Although I certainly am not planning to swap my digital camera for a film setup, I learned quite a few valuable lessons from my time with film photography. More than anything, I found my visualization skills improving; I had to “see” the world as it would appear in my final print, which helped me spot the scenes that would make high-quality photographs.
On top of that, I thoroughly enjoyed learning about darkroom techniques. It is easier to understand the impact that Ansel Adams had on photography – revolutionizing exposure and the darkroom process – now that I have begun employing some of his methods myself. Film was far more tangible than digital photography; I saw every behind-the-scenes step of a photograph’s creation, and it made me appreciate the complexity of photography from a different perspective. If you have shot film and created darkroom prints before, I am sure that you would agree – and if you haven’t, I absolutely recommend trying film if you ever have the opportunity.


The post Shooting Film for the First Time appeared first on Photography Life.


