
Ahhhhhh… spring!
What a beautiful time of year.
The days are starting to get longer, the flowers are blooming and we are one step closer to summertime.
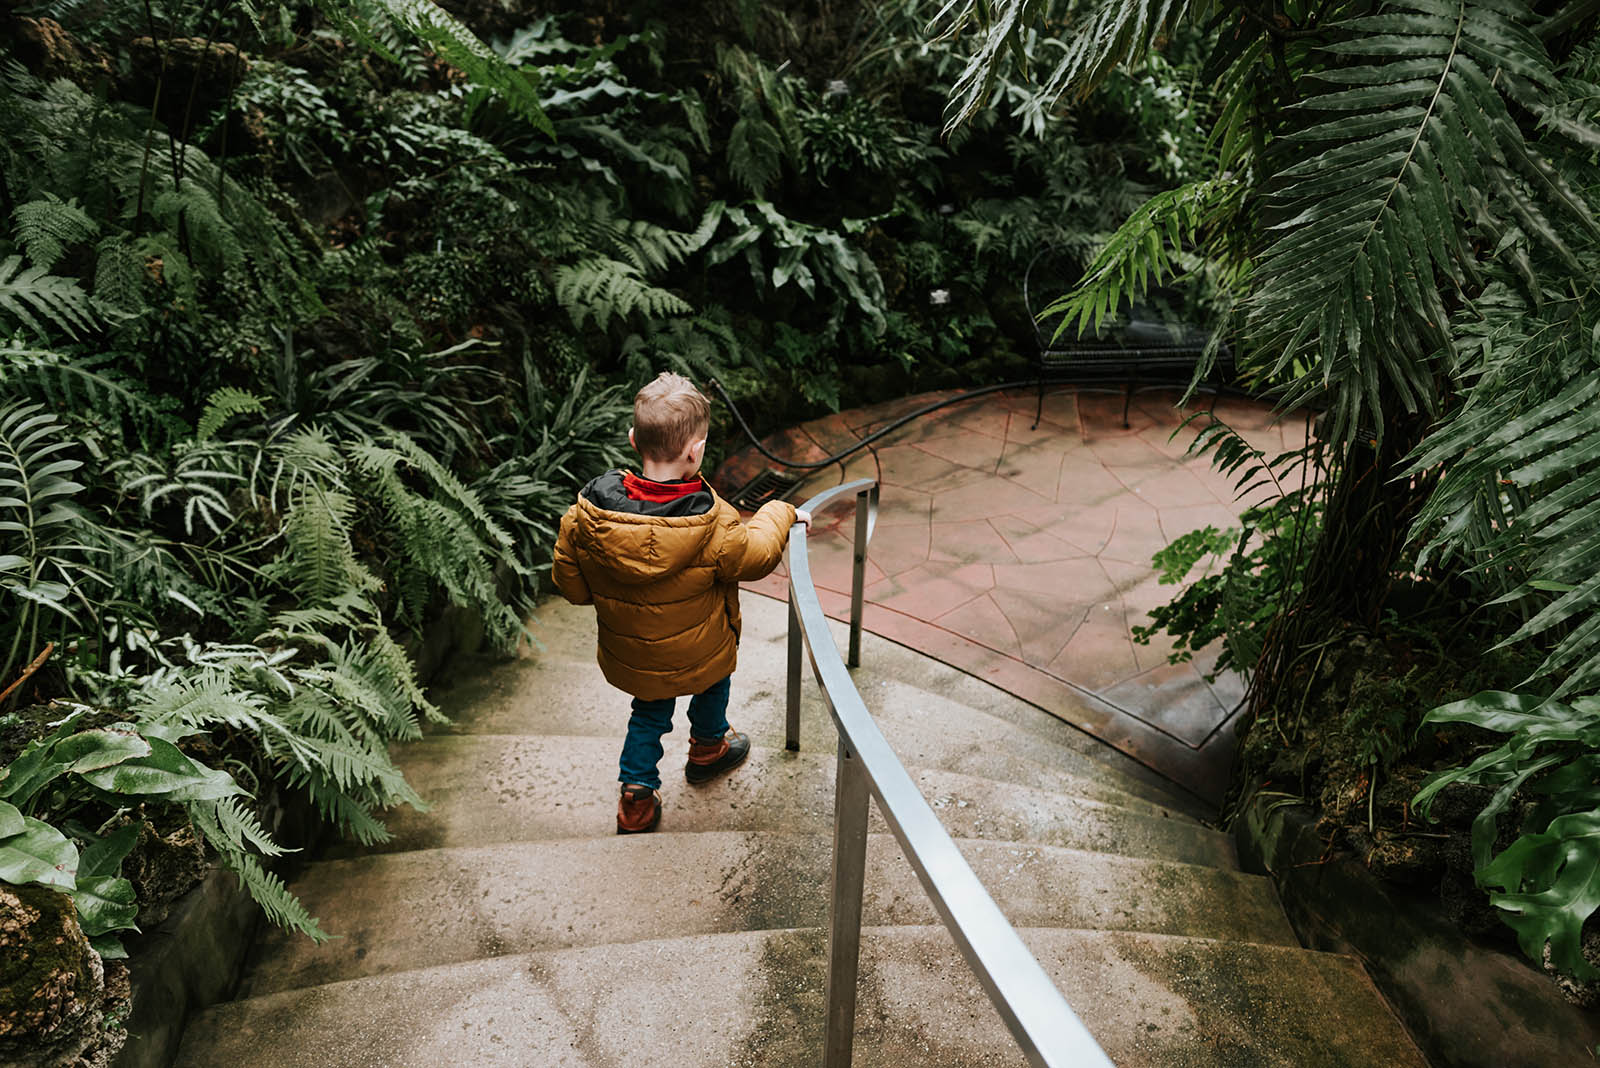
This sounds like the perfect setting to capture some beautiful spring images of the kiddos finally getting outside to play until it’s time to edit the dreaded neon colored green grass. The struggle is real!
Before I shoot anything, I do two things. I set white balance using Kelvin and then I adjust the tint towards magenta in camera as needed. I use a Nikon and it tends to give my images an overall green tint when my subjects are surrounded by bright greenery.
You might ask why I chose this particular image to demonstrate my steps. Can you can see how the uneven light affects the color of the grass differently? Grass located in direct sunlight will take on more of a bright neon tone.
In Lightroom’s develop module I use the Hue, Saturation and Luminance sliders to adjust these colors in the HSL Panel.
Grass is actually made up of green and yellow hues so I click on the sampler tool and then hover over different parts of the grass. When you do this you will see both the green and yellow sliders become highlighted as you move the sampler around over the grass.

First, I decrease the Luminance in the grass by using the sampler tool. Click on the Luminance heading in the panel then click on the sampler tool. This will transform your mouse into the tool. Click on any part of the grass and drag your mouse down.
Using the sampler tool will adjust all the hues automatically that make up a specific color in your image. The grass will become a deeper shade of green.
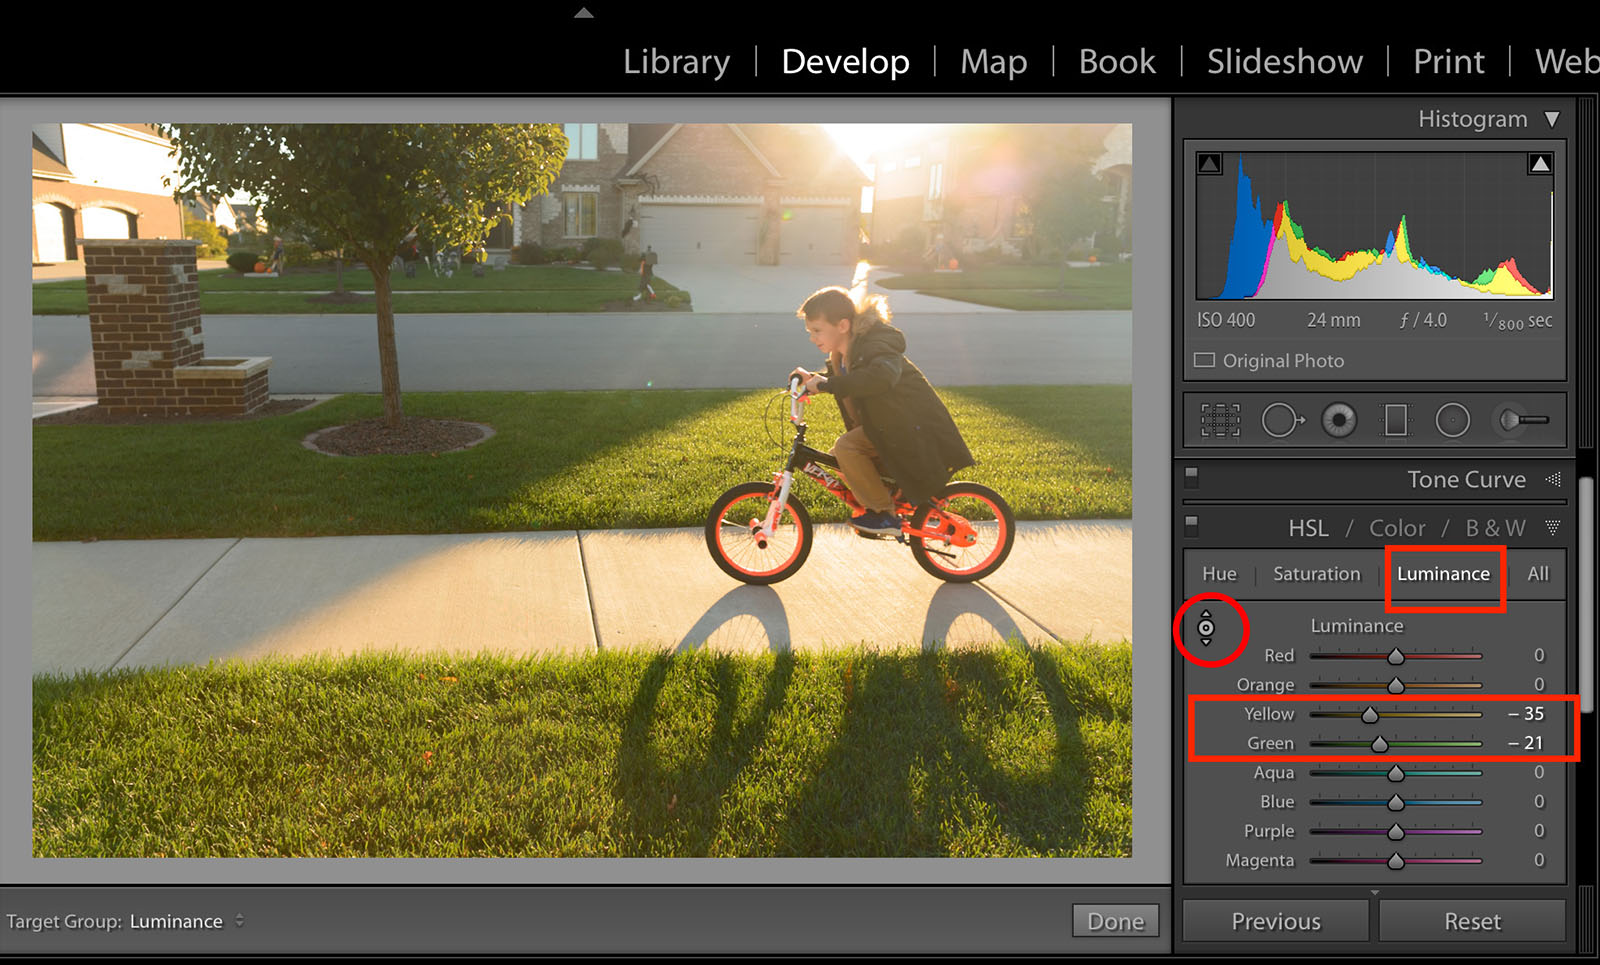
Then click on the Saturation heading in that same panel. I decrease the saturation in the grass by using the sampler tool, clicking on the grass and dragging the tool down the same way as I deceased the Luminance.

I prefer my edits to have slightly cooler greens. To do this, I click on the Hue heading. I use the sampler tool and drag the tool up to increase the hue of the grass. This will add a cooler hue to the greens and yellows.

All these adjustments depend on your taste and editing style.
You can also experiment by adjusting the green or the yellow sliders independently after using the sampler tool. Have fun trying different looks and try different hues to see what you prefer!
Try repeating these steps to the blues by adjusting the Luminance, Hue and Saturation of your sky!


The post Lightroom’s HSL Panel: How to keep the grass green in your photos appeared first on Clickin Moms blog: Helping you take better pictures one day at a time.
Clickin Moms blog: Helping you take better pictures one day at a time


