
Although we have already published a detailed review of the JPEGmini Pro software a while ago, a number of readers have reached out to me, asking how to effectively use the software, specifically when extracting images for clients from Lightroom. I have now been using JPEGmini for over a year and both Lola and I have been extracting images from Lightroom in a specific way to get the highest quality JPEG images to our clients, while retaining the smallest file size possible. Previously, we would extract everything at particular resolutions (typically 2048 for smaller JPEGs and full size for print) using 100% JPEG compression for the full sized images for the best possible quality, but extracting hundreds and sometimes even thousands of images turned out to be a headache when it came to storage and file transmission. With JPEGmini, we were able to continue delivering the best images to our clients, with a much smaller footprint. This resulted in both time and cost savings in the long run for us, as we did not have to deal with time-consuming uploads and large USB drives. In this article, I will show how both Lola and I we have been utilizing JPEGmini as part of our Lightroom workflow.
First of all, in order to integrate JPEGmini into your Lightroom workflow, you will need the Pro version of the software – the regular version does not come with a Lightroom plugin. Once you download and install JPEGmini, you will have to add JPEGmini into your Lightroom through the Plug-in Manager, as detailed below:
- After JPEGmini Pro installation is complete, fire up Lightroom
- Once Lightroom opens up, go to File->Plug-in Manager
- Click the “Add” button on the left bottom corner of the Plug-in Manager window
- On a 64-bit version of Windows operating system, browse to C:\Program Files (x86)\ICVT\JPEGminiLightroomPlugin
- Left-click on the “jpegmini.lrplugin” folder once, then click the “Select Folder” button
- You will be presented with the following window:
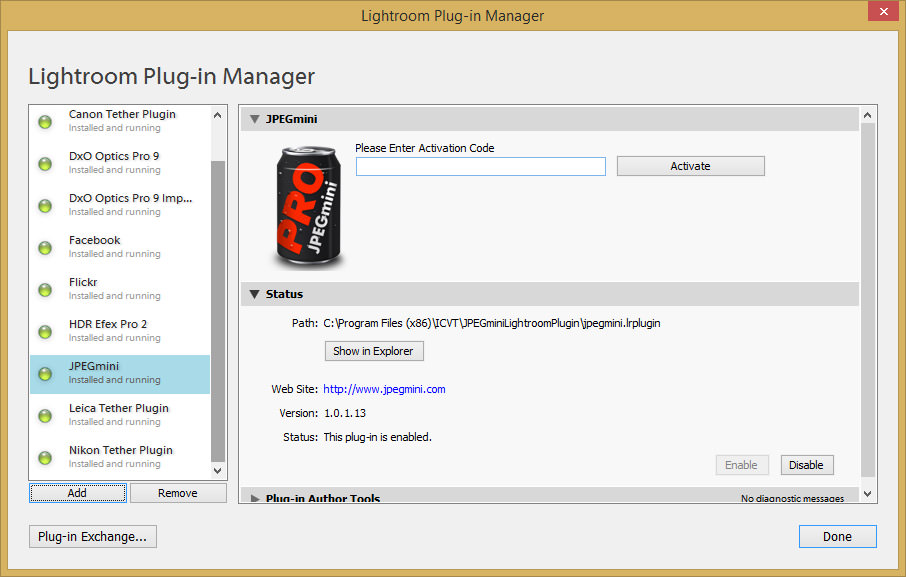
- Type in your activation code and click “Activate”
- Wait until the software is activated. When the process is complete, the text will change to “Activated”
- Click “Done” to close the Plug-in Manager window
The plugin is now up and running, and ready to be used.
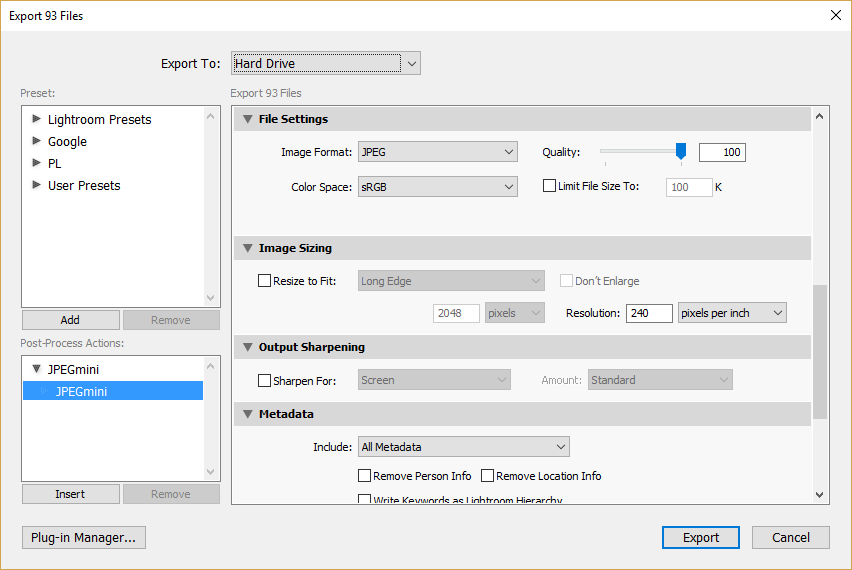
From here, you will no longer need to worry about doing any extra work, aside from inserting JPEGmini into your Post-Process Actions. Launch the export window of Lightroom by pressing Ctrl+Shift+E (Command+Shift+E on Mac), then expand “JPEGmini” under “Post-Process Actions” on the left bottom side of the window and select the JPEGmini link. From there, click on the “Insert” button:
After you do that, you will see that now you have a new section in the main window called “JPEGmini”, which now shows the JPEGmini Pro soda can:
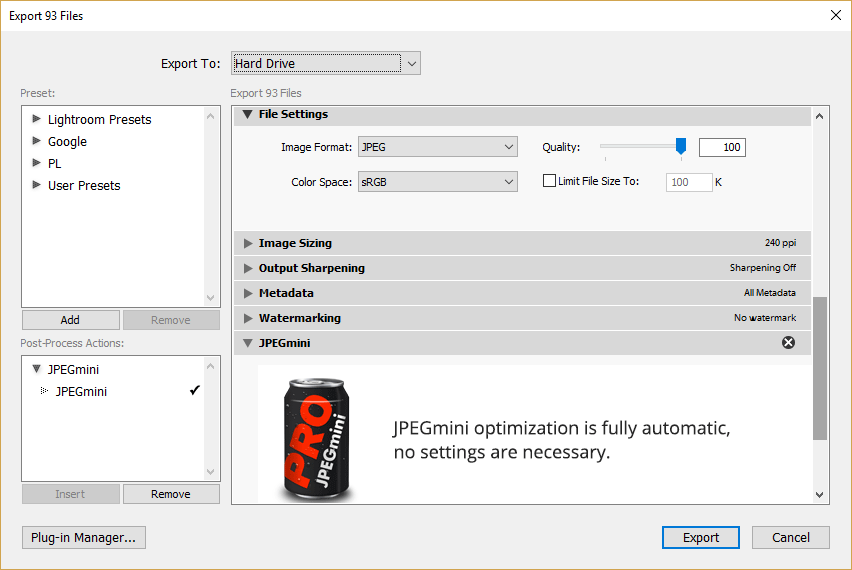
This means that the software optimization is now running, so every time you export an image, it will automatically be optimized for you.
Now the big question is, what Quality should you pick during the export process? Remember, JPEGmini is designed to optimize ANY JPEG compression. If you choose a lower quality during export, you will already have a smaller file and JPEGmini will do its best to optimize the image even further to get to a smaller JPEG file size. So if your aim is to provide the best possible image quality, whether you are providing the JPEG to your client, or publishing your work online and you do not want anyone to see JPEG artifacts, my recommendation would be to keep the Quality set to 100 and let JPEGmini handle the rest. This method has been working great for me and I typically choose Quality 100 in Lightroom export window now, unless I am uploading images to this website and I want to have even smaller file sizes.
Most social media websites like Facebook will be re-optimizing your images upon upload anyway, so if you use a quality setting of 100 with JPEGmini compressing the image, you will most likely have the least amount of artifacts once the images are processed by those extra compression engines.
Let’s take a look at how JPEGmini can help you save time and space. Here is the export of a single client shoot with a total of 84 JPEG images extracted in full resolution:
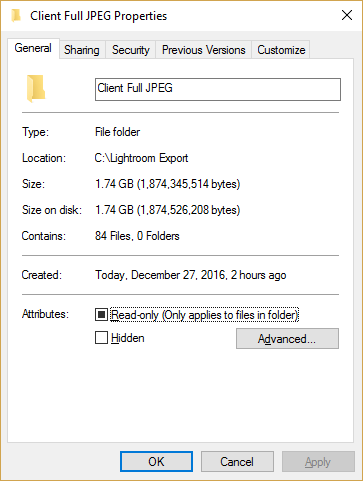
As you can see, that’s a total of 1.8 GB of files, which is a lot for 84 images. That’s because some of the images were stitched from multiple RAW files and the images contained a lot of detail. Let’s now take a look at what JPEGmini was able to do after applying it on export, with the same Quality setting of 100:
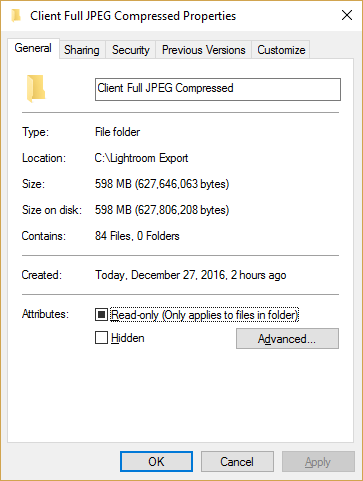
At around 600 MB, that’s a very significant reduction in total size from 1.8 GB – I now have 3x smaller images. Uploading this to my Dropbox is going to take a lot less time and I won’t have to worry about running out of space both locally and in the cloud when continuously dealing with delivering image content to my clients.
Hope this helps – if you have any questions, please let me know in the comments section below!
The post Integrating JPEGmini Pro to Lightroom Workflow appeared first on Photography Life.


