

If you’re like me, you love a beautifully backlit photo!
There’s just something about that dreamy, golden hour light that makes a picture sing.
You probably also know that backlit photos can be tricky! You have to slightly underexpose your subject so that you don’t blow out your background.
Sometimes it can be hard to brighten your subject in post without leaving that tell-tale halo that looks unnatural and overly edited. I’d like to share a simple way to brighten your subject quickly and precisely using Lightroom CC Classic’s new color and luminance range masking tool (this also works in Adobe Camera Raw.)
Don’t let that techy sounding name frighten you! The tool is incredibly easy to use and makes editing in Lightroom faster and more precise.
The tool can be found in the Adjustment Brush (keyboard shortcut “K”) which I’ll be showing you below. It can also be found in the Graduated filter, as well as the Radial filter because let’s face it… editing tends to be a bit more complicated than a straight line or a circle.
This tool gives you the precision that you never had in Lightroom. To explain it simply, you can quickly brush on an adjustment (like exposure) and then using the range color selector, tighten up the selection to more accurately choose what you want to adjust. It is actually quite simple. Let me show you…
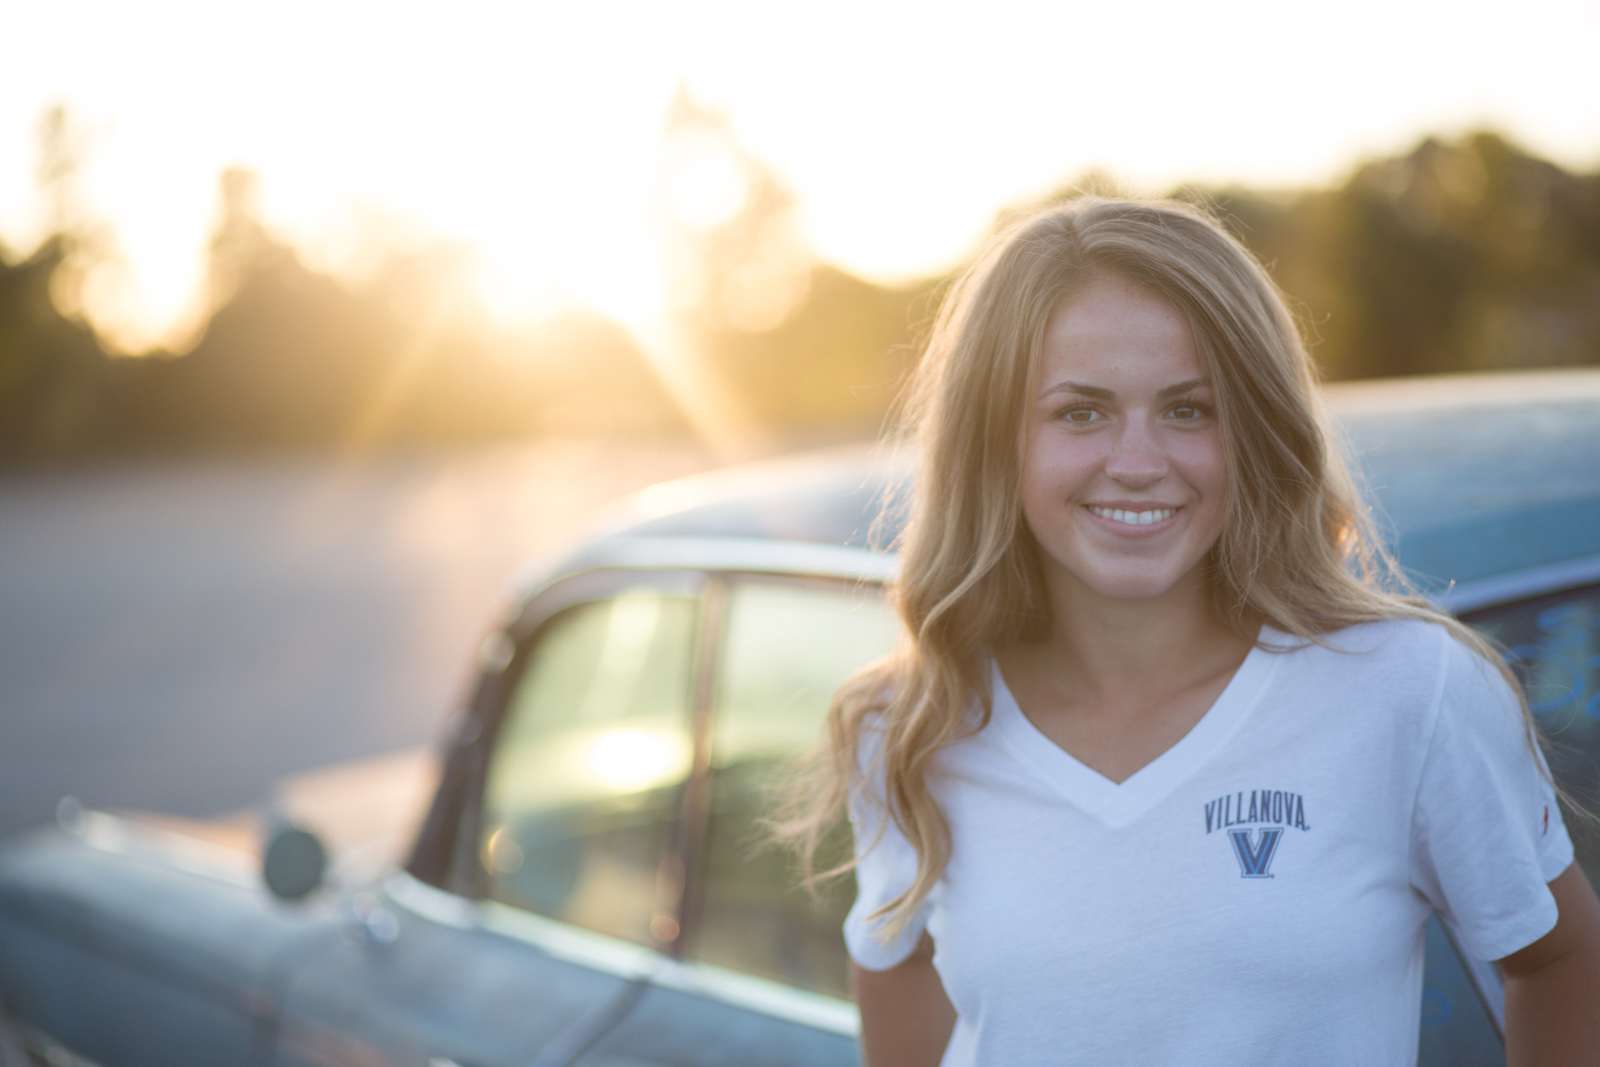
Here’s my original photo exported straight from RAW. The sun was setting quickly behind the tree line just as we saw this really cool old car sitting in the parking lot as we were wrapping up our senior portrait shoot. You can see the sky is slightly blown out and my subject is quite dark.
First, I made a few global adjustments. I increased the exposure slightly, decreased the highlights to get rid of the clipping in the sky, and I added a little warmth to the white balance.
It was a good start but it wasn’t enough to get my subject exposed correctly.

Next, I used my adjustment brush and painted over her face, arms and hair very quickly and not very precisely.
I scrolled to the bottom of the adjustment brush tool to “Range Mask” and chose “color” from the dropdown menu. I clicked on the eye dropper tool which activates the range color selector. Then I just click and drag a small portion of her skin under her chin to tell Lightroom which colors to zero in on.
If you don’t like what it chooses you can click another spot and it will make a different selection. You can see in this case, it very accurately highlights only what I want to brighten up.

I then make exposure and warmth adjustments to her skin. Because I have only highlighted her skin and hair, it doesn’t add yellow to her teeth, eyes, and shirt. I can go back and do the same thing on her shirt if I want to brighten it up as well.
Additionally, if I wanted to pop the blue of the car without taking away from the overall warmth of the scene I can easily highlight the blue, use the color range mask tool to pinpoint only those colors you wish to enhance and then increase my blue saturation.
It really is as easy as that! You can see below I’ve brightened my backlit subject in just 3 easy steps:
- quick global adjustments
- painted on exposure and warmth adjustments to her hair and skin
- brightened her white top without adding additional yellow.
She’s gone from dull to wow in less than a minute’s time.
If you’d like to see me edit this from start to finish you can watch the video below.

The post How to easily brighten your backlit subjects in Lightroom appeared first on Clickin Moms blog: Helping you take better pictures one day at a time.
Clickin Moms blog: Helping you take better pictures one day at a time


