
Shooting during the rain and fog can be a lot of fun.
For my family, we enjoy going out for an adventure to one of our near by state parks when we see there is rain and/or fog in the forecast. Typically, there’s no one else around and it’s nice to have a whole park to ourselves.
I love a good rainy day and it’s even better if there’s fog.
Rainy and foggy days can be very gloomy to some. However, if you look for an interesting composition and use a pop of color, you can achieve a beautiful and interesting photo.
Here’s how I do it.
In camera:
I almost always underexpose one stop if I’m in an area with no tree coverage above me. If I’m deep in the woods, I properly expose. This allows me to bring up the exposure on only the parts I want to in post processing such as my subject.
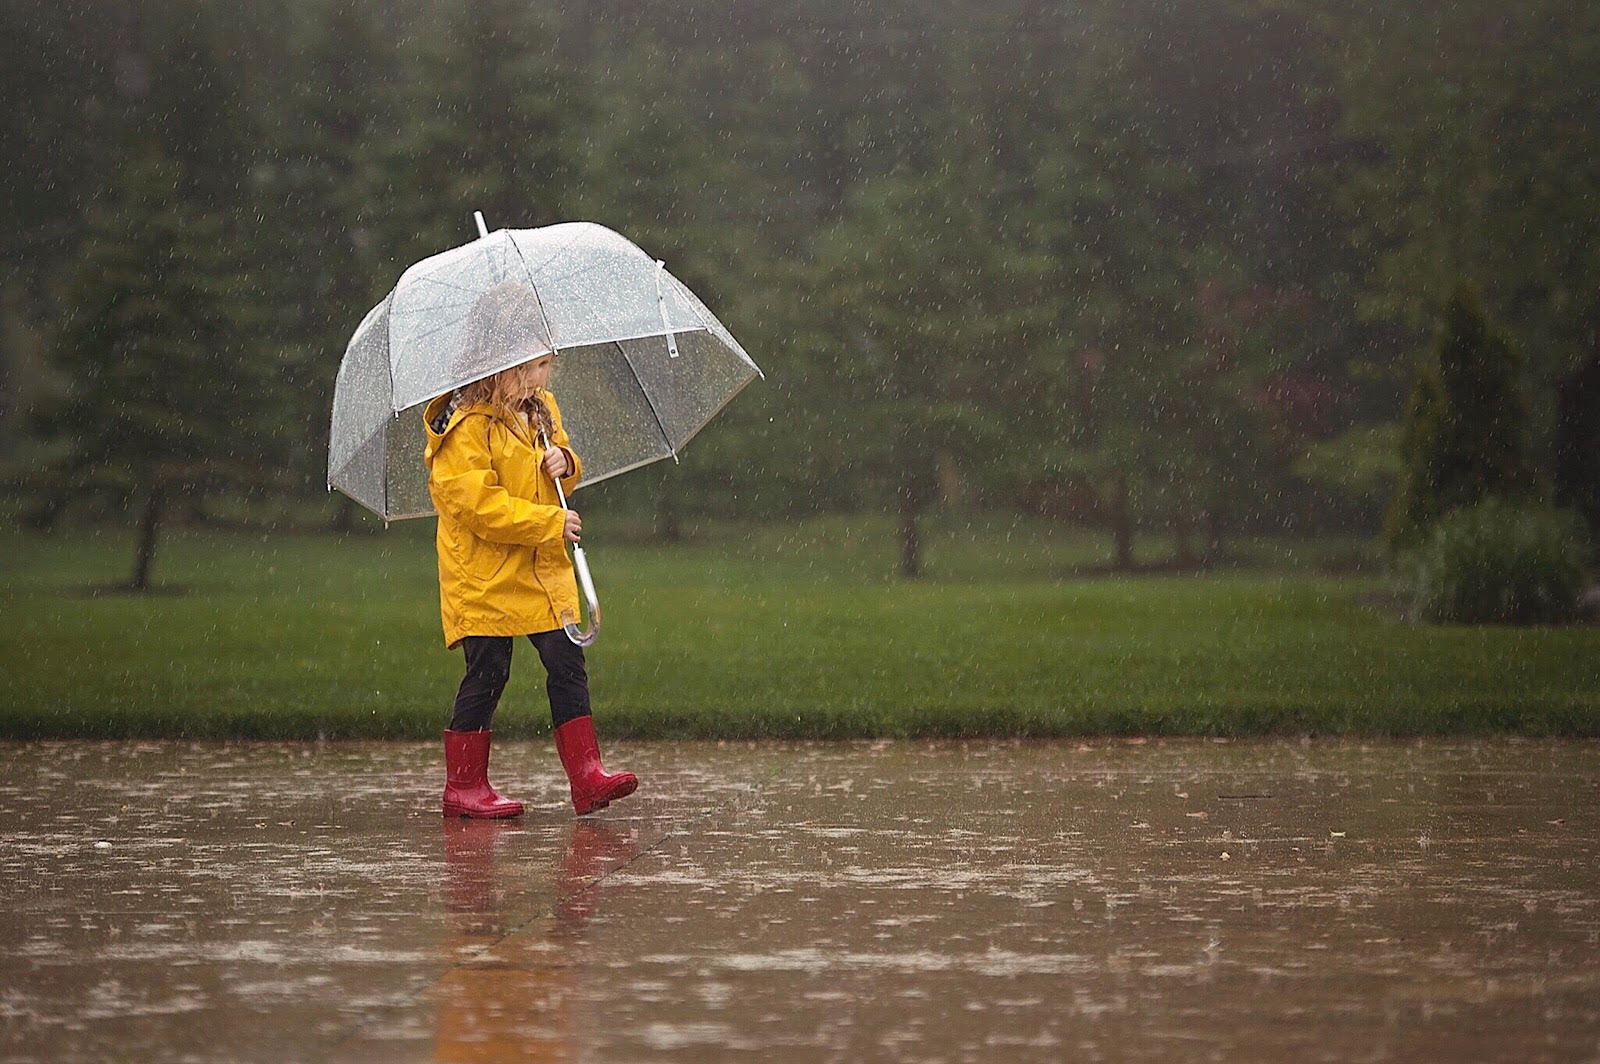
Color pop is a fantastic way of making your subject stand out against the gray gloomy backdrop. Choose colors such as yellow, bright blue, red, pink, etc. You can use the color in a rain coat, a pair of rain boots, pants, hat or umbrella.
Also, look for interesting elements in your environment that can add to your composition. Leading lines, negative space or a reflection are great ways to add an extra level of interest to your image.


Post processing:
For editing, I begin in Lightroom and make a few minor adjustments (sharpness, white balance, contrast).
Next, I open the image in Photoshop and get rid of any distracting elements using the healing brush and clone tool.
I will then use a selective color layer, invert it and brush it on to manipulate only the color pop. My daughter has a yellow rain coat, so I will move the color sliders to give the yellow more warmth and I use the blacks slider to add more contrast.
Next, I’ll add a levels layer. I pull the shadows slider to meet the start of the left side of the histogram. The highlights slider is then pulled to meet the start of the histogram on the right side. I will then adjust the mid-tones slider accordingly.

How I protect my gear:
I often take pictures in the rain, anywhere from a sprinkle to a heavy down pour. There are a few ways I keep myself somewhat dry and my gear totally dry.
I always wear a raincoat and tall rain boots. These help me to stay dry and the boots come in handy for standing in puddles or lake water. I always carry an oversized umbrella. I have found this is the best way for me to keep my camera dry.
I also have a rain resistant cover but it tends to cause fogging on my LCD screen and viewfinder. So I only use this if I can’t manage carrying an umbrella.


There you go! Now venture out and take photos outdoors on a rainy and/or foggy day!

The post How I get my subject to pop in foggy and rainy day photos appeared first on Clickin Moms blog: Helping you take better pictures one day at a time.
Clickin Moms blog: Helping you take better pictures one day at a time


