
Do you ever see a beautiful sunset and want to capture your kids playing in front of that gorgeous backdrop?
Or a beautiful couple kissing in front of a cotton candy sky?
You happily start taking photos, check your LCD screen only to realize your sky is completely blown! Or even worse, you capture that beautiful sky, but your subject is too dark to even make out!
How the heck are you supposed to get a nicely exposed subject AND a well exposed sky without a flash? Here is how I like to do it:

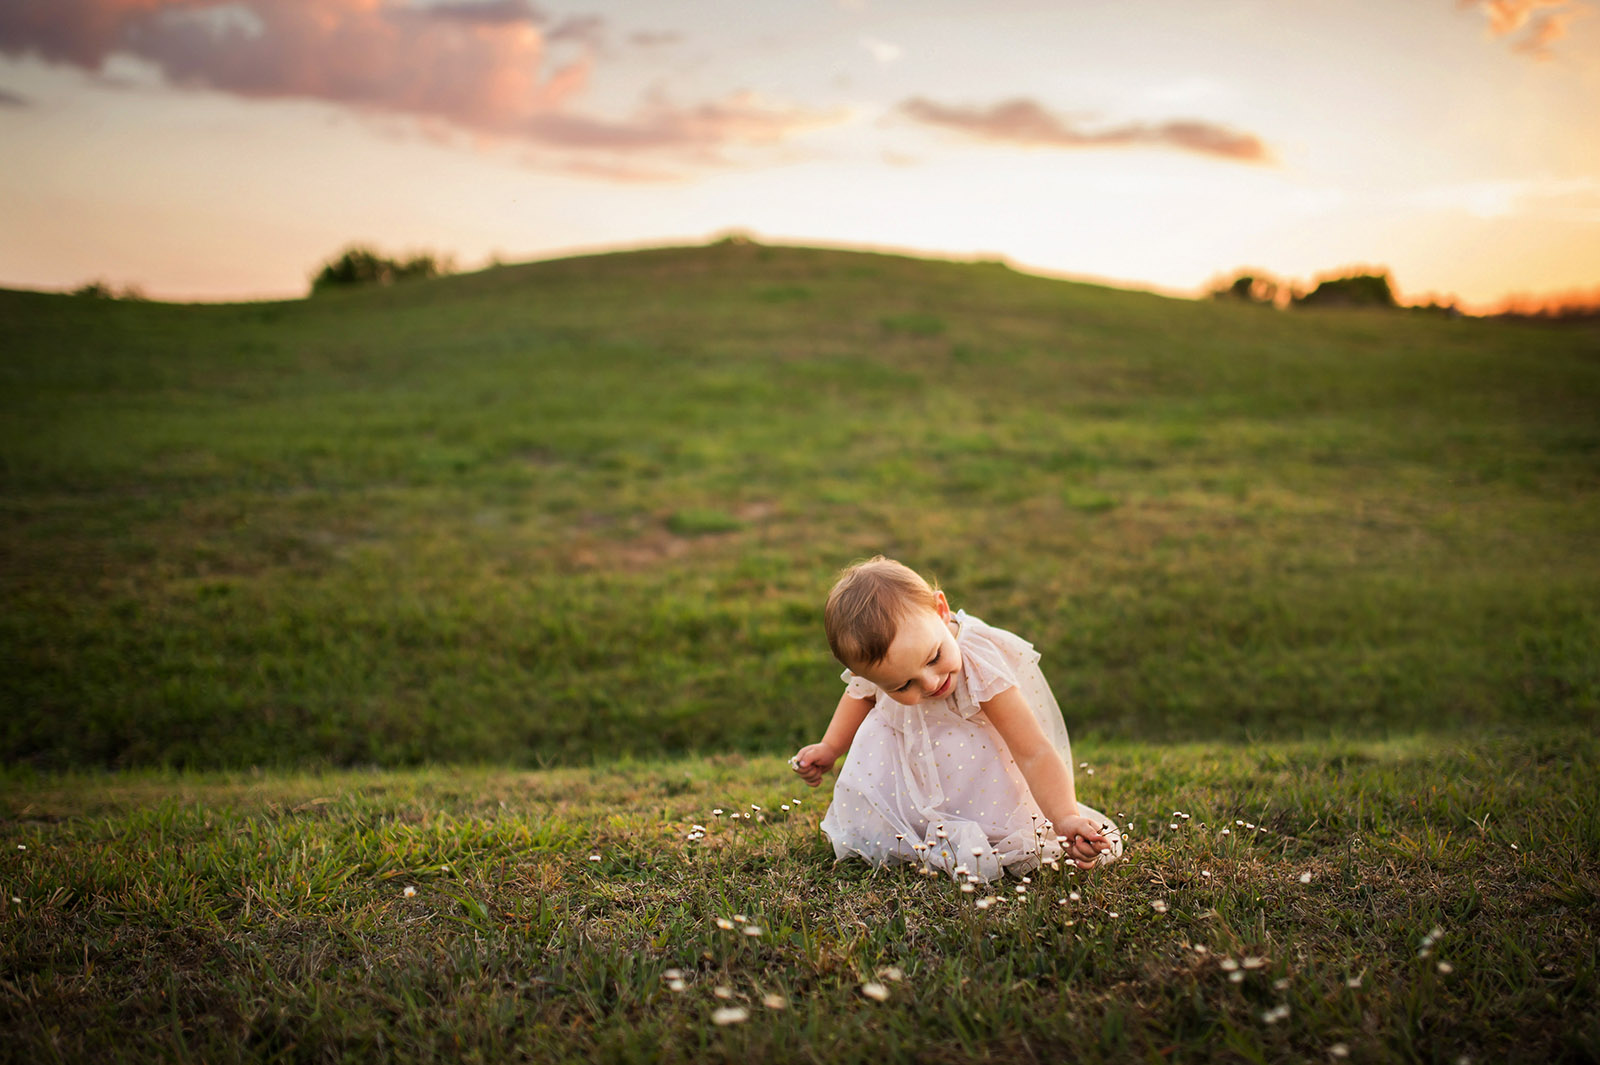
as shot
edited
In camera:
I typically expose for skin and then sometimes even overexpose a stop or two more. Sounds crazy I know!
Most people do the opposite and expose for the sky, but I am OCD about having my subjects be too dark/underexposed. Having to try and bring back the skin in post processing is a pain and for me, usually results in lots of grain and skin that is still underexposed and blotchy.
Usually I can only see a hint of the clouds/sky on my LCD screen – it’s not completely blown out, but it’s a little bright. Don’t let this scare you! We are going to fix that in post processing.

as shot

edited
Post processing:
For editing, I start in Lightroom. The first thing I always do is bring the highlights way down. Sometimes I even bring them all the way down. It’s always somewhere between -70 and -100. This will help darken your sky and bring out those clouds.
Next I bring the shadows up. This helps brighten your subjects a TON without affecting the sky much. Usually +25 or more.
After making a few other small adjustments (white balance, sharpening, etc) I bring my image into Photoshop.
Now it’s time to darken my sky and really bring back those clouds.

as shot

edited
There’s two ways I will do this depending on the location of my subjects and both involve a curves layer. When making the curves layer to darken an image, I grab my midpoint and drag it down and a little to the right. The more you drag it, the darker it will get. I stop dragging when I get the sky the way I like it.
- If my subjects are touching the sky at all, I do the curves layer on the whole image and paint it off my subjects and foreground very carefully.
- If the sky is on its own, no subjects touching it, I invert my curves layer and paint it on the sky only.
I finally move onto my subjects.
I like to make a brightness/contrast layer, bring up the exposure to about +10, give or take, and carefully paint it on my subjects to brighten them even more.
And that’s it!
Hopefully these tips will help you achieve both a great sky and properly exposed subject using only natural light!

The post How I get a great sky AND great skin using only natural light appeared first on Clickin Moms.


