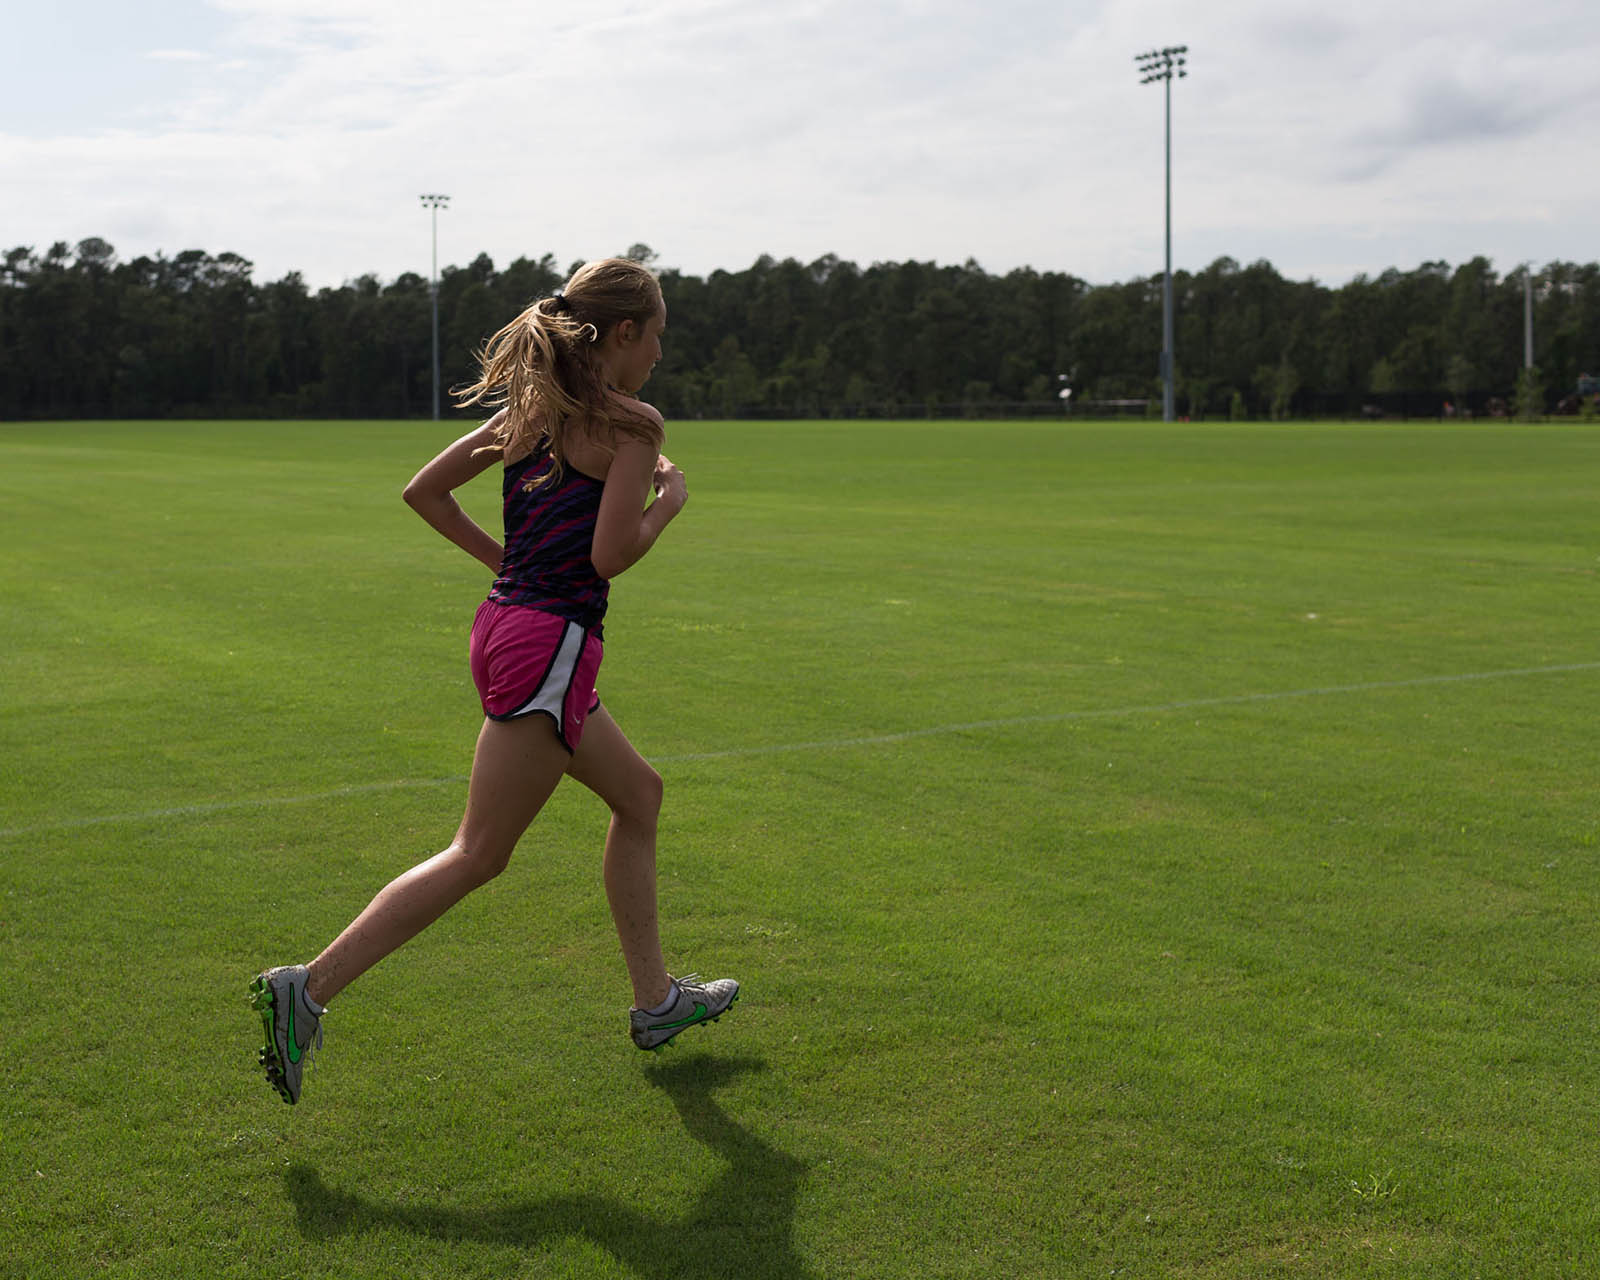
I’ve fallen in love with high contrast black and white images.
I can’t wait to share with you how I get this look!
When converting to black and white, all images aren’t created equal. Certain images just seem to shine in black and white.
When choosing images to edit in a high contrast black and white style, look for images with lots of contrast. You want really bright areas and really dark areas.
Pay attention to your use of light. Strong directional light, patches of hard light, rim light, and backlight give you bright brights and dark shadows.
Contrast can also come from a wide tonal range. Images with mostly middle gray won’t have a big emotional and visual impact.

At first you may not be able to look at your “straight out of the camera” color image and tell if it has enough contrast to work well in black and white. Don’t worry. With practice over time, you’ll begin to see potential black and white images more easily.


Lightroom editing tip: Right click on the background behind your image and change the background color to white. Editing on a pure white background helps you see white whites and black blacks. Your final edit will have more contrast.

Look for images that are emotive and expressive.

Look for images with strong graphic elements like lines, shadows, and geometric shapes.

Once I’ve selected my photo, I do my black and white edit in Lightroom.
Now here’s a secret that not many people know. I start all my black and white edits with a preset. Casablanca available in the Cinema Presets Sampler is my go-to preset. It’s where I start all my black and white edits.
In the following video, I walk you through a high contrast black and white edit, starting with the Casablanca preset. I’ll show you how I make an image really pop by tweaking the preset to fit my own personal vision.
One caveat. When I was videoing this edit, I often couldn’t get my mouse to line up perfectly with what I was saying. So if I say, “Increase exposure +25,” and you notice that my mouse had a mind of its own and landed on +26, please don’t worry. For the sake of time, I considered that close enough and just kept going.
Also, to save time, I cropped and straightened the image before starting the video.
In review, here are the steps I took in this edit:
- I selected, cropped, and straightened the image.
- I adjusted the exposure and white balance and moved the shadow slider to the right.
- I applied the Casablanca preset.
- After applying the preset, the shadows were still too dark so I moved the shadow slider further to the right.
- I used radial and graduated filters to direct the light in the image.
- I moved the clarity slider all the way to +78. Clarity is one of my go-to adjustments for high contrast black and white edits.
- I played with the color sliders. I moved the orange slider right to brighten her skin. I also moved both the yellow and green sliders to the right just a bit to brighten the grass and trees. Color sliders are another big way I up the contrast in my black and white edits.
- Sharpening: Amount +52, Masking +92.
- Noise Reduction: Luminance +31.
- I removed the grain added by Casablanca.
- I moved the dehaze slider to the right just a bit.


The post How I edit high contrast black and white photos (plus an editing video) appeared first on Clickin Moms blog: Helping you take better pictures one day at a time.
Clickin Moms blog: Helping you take better pictures one day at a time


