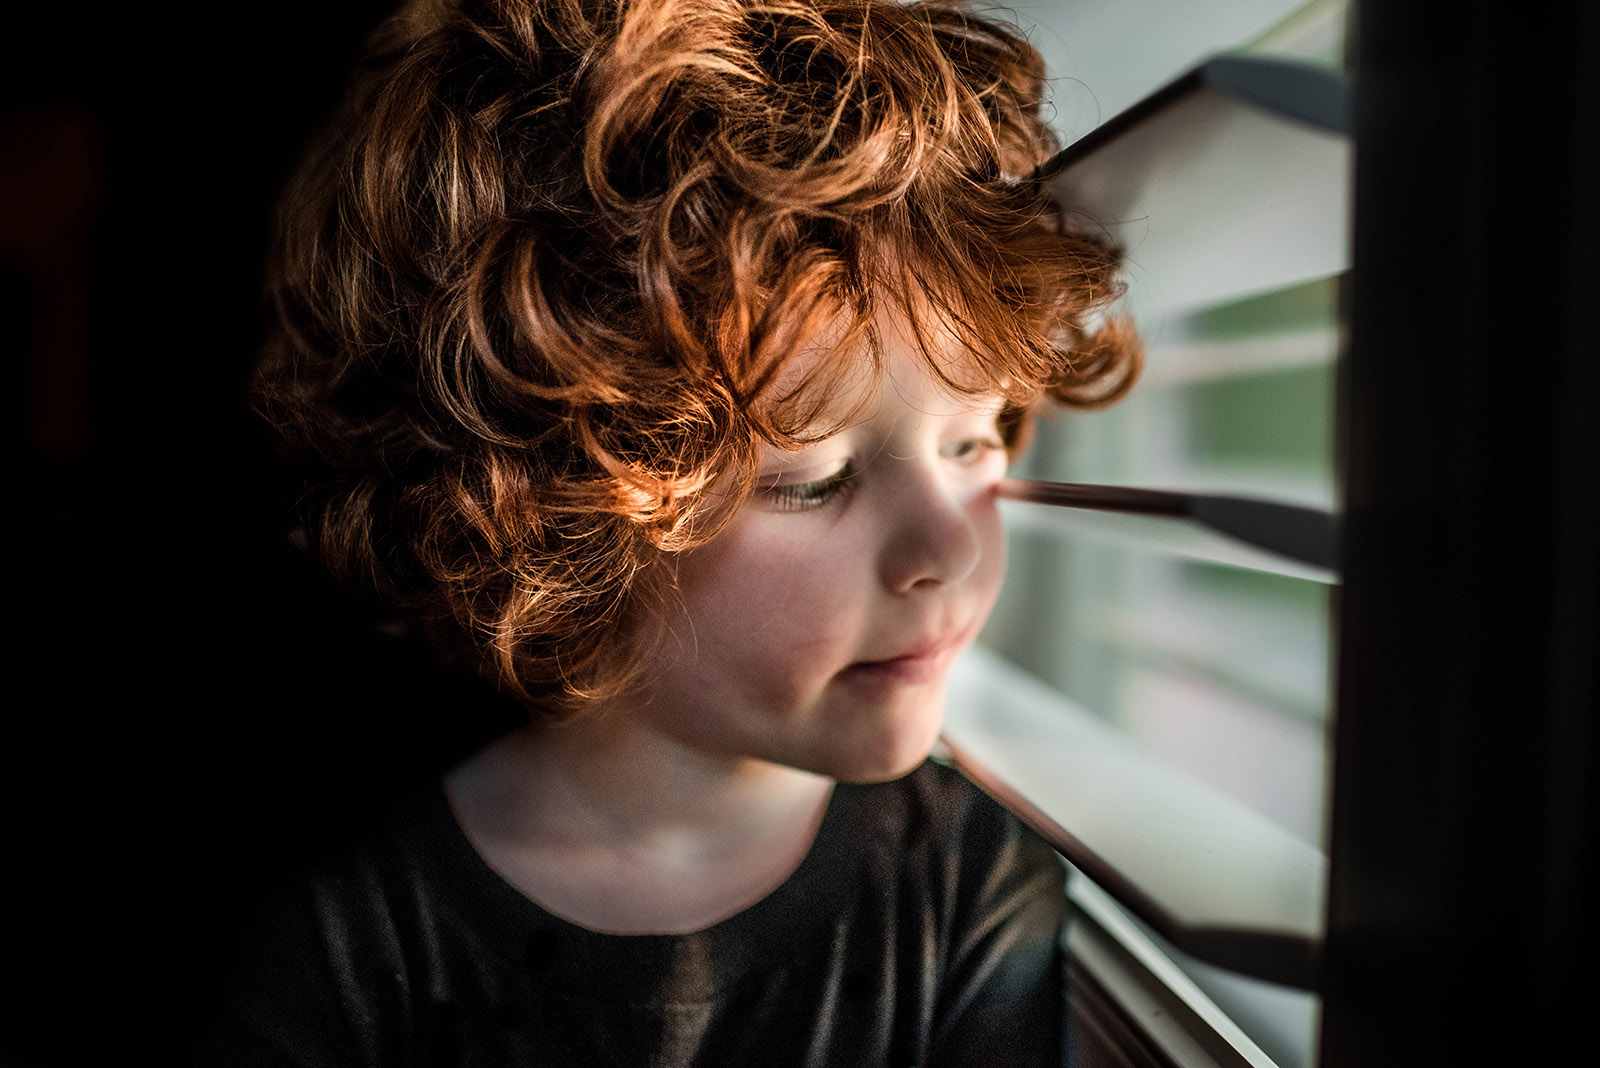

Every time I take a photo, I do my best to make sure the in camera image is a good as possible.
This helps with how little I have to edit in post processing.
However, sometimes, even if the image is amazing and doesn’t need too much editing, I like to go a little crazy and edit a high contrast, moody image. These require a bit more work in post processing but can be quite fun… at least for me.
I use Lightroom for editing about 95% of the time. There are occasions where I will take an image into Photoshop for cloning or changing the composition of a picture. But for most of the images I edit, Lightroom is perfect for what I need.
In the video below, you will see how I edit a high contrast, color photo. This is a straight out of the camera, RAW image of my son. No presets are used and I take you step by step through my thought process behind why I edit it the way I do.
Typically it takes me 5-10 minutes to edit a picture like this, but because I am walking you through my thoughts and basically re-editing it from scratch, the video is a bit longer.
To recap, here are my final settings below.
- Exposure: -.20
- Contrast: +16
- Highlights: +31
- Shadows: +100
- Whites: +14
- Blacks: -19
- Clarity: +81
- Vibrance: +16
- Saturation: +1
Tone Curve: In the video I passed over this section in the beginning but decided I wanted to do a little tweaking later. The picture was still feeling a bit bright for me so I wanted to fix it and give you that info. I typically fool with this panel at the end of my editing.
Here are the adjustments I made in this section to help darken the image just a tad:
- Highlights: -12
- Lights: -8
- Darks: -7
- Shadows: -10
HSL Panel adjustments:
Hue:
- Orange: -14
- Yellow: -15
- Green: +17
Saturation:
- Orange: +20
- Green: +16
Luminance:
- Orange: +13
- Yellow: +1
Sharpening:
- Amount: 40
- Radius: 1.0
- Detail: 25
Noise reduction:
- Luminance: 6
Multiple brushes were added in the background, one to darken around Max’s face and the window and it’s light. Another brush was used to completely black out the background. Be careful when doing this around hair and make sure to blend the darkness with the hairline.
Another brush was used to take red and pink out of Max’s face as well as one to lower the contrast and clarity. Lastly, I used one to add more contrast and lift more shadows in his hair just to add some extra WOW to it.
Let me end this article by apologizing for all of sniffling in the video – these Austin allergies are for real!
Second, thanks so much for reading this article and for watching me edit. I hope you learn some new techniques to help you achieve a very high contrast and bold look.

The post How I edit a high contrast photo in Lightroom appeared first on Clickin Moms.


