
silhouette (n) sil·hou·ette 2 : the outline of an object seen, or as if seen against the light.
One of the greatest facets of photography is the storytelling behind the images. In silhouette photography, you do not get to see the entire story. This adds to the drama and mystery of the image, thus making your audience wanting more.
When done just right, you can produce an interesting and striking image. I kind of stumbled onto shooting silhouettes by accident while playing around with new techniques. And after seeing the results, I fell in love with the process and have been trying to improve it ever since. As my artistic style leans toward the dark and moody side shooting silhouettes feels like a natural extension of my photographic style.
But I don’t want you to stumble through the process! That’s why I am sharing some lessons and tricks I have learned along the way. Put these into action and you will be well on your way to capturing beautiful silhouettes.

Have the right equipment
1. DSLR camera
While you should always feel empowered to take photos with the camera you have, silhouettes usually require a camera that you can use in manual mode. This allows you to adjust your settings so that the background is properly exposed while the subject is underexposed.
2. Lens hood
I rarely use my lens hood because I love the added interest lens flare adds to my images. However, if you want to avoid the streaks and spots that lens flare add to the frame, a lens hood is super helpful in doing so.
3. Filter
A UV reducing filter can let you really capture all of the colors and textures in a sky, adding an extra layer of interest to your silhouettes.
4. Tripod
If you find yourself shooting silhouettes in the last few minutes of daylight, a tripod will be your best friend. This allows you to keep your shutter speed slow enough to get proper exposure without having any motion blur.
5. The right lens
Any focal length can capture a beautiful silhouette, but there are lenses that are better equipped than others. I primarily shoot with a Sigma Art 35mm lens. It allows me to capture the scene while staying relatively close to my subject. Try using different focal lengths to see which one gives you the results you like best.
must haves
OUR ESSENTIALS FOR PHOTOGRAPHING SILHOUETTES

This lens is perfect for capturing big skies and beautiful sunbursts!

Have full control of your exposure by shooting in manual mode with a DSLR camera.

Protect your lenses and get higher quality photos when shooting toward your light source with a filter like this one.

Finding the right sky for silhouettes
The sky can act as a remarkably colorful backdrop to your scene. But to get that color to translate into your photos, you know how to work with it in your camera.

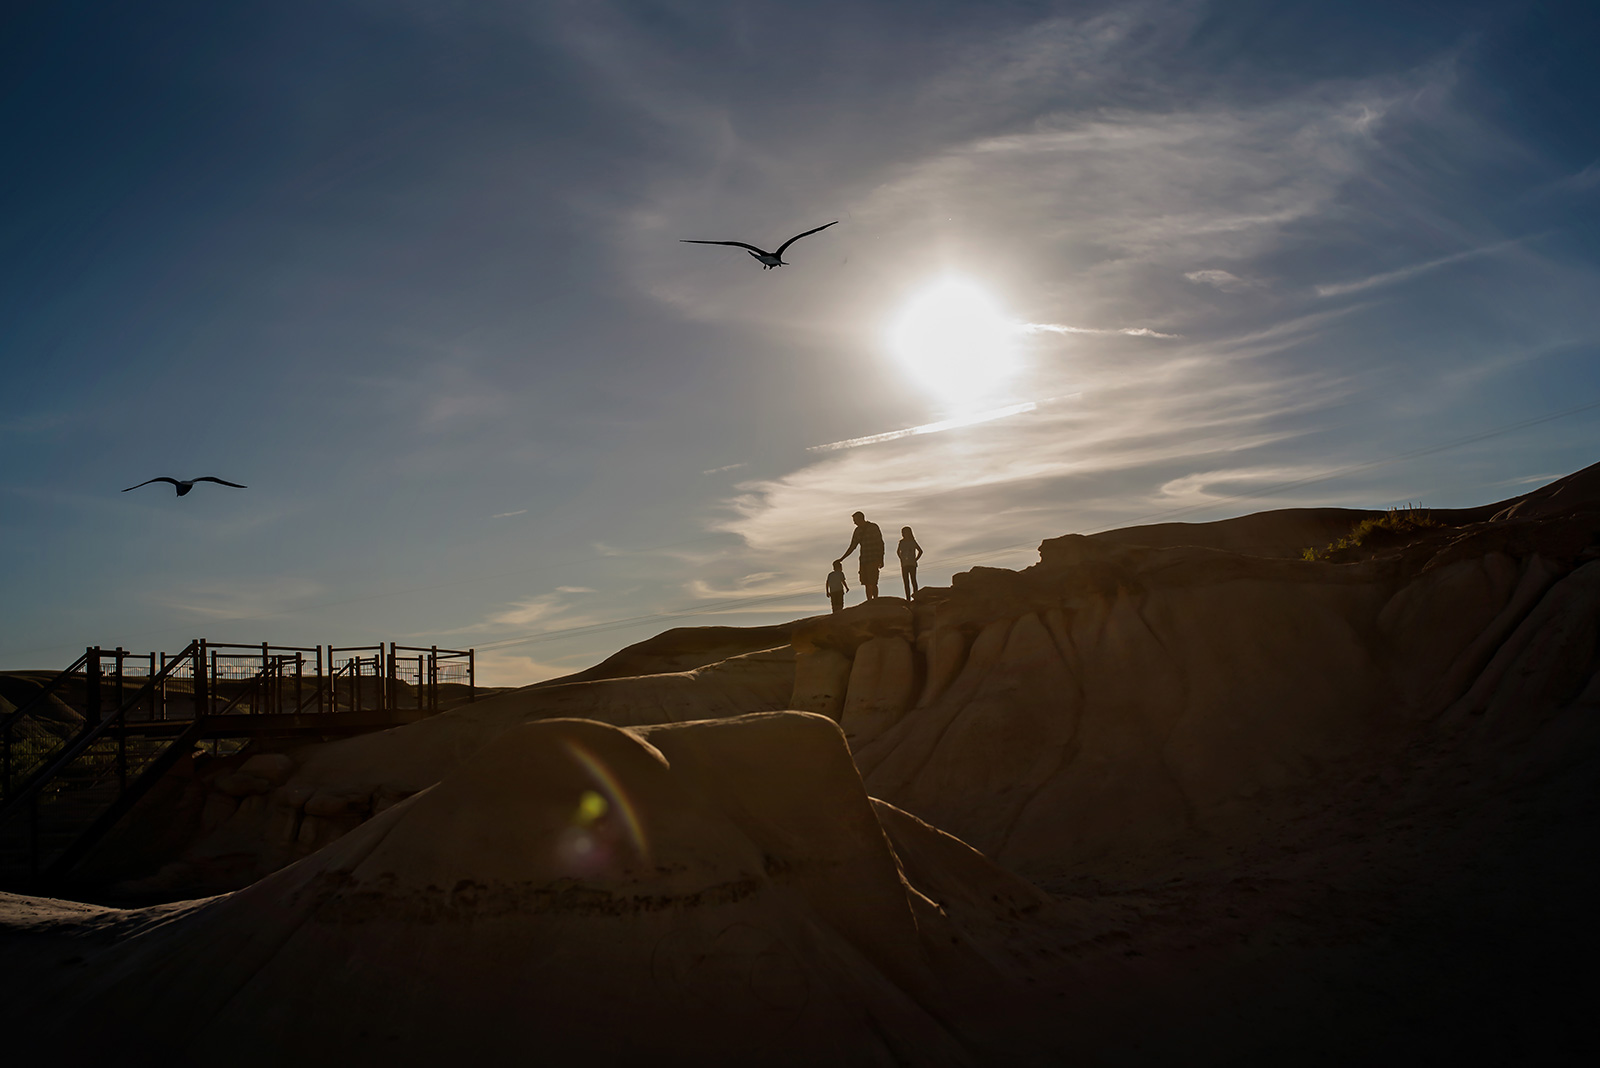
I have found that silhouettes work best for me when the sun is low. Therefore I prefer to shoot at sunrise or sunset. At these times the quality of light is not so harsh and the sky is filled with color that you can’t find midday. There are apps that you can download that will help you find the optimal time for sunrise and sunset in your area.
Be patient. Study the sky, light, and shadows. I love the interest that clouds add to an image. However, the wispier the better! In my shots where the sun was out but there were lots of thick clouds, my subject blended in with the clouds and got lost in the texture.

Silhouettes with created light
Fortunately, that giant ball of burning gas in the sky need not be your only hope. I’ve managed to shoot silhouettes in my children’s schools. As long as the background light outweighs the foreground light, you can have the perfect setting for a silhouette.
I’ve taken shots at night in front of my truck with the headlights acting as the light source. You can set an off-camera flash on a light stand. You can even use the lights in an illuminated room with your subject standing in the doorway toward a darkened hall. As long as you expose for the light and keep your subject in shadow, a silhouette is possible.
Practice, practice, practice, and use that mighty imagination of yours.
Find an ideal location
If shooting outside, I prefer to find an open space with less distractions. I am always looking for locations that do not have cars, buildings, etc. in the background. This keeps my intended subject as the focus without the possibility of another object distracting from it.
I always like to position myself to get as much of my subject’s details as possible. If shooting inside, in front of a big window works well. I like to position myself first, then move my subject into the frame. Get creative and think of different light sources in different to try a silhouette shot.

Get your camera settings right
Make sure your on-camera flash is turned off! You don’t want that to fire and illuminate your subject when you are trying to capture a silhouette.
Shooting in manual mode will give you the most control. It allows you to meter for the background so that your subject is fully silhouetted. If you let the camera decide what settings to choose, it might try to keep your subject exposed while blowing out the background.
I also shoot in RAW. Shooting in RAW will help you to easily correct colors and white balance in post processing if needed. Even though the sun is low, I still try to shoot with a low ISO (usually between 100-400). Choose an aperture that lets you keep all the details you want in the background while keeping your subject nice and sharp. As you close down your aperture, you will also get the gorgeous sunburst effect.
Since I am shooting facing the sun, I play with my shutter speed and increase it accordingly. I also will underexpose to instantly “darken” my subject.
I almost always use back button focusing. However, when shooting silhouettes manually focusing your subject may be helpful. I have found that automatic focusing can struggle with focusing on your subject in these situations.

Metering for silhouettes
The trick to capturing a silhouette is to meter off the sky and not the subject. To do this, point your camera to the brightest area in the frame (but never directly at the sun!). Dial in your settings off of this camera reading.
Next, recompose to include your subject in the frame. You will likely see that your camera says that you are underexposed, but this is exactly what you want! Take the shot and look at your screen to ensure you are getting the results you want.
Sometimes you need to set your camera with a large aperture when facing a low light situation. For example, we had a huge full moon recently and I attempted to capture a silhouette shot of my daughter. I had to use a high ISO and shoot wide with a large aperture to achieve this.
Also, a silhouette shot does not necessarily mean your subject has to be entirely black. Leaving a bit of light gives your image a more three dimensional feel, and some added interest as well.
Positioning subjects for ideal silhouettes
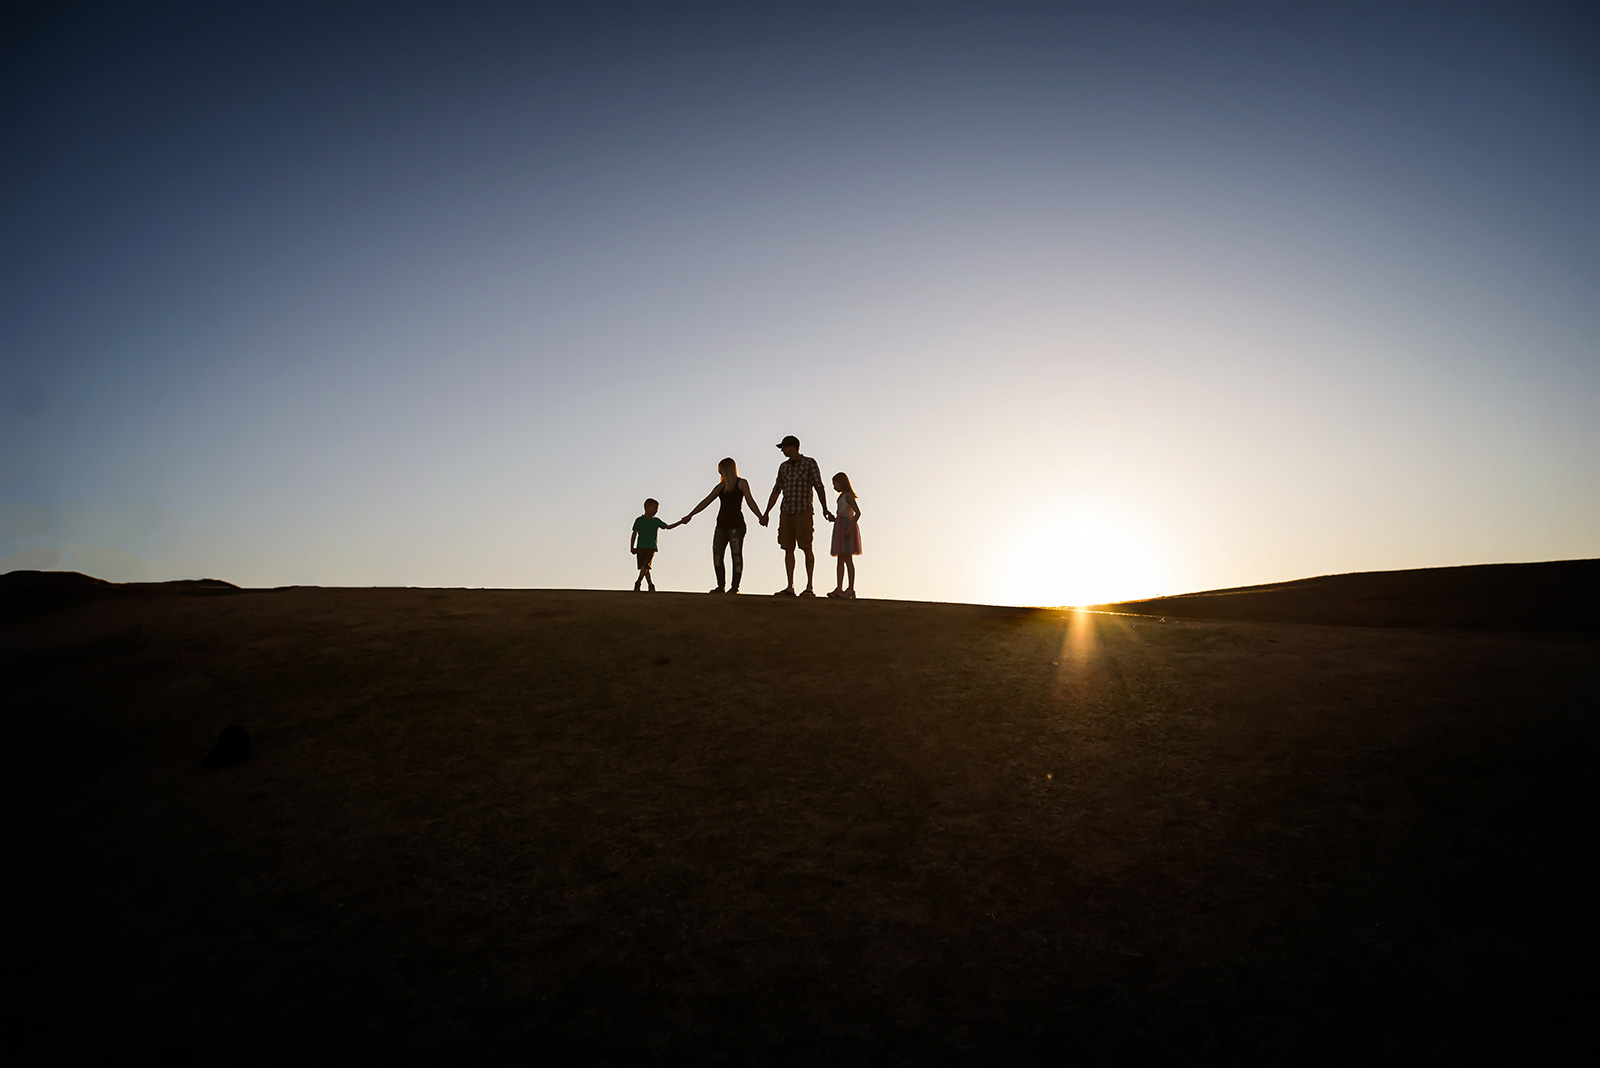
The key to successful silhouette posing is to have space between subjects and limbs. If things are overlapping, they will become continuous blobs of black and that just doesn’t work!
Have your subject position her legs and arms so that they are out from her sides. Stationary silhouette shots can be beautiful. However, I adore action shots as they add drama and also give all of those limbs something to do! You can ask your subject to twirl, throw a ball, run, jump, skip.
If you are photographing a family, ask them to throw a kid in the air (safely of course!). Or, have them all hold hands and jump. The possibilities are really endless!
Try to pay close attention to the outline of your subject to make sure you are getting as much detail as possible. Play around with different positions and move your subject in relation to the sun until you achieve the results you want.

Editing silhouettes
When working with my silhouette shots, I tend to do minimal editing. I will take out any distracting objects that I can easily and quickly clone out. I like to increase my contrast, sometimes my blacks, and add some warmth.
The biggest thing to work with in your editing is the color and exposure. I always shoot in RAW to ensure that I can adjust both of these with as much information as possible.
Silhouettes are the perfect opportunity to play around with your editing. It is my favourite part of the process! See what colors work best or even try converting your image to black and white. The usual rules of proper editing aren’t as strict here, so have let your creativity take flight!

Have fun
The key to mastering this technique, like any other photographic technique, is practice, practice, practice! I am still working on making my silhouette captures better, more dramatic, more creative.
Don’t be afraid to think outside the box! Your subject doesn’t even need to be a human. I have seen some of the most amazing silhouette shots taken of trees, buildings, objects and animals. Anything that has an interesting shape can be transformed into a memorable silhouette photograph with the proper amount of light behind it. The key is to let your vision shine through.

The post Everything you need to know to photograph stunning silhouettes appeared first on Clickin Moms blog: Helping you take better pictures one day at a time.
Clickin Moms blog: Helping you take better pictures one day at a time


