

There’s nothing that I love more than shooting a hospital newborn session, except for maybe delivering the finished gallery.
I am thrilled to share with you today an edit from one of my favorite sessions of 2017.
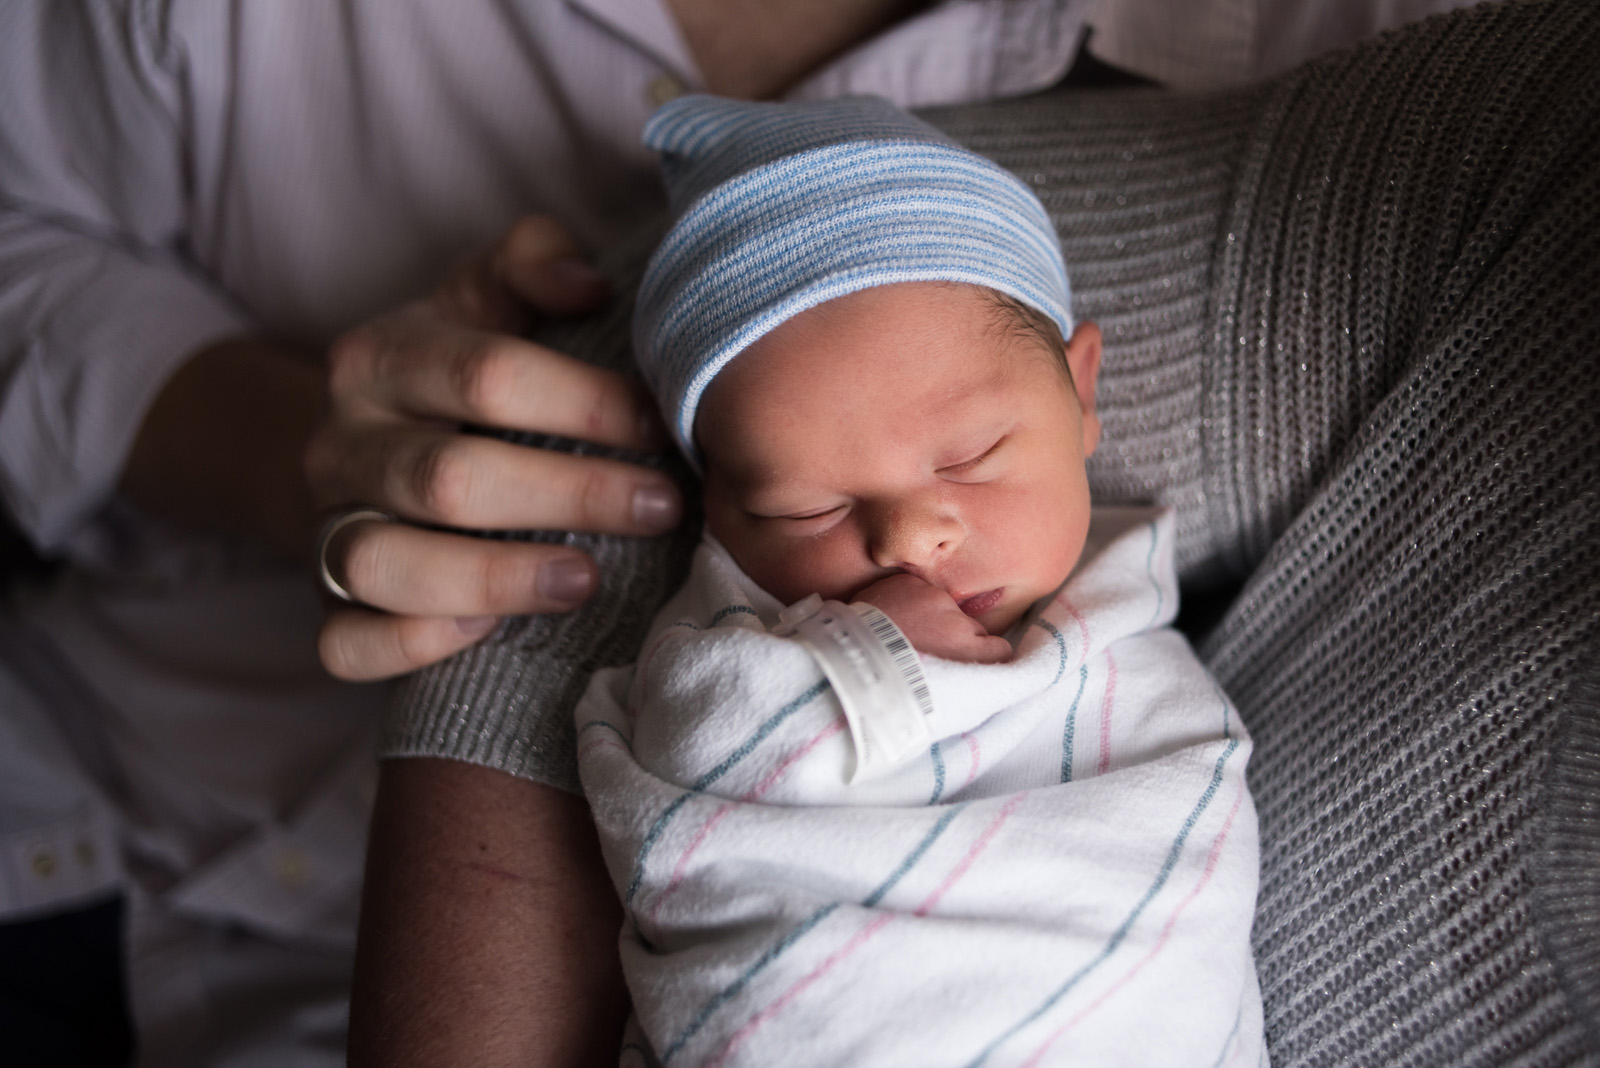
Meet Quinn. I joined Quinn at the hospital to document his arrival just moments after his parents met him for the first time.
Being my first adoption story, I was so excited to document it and it really was a special session. I chose an image to share with you that is focused on the baby, but also shows the sweet connection with his parents.
My motto in life is to keep things simple. I love shooting with a passion and I love finding light and making it a part of the story.
Here, I wanted to keep the depth of the shadows while watching exposure on the white blanket. I set my white balance in camera using Kelvin and, as you’ll see, it allowed for my RAW edit to stay minimal.
Related: Color by Kelvin: A better approach to white balance
My editing workflow includes both Lightroom and Photoshop. I keep sessions organized in Lightroom under session type and the client’s name so that they are easy to find or reference as needed. When I open a RAW edit from Lightroom into Photoshop and save it, it saves the PSD file right next to the RAW file in my Lightroom Catalog, which I love.
My process includes a basic RAW edit using the tools in the Basic panel first, then adding a touch of contrast in the tone curve, my tiny touch in the Split Toning panel, and finally, noise reduction. My edits are then polished off in Photoshop using a series of Curves Layers.
Overall, the process is simple and I have learned to customize it based on light and the story that I want to tell. The finished product is a clean, punchy edit – my favorite!
The following video will show you step-by-step how I achieve my edit on sweet Quinn’s image. Included below are a few shortcuts on my favorite must-have steps between Lightroom and Photoshop.
2. Start with white balance and exposure.
If you are setting a custom white balance in camera, this should be a minor adjustment. I tend to underexpose just a bit, unless I am working with really low light. I find that I often bump exposures and warm images up just a touch.
2. Make your go-to adjustments .
My go-to adjustments are the adjustments that I make on almost every single image. I bump up clarity (typically +10), add a touch of vibrance (+3), and take out a touch of saturation (-2).
I always add luminance to reduce noise and create a tiny S-curve in the Tone Curve Panel. And my favorite little trick is to add a bit of split toning. My magic numbers are a Hue of 21 in the Highlights with Saturation set at 3.
3. Polish it off.
With basic adjustments complete in Lightroom, it’s time to polish it off in Photoshop. I do this with a series of Curves Layers.
The first is meant for the image as a whole. Then the next layers are used to work on individual parts of the image to draw the eye where I want it to go. It’s finished off with one last Curves Layer set to Soft Light at a lowered opacity, for overall contrast. This step is best explained in the video, where you can see exactly how I achieve my goal.
This system works for me.
If you want in on a secret, it’s that just about every image that I create is edited the exact same way, from moody indoor images to backlit sunset images. I’m a creature of habit, and once I found what works for me, I have yet to stray.
Simple really is beautiful!
The post A step-by-step newborn editing tutorial in Lightroom and Photoshop appeared first on Clickin Moms.


