
Yesterday I received (for what feels like the hundredth time) a message on Instagram saying: “Oh I love how sharp your images are, how do you do that?”
This might be my favorite photography topic. Let’s say that I’m slightly obsessed with image sharpness. I could pretty much talk about it all day long.
Unfortunately, there is no easy answer to this question, at least not one that could fit in the 500 characters limit of an IG direct message. So I thought it would be worth writing a detailed article about it that I could refer to the next time someone answers this question!
Before we start, here is an important disclaimer: I am a kids photographer. What I do to get sharp images of children might not apply to other types of photography like landscape or macro. The tips below will be mostly helpful if you are a portrait photographer shooting with a DSLR in natural light.
There are MANY factors to image sharpness, which is why it is such a tricky topic. You might have your focus point right where it should be and still get a blurry image due to motion blur. You might perfectly freeze a fast action and still get an out of focus image because your focal plane was too shallow.
The true secret to tack sharp images is to understand ALL the aspects that will make your images sharp and combine them together. Let’s see how.

Select the point of focus YOURSELF
The first thing to do to get sharp images is to take control of where the focus will fall in your image. You cannot trust your camera for making the right decision for you. If you let your camera pick the area of focus automatically, it will most of the time grab either the area of highest contrast in the frame or the object in the frame closest to the camera.
In this image, if I hadn’t selected the point of focus myself, the camera would have automatically locked focus on the piece of watermelon closest to the camera instead of the little girl’s eye.

In this example, I wanted my focus point on the toddler’s eye. If I had let the camera decide for me, it likely would have focused on the cookie jar instead!
So how do you take control? Simply switch your camera into single point focus mode. Once your camera knows that you want sharp focus on just one point, you can place this active focus point exactly where you want your focus to be. In most portraits, this point will be on your subject’s eye.

By default, the active focus point will be at the center of your frame. However, this is not always the best choice in terms of composition! The good news is that you are able to toggle the active focus point (i.e. navigate it around your viewfinder) to place it where you want it to be! How to toggle depends on your camera model, refer to your manual to find which button to press.
Toggling can seem tedious at first but I promise it’s worth the extra effort. Soon enough your fingers will toggle so fast that you won’t even have to think about it. And the clarity of your images will improve tremendously.
Advanced tip: most DSLRs have two different types of focus points: single or cross-type. Cross-type focus points tend to be more reliable, so try to use them as often as possible. Again, check your manual to identify which ones are the cross-type points.

Choose your AF mode wisely
If you photograph moving subjects like kids and families, make sure to select a dynamic AF mode (Ai-Servo for Canon, AF-C for Nikon). It will help your focus readjust quickly when your subject is in motion, thus tracking down your subject movement more efficiently.

Shutter speed matters
You will often hear people complaining about how “fuzzy” their images are. When you look at the pictures closely, you often realize that the blurriness in their images isn’t caused by missed focus, but by motion blur.
Motion blur is the streak-like effect that occurs when your shutter speed isn’t fast enough to freeze the movement of your subject.
Photography manuals will teach you this rule of thumb: use a shutter speed of at least “1/focal length”. In short, if you are using a 100mm lens, you should keep your shutter speed at 1/100s or faster.
This is true, but often not enough. This rule will minimize the risk of blur due to camera shake. However, as portrait photographers we often capture MOVING subjects. And for those of us who photograph kids, we capture FAST moving subjects.
Take a 100mm lens, set your shutter speed at 1/100s like the rule of thumbs says and start to photograph a high-energy toddler. If you get more than 10% of sharp images, you are my new hero. Kids move incredibly fast, especially when you don’t expect it.
So these are my rules for shutter speed success (again, for kids photographers, not for landscape lovers!). Stay above 1/250s at all times. Raise your shutter speed at 1/500s whenever you expect fast action like running or a tickling fight. Bump it at 1/800s to freeze a jumping kid.
I know those numbers sound crazy high, but you won’t regret it. The amount of tack sharp shots will increase tremendously!

Use back button focusing
If you don’t know what I’m talking about, you might be on the verge of a huge breakthrough. No kidding. BBF is a whole topic in itself (I wrote a whole article on just this topic).
But just in a few words, you can use a button on the back of your camera (usually the AF button or the star button) to focus with your thumb. Meanwhile, your index will press the shutter button. In other words: no more pressing the shutter halfway to focus before firing the shutter.
Why would you want a different button to focus? Simply because if your subject is in motion (remember our fast-moving toddler?), the fraction of second that lasts between the moment you press the shutter halfway to focus and the moment you release the shutter is actually long enough to miss focus.
The best example would be a kid running toward you. You press the shutter button halfway to focus, then you press it again to take the picture. Between those two actions of your finger, the kid has moved one step closer to you. As a result, your image is out of focus because the focus remained where your subject was when you pressed the shutter button halfway, but he wasn’t there anymore when you released the shutter.
When using back button focus, you can synchronize both actions, focusing with your thumb and releasing the shutter with your index at the exact same moment. It’s a magical trick to get tack sharp images when your subject is in movement!

Understand the limits of your depth of field
If you are a portrait photographer, you might be addicted to creamy bokeh. Using a very wide aperture like f/1.4 can give you such dreamy portraits!
Related: How to get blurry backgrounds in your photos
The downside of shooting wide open is that your depth of field becomes very shallow. The risk of missing focus as something moves out of your narrow focal plane is incredibly high.
Depth of field is a complex topic (it varies with your aperture, but also with the focal length you are using and the distance between your subject and your lens), but let’s take a simple example.
If you are photographing your subject’s face with a 50mm at f/1.4 and focus on the eye, the nose of your subject will be visibly blurry because the depth of field is so thin that it cannot include both eyes and nose at the same time.
This may not be a problem for you since what truly matters to you in this portrait is to get the eyes sharp. However, even if you actually place your focus point on the eye when pressing the shutter, the slightest movement of your subject or yourself can result in an out of focus portrait (believe me, sharp nose and blurry eyes is not the most flattering combination).
Long story short: if you want sharp faces in your images, closing down your aperture is a good option. There is no rule of thumbs here as it will depend on many factors, but as a personal preference I never go wider than f/2.8. It’s my own happy place. It doesn’t mean that I can’t get sharp images with wider apertures, but the amount of out of focus images that I get with moving kids when I shoot wide open becomes so frustrating to me that I usually close down a bit to get a higher percentage of keepers.
The bonus of not shooting wide open is that your lens will give you sharper results too. Lenses are usually weaker in terms of image sharpness when you use them at their maximum aperture. Your lens will generally perform better at f/2.8 (and smaller!) than at f/1.4.

The quality of your lens matters too
I’m sorry to say it, but it’s true. All lenses aren’t created equal when it comes to image sharpness. And it’s no good news for your bank account because the sharpest lenses are rarely the cheapest ones.
If you are still using your kit lens and have the opportunity to borrow a prime lens or a fixed-aperture zoom, the difference in image quality will most likely jump out at you.
Fortunately, some great portrait lenses like the 50mm can be found at affordable prices. Think of it as a long-time investment for better photos! Lenses can last for many years.
That being said, spending thousands of dollars in professional lenses won’t magically solve your sharpness issues if you are making bad technical choices. Again, there are many factors to the clarity of your images, and the quality of your lens is only one of them!
must haves
OUR FAVORITE SHARP FOCUS LENSES
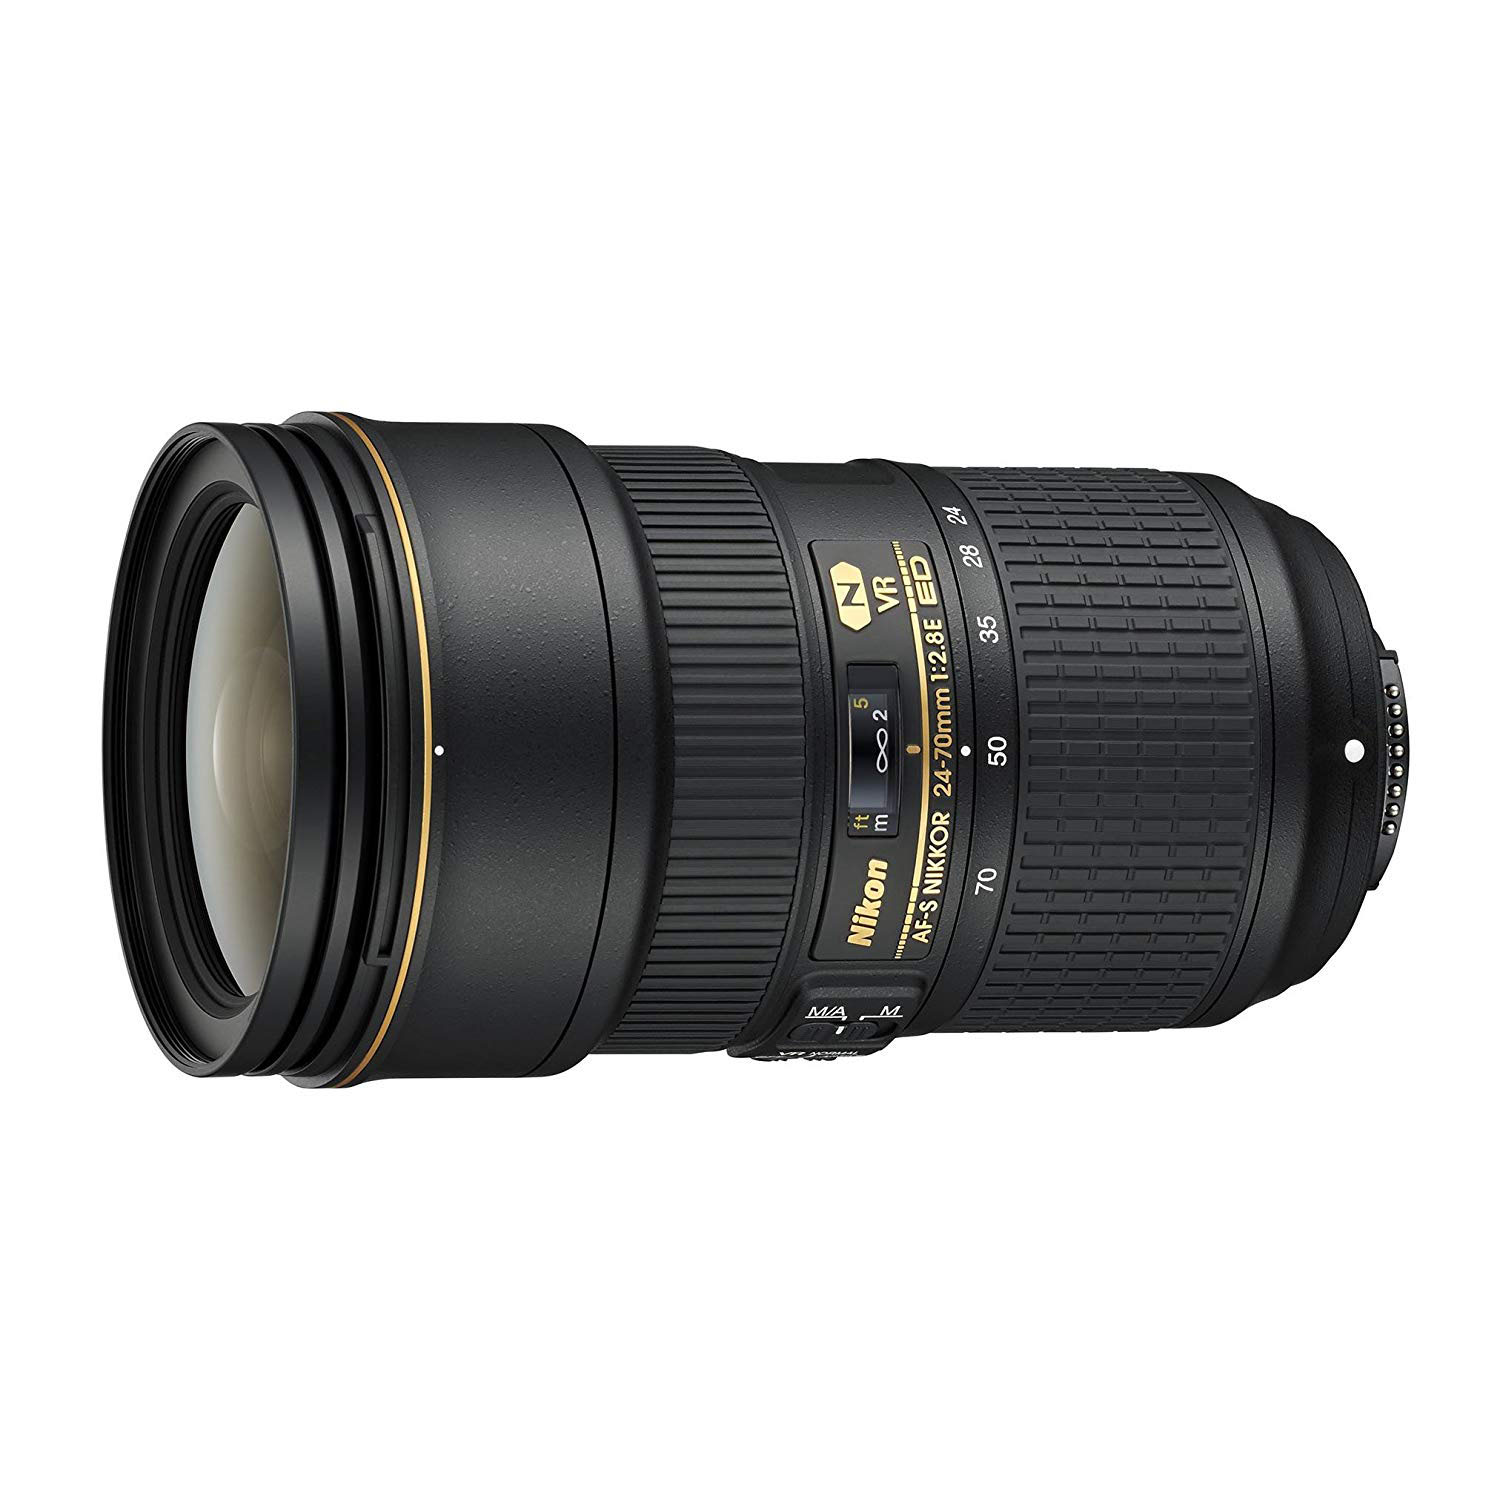
This lens can work for landscapes, portraits, and everything in between. And it nails focus every.single.time. We particularly love it for indoor photography as it allows us to work in smaller spaces without backing up against the wall.

Are you set on having beautiful bokeh? Then this lens is going to be your best friend. With an aperture of f/2.8 all the way through its focal lengths, this lens creates the most beautiful background blur and knows how to nail focus.
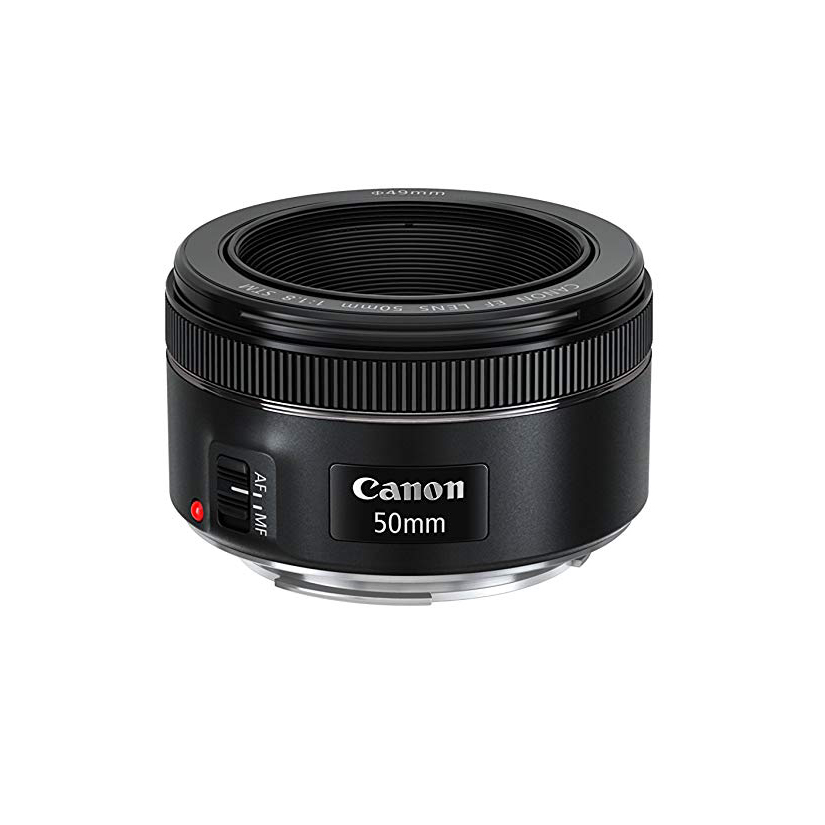
On a budget but still want to invest in sharper images? Try the nifty fifty! A 50mm f/1.8 lens is versatile and reliable and best of all, it won’t break the bank.
Keep your lens clean
I know it sounds silly but I will say it anyway: you will get sharper images with a clean lens! Taking 5 seconds to clean your lens every time you use it will go a long way.
I suggest having a lens cleaning kit and a rocket air blaster in your camera bag to keep everything in tip-top shape.

Check your lens/camera calibration
If you follow all the tips above and still get lots of out of focus images without understanding why, you might have a calibration issue. This means that your lenses are actually focusing in front of or behind the point that you select, resulting in frustratingly blurry images.
Depending on your gear and your technical skills you might be able to calibrate yourself. However, the easiest and safest way to do it is to bring your camera and lens together at the repair shop where they will calibrate them for you!

Practice, practice, practice
All the tips in the world won’t replace experience. Getting tack sharp images is a complex process! It takes time to digest all the factors listed above and put them into practice. Don’t give up if you don’t succeed immediately. The more you shoot, the better photographer you become so don’t forget to practice as much as you can. Now get up, grab your camera and have FUN!

The post 9 Things to do right now to get sharper focus in your photos appeared first on Clickin Moms blog: Helping you take better pictures one day at a time.
Clickin Moms blog: Helping you take better pictures one day at a time


