
Underwater photography is a world in itself and one that I think every photographer would enjoy trying out at least a few times.
For me, it actually took getting a pool in my backyard to even think of shooting underwater.
It sounded too messy, too pricey and risky in terms of my equipment. But once I had a pool, I did some research and learned underwater photography is not as hard or expensive as I thought.
And after shooting underwater for a short time, it’s one of my top selling stock photography types and most published work. Who knew?
I’m happy to be able to share a few tips that I’ve learned just by playing around in a pool with a camera!

1. Don’t think you have to spend the big bucks.
I think many people are dissuaded by underwater photography once they look up the price of housing. Spending more than a few hundred bucks on something you’re not sure you’ll use (or even like) is a tough pill to swallow.
While the high-end types of housing are amazing and something I’d love one day, having one of these hasn’t been essential for me to go underwater. I started with a camera designed to go everywhere including underwater, the Olympus Tough TG-4. It can shoot RAW and the ability to edit in RAW gave me the creative control I wanted on my final images.
Even better, I was comfortable enough to have it with me while just hanging out and having fun. I was able to get in some shots myself and could even hand the camera over to my kids, who got some amazing shots of their own. I truly think if you are just doing this for yourself, a point-and-shoot camera with underwater capabilities and RAW shooting might be all you need.

2. Explore your housing options.
While the Olympus Tough was great fun, after only a couple of months, I was too curious to not try shooting with my Nikon D800 in the pool. I craved the power, ISO capabilities and, of course, my favorite lenses. I debated housing that was almost $ 2,000, but after investing so much in my camera equipment (and the pool) already, I decided against it.
That’s when I heard about the DiCaPac Bag that retails for under $ 100. I’m cautious to recommend anyone putting their expensive equipment in a plastic bag, but this durable bag is well designed and has worked for me and other photographers I know.
While it’s difficult to get too deep with a bag because it also traps air, I am able to get some of my favorite shots of my kids and even do paid session work with it. This clever bag hasn’t failed me yet but I make sure to test it each time before use and close it up VERY carefully (and pray!)
3. Play with lighting.
One of the things the DiCaPac bag opened up for me was the ability to shoot at more interesting times of day. My Nikon can handle the higher ISO and I’ve found that unlike above water shooting, I love a cloudy day more than a sunny one when underwater. The subtle lighting from a cloudy day gives a soft illumination to the water and your subjects without the harsh shadows and reflections that the sun can create (interesting but more tricky).
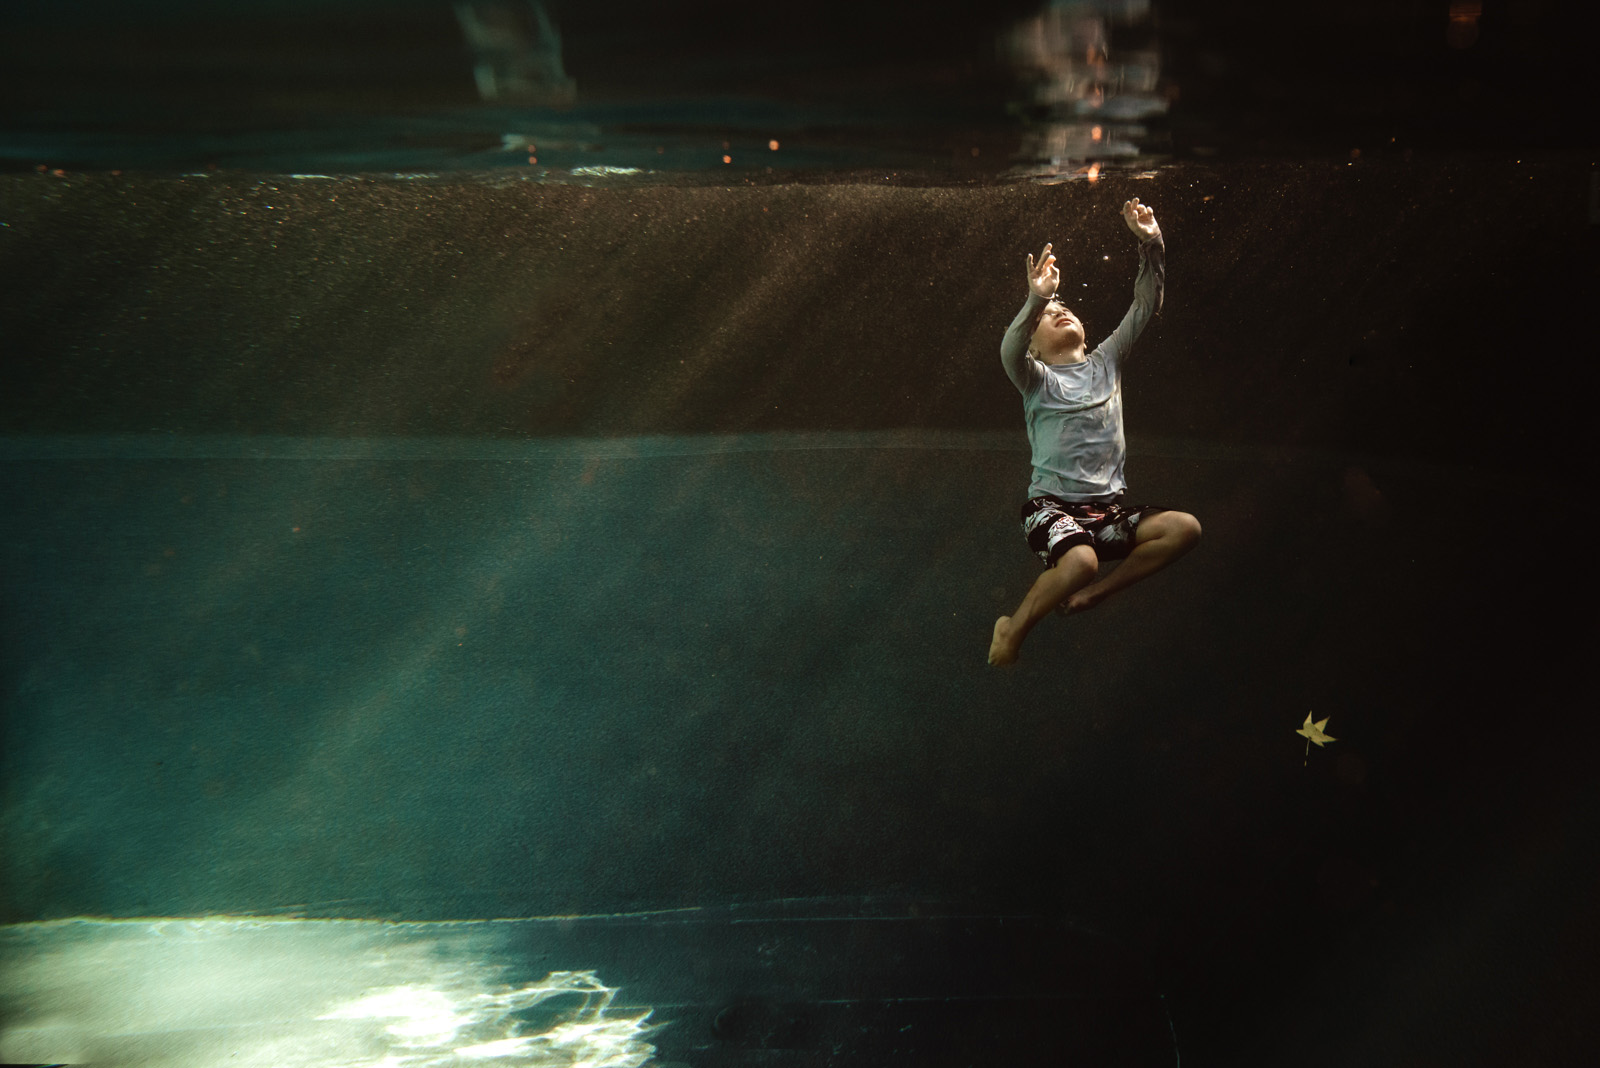
Of course, the light of golden hour is always a favorite of mine, even underwater. The low sun interacts with the water in subtle and interesting ways that can create a gorgeous glow and bokeh, even streams of light through the water – all of which gives a dreamy feel to the images.


4. Keep settings simple.
When it comes to camera equipment and settings, I personally love Aperture Priority mode and this is almost critical for underwater, if using the bag at least. You will find it pretty difficult to adjust your settings underwater unless you have the expensive housing. Aperture Priority allows me to choose an ISO (or select auto ISO and set a minimum). I can adjust aperture as I need to, while the camera meters for me.
In terms of lenses, I’ve found the Sigma 35mm is wide enough to give me the shots with negative space as well as closer portraits. It’s become the exclusive lens I use with my Nikon under water.
5. Think about color, clarity and go deep!
Some of the key elements I really focus on are:
- the color of the water which in a pool is largely determined by the lining
- the clarity of the water
- the depth of water I shoot in
The color of the water can be adjusted in Lightroom or Photoshop but I think it’s something to experiment with when you have the opportunity to shoot at different locations. I like the gray liner in my pool because it gives the water a deeper blue/green hue that reminds me of the sea.
As far as clarity goes, a well-cleaned private pool is ideal. Oceans, springs and lakes are great but can sometimes be cloudy, and public pools are going to have more chlorine and more bodies with sunscreen, impacting how much detail you can get. It’s still worth playing in all of these places for sure and I’ve seen beautiful results in less than clear water.
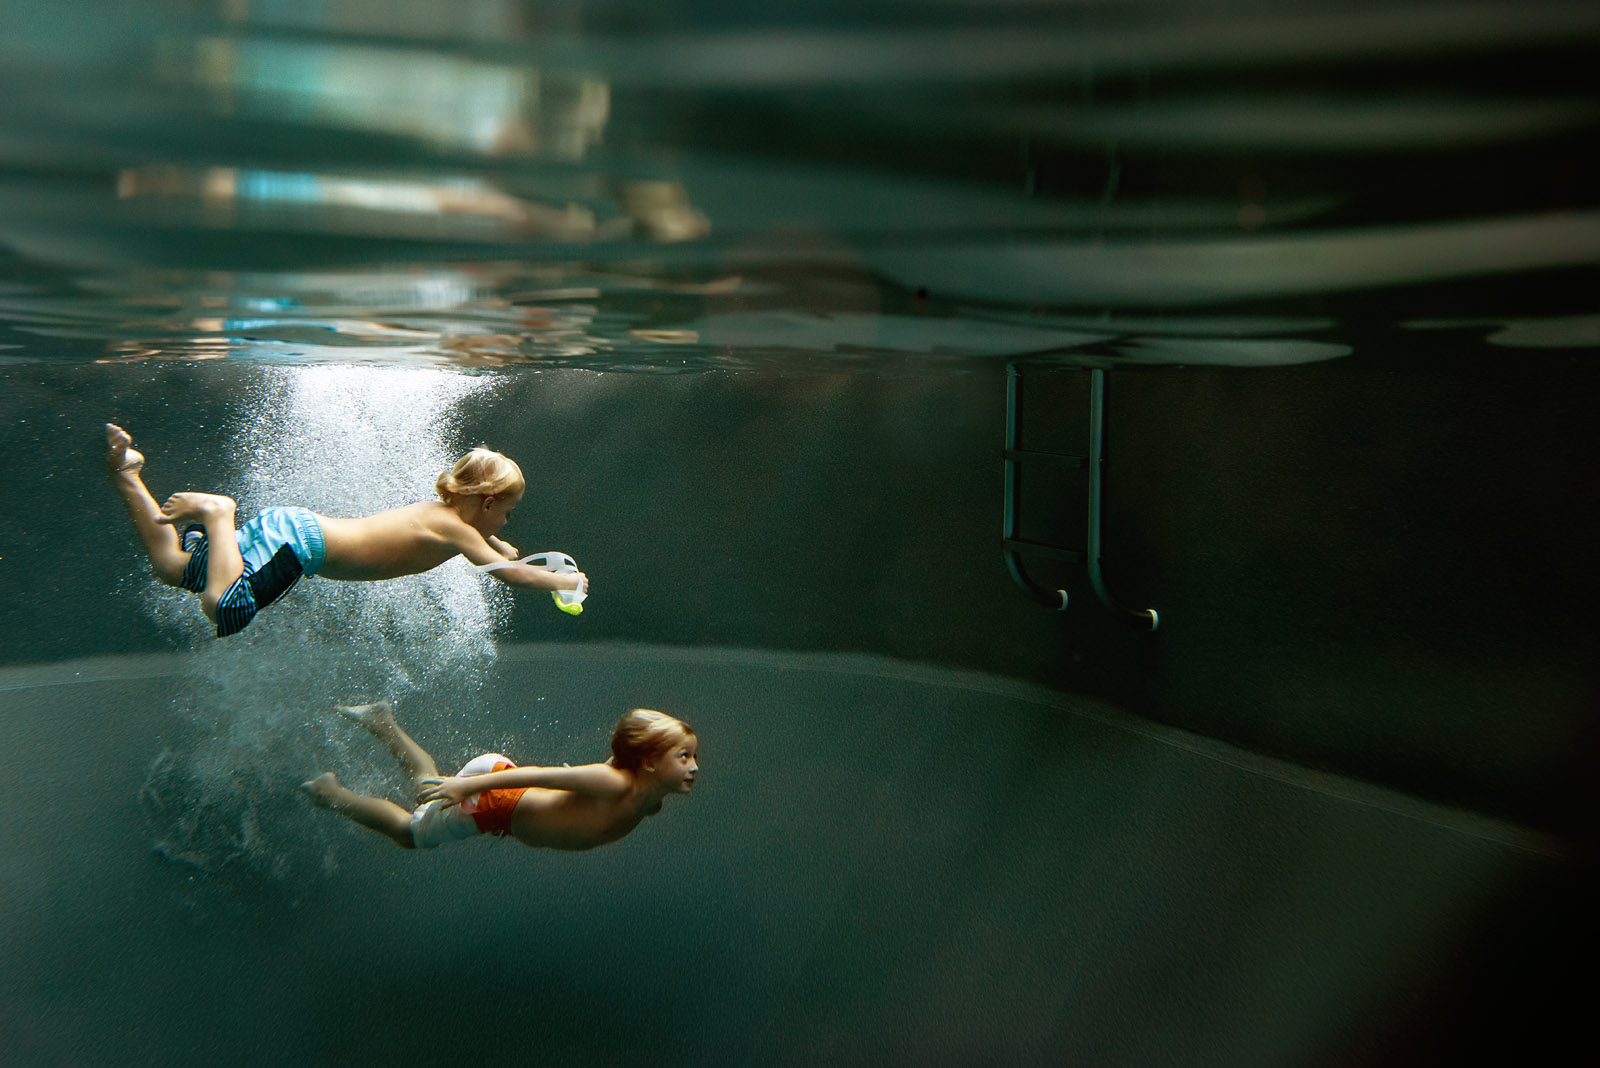
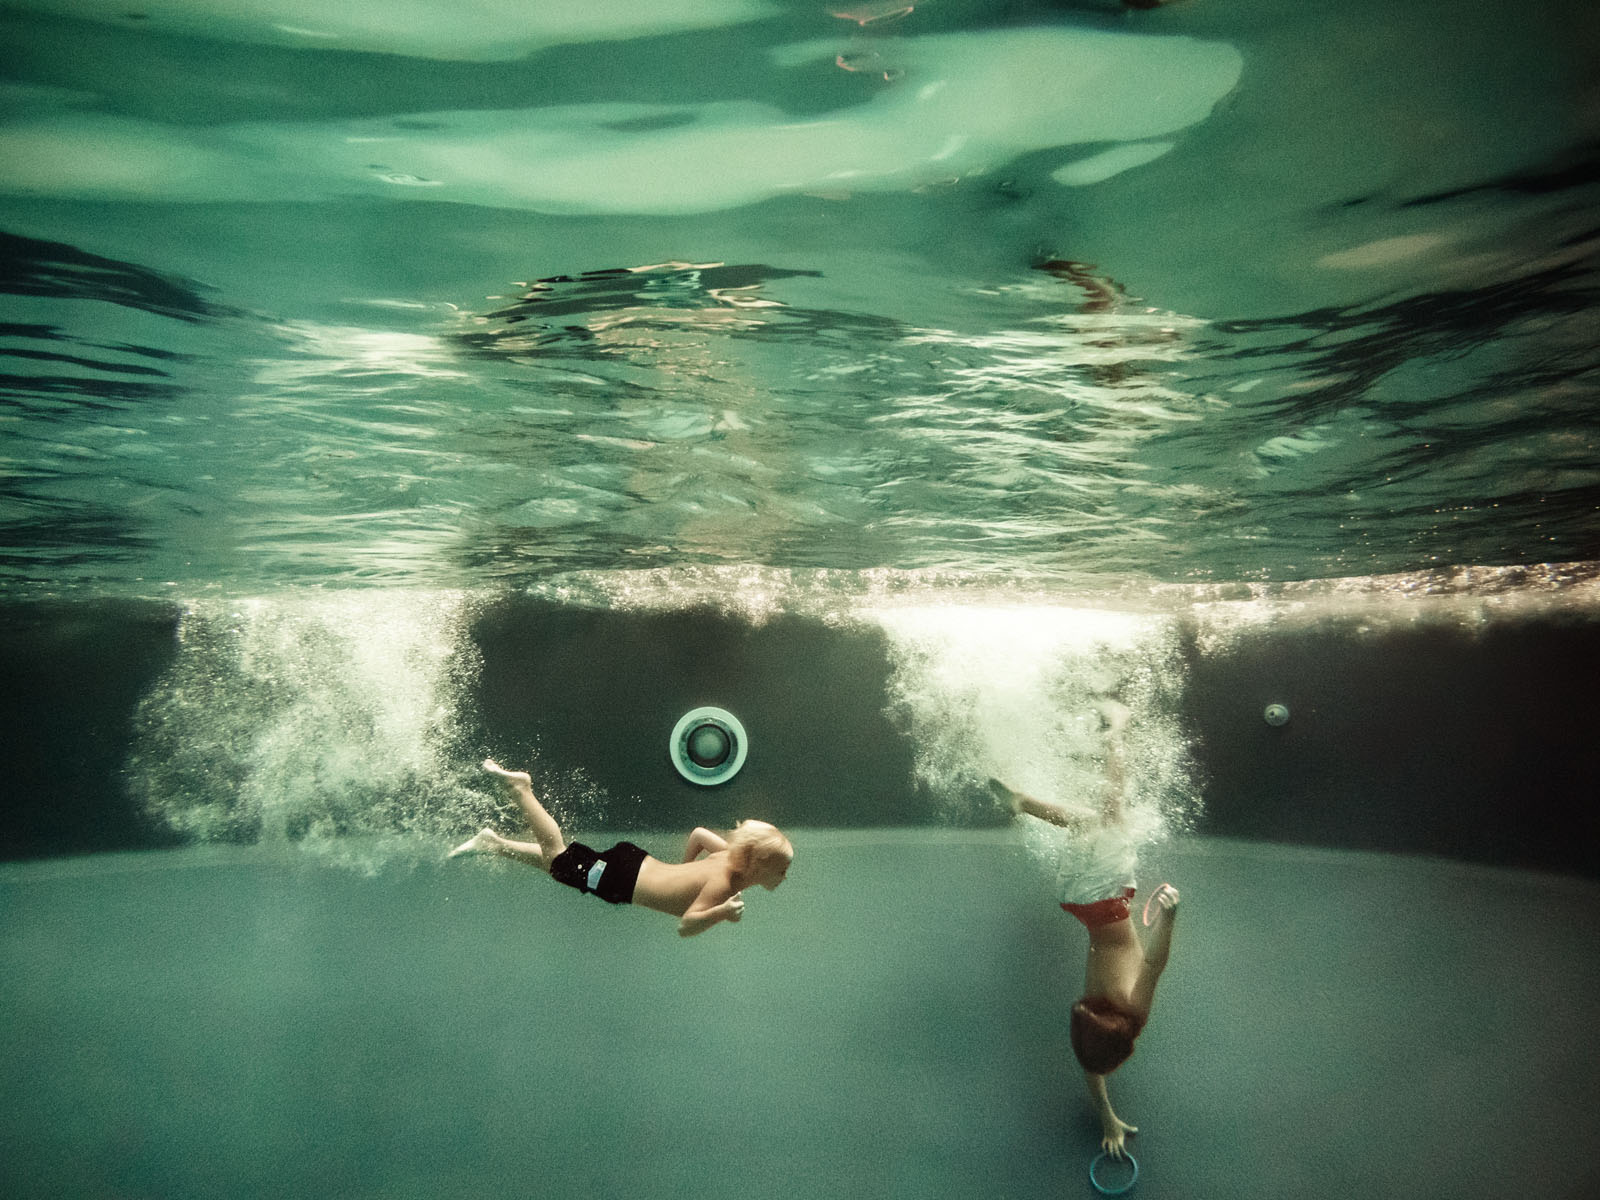
Shooting in deep water or a pool with a deep end is such a cool experience. From capturing the kids jumping in to exploring how they look diving down to the bottom, I love the wide angle, whole scene approach to underwater photography that can be a little more difficult to attain in shallow water.

6. Have fun with the processing.
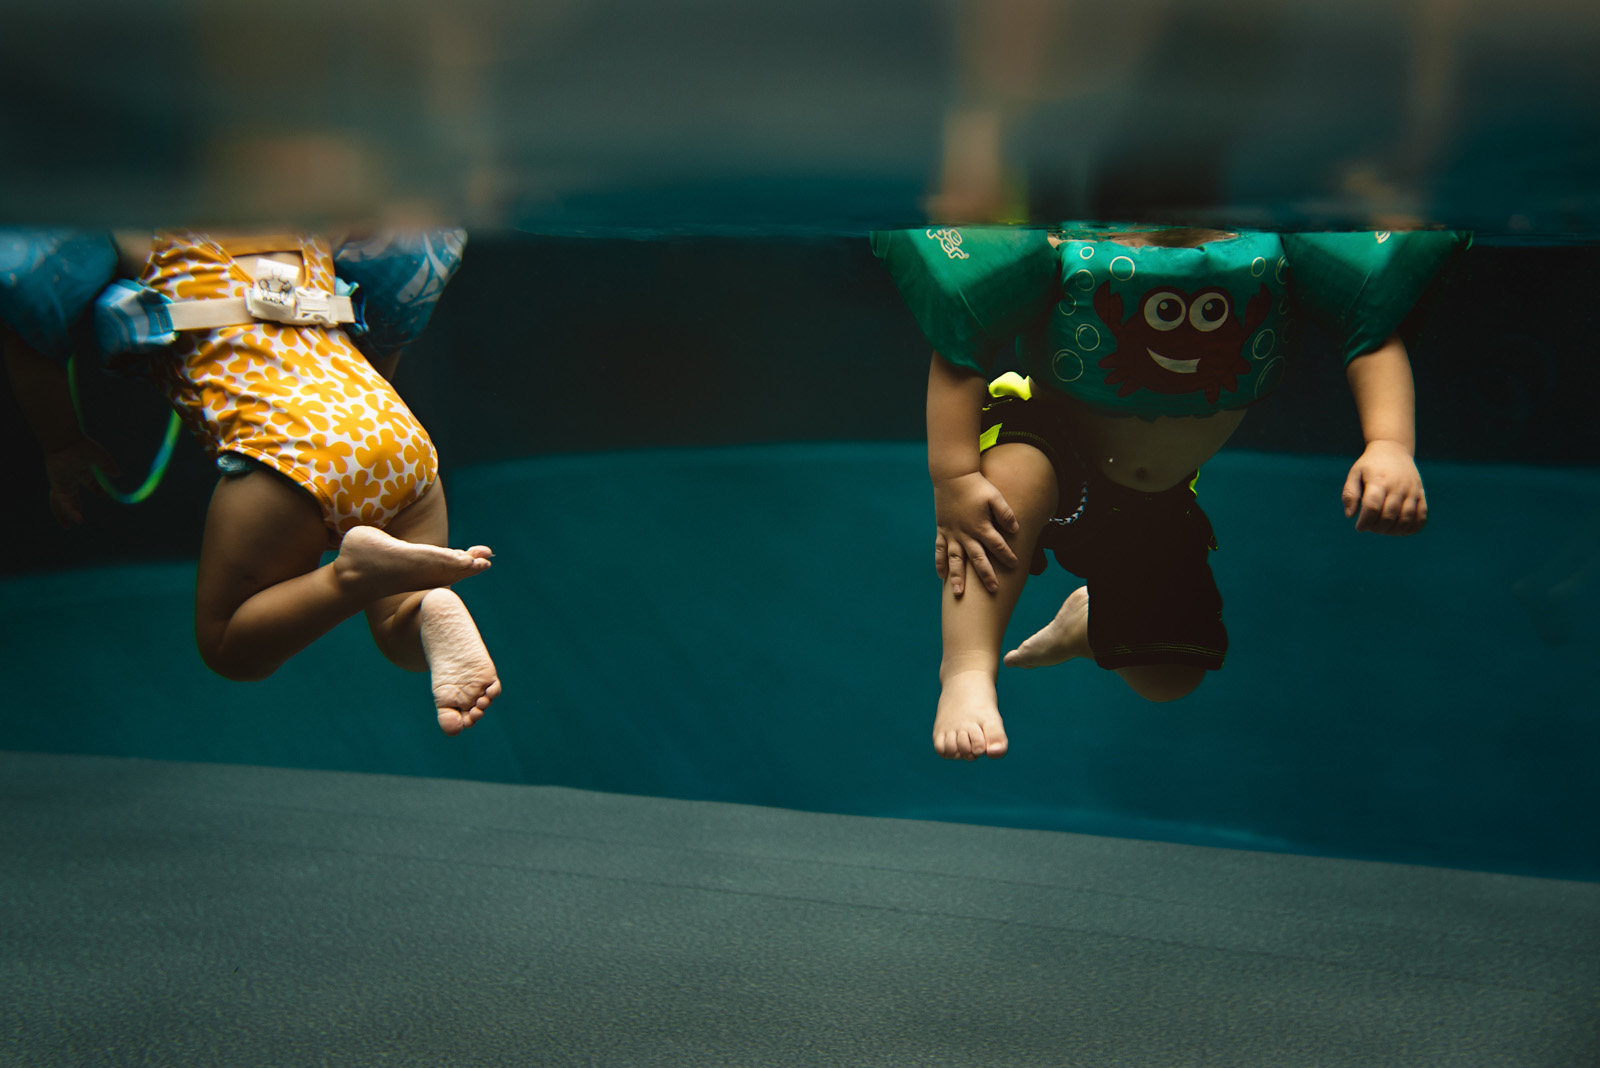
Editing the underwater photos can be a headache for some people but I really enjoy it. Photos taken in shallow water have a lot less color cast than deep water photos and most of those can be done in a few clicks based on a preset I created in Lightroom.
However, my deep water photos are sometimes full of blue people when uploaded! In those cases, after applying the Preset for initial edits, I might spend some time playing in Photoshop to get the skin tones where I want them. Many of the same principles for overwater editing also apply to underwater editing with color balance and layers playing the most important role for me.
I think the ethereal quality of water inspires my approach to editing and in this setting it’s really easy to achieve a dream-like feel. (I’ll be showing video examples of my deep water editing in my Mood & Light Breakout coming this Fall! )

A few more tips while I’m at it…
- Wear goggles with fog spray but try to discourage kids from wearing goggles so you can see more of their expressions.
- Shoot when the water temp is comfortable for both you and your subjects because it’s not fun if either of you are freezing.
- Don’t be afraid to overshoot –it’s really hard to tell when you’ve nailed focus and sometimes it’s okay not to nail focus. The nature of swimming lends itself to more motion blur or missed focused and some resulting accidents can be very fun! Don’t discredit what you captured, save your files and return to your work later to see if you overlooked something really cool in the first pass.
I hope these tips help get you excited about going underwater with a camera this Summer. You might find there’s no other place your kids would rather be photographed than underwater!

The post 6 tips to capture your kids having fun underwater appeared first on Clickin Moms.


