
My husband and I had only been married a couple years when we closed on our first home. It was a small starter house, but perfect for two young adults in college with one cat. We were thrilled with our little house, and we were so excited to be home owners for the first time.
Eight years have passed since we excitedly signed those closing documents, and we’re still living in that tiny house. Our family has changed and grown since then. The addition of children has led to toys and baby gear and impossible piles of laundry and artwork with nowhere to go. The tiny house that has watched two twenty-somethings grow into the family we are today has expanded its arms to maximum capacity. It is holding us, but barely.
While we are making plans to move soon, this has been the house where I learned to use my camera. When I first started learning, I remember being drawn to photos that were taken in gorgeous rooms with grand windows streaming glorious light. While I would have loved to take photos like that, it was not my reality. I had a choice to make. I could let my circumstances become a barrier to my growth, or I could treat them as an opportunity to push my creativity and learn to take photos I was proud of in my own environment. At first, I let fear win. I only photographed my children outdoors, because I was embarrassed of my available space, and was certain it was unusable. However, once I became comfortable outside, I wanted more. It took a lot of gathering of courage, but I finally decided that my home was part of my life’s story, and I wanted to capture it. I’d like to share some things I’ve learned along the way for photographing in my small space.
1. Learn the Light
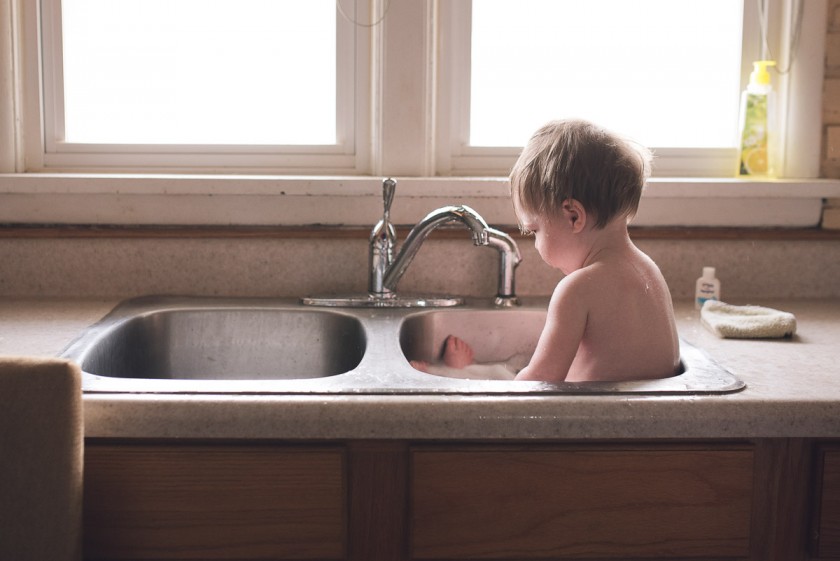
Sometimes smaller homes, particularly those that are older, do not have the biggest windows. My home certainly does not! However, over the years, I’ve learned which windows are my best sources of light, and I use them often. It is important to identify where each of your windows are in relation to the sun. Which direction do they face? I have learned, simply through observation, which of my windows I want to use at any given time of the day. For example, my east facing windows receive glorious golden light at sunrise (the golden hours can certainly apply indoors!), hard light mid-morning, and softer light in the early evening. You may find different results in your own home, depending on countless factors. Some might include the precise angle of your house in relation to the sun, nearness of neighboring homes, surrounding trees, other windows in the same room that may face a different direction, etc. It is important to be mindful of your environment.
Of course, natural light is not the only option. I consider myself a natural light photographer, so I’ll make every effort to use natural light. However, sometimes it simply is not an option. Sometimes I want to photograph my children in the evening hours, too! In these cases, I experiment, and make the most of whatever light I do have available. I don’t consider myself an expert on flash photography, but I have used it on occasion to achieve directional light. I’ve also been known to use my laptop or even a cell phone in a pinch. Lamps can also make fun light experimentation exercises. Refrigerators often have nice, white light as well. Don’t be afraid to try something new and even unconventional! You never know what you may discover when you experiment.
2. Change your Position
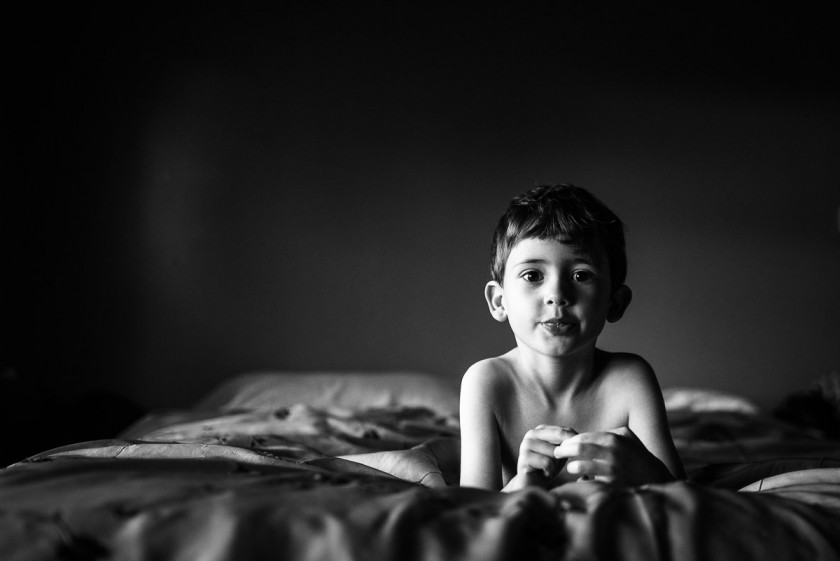
So now you’ve found the best natural light sources in your home, but you’re worried about getting bored by using those same spots again and again. Don’t be! So many options exist to keep an area fresh and looking different in your photos. One way is to change your position. Once you’ve captured the moment that led you to grab your camera, try a different perspective. Try shooting from above, below, beside, and behind your subject. This will teach you to think about your space differently. You’ll notice things you wouldn’t have seen otherwise. You may also find your favorite photo in the series is not the one you originally envisioned.
Changing your position can affect the way the light interacts with your subject, so as you change your position, change your angle as well to see what happens. If you’ve moved behind your subject, also try angling yourself up, down, or side to side.

3. Move your Subject
You’ve found a great spot for light, and you’ve moved all around your subject and gotten yourself a great series! The next thing I would recommend is moving your subject to get even more variety (assuming your subject is still patient by this point, ha!). If you move your subject closer to your light source, the background, and your subject, is going to look different than if your subject is farther away. Try it and see what happens! Another idea would be to have your subject change positions. Perhaps they were sitting before – try asking them to lie flat on their back or on their stomach. Then you can repeat the process of changing your own position again, too. By now, you should have a great series of images that go together in a story for yourself, and you may even have enough to complete a client gallery if you’re in a client’s home!

4. Rearrange your Home
I’m not recommending you do any major remodeling projects here. However, when it’s convenient, you can completely change the look of a room and of a photo simply by moving a piece of furniture out of the way, or another option might be to move it closer to the window. Sometimes I’ve cleared out an entire area in a room, scooting furniture just behind me, so that I can create that look of an open room. Granted, this does take some energy, and I don’t always have time to do it, but it can certainly make your photography feel fresh if you feel you’ve been doing a lot of the same thing.

It can also help to move any clutter into another room temporarily to give you a cleaner shot. On the other hand, does the clutter contribute to the story? If so, find a way to use it creatively. Shoot through it or look for any interesting patterns it may be making. Does it form a line leading to your subject? You can always reposition your clutter as well, to create a stronger image for the story you’re trying to tell.

5. Use Every Room
You may have found your favorite spaces to use for shooting. However, don’t neglect the other parts of your home. Life continues to happen beyond the best windows in your home, and you can still take a great photo!
I like to visit every room in my home with my camera, because each is its own unique stage. Maybe one room doesn’t have the best light. In that case, I either create my own as discussed earlier in this article, or I’ll look for other elements that can create interest in my frame. Are there strong leading lines that can be used? Are there pops of color in the background? Of course, adding in an external, even unconventional, light source is always recommended, when possible, to take that photo to the next level. However, when that simply isn’t an option, or I risk missing a moment, that’s when I focus more on other elements that will help give my photo dimension and keep it interesting.


6. Take a Class
Whenever I find myself in a rut, I have found that taking a class helps pull me out of it and always gives me new ideas. Mastering Natural Light Indoors and Composition & Creativity are two classes that really changed how I feel about shooting in my small home, pushing me out of my comfort zone, and helping me to be more intentional in my shooting. In addition, classes can be a great space to brainstorm ideas with other photographers. I have tried so many new things as a result of these conversations, some of which are ideas I may never have invented on my own!
Is photographing in a small space challenging? Yes! Impossible? No! Don’t be afraid to experiment and try new things and, most importantly, keep practicing and brainstorming ideas, because you never know what magic will appear as a result.
 Heather Mohr, Missouri
CMpro
website | facebook | twitter | pinterest
Heather Mohr is a newborn, maternity, and birth photographer in the St. Louis, MO area. Her favorite way to use her camera is to document her own children’s lives. Heather also enjoys spending time with her husband, fine dining, travel, and reading when she has spare time.
The post 6 Tips for Taking Photos in a Small Home appeared first on Clickin Moms.


