
People often ask me if I live surrounded by beautiful fields of flowers and this makes me chuckle every time.
With the techniques described next, I’m going to show you how to make it look like you do!
1. Choosing your subject
I don’t usually shoot random flowers that I find growing around because the light is not always right. Instead, I carefully select an interesting flower or an uninteresting plant and bring it to where the light is right.
Where do I find my subjects? Usually at the grocery store.
Every Monday I go grocery shopping and take some time to walk around the flower section to see what catches my eye. Usually it’s one type of flower and some random fillers to go with it. I don’t spend a lot of money on this, though.
Another place I search for subjects is my own back yard. I have a few beds of flowers/greens that change a lot during the year and there’s almost always something I can use.
Your subject can be anything, not only beautiful flowers. Even the most uninteresting thing can make the most interesting shot. It’s not unusual for me to shoot dead or droopy flowers!

2. Find a good location
This works like many other types of photography – location, location, location. The good thing is flowers are easy to move and carry around so almost any location with good light works.
I have two main locations that work for me really well: my own home, both the front and back yards, and an empty lot just a few steps from me.
Why is location key when shooting flowers? This is where you’ll find extra elements that’ll fill your frame. And, of course, your light and background which will play an important part in your picture. In my case, my front yard has the best light and good background but my back yard has the best extra elements.
Learn how your locations change through the seasons, how tones vary and light becomes dimmer or brighter. There’s always something useful and it’s good to have variety.


3. Light is everything
Think of light as another element in your frame. You’re not going to only use the best light for your flower. You’re going to incorporate light into your frame in the form of bokeh, flair, highlights and even shadows.
Light goes hand in hand with location. Study the light around your home. If you have a front or back yard, or even light coming through a window, see how it moves and changes during the day and through the year. Even on cloudy/moody days it’s important to identify good light.
I mostly shoot during sunset when I get beautiful warm light in my front yard. In the picture below you can see sunset light all the way in the back. That’s the light you see in many of my pictures.


That’s my favorite light of all. But when it’s cloudy, I like to shoot in my backyard for a moody feel where I don’t get as much of the sunset light but it has good overall light.

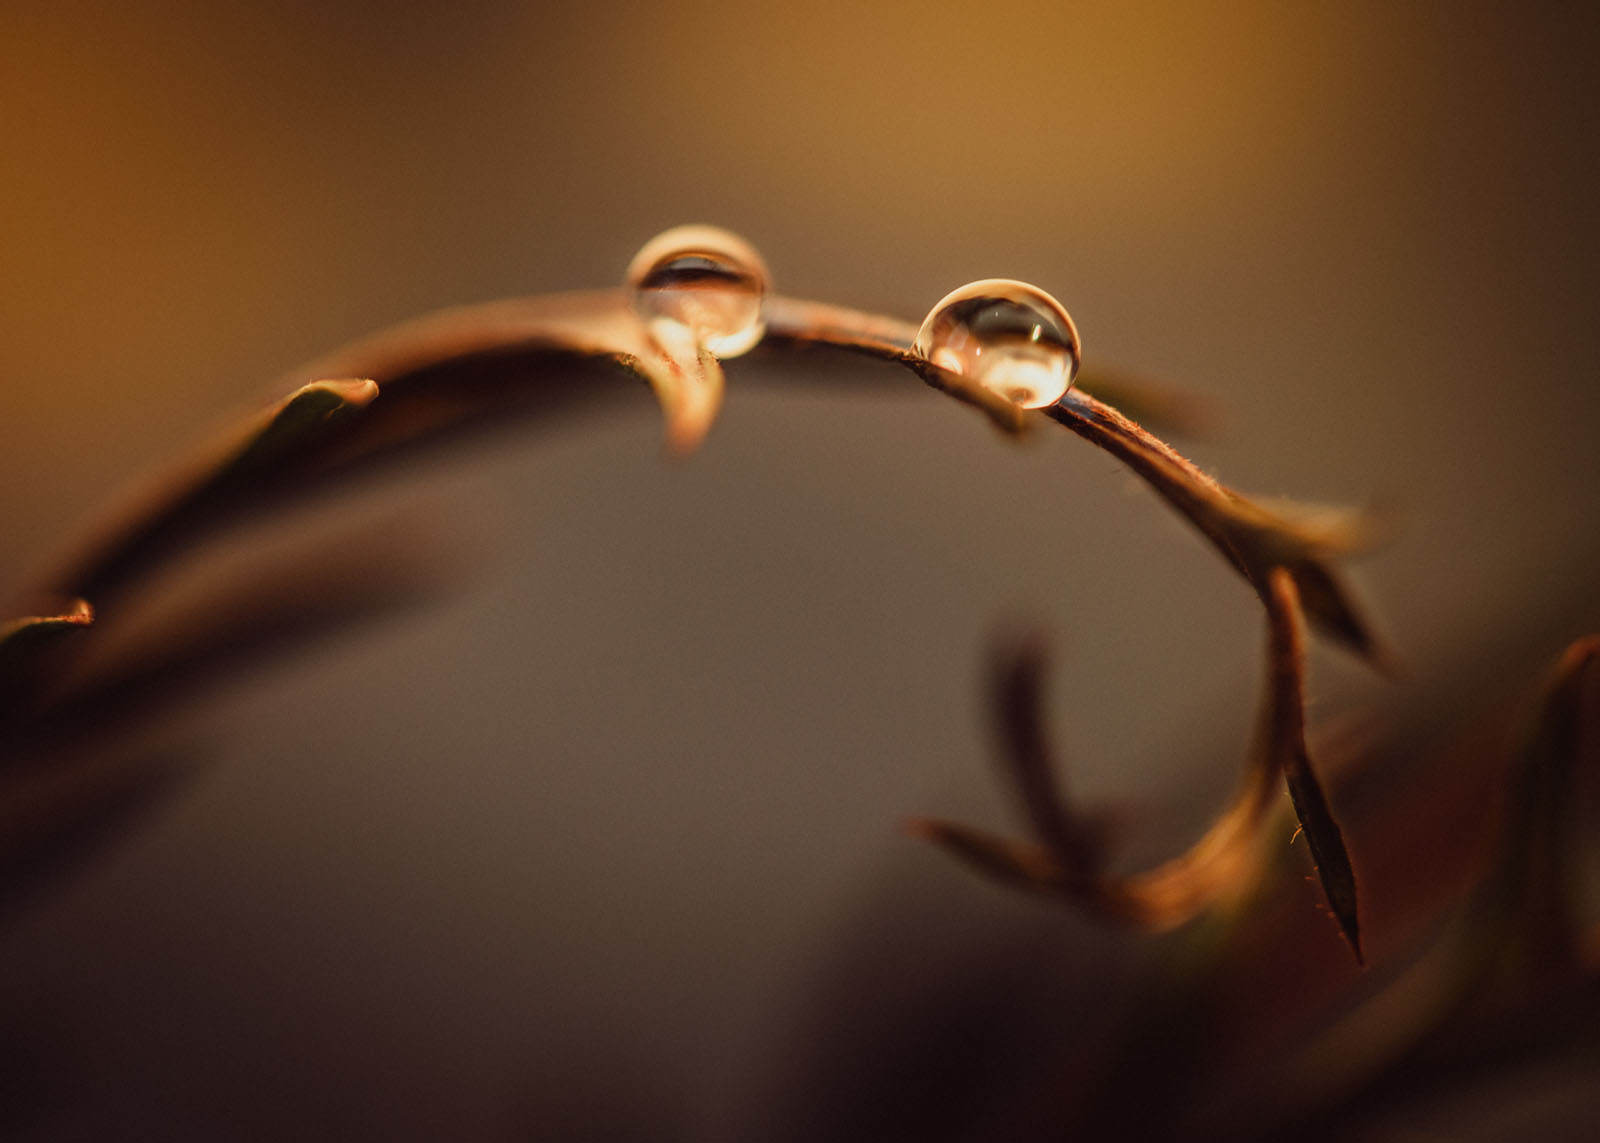
How do you incorporate light in your frame? My favorite light is backlight, it creates beautiful bokeh when it leaks through trees or bushes in the distance and also when it hits on small leaves or drops of water. I always try to find the bokeh through my viewfinder by getting closer to my subject and using a shallow depth of field.

Another way of incorporating light into your frame is by creating flare. This is a bit more tricky and takes a bit of practice. The way I do it is by moving around, pointing my lens somewhat towards the sun until I see some light spilling in the frame.

4. Styling the shot (My favorite part!)
Now that you have your subject, location and light it’s time to style your shot. Yes, all my shots are styled. It sounds more formal than it actually is but it involves a little bit of work before you start shooting.
First, decide what elements to include along with your main subject. Is it a single flower or a bunch of similar flowers? Are you going to include any additional plants, greens or other flowers?
Once you select your subject(s), find a container or vase that you can easily move around and contain all your elements. Put everything inside your container and let them stand as naturally as possible.
Using a small stool, position your vase against the background where the light is coming from behind. Think like you’re creating a scene using all the elements around you and try to make it feel like you’re standing in the middle of a beautiful field.


Sometimes I use my backyard plants as holders, sticking the flower in the middle of a bush like it belongs in there. Or I hide the vase between some plants, making it look like the flower is growing from there.
If I’m using extra fillers, like some type of greenery, I try to place them around the flower to add extra layers.


It’s not uncommon for me to just hold everything with one hand and move it around in front of my lens until I see something that I like. Basically, I just play and make something up every time. There’s no right or wrong way of doing this.


5. Taking the shot
Be intentional:
Find an interesting characteristic of your flower, something that makes it stand out from the others like a folded petal or the way it’s standing or drooping. Make the shot about that.
Be mindful:
When looking through your viewfinder, see the whole frame. Be careful of distractions or things that don’t belong. It’s easy to avoid them by moving around just a bit. Remember you’re in a “beautiful field”.
Move:
The best advise I can give you is to keep moving as you shoot. Move up and down, a little closer or a little further, shoot up and shoot down. Forget about everything and just keep looking through your viewfinder as you move. This is when the magic really happens – keep looking until you see something beautiful and just shoot!
Create depth:
To really give the impression of a scene from nature, it’s important to have layers in your frame. Think about the foreground, middle and background.
To create depth, I love shooting through things like plants or other flowers. I even grab them with my hand and pull them closer to my lens so I can control how much blur I want to include.
Focal point:
Make a conscious decision of where your focal point is going to be. Define your focal point thinking about position within the frame and focus.
Keep shooting:
Even when you think you’re done or the light is gone, shoot a little more. Sometimes, when you’re more relaxed and let go, it’s when you’ll find something unexpected.


My gear and tools:
I shoot with a Nikon d800 and mostly with a Lensbaby Velvet 56 or 85 lenses. I also use a 105mm macro lens and even do some freelensing with a 50mm f/1.8 which is great for getting a nice flare. Most of my work is done in macro/close up mode but I play a lot with different distances during the shoot.
I also like playing with some tools to create different effects like a copper pipe or even my own cell phone to create a reflection. Another favorite “tool” is a spray bottle that I often use to spray water around my flower to get nice bokeh around it.


BONUS: Editing (The fun part!)
I know some of you want to know about my editing but that’ll have to be part of another tutorial. But I’ll give you a few quick tips that will hopefully be useful.
My workflow consists of downloading everything to Lightroom. From there, I go through every picture and select the best ones, between 10-20 out of about 100 (I shoot a lot!). From those I edit one and basically run the same steps to the others unless I changed locations or the light changed significantly.
A quick editing goes like this:
- Look at the histogram and see if anything is clipped and fix it by moving my exposure.
- Lower the highlights and move shadows up.
- Add warmth to the overall picture with the temp slider, usually about 5,800.
- Add contrast and clarity if needed.
- Desaturate greens and yellows in the HSL panel.
- Add magenta to shadows on the Camera Calibration panel.
- Add a subtle vignette.
Now, go get yourself some flowers and start planning your shoot.
I can’t wait to see what you get but most of all I hope you have fun in the process and I’d love to see your results!

The post 5 Steps for creative flower photography appeared first on Clickin Moms blog: Helping you take better pictures one day at a time.
Clickin Moms blog: Helping you take better pictures one day at a time


