
Macro photography is a unique genre with its own learning curve.
Many people get frustrated when they first try to learn macro but the reality is that it takes practice and you just have to stick with it, like all types of photography. Let’s chat about some of the biggest mistakes you could make in your macro journey.
1. Always using a tripod
I never ever use a tripod for macro photography. I’m not saying you shouldn’t either, but you should at least TRY without the tripod. It’s incredibly freeing and allows you to be more creative and play with your angles. Don’t get bogged down by the idea that you need a tripod for macro work. Instead, try hand-holding and make sure your shutter speed is high enough to prevent motion blur. Many macro lenses, like the Canon 100mm or Nikon 105mm, are pretty heavy so I suggest staying at 1/200 of a second or faster.

2. Never converting to black and white
Many photographers shy away from black and white conversions for macro work, but the reality is that you can create gorgeous, stunning monochromatic macro images. For nature macro images, color is often the selling point of the subject, so it may be hard to strip that beautiful color. But, black and white can lend a timeless or moody feeling to your images. It’s a good technique to at least try! I find that my favorite black and white macro images have nice tonal variation between the subject and the background. I also look for strong light when thinking about which images to convert to black and white.

3. Not adapting to the weather
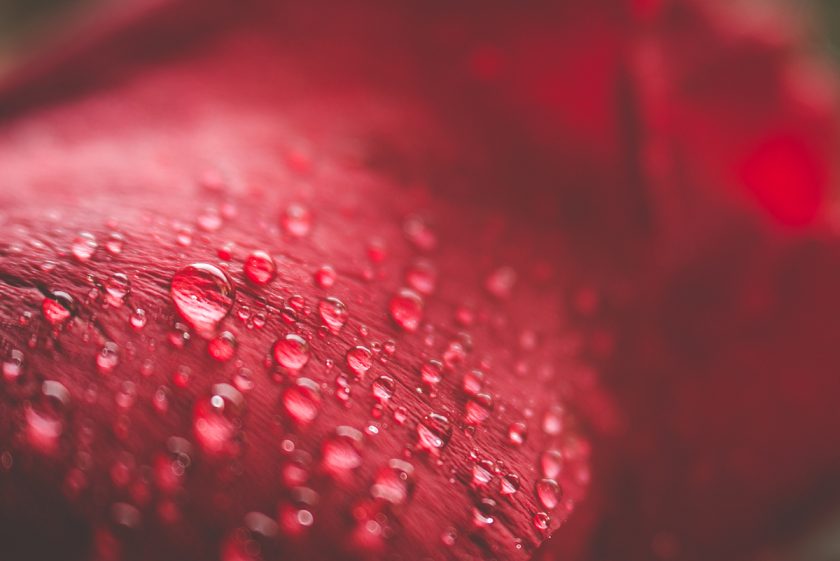
Harsh sun, wind, and rain can all put a damper on your macro session. When shooting macro outdoors, you have to either take the weather into consideration or move your subject and your shooting inside or under a covering. Wind is the biggest reason I will move inside – it is really tricky to work with and can ruin a macro session. If it’s just a light wind, you can try shielding the wind with your body to keep it off your subject. For full sun, you can certainly still shoot, just expose for your highlights. You can also try to block the direct sun with your body or a diffuser. Shooting in the rain can actually make for really unique and lovely images, but make sure to protect your gear!


4. Using auto-focus
I never rely on auto-focus for macro photography. It’s just not reliable enough when you are working with very narrow depth-of-field. Thus, I always stick with manual focus if possible!
5. Thinking you have to follow the rules
Don’t be afraid to take risks! I realize I just gave you a bunch of rules and now I’m telling you to not follow rules, but bear with me. I think the biggest mistake we can make in any genre of photography is being afraid to try new things, to break the rules, to break out of the ruts we create for ourselves. I know I sometimes get stuck in a method of doing the same things the same way over and over. I have to break free from that to try new things.
Sometimes my experiment is a failure and I don’t get any images I love but more often than not, I get something new and creative that I really adore. I hope you feel the freedom that macro photography has to offer. When shooting nature, for example, you don’t need the compliance of your subject or anyone else. You can feel free to take your time and try all sorts of different things. Try shooting wide open and stopped-down, at all different angles, in full sun and shade. Experiment and have fun!

Want to learn more about macro photography? My photography workshop, The Art of Macro, starts on August 8th and registration is open now! I would love to see you there!
The post 5 macro photography mistakes you’re making appeared first on Clickin Moms.


