Or at least a longer focal length than conventional wisdom suggests. I’m always reading that so-called street photography is best undertaken with a prime lens within the 35mm to 50mm range and I understand the merits of this range for reasons I will elaborate on further down. But convention is naturally a gauntlet that Alpha Whiskey cannot ignore. So before meeting my date I decided to kill an hour in town the other night shooting with a telephoto zoom and mostly at the maximum focal length (210mm: 420mm equivalent field of view).
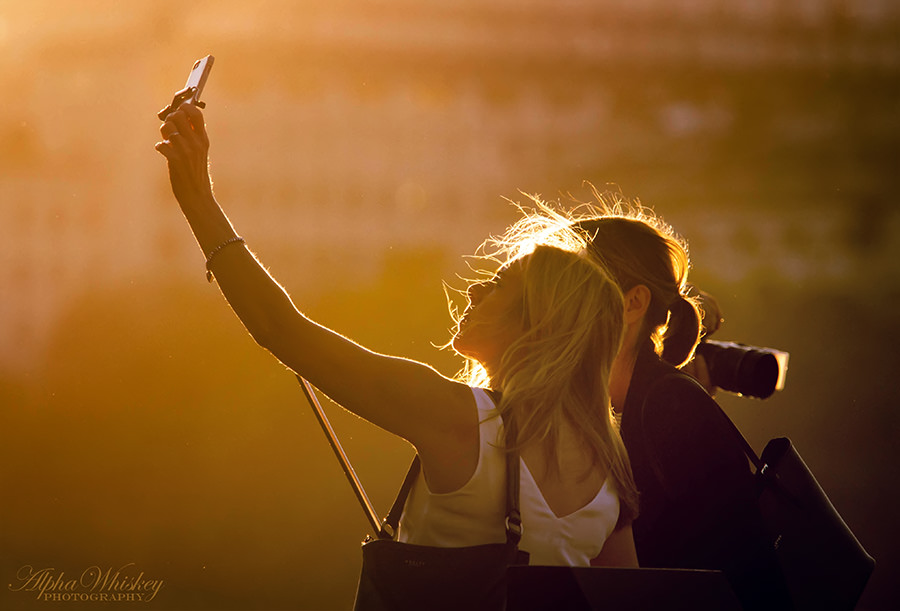
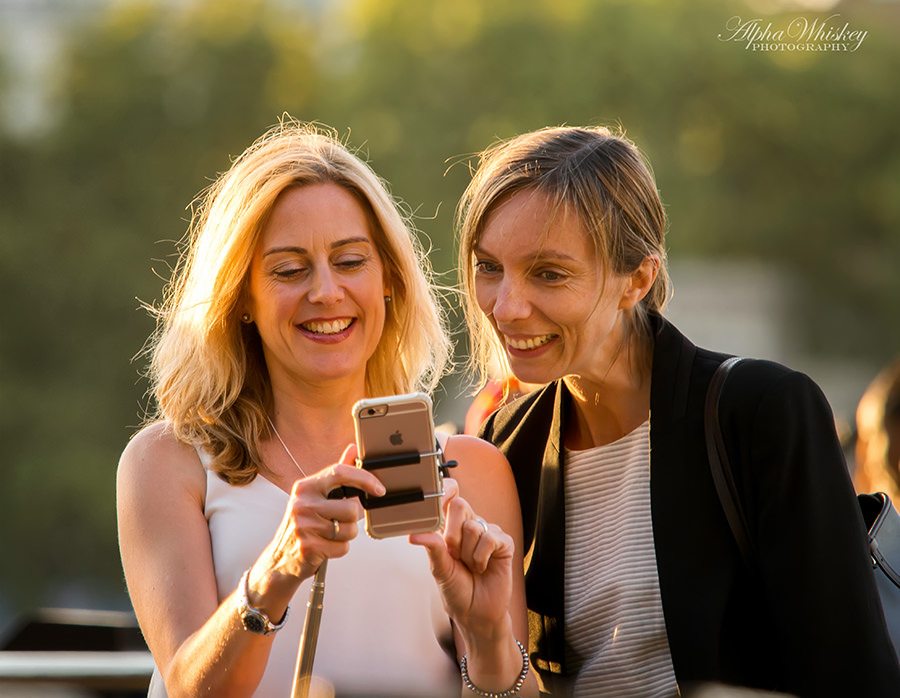
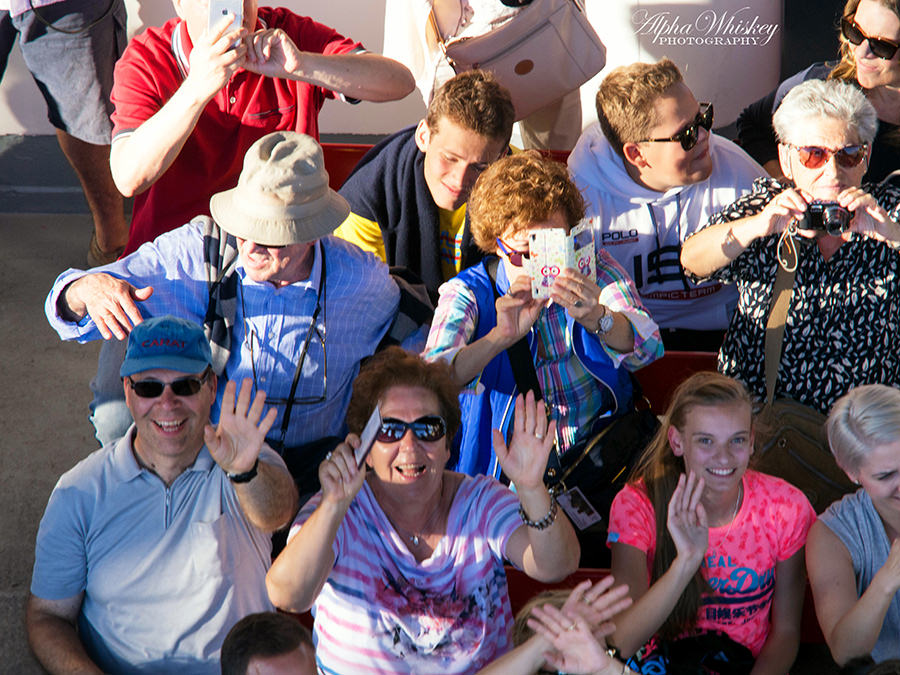
Selfie generation.
‘So-called street photography’ because it often has vague definitions, typically settling around an observation of random incidents or encounters in public places, either with or without people. As I’ve said a few times in the past, a lot of what is posted online as street photography, its artistic merit notwithstanding, seem like a lot of random shots of nothing in particular. Call me Mr Picky but I prefer my images to have a definite subject and I try to reveal something as well as just make an observation. Admittedly these images may have failed in that endeavour.

Now, 35-50mm is understandably the favoured range, allowing for a capture of one’s subject as well as a decent amount of its environment. That range is wide enough to show a scene or person and offer plenty of context as well. Some would argue it fits the field of view of the human eye and thus is more faithful to our observations. Furthermore, prime lenses that fall inside this range are usually fast, the wide aperture allowing for greater separation of one’s subject from its background if necessary whilst also allowing in more light to keep the ISO low. They are usually sharper than zoom lenses and the fixed focal length forces one to think more about composition and framing rather than lazily zooming in and out. They force you to have greater spatial awareness and to get into better positions to take your shot. Primes are small and light and virtually weightless around your neck, barely noticed by you or your subject, allowing you to discretely make your images. I’m sure you’ve heard all this before.

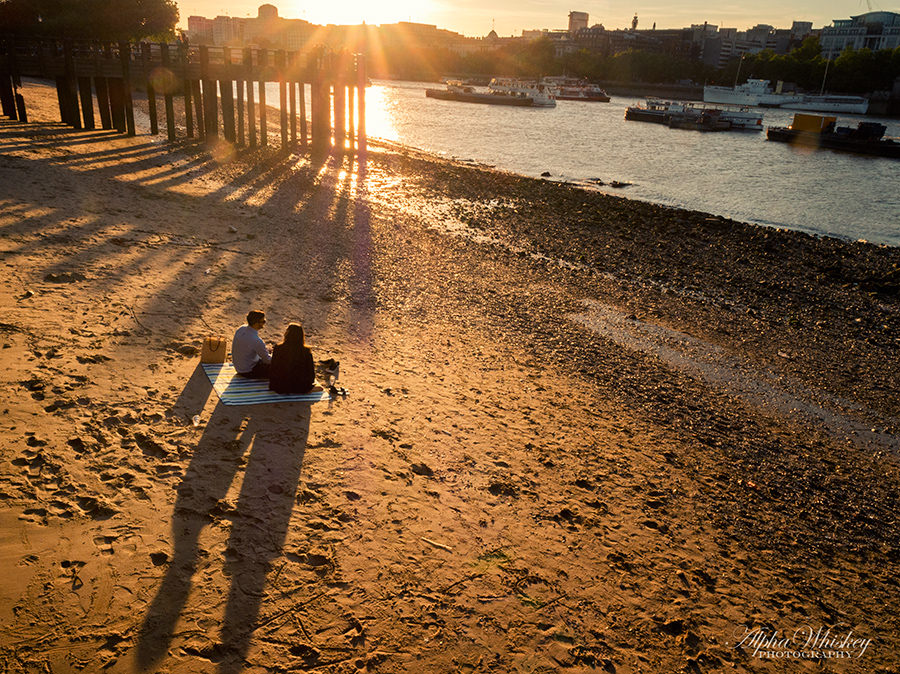
Taken with the Panasonic 20mm F/1.7 (equivalent to 40mm FoV).
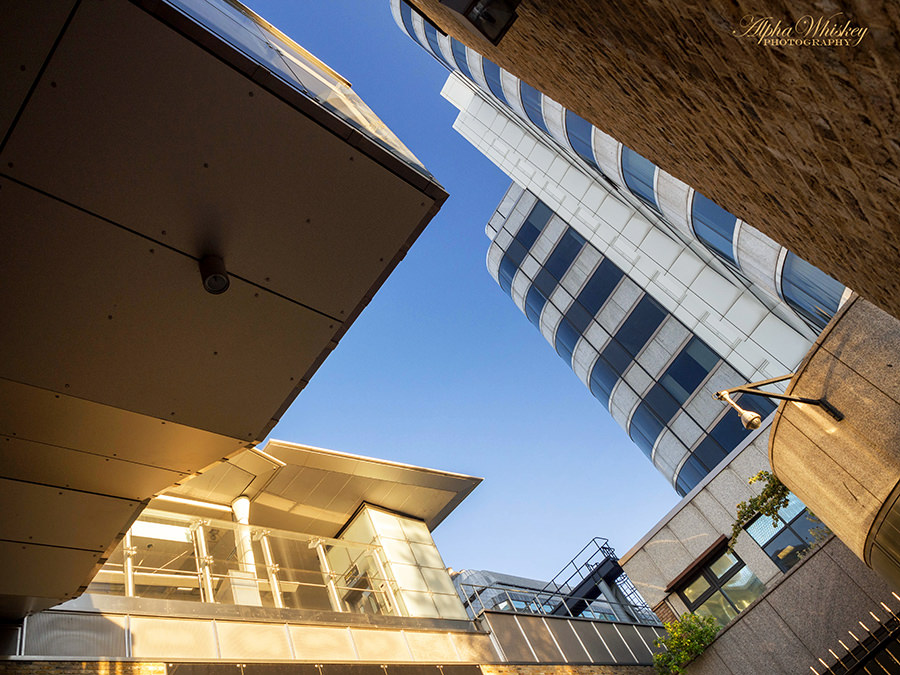
An even wider angle will help capture more of a scene, emphasising the location or perhaps interesting architectural geometry. The following two images were taken with the Olympus 12-40mm F/2.8 at 12mm (24mm equivalent FoV).
Furthermore, the strike against the telephoto or zoom lens, apart from fostering laziness in composition, is that they provide you with the comfort of distance so that one does not have to engage with one’s subject. This can, of course, alter (read: lose) your relationship with your subject or scene and risk the viewer being more indifferent to it. This distance also arguably makes the photography more voyeuristic, acquiring shots of unsuspecting people with greater ease.
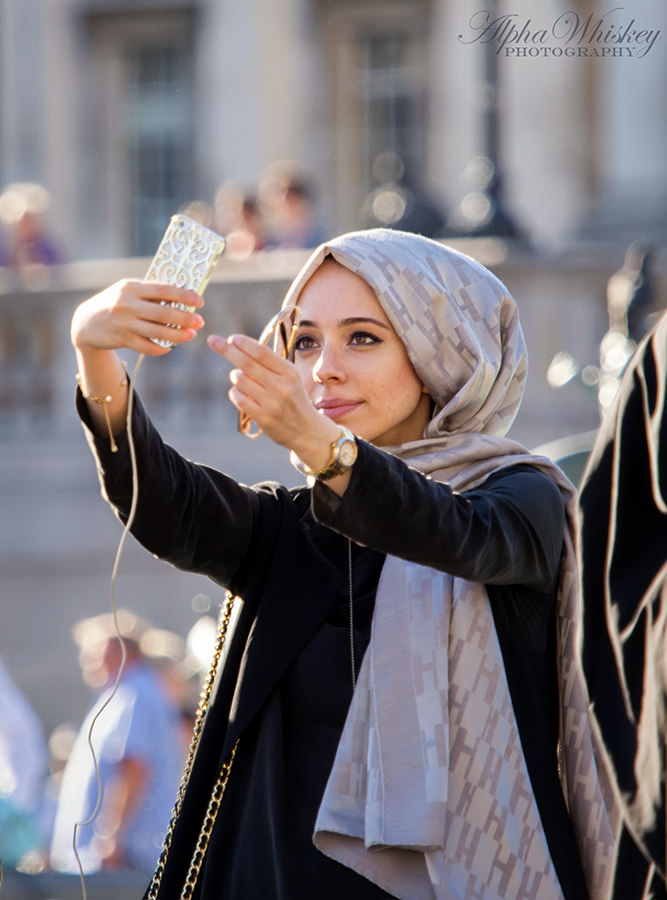
I am self.
I completely appreciate those criticisms of telephotos and believe me I would ordinarily not choose to cart a heavier lens around town. I’m in the gym regularly enough that carrying weight is not a problem for me but given the choice I would personally prefer a lighter load when out shooting. I just like my spine to keep the shape and length that nature intended for it. Having said that, the Olympus 40-150mm F/2.8 is still much lighter and smaller than its DSLR counterpart. (For most of the images in this article I had the tiny MC-14 teleconverter attached to the 40-150mm).
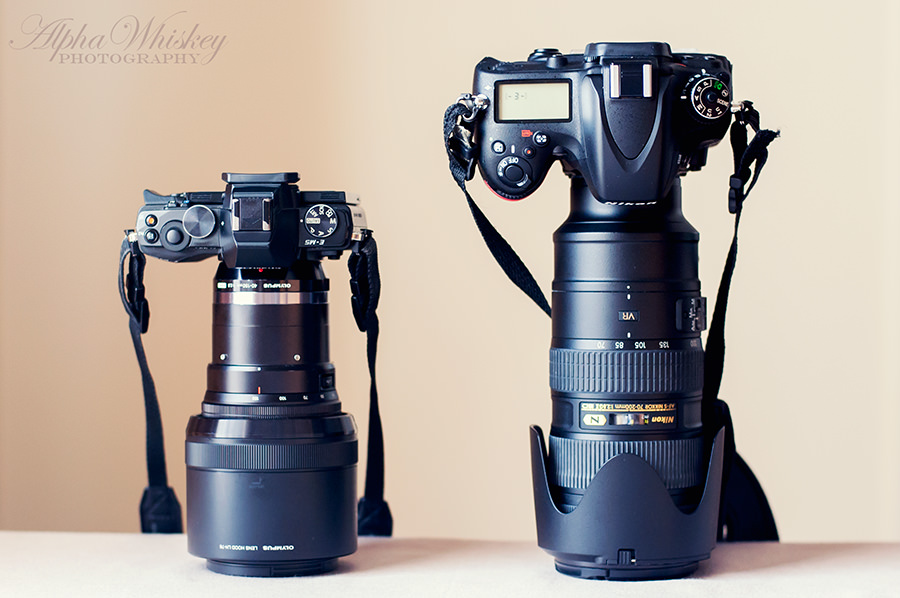
The Olympus 40-150mm F/2.8 attached to the Olympus E-M5 on the left. The Nikkor 70-200mm F/2.8 attached to a Nikon DSLR on the right.
But that does not mean that longer focal lengths cannot play a role. I would argue that all street photography is voyeuristic to an extent since you’re opening an uninvited window into people’s lives. Whether you open that window from near or far is largely academic. Longer focal lengths have the effect of compressing the subject against its background, which may actually help isolate the subject within your frame.
A longer focal length also offers a shallower depth of field at any given aperture than a shorter focal length, which may enhance the subject separation and bokeh.
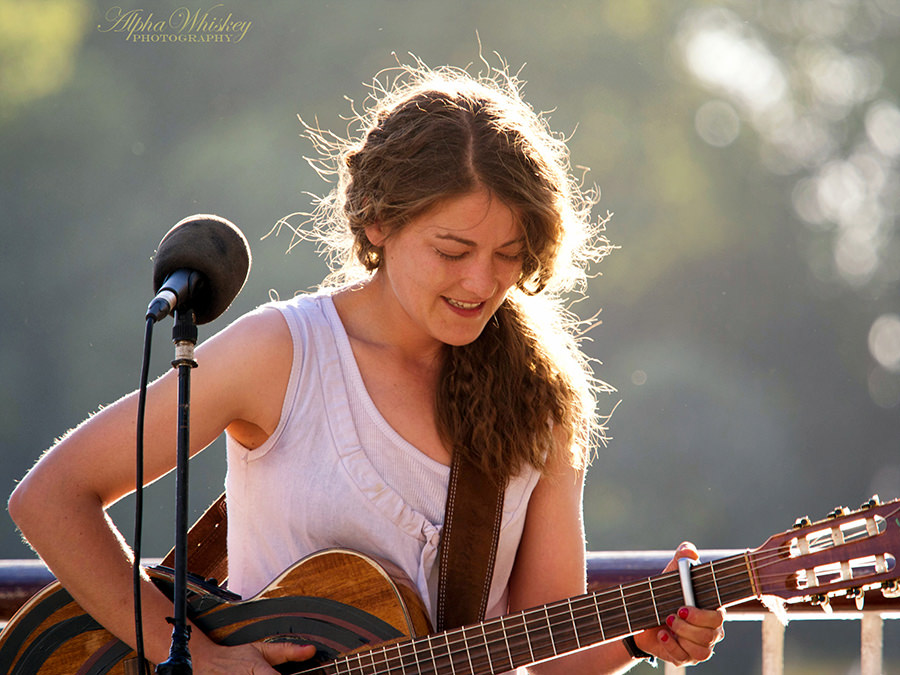
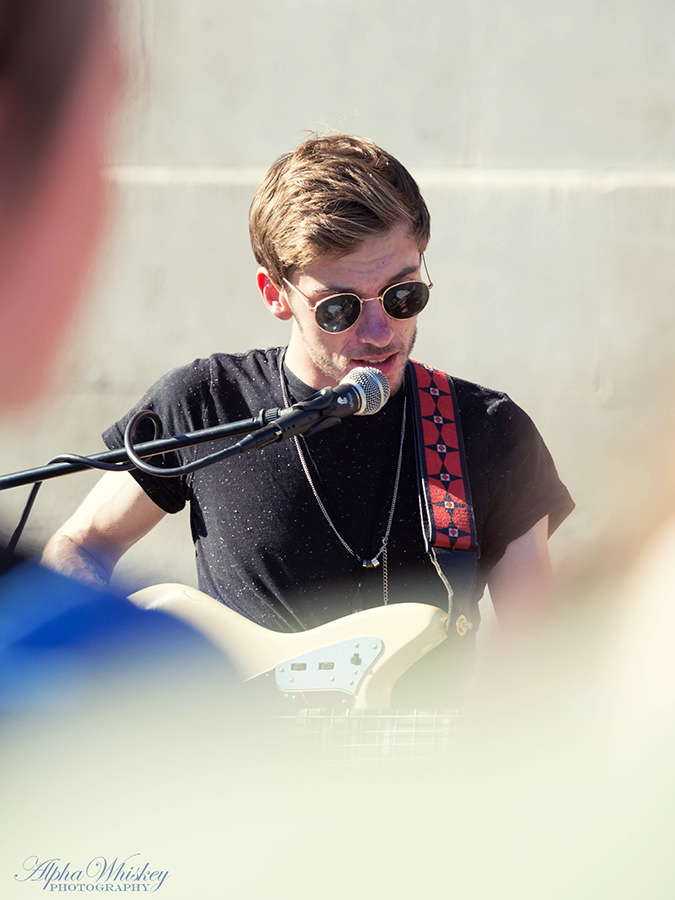
Singer Susana Silvana. She gets free advertising because she had a great voice and kindly lent it to us passers by.
Speaking of frames, yes the telephoto is tighter and has the potential for greater intimacy. You may find yourself capturing more portraits than environments and from a greater distance those portraits are easier to capture in a more authentically random fashion.
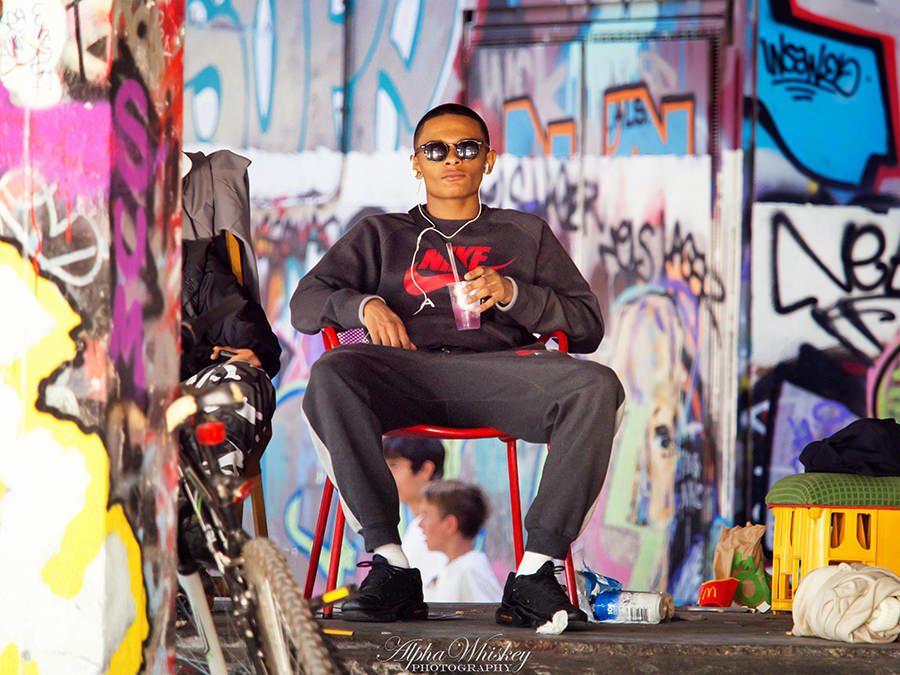
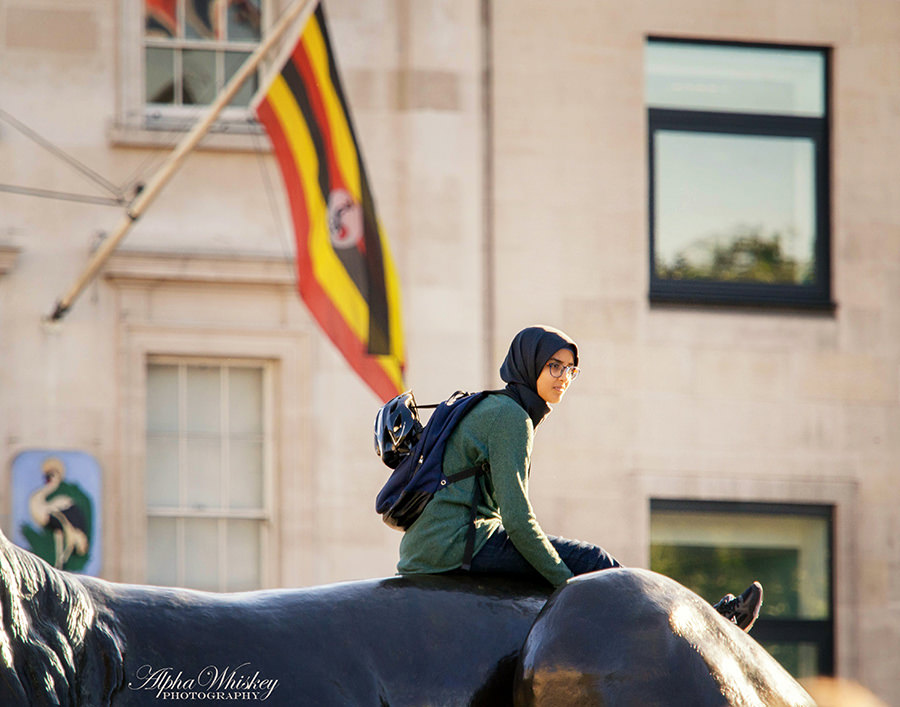
King of my castle.
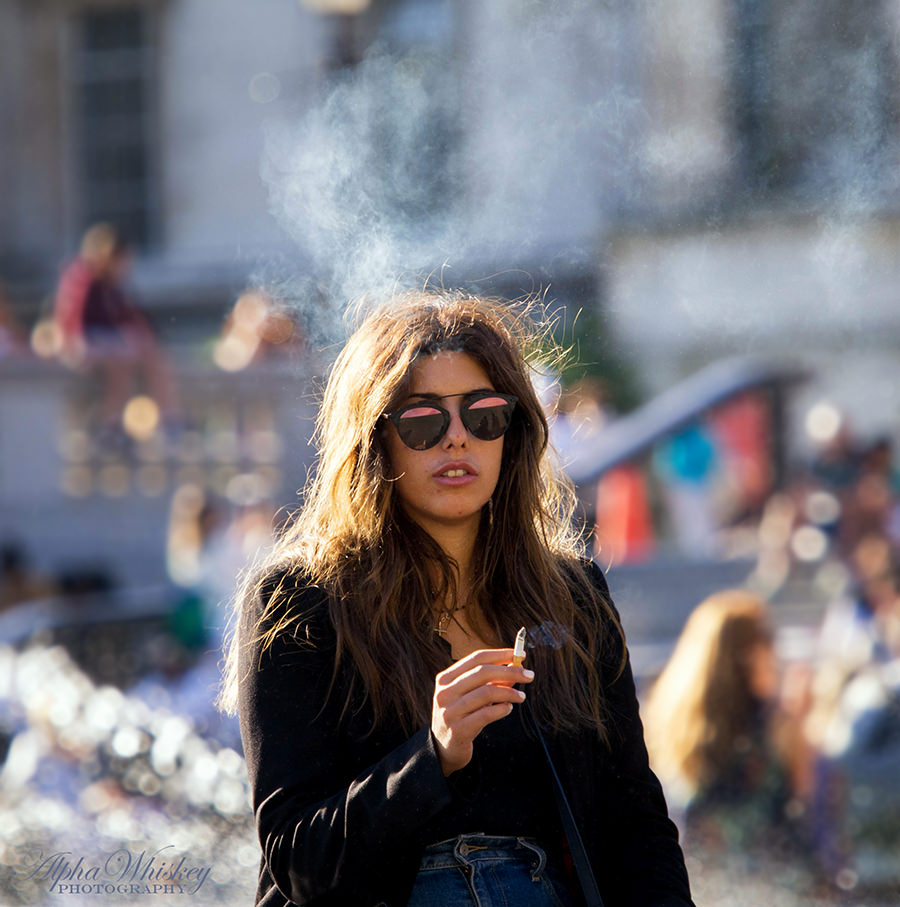
Haze.
Perhaps it also easier to take shots with a telephoto from within the crowded bustle of pedestrian masses. Couple it to a flip-out touchscreen and there’s no excuse for not getting the shot.
If you’re shooting buildings or places, the telephoto will enable you to consider more details and perhaps more abstract shapes. This may not strictly be street photography but it’s still an urban observation.

How long do I mean by longer or telephoto focal length? It’s debatable, of course, but for my money I suppose anything past 90mm would count. When I joined Nasim on his London photowalk a couple of years ago I shot almost exclusively with the Olympus 45mm F/1.8 which had a 90mm equivalent field of view. Despite being made of plastic and looking like a toy, that lens is super light and small and takes some pleasingly sharp shots.

The Olympus 45mm F/1.8 attached to the E-M5.
Taken with the Olympus 45mm F/1.8.
I think I would normally draw the line at my Olympus 60mm (120mm equivalent FOV), but only because that lens is also very small and part of my light carry kit; I deliberately used the telephoto zoom on this occasion to try and debunk the conventions. I may not have been successful but it was enjoyable trying.
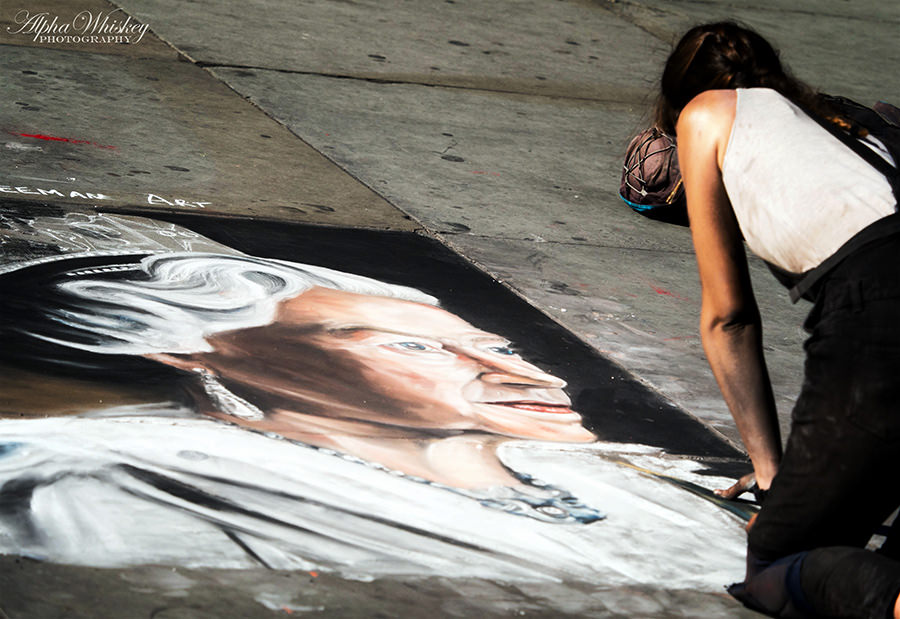
Her Majesty.
I think the take home message is that even if street photography is not your particular poison, and it isn’t particularly mine, don’t be confined to shooting with focal lengths that are deemed to be the norm for your chosen subject. Of course, conventions are established for good reasons but be willing to venture outside the box and give a little extra juice to your creativity.

So long Mr Baker.
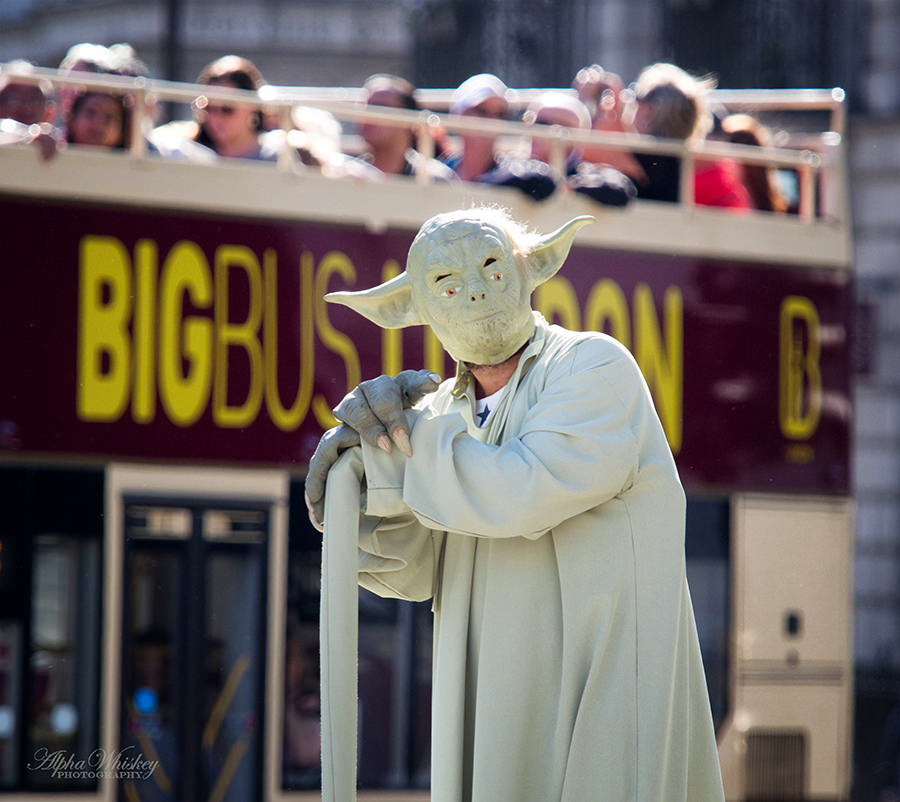
Bit of a Star Wars theme in town. ‘Take my photo you will.”
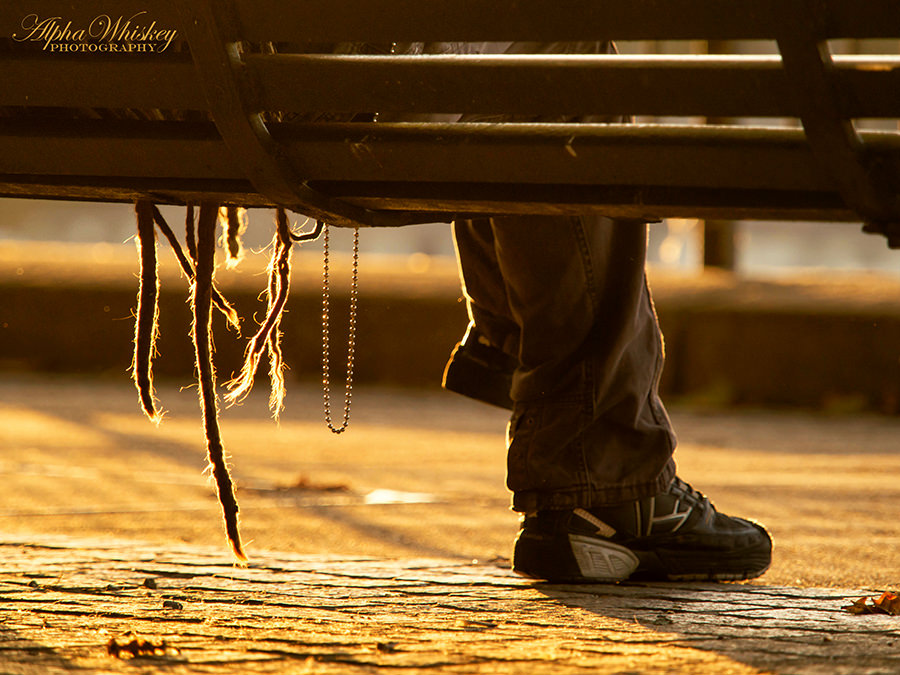
Dreadlocks.
Say Hi to Alpha Whiskey!
(This article was taken and adapted from my blog)
The post Street Photography With A Telephoto Lens appeared first on Photography Life.
Photography Life