Nikon, Canon and Sony Black Friday Deals

Nikon Black Friday Deals 2017

The biggest US shopping event, Black Friday, is right around the corner, but it looks like the big three have already announced what they will have up for sale. Nikon has some very attractive offerings, with the Nikon D750 and 24-120mm + battery grip kit receiving an insane instant rebate of $ 1,429 ($ 1,996.95 for the whole kit), while the camera body itself with the battery grip is discounted to $ 1,496.95 ($ 829 instant rebate). Another killer deal is the Nikon D500 with the 16-80mm lens + battery grip kit that is currently $ 1,039 off ($ 2,396.95 for the kit). Similar deals can be found for the Nikon D810 and other cameras and we also have a big list of Nikon glass that is also discounted. Canon has instant rebates from $ 300 to $ 800 on select camera bodies like Canon 80D, 7D Mark II and 5D Mark III, while the biggest rebate is on the Canon 5D Mark IV with the 24-105mm f/4L II + battery grip kit going for $ 4,099 ($ 809 instant rebate), in addition to a bunch of lenses receiving up to $ 300 rebates. Lastly, Sony is also pushing hard on a number of its cameras to clear out the stock. The Sony A7R II is getting a sweet $ 500 instant rebate, pushing its price down to $ 2,398, while the best deal without a doubt is on the original Sony A7, which is discounted by $ 200, bringing its price to a mere $ 798! Who would have known that there would be a day where a full-frame camera would sell for less than $ 800…wow!

[Read More…]

Photography Life

Posted in Photograpy How To | Tagged , , , , , | Leave a comment

Synology DS1817+ Review

Synology DS1817+

For a number of years now, I have been a big fan of network attached storage (NAS) in order to keep all of my data in one place and simplify my photography workflow. Having access to the same fast storage from multiple machines, as well as the Internet, is important for my needs, so I have been utilizing NAS heavily at my home office. Ever since I got a hold of the Synology DS1815+, I have been a big fan of Synology products. However, there has been one main limitation that I have been struggling with when processing large files or accessing storage from multiple computers, and that is network throughput limitations. With the DS1815+ model only featuring 1 Gbit Ethernet ports, I have been limited to a maximum total of 100-120 MB/sec transfers, which is simply insufficient in today’s high-resolution photo and video environments. So as soon as Synology announced its DS1817+ unit with the capability to add a 10 Gbit network card, I knew I had to move up to it. In this review, I will provide detailed information on the Synology DS1817+ NAS and provide detailed information on what one can expect from it in terms of performance and network throughput.

[Read More…]

Photography Life

Posted in Photograpy How To | Tagged , , | Leave a comment

How to use your front door to create better pictures

Does it feel like you’ve already used every single point in your house: bedrooms, living area, kitchen, bathroom and even hallway?

Are you tired of trying to create something new and different?

One of my personal favorite spots may be one you haven’t thought of to use yet – the front door!

This spot sees so many family moments: rushing off to school, everyone piling inside, loads of shoes and dirty gumboots, little hands playing with toys next to the door frame and more! So many stories happened around and behind the front door.

From everyday moments to paid photo sessions, you can utilize the front door for any purpose. Here’s a few ways to do so!

Utilizing the front door for its light.

Flat light

The light coming from outside is perfect for capturing portraits/headshots, everyday moments with kids playing, taking off outerwear and just having fun. When facing your subject directly towards the opening of the front door, you’ll get a flat lit image.

Tip: Flat light works beautifully to hide imperfections in the skin since there are very little, if any, shadows. For example, this could be ideal for a teen who is self-conscious about acne.
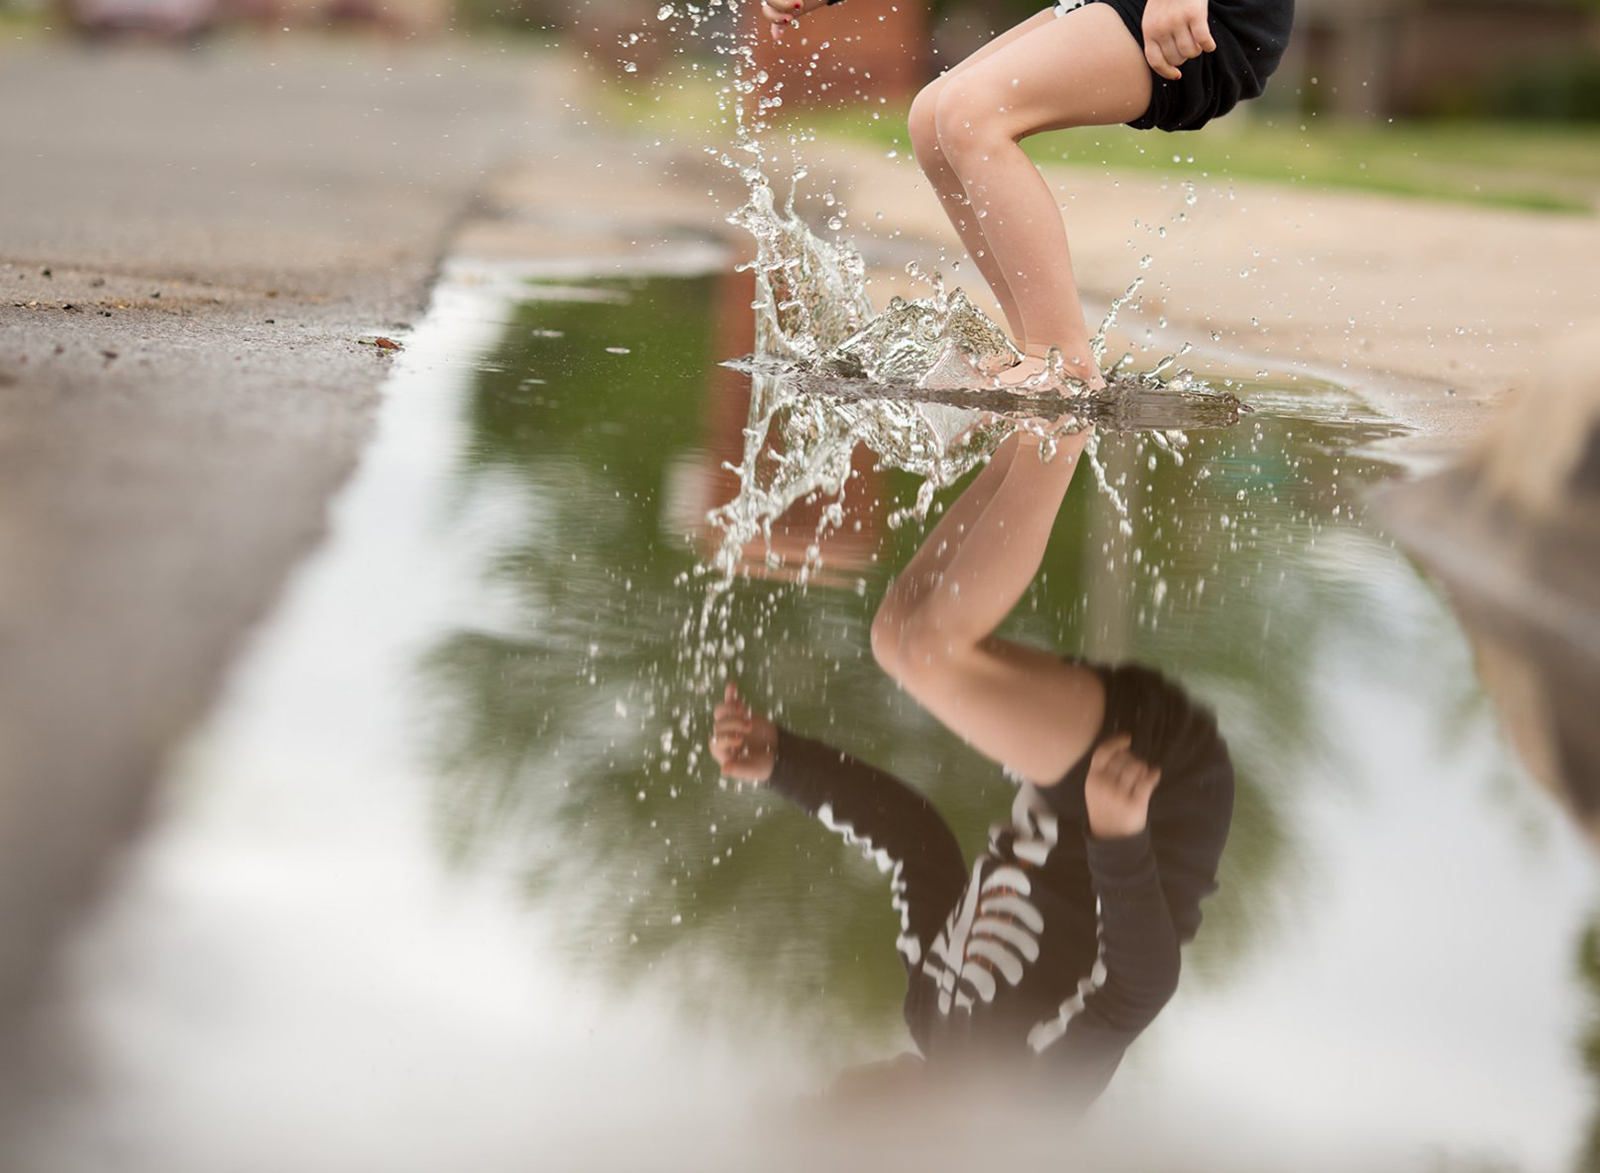
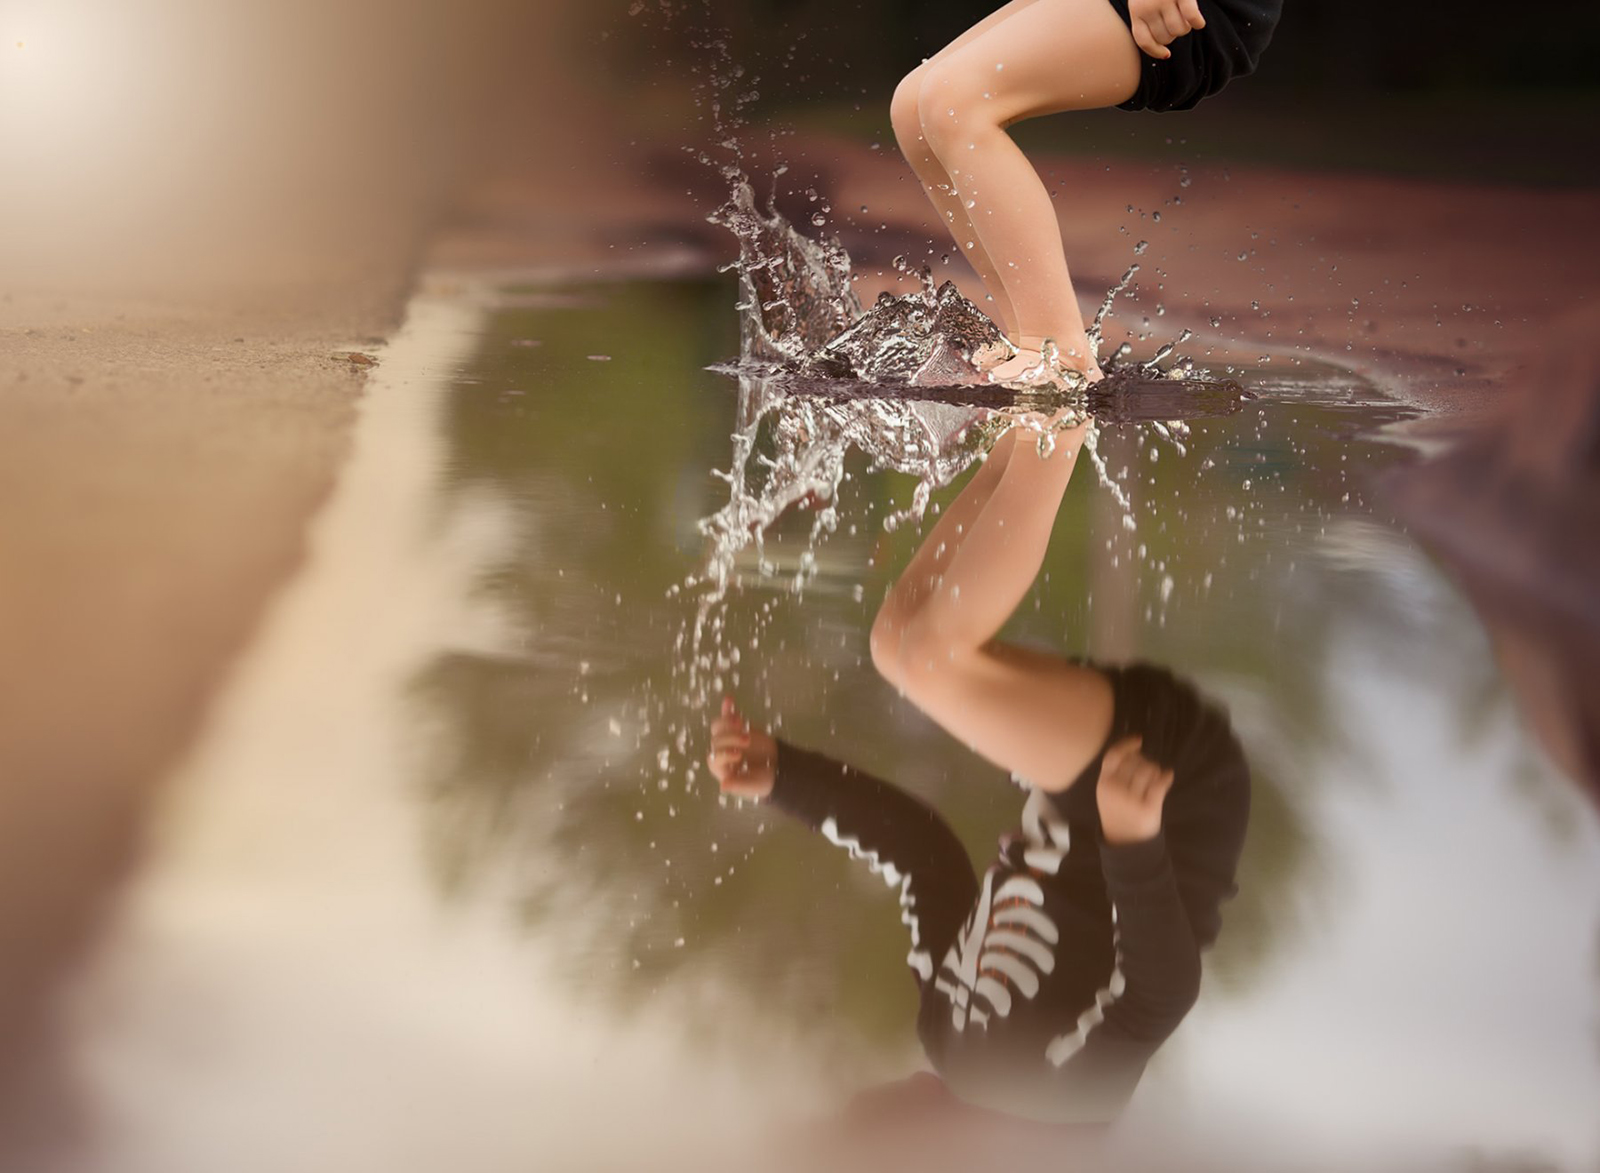
From everyday moments to paid photo sessions, you can utilize the front door for any purpose. Here's a few ways to do so!

From everyday moments to paid photo sessions, you can utilize the front door for any purpose. Here's a few ways to do so!

Pocket of light

You can use the light coming from the front door to create moody and dramatic photos. You can also catch slivers of light coming from just a little bit of an open door and falling on your subject.

Tip: Expose for the highlights which will allow all the clutter and distractive elements to disappear into the dark shadows. After all, we all know how messy a house with little ones can be!

From everyday moments to paid photo sessions, you can utilize the front door for any purpose. Here's a few ways to do so!

Side light

You can capture emotional portraits or lifestyle moments using the side light coming from the front door. It will give you a perfect dramatic effect with light coming to one side of the face and shadows on the other.

Tip: This is a great opportunity to play with Rembrandt lighting by choosing the right angle.

From everyday moments to paid photo sessions, you can utilize the front door for any purpose. Here's a few ways to do so!

From everyday moments to paid photo sessions, you can utilize the front door for any purpose. Here's a few ways to do so!

Backlight

You can change the angle and perspective and capture the moments using backlight coming from the front door. Just make sure to choose the correct exposure to avoid too much light coming through the lens and creating distractive flare.

Tip: If your subject’s face is too hazy from the backlight, either slightly adjust your angle to minimize the haze or use a reflector to bounce some light back on them.

Related: 5 Easy backlighting tips

From everyday moments to paid photo sessions, you can utilize the front door for any purpose. Here's a few ways to do so!

Flat lay photos

You can use a front door light to capture the details: toys on the floor, kids foot/hands, and even use it for your business commercial work as product placement, photos with your branding, packaging and anything you like.

Tip: I recommend watching how light changes during the day: the direction, softness, and temperature. These skills of observing light can help you discover the right way of using it in your photography.

From everyday moments to paid photo sessions, you can utilize the front door for any purpose. Here's a few ways to do so!

From everyday moments to paid photo sessions, you can utilize the front door for any purpose. Here's a few ways to do so!

Use the front door in your composition.

Framing

The front door is a perfect framing element. You can have the door open or closed based on your preferences and decisive moment.

Tip: Make sure to place your subject in the middle of the door frame or wait for the moment when your subject moves there on her own without any lines coming through her body.

From everyday moments to paid photo sessions, you can utilize the front door for any purpose. Here's a few ways to do so!

Leading lines

Leading lines can be common around the front door. Don’t forget to use them to help direct the viewer to your subject. Leading lines could include step railing, a row of flowers or shrubbery, a console table, the back of the couch, etc.

Tip: When your leading lines are symmetrical in the frame, a center composition often works quite well.

Related: How leading lines will improve your photography
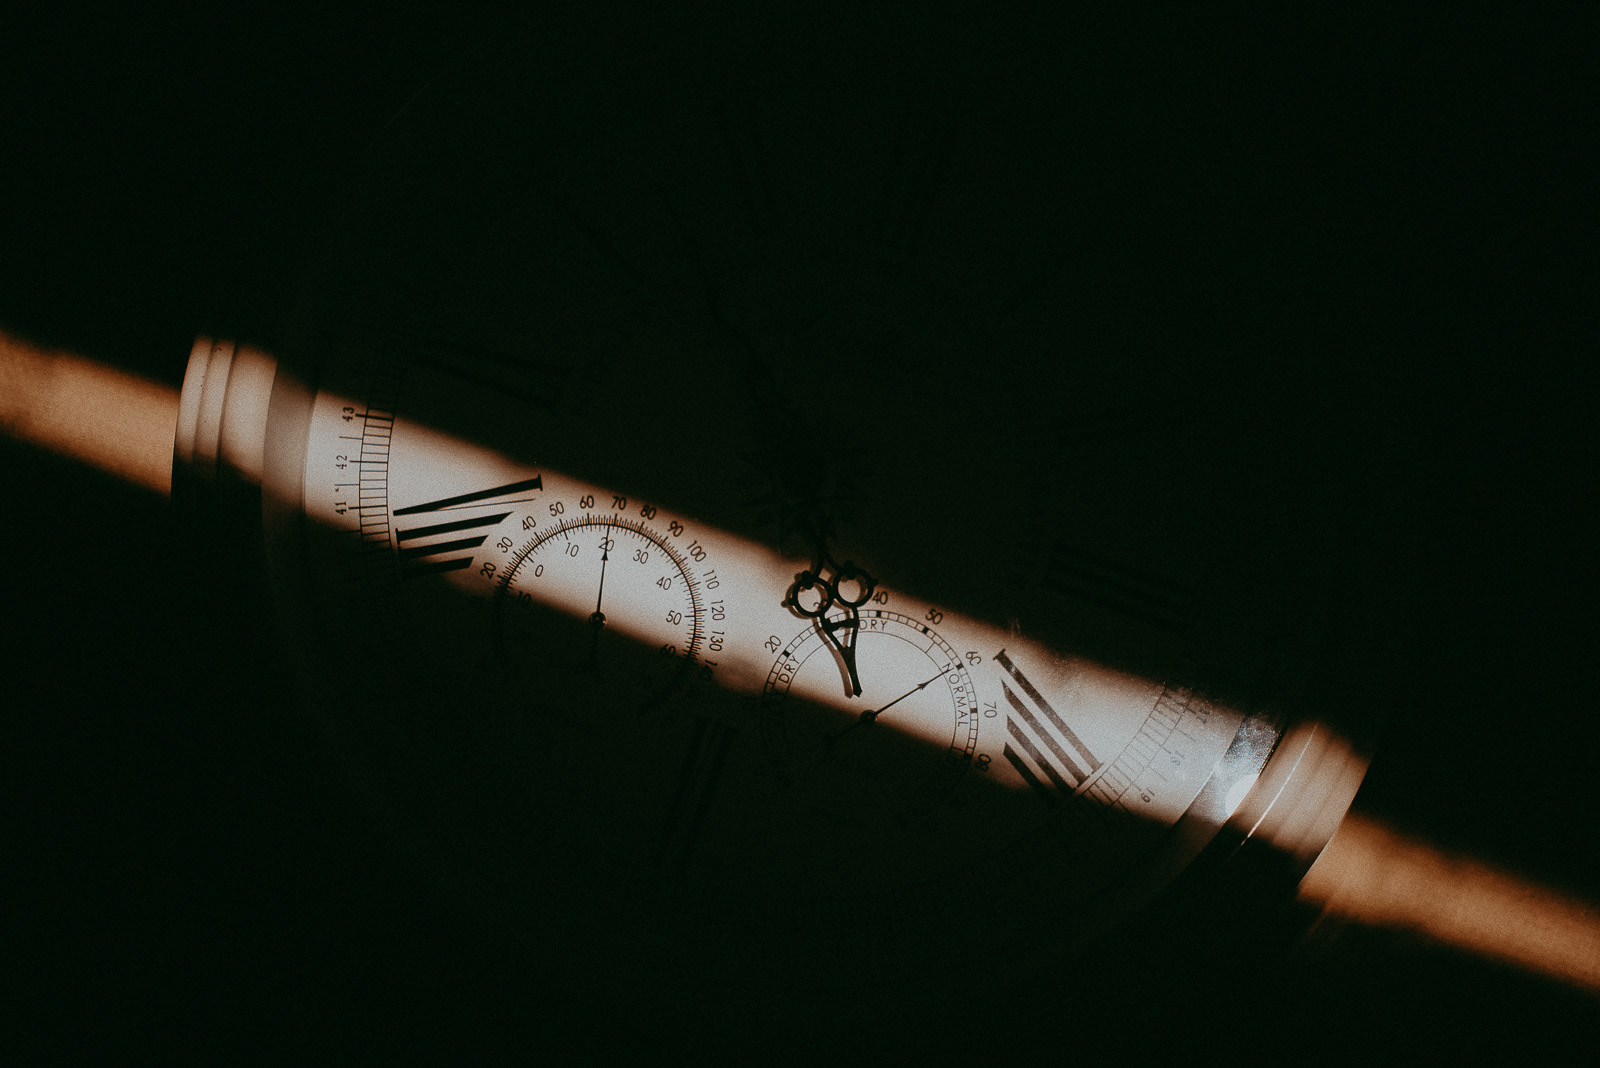
From everyday moments to paid photo sessions, you can utilize the front door for any purpose. Here's a few ways to do so!

Texture

Each entry has a different texture: wood, glass, metal, etc. Capture that texture in your photos. My front door has an old wooden texture which feels cozy and homey with warm natural feeling in images.

But don’t stop there. You can even capture the texture in the floor or details.

Tip: Textures are more noticeable in the shadows so make sure your door falls into the shadows or you underexpose your image some.

Related: 4 Compelling reasons to underexpose your photos on purpose

From everyday moments to paid photo sessions, you can utilize the front door for any purpose. Here's a few ways to do so!

From everyday moments to paid photo sessions, you can utilize the front door for any purpose. Here's a few ways to do so!

Color

Color is another element of design that can be perfectly used for capturing images at the front door. If you’ve traveled around Europe, especially Italy, you may remember the fantastic entries. All the different colors with old style handles taking instant attention – it’s like an entrance to another world and beautiful in photos.

Tip: Use the color wheel to guide you on how to dress your subject depending on the color of the door. Colors opposite one another compliment each other well and will help your subject to stand out against the door color.

From everyday moments to paid photo sessions, you can utilize the front door for any purpose. Here's a few ways to do so!

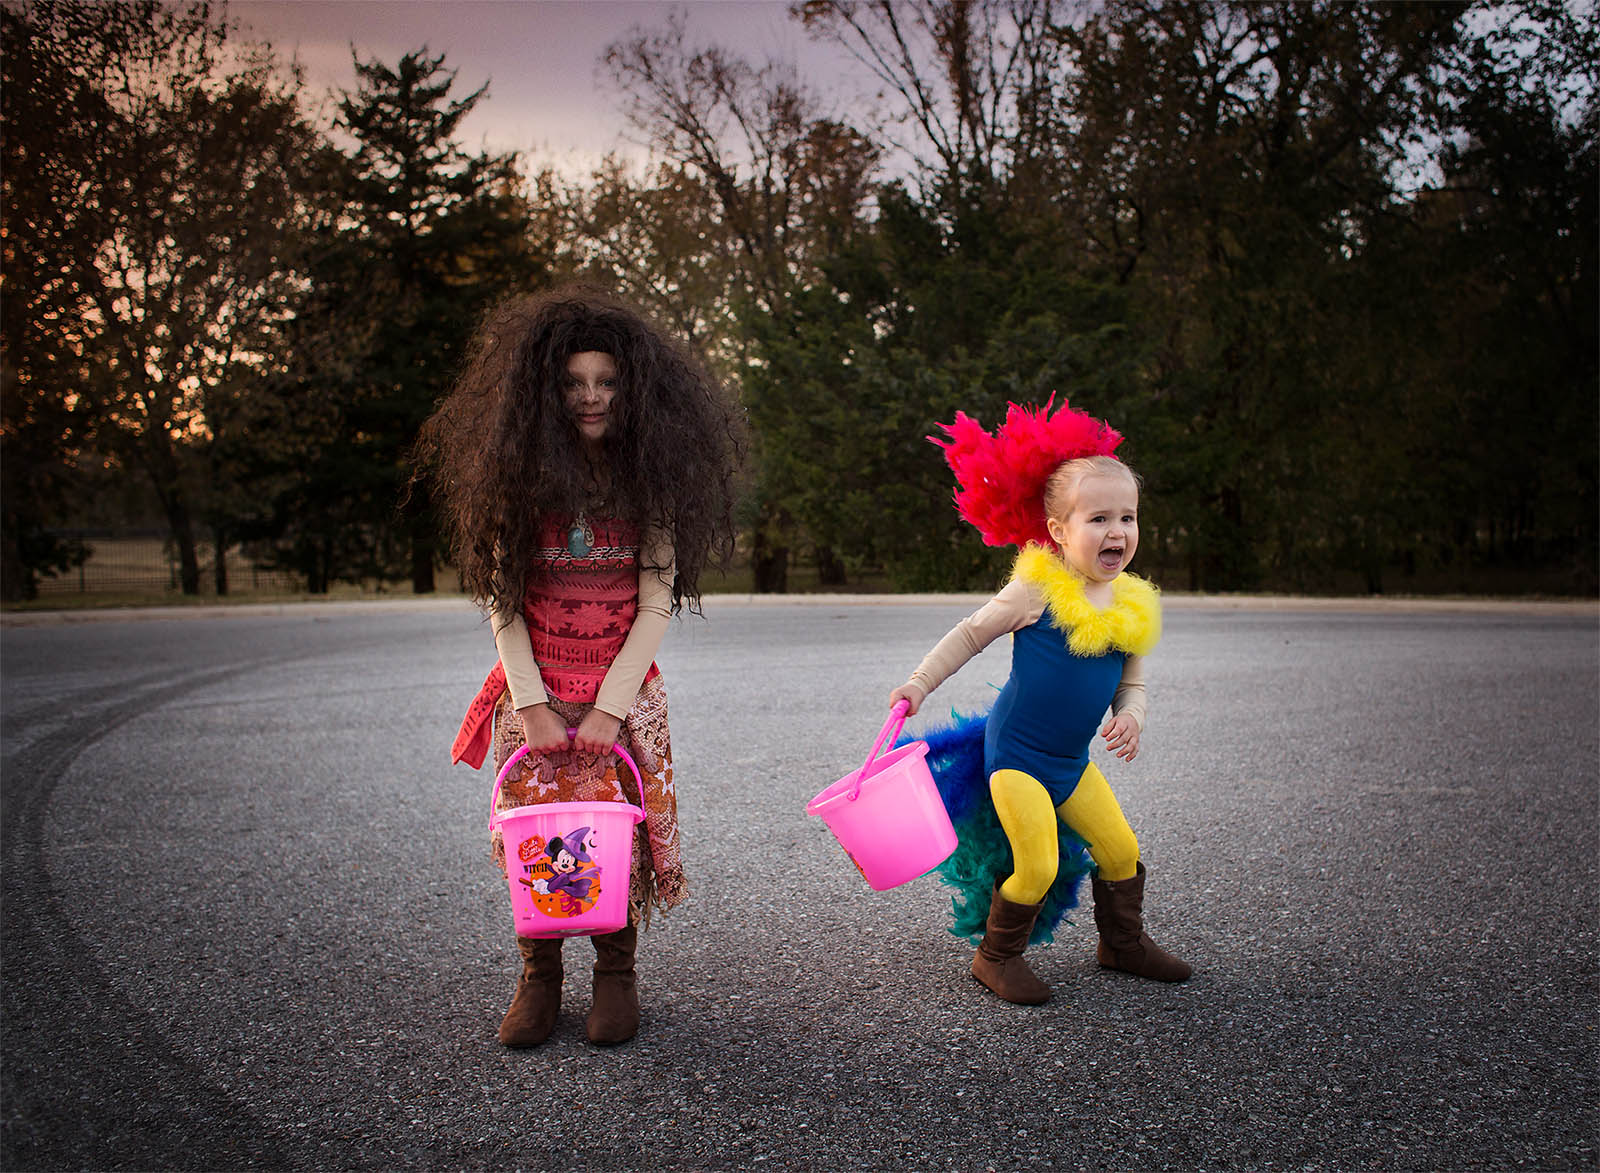
Use the front door to tell a story.

The moment is another piece of the puzzle when creating your picture. There could be beautiful light or the opportunity for amazing composition but it is nothing without a moment.

Again, think about those moments that are so common at the front door like rushing off to school and the kids playing in the sunlight streaming in.

From everyday moments to paid photo sessions, you can utilize the front door for any purpose. Here's a few ways to do so!

From everyday moments to paid photo sessions, you can utilize the front door for any purpose. Here's a few ways to do so!

Use your creativity and imagination wisely. You’ll be surprised how you can find a new meaning in everyday things.

Join the Clickin Moms photography forum

The post How to use your front door to create better pictures appeared first on Clickin Moms.


Clickin Moms

Posted in Photograpy How To | Tagged , , , , | Leave a comment

Loupedeck Lightroom Editing Console Review

Loupedeck Photo Editing Console-4

Loupedeck is a photo editing console for Adobe Lightroom. It is a keyboard-sized device that allows you to adjust most image settings in the develop module with a simple turn of a knob, scroll of a wheel, or push of a button. If you’ve ever wanted to ditch your mouse while editing photos and have direct access to each individual field in Lightroom, this might be a step in the right direction. In this review, I’ll give an overview of the Loupedeck Lightroom editing console, describe my experience with it and make some recommendations as to who might find it useful.

[Read More…]

Photography Life

Posted in Photograpy How To | Tagged , , , , | Leave a comment

3 Ways to use the Color Replacement Tool in Photoshop

I’m always looking for new ways to use the tools in Photoshop as well as new ways to make editing easier.

To use the color replacement tool, you sample the color you want to copy and then paint over an area that needs a color change. The best part about it is that unlike painting with the standard brush tool, the Color Replacement Tool retains the texture in the image.

Here are quick and easy ways I use the Color Replacement Tool in Photoshop to enhance an image.

1. Match colors

We’ve all had someone show up with a bow or other accessory that just doesn’t quite match the main tones in the wardrobe. Using the color replacement tool to sample the good color, simply paint over the object that needs some adjustment.

If there’s nothing to sample in the image and you just need to change a color, you can simply change your foreground color using the swatches or by entering a specific color and paint over the object that needs to be changed.

To use the color replacement tool, you sample the color you want to copy and then paint over an area that needs a color change.
before

To use the color replacement tool, you sample the color you want to copy and then paint over an area that needs a color change.
after

2. Correct color casts or other skin blemishes

Using the Color Replacement Tool, sample an area of skin without any casts and simply paint over the problem areas. I always do this on a duplicate background layer as sometimes it looks a bit unrealistic but as long as it’s on a separate layer, you can lower the opacity and blend the adjustment.

You can also clean up acne quickly using the tool. By sampling a clean area of skin, paint over the areas with blemishes and see how they vanish. You may still need to do some cleanup with the spot healing tools but it will speed up the process tremendously.

To use the color replacement tool, you sample the color you want to copy and then paint over an area that needs a color change.
before

To use the color replacement tool, you sample the color you want to copy and then paint over an area that needs a color change.
after

3. Hide unwanted objects

The theory behind frequency separation is that if you remove the color from a blemish on the face then it often disappears without having to alter the texture at all. But we’re talking about the color replacement tool, right?

You can apply this same theory using the Color Replacement Tool to hide objects in plain site. If you have an object in the background that is drawing attention, often by merely changing the color to match the surroundings, it will vanish without actually having to remove the object using the clone or heal tools. This is really great for areas where cloning may be difficult due to surrounding textures.

To use the color replacement tool, you sample the color you want to copy and then paint over an area that needs a color change.
before

To use the color replacement tool, you sample the color you want to copy and then paint over an area that needs a color change.
after

Check out the short video where I show you how I use the Color Replacement Tool in my workflow.

Join the Clickin Moms photography forum

The post 3 Ways to use the Color Replacement Tool in Photoshop appeared first on Clickin Moms.


Clickin Moms

Posted in Photograpy How To | Tagged , , , , | Leave a comment