“How does she get her photos to look like that?!”
It’s a question every new photographer asks of an inspiring artist. As we learn our cameras, define our styles, and navigate the world of post processing, it is natural to look to the work of others.
Eventually, we move from simply being inspired to trying to decode how our favorite artists get their signature looks. I don’t know anyone who doesn’t like a good before and after!
Navigating the world of editing
Lightroom, Photoshop, and other editing programs are complex, confusing places. There are SO many panels and sliders and layers; just navigating the interface can be overwhelming. It’s not surprising that when we see advertisements with presets, actions, overlays, and brushes that can magically transform our work with the click of a button, we are more than a little curious.
They all claim to make your images look incredible in seconds and who wouldn’t want that? Here’s a fool-proof way to get the look the pros have, without actually having to learn all the ins and outs of a complicated program! Look at this amazing photographer who uses these presets.
But then there is the chatter from other photographers. They adhere to the rule that the proper way to edit is to do so by hand. No shortcuts. No “cheating.” You might as well be using a filter on your phone. A true artist knows how to edit from scratch and refuses to take the easy way or allow someone else to “hijack” the creative process.
So are presets and actions “cheating”?
So let’s talk about these processing conundrums! Is using a purchased or downloaded processing tool cheating? Can you really get the same look the pros have in just a few clicks of a button?
Let’s clarify one thing up front: there is no magic button. You can apply your favorite photographer’s presets all you want, but without beautiful light and solid composition and intentional shooting, you are likely not going to get the results you want.
The photography basics of light, exposure, and composition are the first steps in creating a beautiful image. But of course, there is so much more to digital photography than just the initial shot!
Shooting in RAW requires editing—you cannot just leave your shot RAW and print or share it. You wouldn’t frame film negatives and RAW files are the digital equivalent of that. So we can establish that editing photos in general isn’t “cheating.”
Shooting in RAW allows you to make all the decisions about how to interpret the color information your camera has recorded. If you choose to shoot in JPEG, your camera is deciding how to interpret that information. It’s basically applying a preset to your photo, but I doubt anyone has ever considered shooting in JPEG as cheating.
If you shoot in RAW, you are choosing to take more control in interpreting your images. You want to make the decisions. Editing by hand is an option. You can work on each slider and panel until you get it just right. A lot of artists do this and while it takes some time, it does offer you full control over the results.
Related: Here’s why you should shoot RAW files
Why you want to use presets and actions
Or you can use a preset or action. It’s much like letting your camera interpret the color information, only this time you choose the direction. You find a preset that makes specific adjustments, apply it to the photo, and voilá! Your RAW file information has been interpreted according to the preset.
Obviously presets and actions can save us an enormous amount of time. They simplify and automate tasks we would otherwise do over and over during the editing process.
However, they can be beneficial in other ways, too! Presets and actions can provide a consistency that might be much harder to achieve when editing each photo or session by hand. They can even help us decide which style works best for an image or series of images.
I often hover over several presets and see how they look on my image, or even try several edits before deciding on a direction.
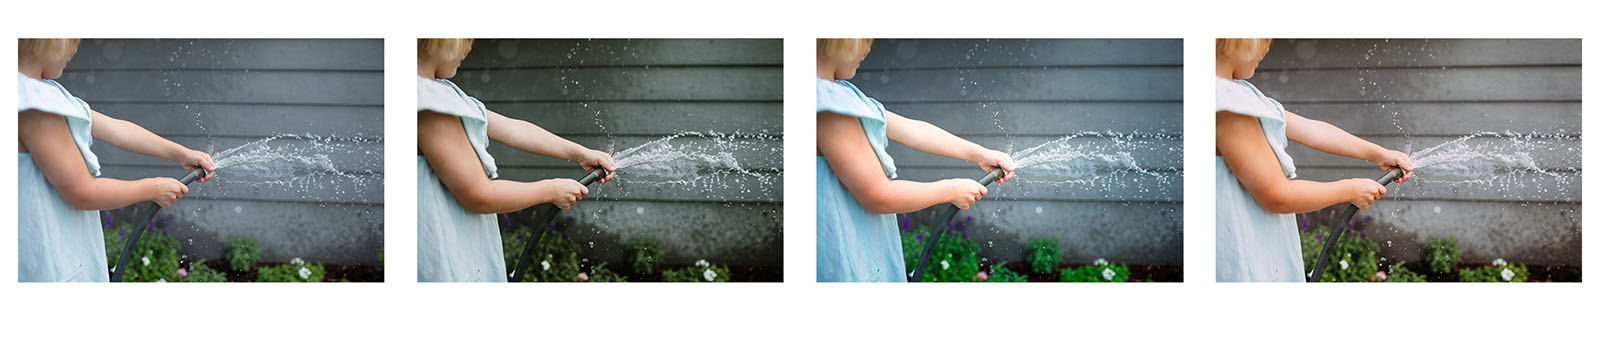
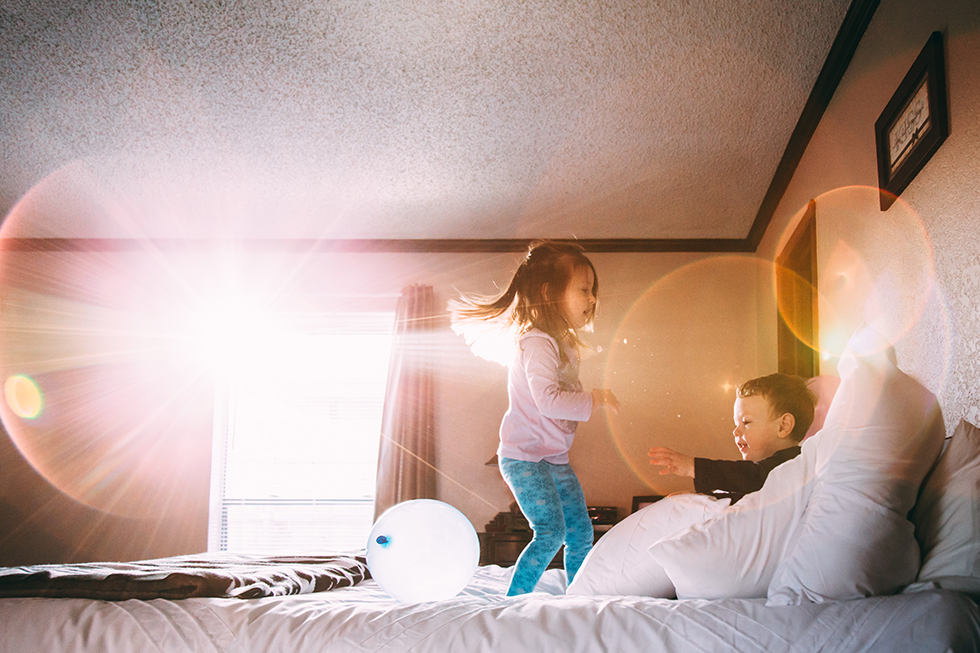
Editing tools in action
In the images above, I started with straight out of camera on left, then tried a moody preset, a bright preset, and eventually landed on something in-between.
Rather than feeling guilty for using presets, I like to think of them as simply another tool for me to use as an artist. A painter chooses which kind of canvas, paint, and brushes to use in order to get an intended result. A film photographer chooses her film stock to achieve a specific look. Even in digital photography, we make choices about ISO, aperture, shutter speed, lenses, lighting, composition and more before we even press the shutter.
These tools, when used with intention, can help us create a work that is uniquely ours. A painter doesn’t have to mix the paint in order to call the painting completely her work. She just has to know how to use the paint.
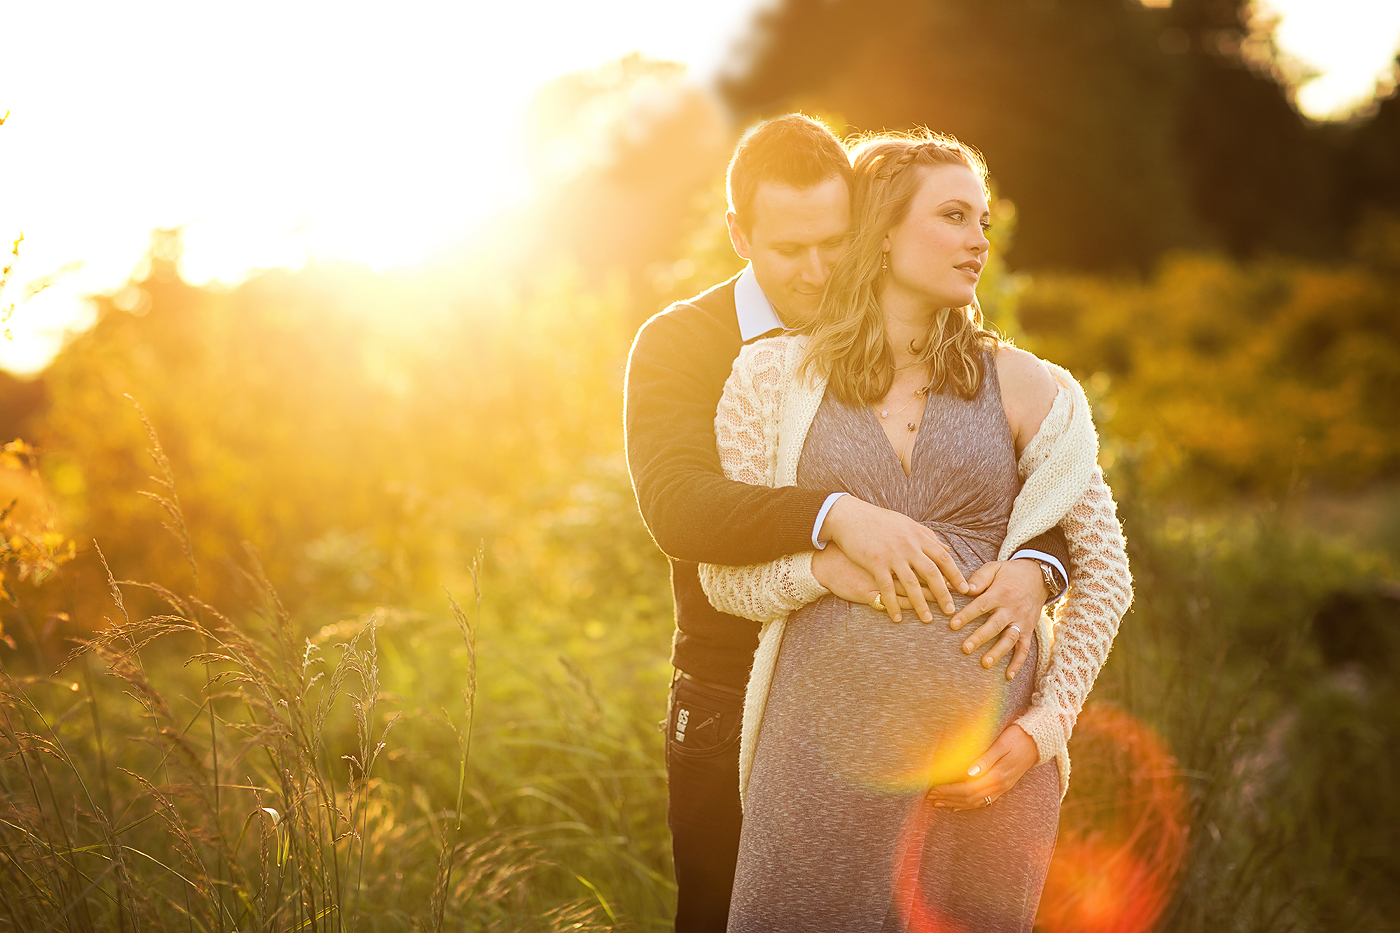
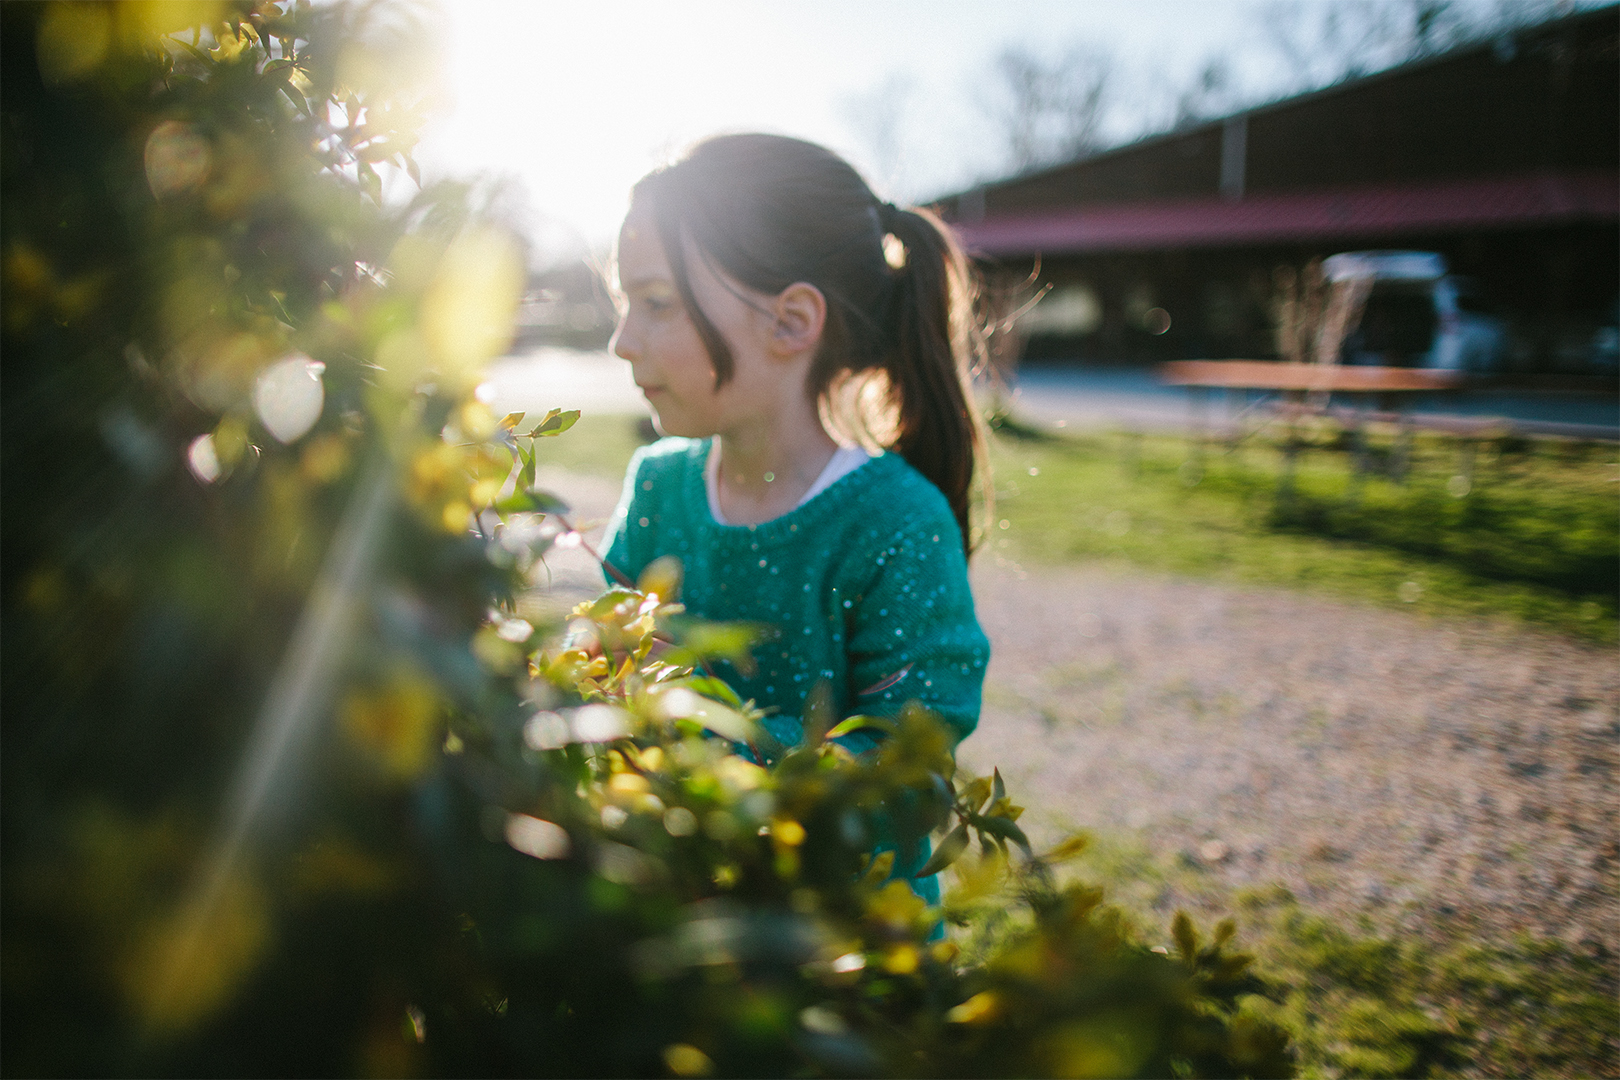
How I use presets and actions
In these images, I started with a properly exposed shot and applied a preset I liked. But I still felt like making the shot moodier, so I lowered the exposure. This slight adjustment makes the preset “mine” and gives me a unique look with a widely available tool. Even very slight changes will make a huge difference!
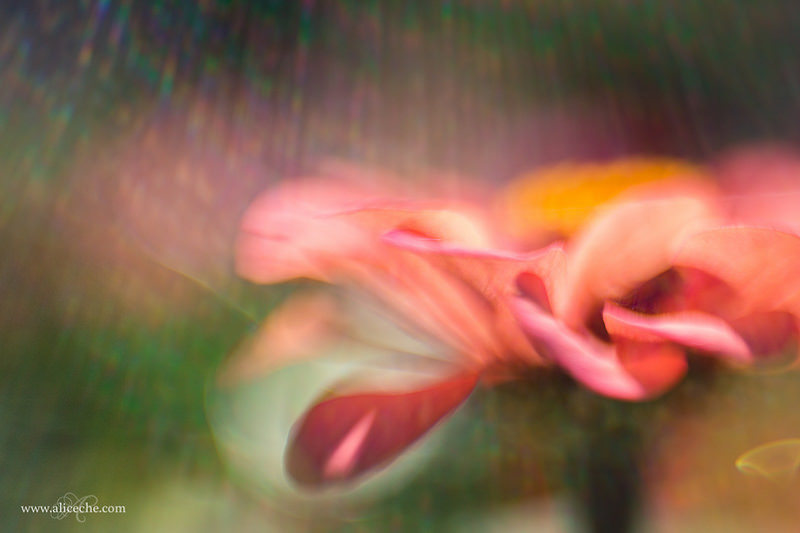
Black and white presets are as varied and adjustable as color! This preset not only inspired further “moody” adjustments made by me, but also inspired a new crop that matched the tone of the edit!
If you have ever tried a preset or an action yourself, you know that they are not a one-size-fits-all click! While one photos might look perfect with a preset, the next one might look horrible!
I have yet to find a preset that looks amazing without a little tweaking. It is so important to not just like the the look of a preset, but to also understand what it is doing to your image and how. This knowledge will allow you to make adjustments as necessary so that the presets work for you and your individual images.
DIY presets and actions
Of course you don’t have to spend a bundle to get editing tools you love. You can make your own actions and presets! If you have ever used the “Sync” feature in Lightroom, you’re already applying a preset of sorts. Creating an actual preset simply allows you to save those settings for future use.
You can create different presets that work with specific kinds of light, speak to a certain emotion, or affect color in an intentional way. The key is to create presets that work for you and allow you to edit your images efficiently and beautifully.
Related: How to make an action in Photoshop
In the shots above, I made very minimal edits for my clean lifestyle images, then saved these edits as a preset to use in all my indoor sessions.
In a different family session, I tried out my hand-made preset. It worked really well with a few tweaks.
For these next shots I used a purchased preset, but eventually went a very different way after some adjustments.
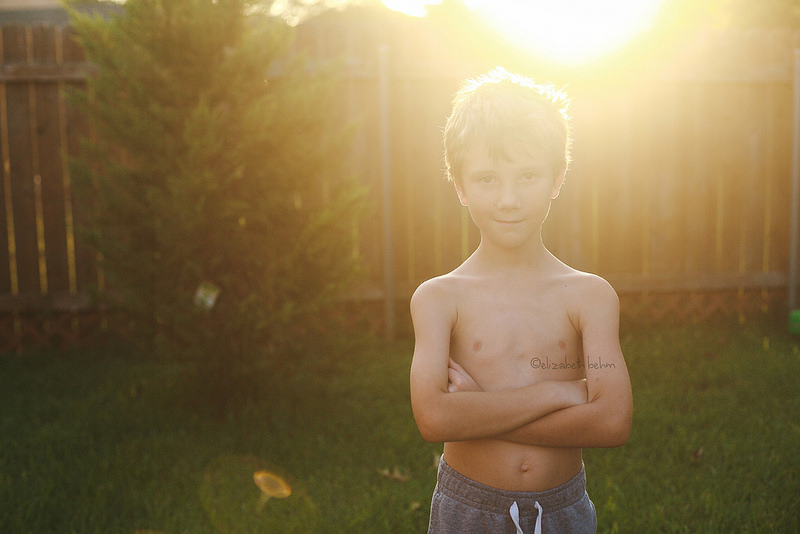
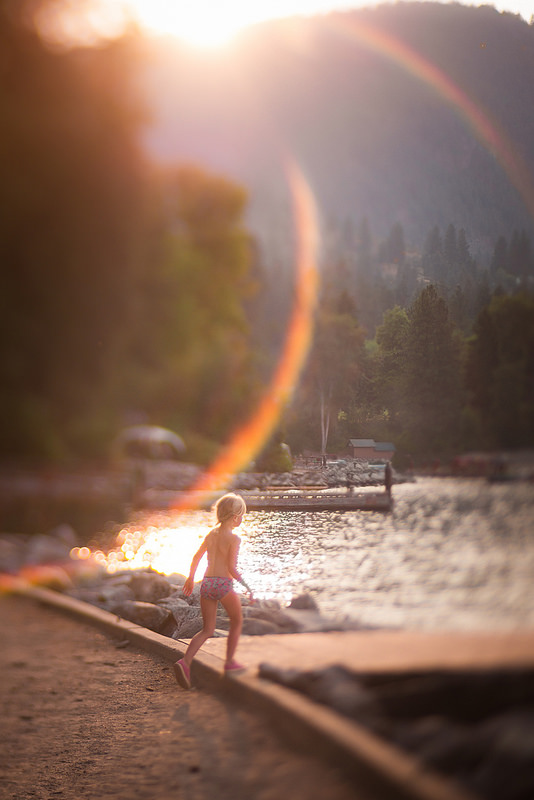
After I made the changes to this preset, I applied it to the entire set, which resulted in one of my all-time favorite shots:
I liked the result of this so much, and I shoot on this little hill so often, I saved my changes as a completely new preset. It makes an easier jumping off point when I’m shooting in similar conditions.
As you can see, the changes are often pretty drastic from the original presets. Because I know how they work and what they are doing, I know exactly what to change to get a look I love.
You actually really need to understand your editing programs. Learn how they help you interpret your color and light before you ever set foot (or mouse?) near a preset or an action! In some ways, you need to understand them much more than you ever did while you were hand-editing. You may be able to get away with a pretty clean hand-edit with just a few quick clicks. However a preset may be using panels and sliders you don’t even know exist yet! If you ask me, that’s anything but “cheating!”
So when should you use presets?
My advice to photographers new to an editing program is to learn how to hand-edit first. Get to know your program. Find out what’s even available to you in terms of adjustments. Just like it’s better to learn to use your camera in full manual mode before you start to use aperture priority, it’s better to learn to edit without presets or actions before you start to decide which ones are right for you.
Then you can dip your toe into the world of actions and preset. If you decide you like using presets and actions and other downloaded processing tools, don’t feel like you’re cheating! You are just selecting the right tools for your work of art. And there’s absolutely nothing wrong with that.
With thousands of exclusive educational articles and a community of experienced photographers to answer all of your questions, Clickin Moms is the BEST place to learn and grow in your photography journey.