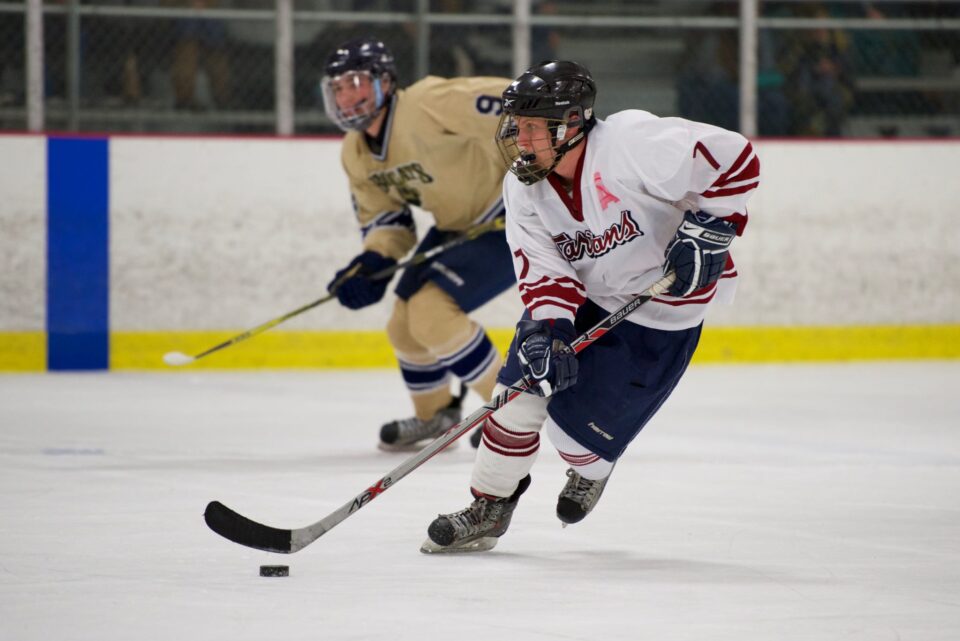
Earlier this summer I posted an article about cityscape and architecture photography in the City of Pittsburgh, Pennsylvania. I am extremely grateful for the positive response that article received; thank you! Many photographers specialize in one genre, but urban environments make up less than half of my subjects. Sports photography is my other passion, and it is what inspired me to begin my journey as a photographer.
From the age of eleven I have been a competitive swimmer. I was recruited by Carnegie Mellon University to be a member of their swim team, and I swam for the entirety of my time in college. I got my first digital camera (not counting my iPhone) during my third year at CMU because I wanted to photograph my teammates competing. I enjoyed swimming photography so much that I joined CMU’s sports information staff at the beginning of my senior year. As an “official” photographer I was granted access to all home athletic events.
The vast majority of my sports images were taken with a Nikon D750 (PL review) body and a Nikon 70-200mm f/2.8G VR II (PL review) lens. 200mm on full frame is the bare minimum you need to photograph sports, and in many cases it is too short. In this article I will discuss the five main sports I photographed: soccer, football, swimming, basketball, and track & field.
In the interest of length I will not be explaining the rules of each sport; rather, I will highlight key aspects of a sport that impact how it is photographed. Additionally, I will assume that the reader already possesses knowledge on how to freeze action by using an appropriately fast shutter speed (generally between 1/500 and 1/2000 of a second).
Soccer
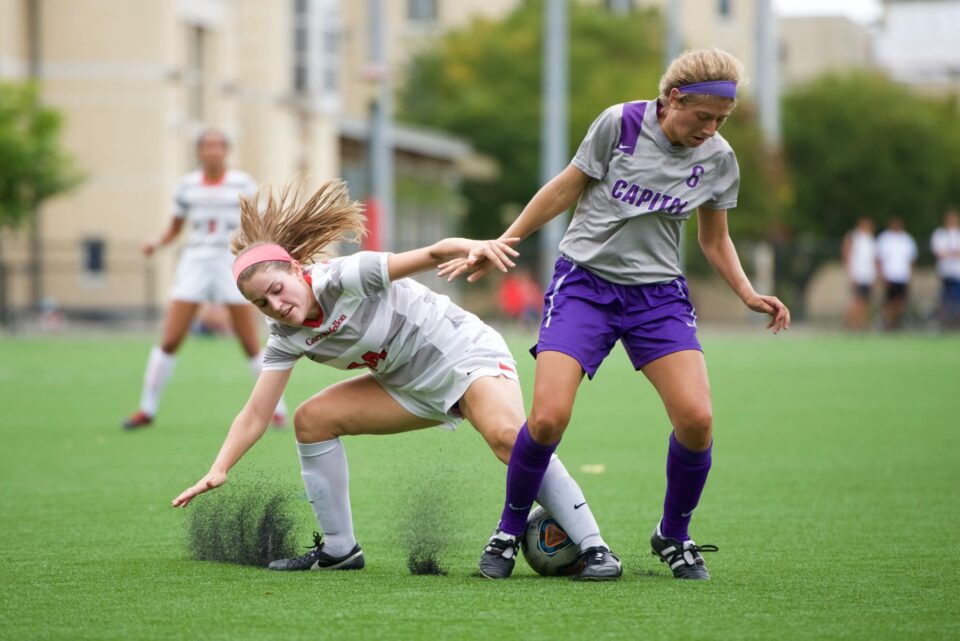
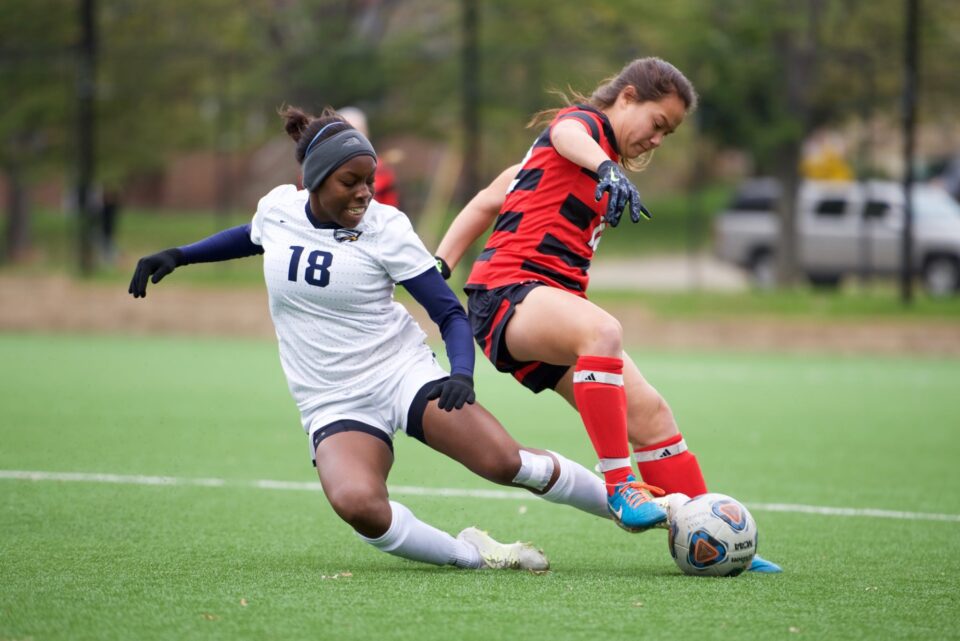
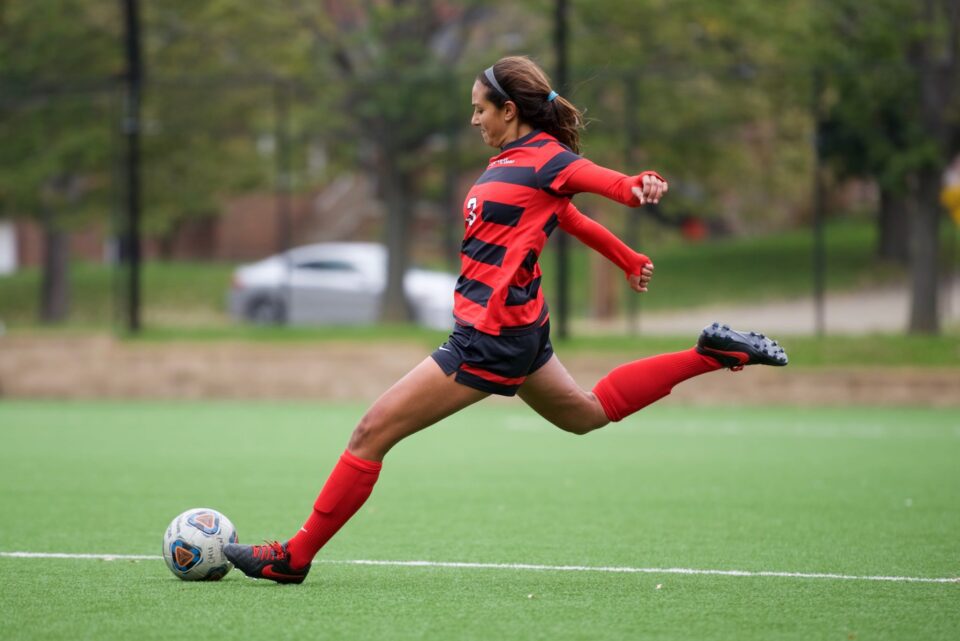
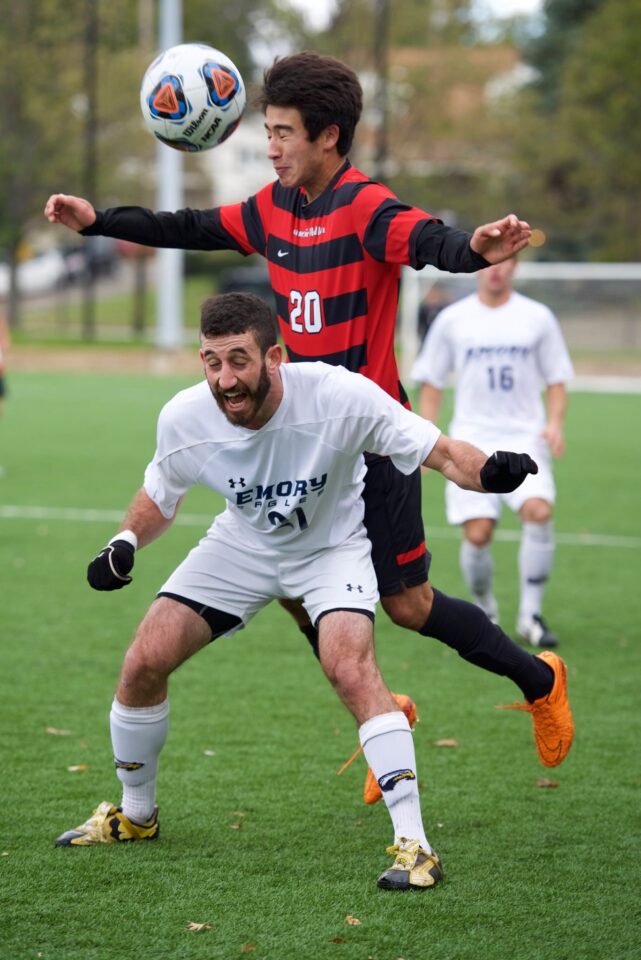
Soccer is the most popular sport in the world, but many Americans do not know this because they focus most of their energy on football, baseball, and basketball. Despite its relative lack of popularity in the USA I enjoyed photographing soccer more than the three sports I mentioned above. The game has a rhythm that is more predictable than most ball-oriented sports, making it easy to find good shooting positions on the sidelines. Patience and strategy are the keys to successfully photographing this field sport.
A college soccer field is roughly 120 yards long and 80 yards wide, larger than an American football field! Photographing players in an area measuring 9600 square yards is a challenge with even the longest lens, let alone a relatively short 200mm. When dealing with a field of this size it is critical to realize that you will not get a shot of every piece of action that occurs during the game. Luckily, at 90 minutes of regulation playing time there is plenty of opportunity to capture exciting moments.
The key to walking away from a soccer match with a solid batch of images is to position yourself effectively on the sidelines. I photographed sports at a NCAA Division III school, meaning that I could go virtually anywhere on the sidelines. Many photographers will not be afforded this luxury, but the principles of finding a good shooting position do not change.
The most important thing to consider when choosing where to shoot from is the lighting. You want to shoot with your back to the sun such that players’ faces are illuminated. If this is impossible, then you can expose for the faces, but your backgrounds may be overexposed. Next you should consider which side of the field your team is attacking. You are most likely to get head-on shots of your players if you are on the opponent’s side of the field. The last component to look at is the flow of the game. Is your team playing more defensively or offensively? Where is most of the action taking place? Which team has the momentum? These questions can help guide you to an optimal location. Sitting dead center of the sidelines is often not the best approach.
Football
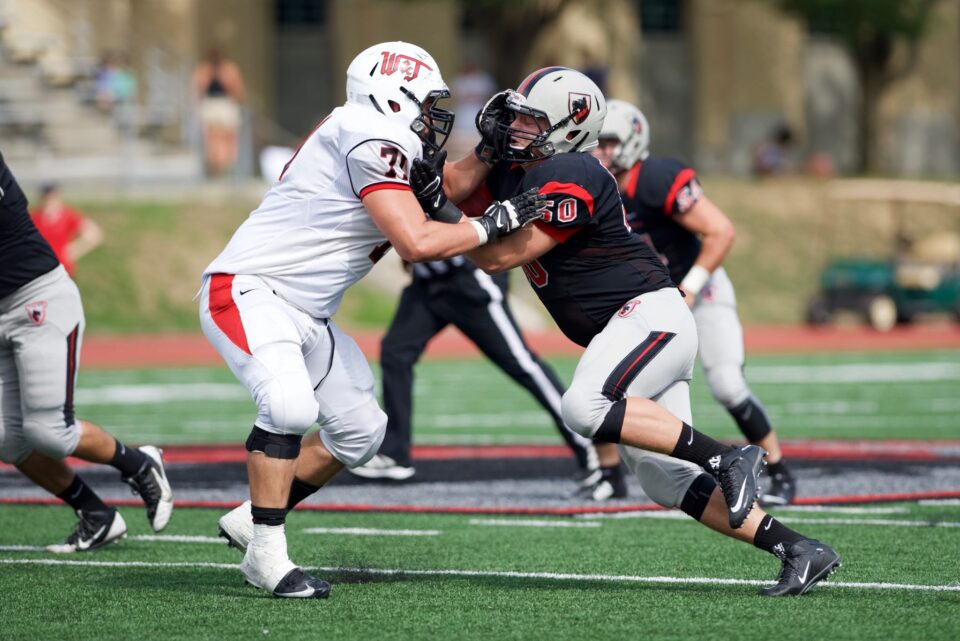
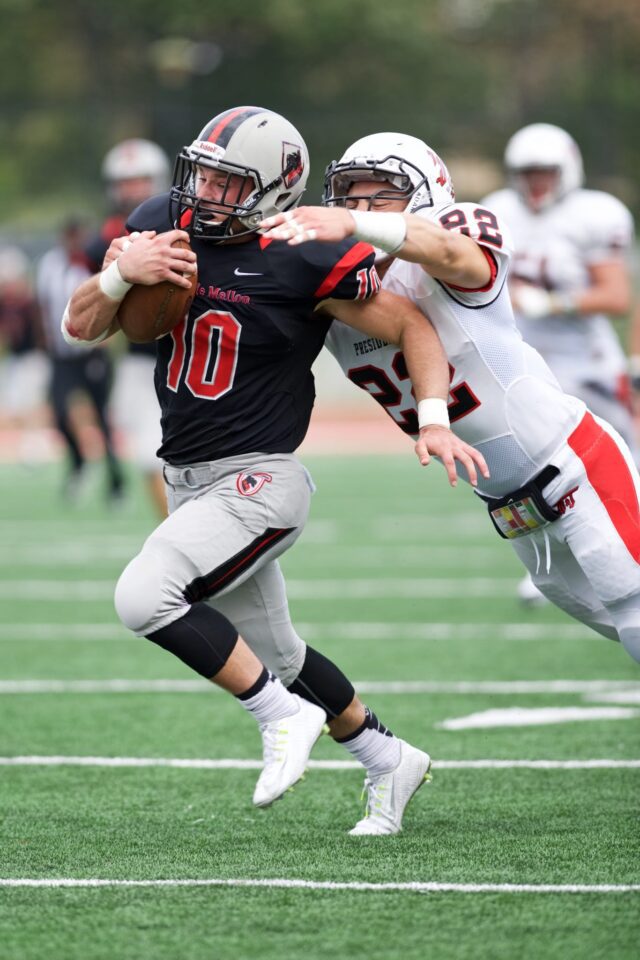
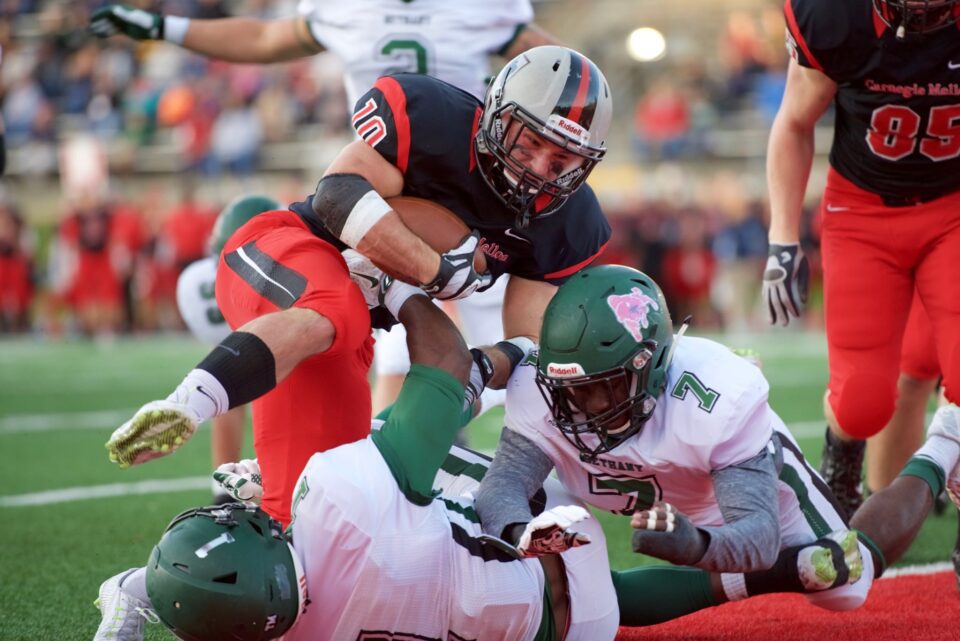
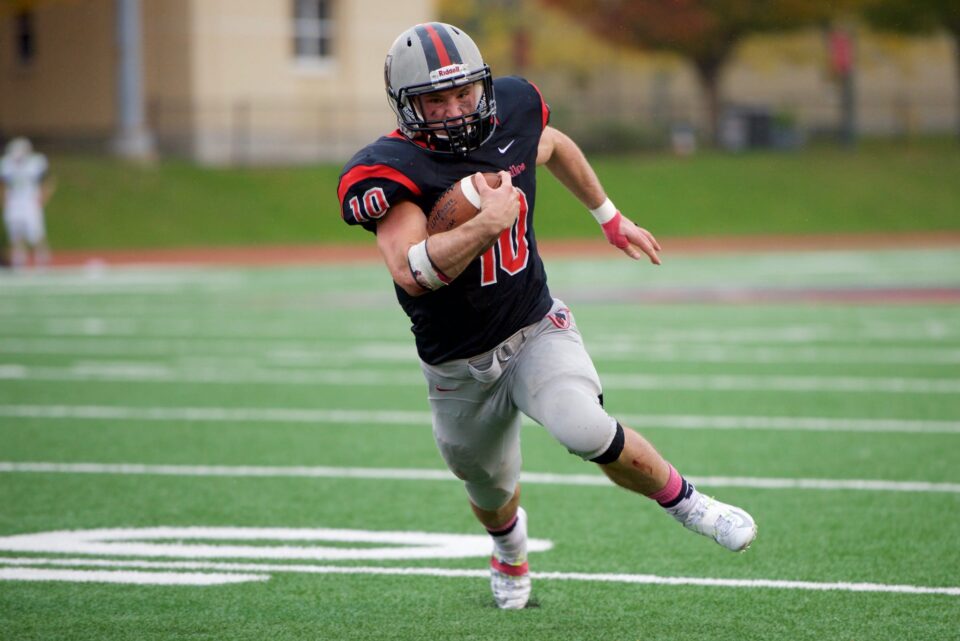
I think it is fair to say that gridiron football is the most popular sport in the USA. Football is played on a field that is roughly 120 yards long and 53 yards wide, narrower than a soccer field. For this reason you might believe that football is easier to photograph than soccer, but you would be incorrect. During a football game the majority of the action takes place in the center of the field. Additionally, the game is conducted through a series of quick plays which are intentionally unpredictable. As such, intuition and a long lens are great assets when photographing this sport.
College football games are 60 minutes long, broken into four 15-minute quarters. Despite relatively short playing time, football games generally last about three hours due to time taken between plays, time outs, and rest between quarters. As such, as a photographer you will be doing a lot of waiting. During idle time it is best to focus on preparing yourself for the next play by repositioning yourself on the sidelines, if possible, and attempting to predict what the next play could be. As someone new to shooting football I often followed the veterans’ movements in an attempt to increase my own experience.
Football is difficult to shoot without a 300mm lens (on full frame) or longer because, unlike with soccer, you cannot simply wait for action to come to you. Most pros use a 400mm f/2.8, and for a good reason: action starts in the center of the field and moves unpredictably from there. If you are like me, limited to 200mm, then you must wait and hope for the best. Even those easy shots of the quarterback throwing are mostly out of reach.
On one occasion I rented a Nikon 300mm f/2.8G VR II lens. This lens proved to be incredibly helpful, and I missed it at all of the football games I attended without it. On the other hand, the 300mm felt unbalanced on my small D750 body. A lens of this size is probably best suited for a larger pro-level body.
Swimming
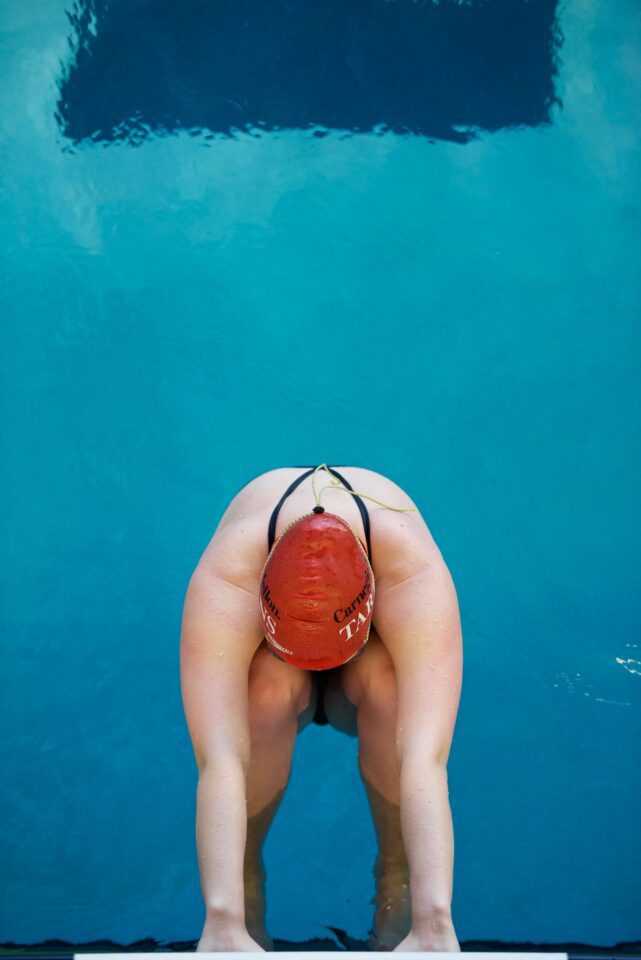
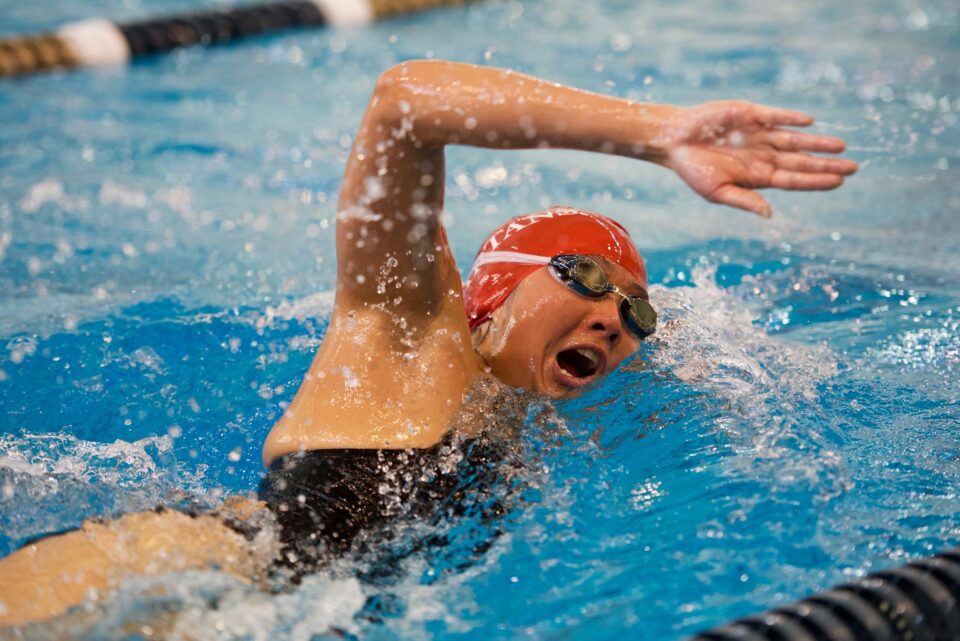
While growing up and through college I dedicated a large portion of my life to swimming; for this reason it is my favorite sport to photograph. Swimming is not particularly glamorous, and it often takes place indoors. As such, it is uncommon to see quality images of swimmers at or below the college level. The opportunity to create inspiring images of my teammates led me to get my first digital camera. As silly as it may sound, my goal was to make my teammates look like professional athletes.
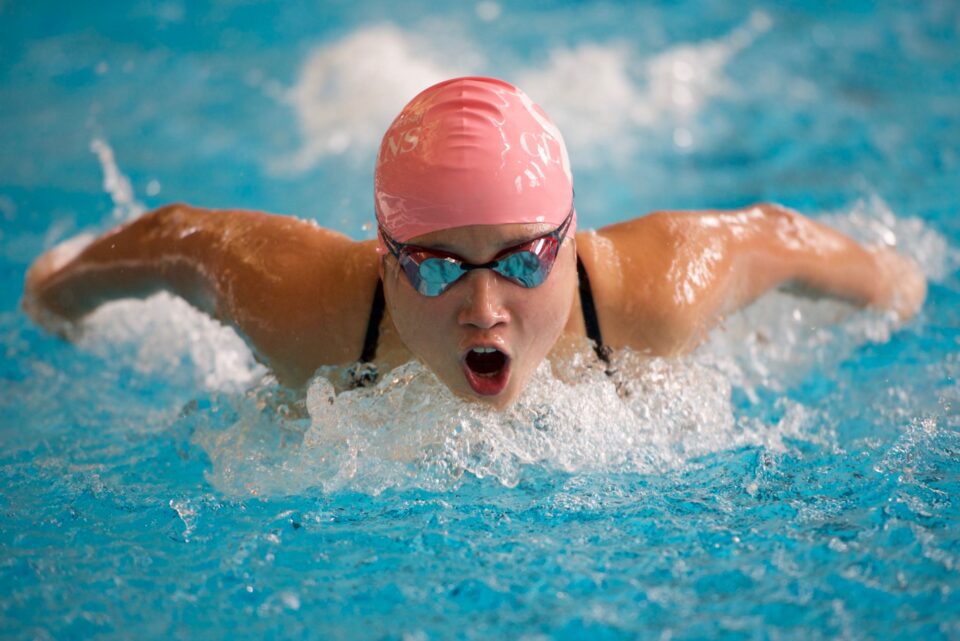
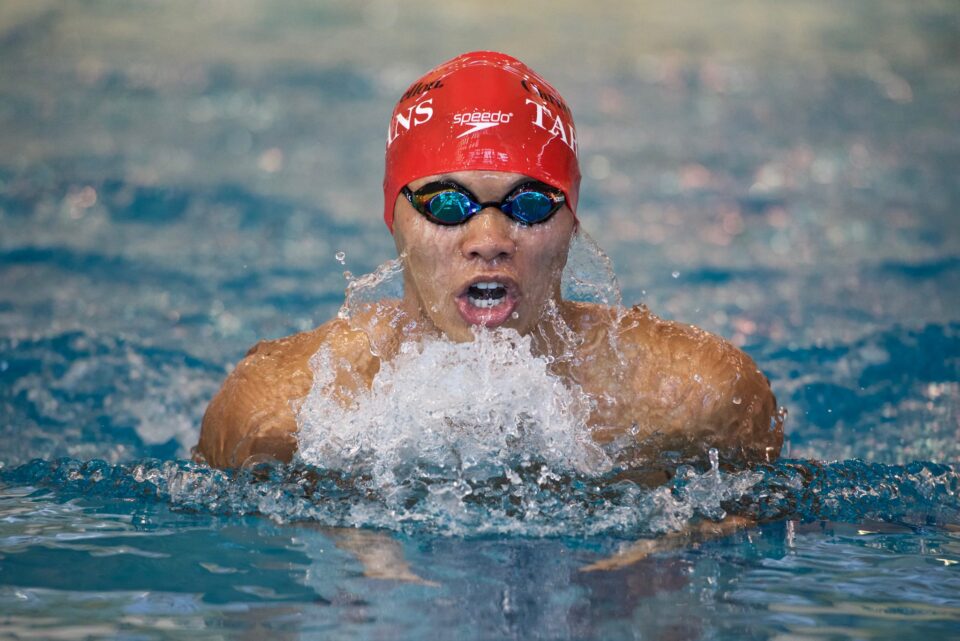
Like most races, swimming is a time-based sport. Naturally, excellent timing is the most important skill to possess when photographing swimming. The majority of a swimmer’s race is spent with their face in the water, but faces are crucial to a successful image, so the photographer must carefully time their shots to intersect with the swimmer’s breathing. In backstroke this is not an issue. In breaststroke the swimmer breaths ever stroke (this is a rule). In butterfly most swimmers breath every other stroke, but this can vary quite a bit. In freestyle the breathing pattern depends on the swimmer and the race. Learning your subject’s breathing pattern is critical.
As mentioned earlier, college swimming usually takes place indoors because it is a winter sport. Indoor sports require a fast lens and a body that can shoot at 1600 ISO or greater while maintaining good image quality. Most of my swimming images are taken close to 1/1000s, f/2.8, 3200 ISO, but this can vary a lot depending on the pool. Swimmers do not move super quickly in the water, so a shutter speed of around 1/500s is sufficient to get a sharp face, but water droplets and arms may blur at this speed, making 1/1000s optimal.
Unlike field sports, swimming is generally easy to photograph with 200mm lens. Swimmers move up and down their lanes predictably, so all you need to do is track them with continuous autofocus while waiting for their upper body to fill the frame. Short-axis strokes (breast and fly) are best shot head-on or at a slight angle. Long-axis strokes (free and back) are best photographed from the side. If you are shooting a large meet or at an Olympic-sized (50 meters long) pool, then a longer lens may be useful.
Basketball
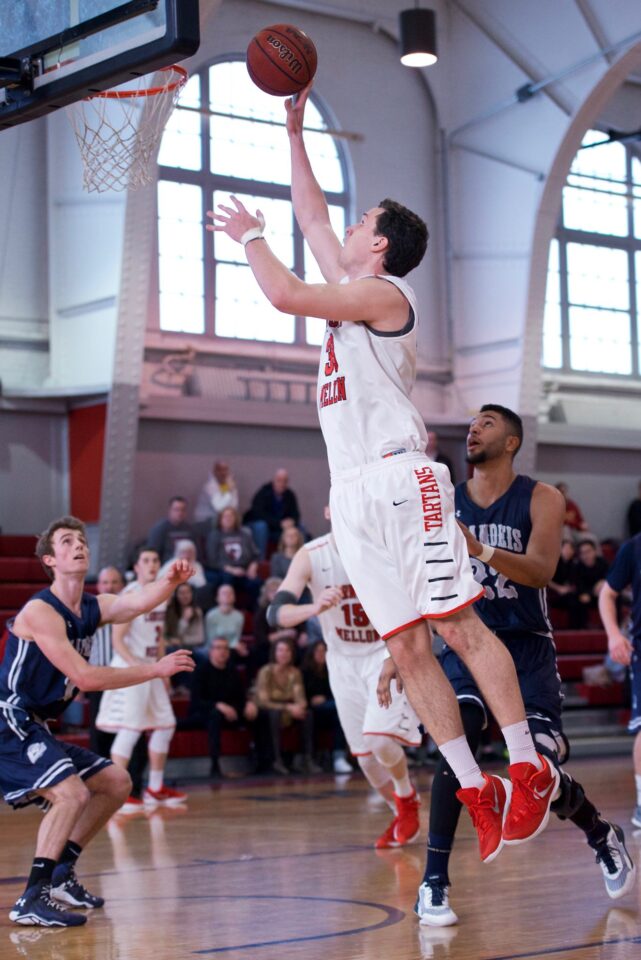
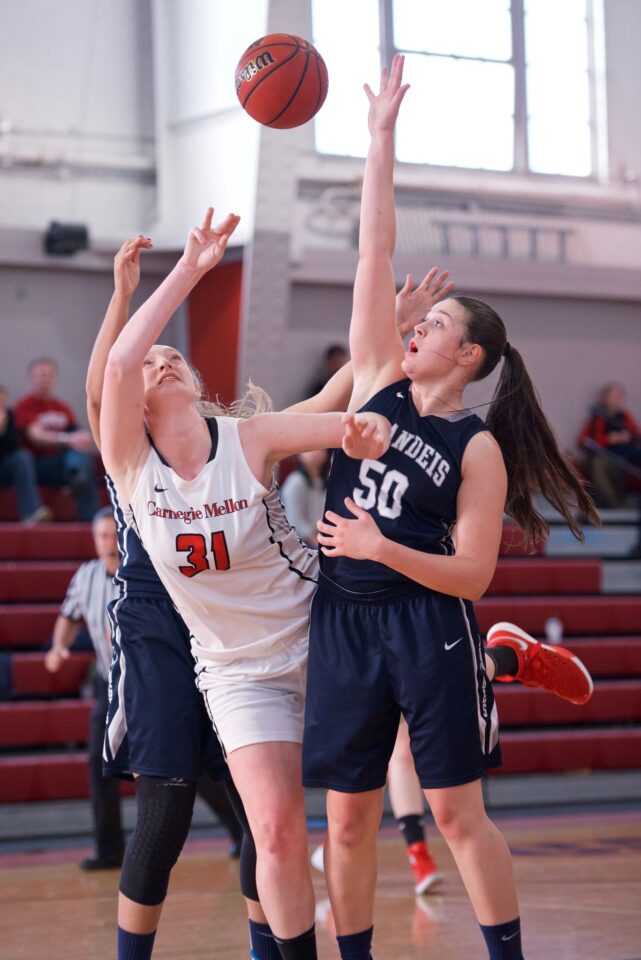
Of all the sports I have photographed I feel that basketball is the trickiest. A college basketball court is only 94 feet long and 50 feet wide; this initially led me to believe that shooting basketball would be easy compared to field sports where a long lens is necessary. While it is true that basketball photography does not necessitate a long lens, this does not make shooting it any easier. Players move quickly and unpredictably on the court. They are constantly passing the ball and blocking other players. Good hand-eye coordination and a fast autofocus system are your best bet for achieving success with basketball.
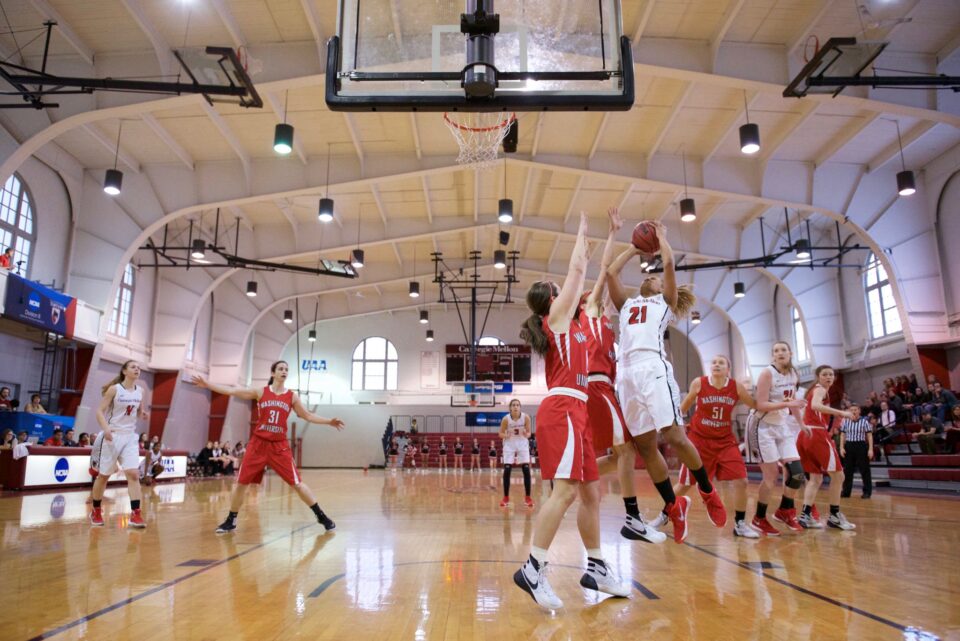
Like swimming, basketball is played indoors in the winter. Indoor sports present a challenge for even the best image sensors and autofocus systems. Newer facilities tend to have better lighting, but the facility I shot at was built in 1924, and the lighting was less than ideal. Some lights were different colors than others, making accurate white balance nearly impossible. I used a device called ExpoDisc to help set white balance manually, but even so I generally had to make corrections in post-production. Luckily, the gym had big windows that helped tremendously during daytime games.
Lighting challenges were just one of my frustrations when it came to basketball; grabbing accurate focus proved to be exceedingly difficult even with the D750’s superb autofocus system. The players moved so quickly and erratically that tracking them was a big challenge. To make matters worse, players constantly block and cross over each other which confuses the camera. Ultimately, my solution was to improve my hand-eye coordination through practice. Over time I got better at predicting players’ movements and tracking them accordingly. Landing focus on high-contrast areas, like numbered jerseys, and using dynamic autofocus helped a lot, too.
When shooting basketball you will most likely be positioned on the right side of the basket near the baseline. This location is generally designated for media, and it is a good place to get shots of players going for a basket. Some of the best action shots in basketball are of players driving for the goal or performing a layup or even doing a slam dunk; this is where tracking becomes tough. In terms of lenses, I typically used a 24-70mm f/2.8 and a 70-200mm f/2.8, but I have seen photographers use fisheyes, 85mm, and 300mm lens.
Track & Field
Track & field is one of the most exciting sports to photograph because of the wide range of events that take place during a meet. Throwing, jumping, and running are the three categories of events, and each one is photographed differently. I found that it is possible to get good track & field images while limited to 200mm, but in many cases a longer lens would be helpful. Basically, the longer your lens, the more you can sit back and wait for the athletes to come to you without needing to get uncomfortably close to the action.
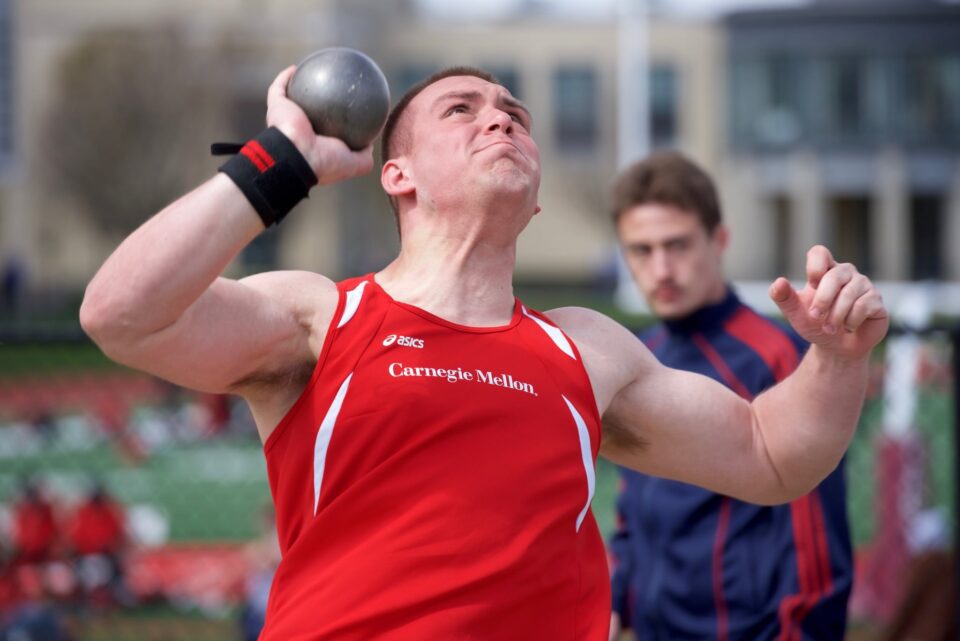
Throwing events, such as shot put and discus, are a display of strength and technique. Generally, I try to get a close up shot of the athlete’s upper body as they attempt to hurl the object as far as possible. Intense facial expressions are important here. Some of these events take place within a cage or net for safety reasons. In this case your best bet is a long lens or you can try getting very close to the cage while using a small f-stop (large aperture) such that it becomes completely blurred out.
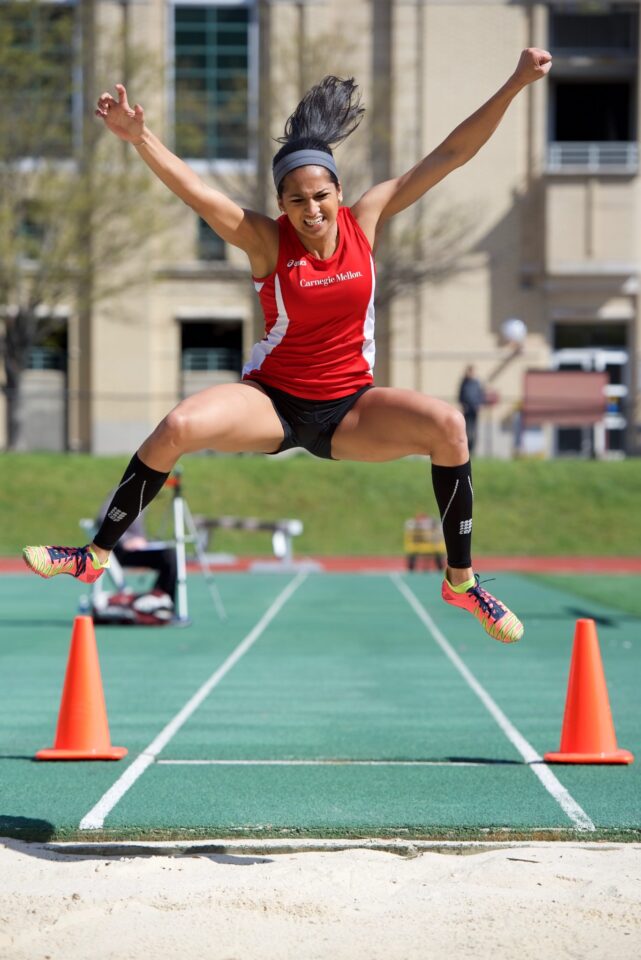
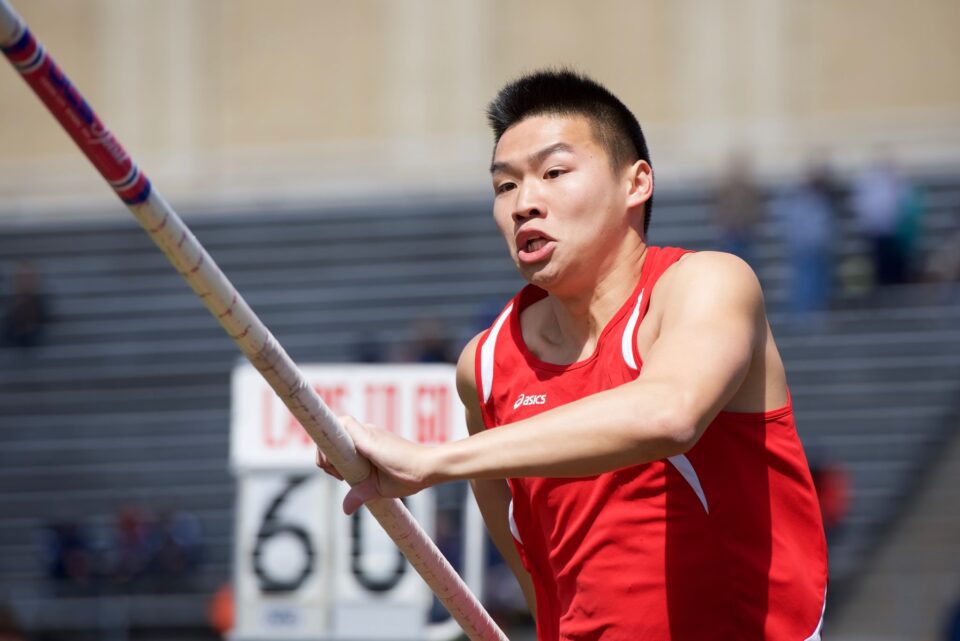
Jumping events are great fun to photograph; few images are more compelling than an athlete flying through the air. There are two focusing techniques you can use here. The first is tracking which works for long jump and triple jump where the athlete lands in a sand pit. Track the jumper as they run towards the pit and shoot off a burst of shots as they leap into the air and land in a flurry of sand. The second technique is prefocusing which works for high jump and pole vault where the jumper attempts to clear a bar, or standard. Prefocus on the bar while using a medium f-stop for increased depth of field and shoot off a burst as the jump is attempted.
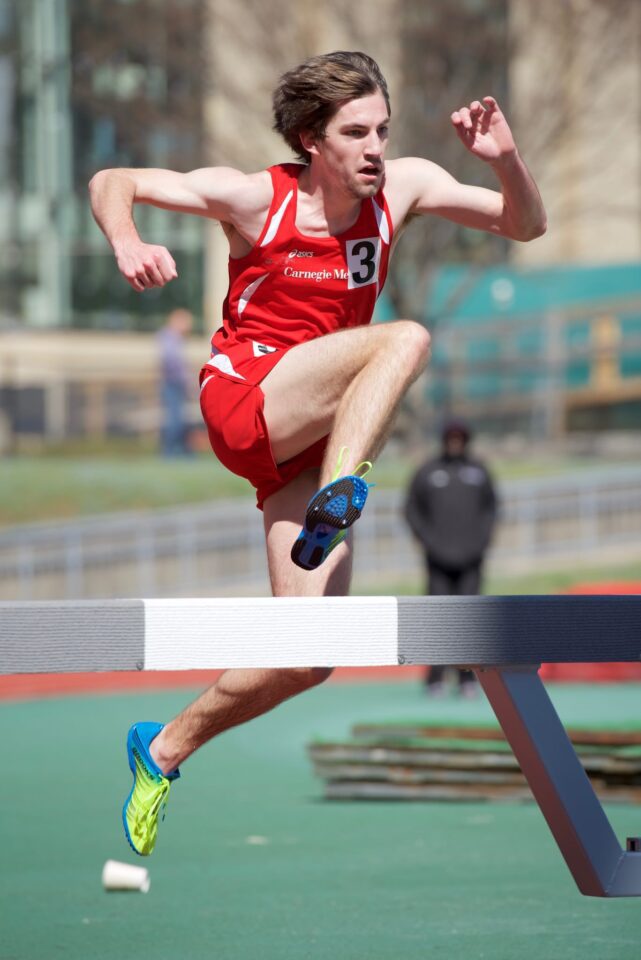
In my experience, the best running shots come from good positioning around the track. First, keep your back to the sun. Second, look for places around the track where an exciting moment is likely to occur. Turns, hurdles, and the finish line are some of my favorites. I feel that the end of the race creates the most exciting images because runners are sweating and grimacing. A recent iconic image of Usain Bolt showed him smiling during a panning shot. Panning can work for running, but this requires a lot of practice.
What’s Next?
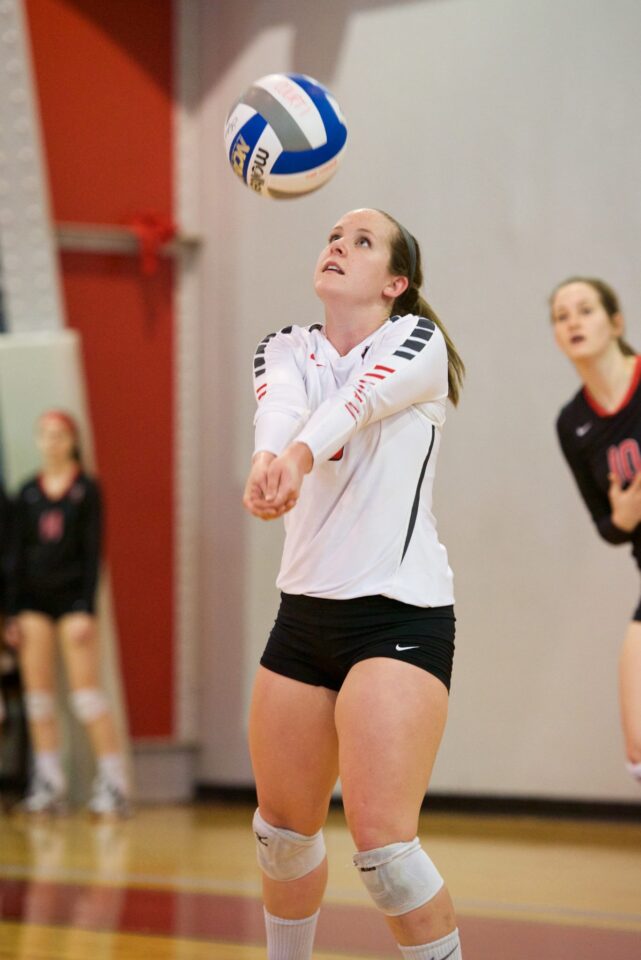
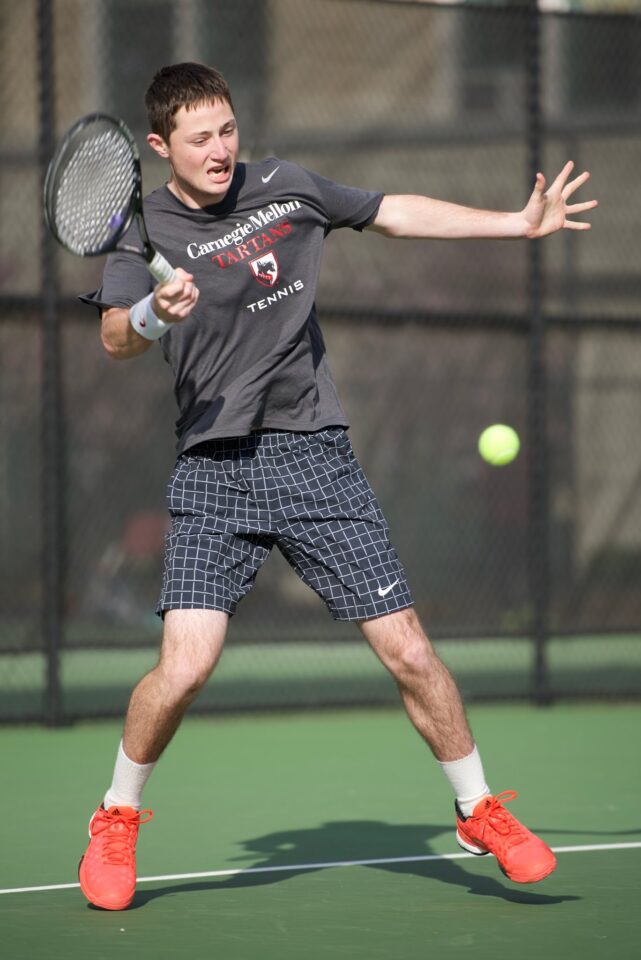
I love sports photography because it gets you closer to the action than any other spectator, and the excitement at this distance is addicting. On top of this, a good set of images allows you to relive the event forever. In this article I have provided my insight into photographing five collegiate sports. In addition to those five I have shot volleyball, tennis, golf, lacrosse, water polo, hockey, and baseball. I look forward to even more sports adventures in the future. You can see more of my sports photography at https://500px.com/mqnsports.
This guest post was submitted by Matt Nielsen, a recent graduate of Carnegie Mellon University where he studied Information Systems and competed on the varsity swim team. Please visit his gallery at 500px to see more of his work.
The post Sports Photography at CMU appeared first on Photography Life.

