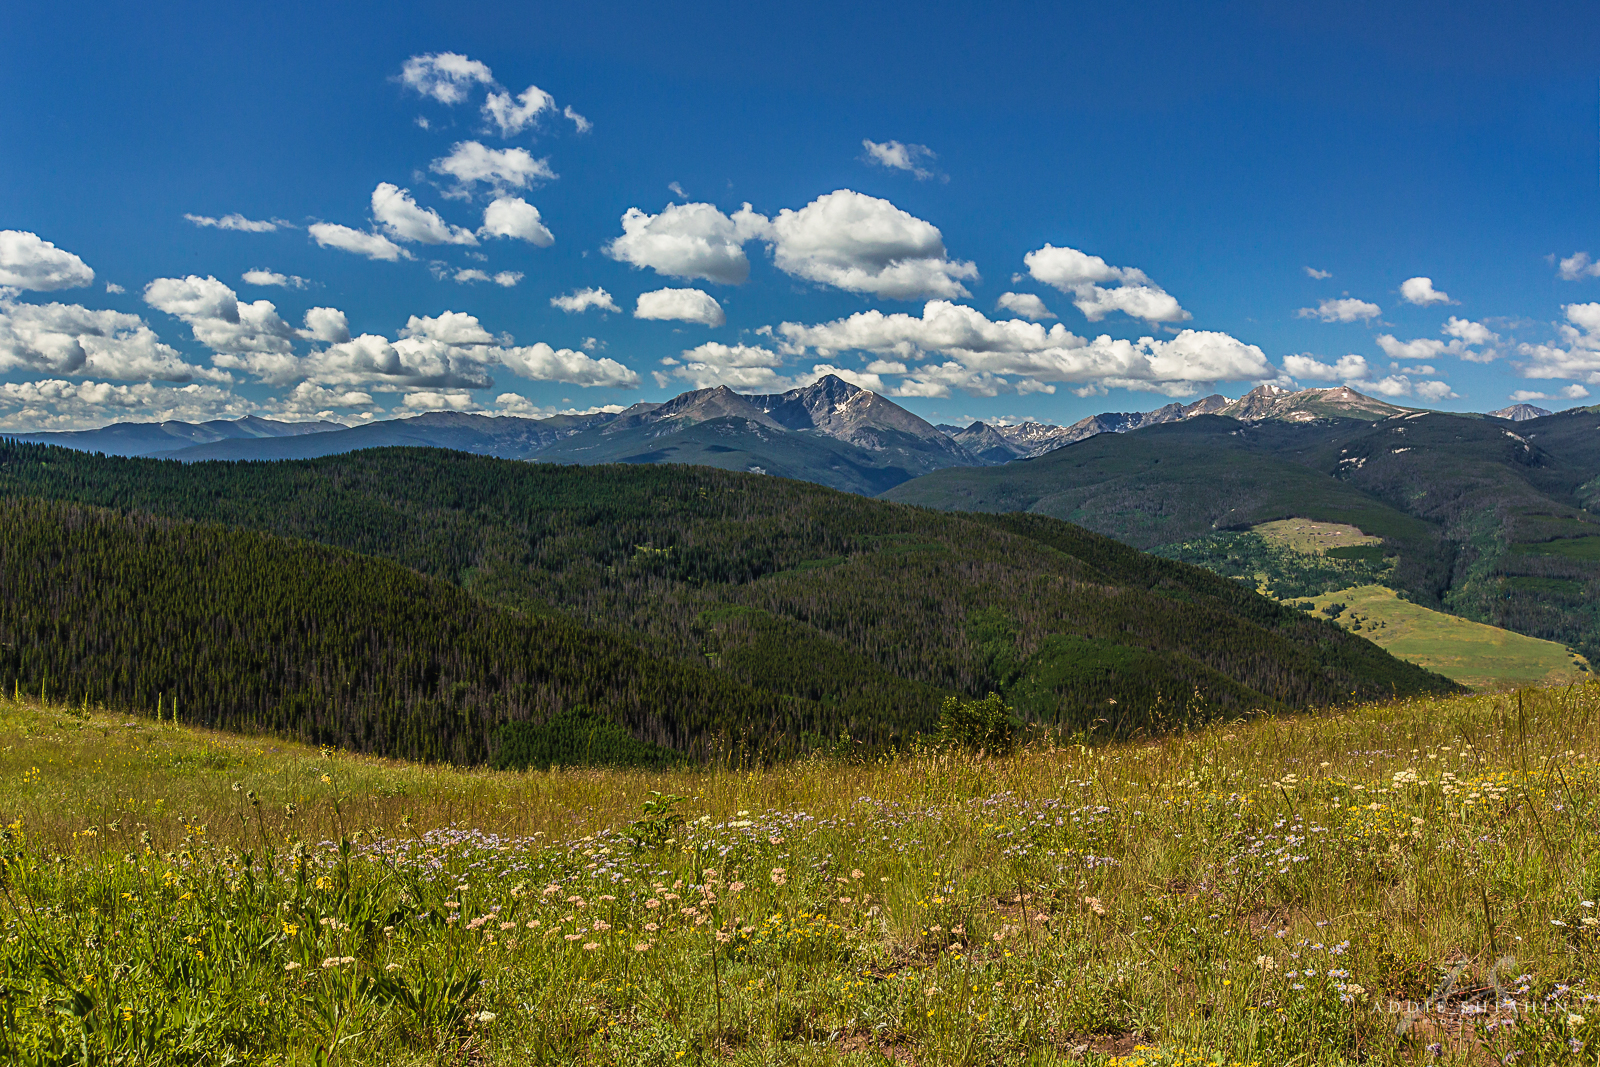
You’ve probably heard of lens filters used in photography but do you really know what they are and when to use them?
Some photographers use filters frequently in their work while others rarely use them. Filters are indispensable tools for landscape photographers in particular.
So what are filters?
Filters are a piece of glass that covers the front of your lens to manage light in a certain way or add a unique effect to improve your images. The most common filter design is circular in shape and screws directly onto the thread on the front of your lens. This type of filter requires that you have the correct size for the lens you plan to use or an adapter to fit multiple lenses.
There are also square and rectangular filters that are used in a filter holder system mounted on the front of the lens. These types of systems tend to be bigger and more expensive but can be used with various lens sizes. In addition, square and rectangular filters can many times be stacked without creating a vignette.
Let’s go over a few of the more popular filters used by landscape photographers and how they affect your images.
Neutral Density (ND) Filters
ND filters darken your entire lens to reduce the amount of light that enters the camera. This allows you to adjust your settings to use a longer shutter speed and show movement in your frame.
ND filters are particularly helpful in the daytime when it can be impossible to achieve a slow shutter speed in bright lighting conditions. ND filters reduce the light by a particular number of stops so you need to assess the lighting conditions and your exposure goals to determine which ND filter is necessary. In very bright conditions, I use a 10-stop filter to darken the lens and achieve a long exposure.

f/22, ISO 250, 30 seconds
Shortly after sunrise or just before sunset, the light can be too bright to achieve a long shutter speed without a filter but dark enough that a 10-stop filter would create too much darkness. In this instance, I use a 6-stop filter to achieve the settings I’m looking for.

f/22, ISO 50, 15 seconds
You can even stack ND filters to block more light such as a 3-stop filter and a 6-stop filter to block the light by 9 stops but if using circular filters, this can create a vignette that will need to be cropped out of the frame for the final image.
Graduated Neutral Density Filters
Graduated neutral density (GND) filters are similar to ND filters except that one half of the filter is clear and typically positioned on the bottom half of your lens over the darker foreground. The other half of the filter gradually transitions from dark to clear and is typically positioned on the top of your frame over the brighter background such as the sky. GND filters are particularly helpful for capturing a scene with a wide dynamic range from highlights to shadows such as sunrise or sunset. The filter allows you to balance the exposure preserving detail in both the highlights and shadows while capturing the scene in a single image. Without a GND filter you would need to take multiple exposures and merge them together in post processing to get a similar result.

without a GND filter

with a GND filter

Final edit.
Some GND filters have a hard edge for the transition from dark to clear and should be used when the horizon is distinct and flat such as a beach scene. Other GND filters have a soft edge for the transition and should be used for a non-flat horizon such as mountain scenes for instance. I carry a soft edge GND filter in my bag and find that it is adequate for most of my landscape imagery.
Polarizing Filters
Circular polarizing filters work like sunglasses for your lens. When used correctly, they can result in more saturated colors, less reflections, reduced glare and higher contrast.

Polarizing filters can also reduce haze in your images. To achieve maximum effect, polarizers work best when your lens is pointed 90 degrees from the sun. For this reason, I tend to use my polarizer when shooting during the day and not directly into the sun, which is how I typically shoot during sunrise or sunset.

photo by Gina Yeo
There are a few things to remember when using a circular polarizer.
- You lose approximately 2 stops of light with a polarizing filter so be sure to meter and expose appropriately.
- You choose the amount of polarization effect by turning the front of the filter and looking through the viewfinder. Remember that sometimes less is more!
- Polarizers can result in unnatural bands of color variations in the sky when used on ultra-wide lenses.
Now that you know what filters are and when to use them, what kind should you buy?
There are several brands to choose from so purchasing them can be a little overwhelming. My personal favorite is B+W. All of my filters are B+W and screw right onto the front of my lens but Tiffen and Hoya make good quality filters as well so make sure to check them out. If you want to get serious about filters and make more of an investment, look at the Lee filter systems. Most importantly, put a quality glass filter on the front of your very expensive lens to ensure your final images are of the highest quality.
So what are you waiting for? Give filters a try! They are wonderful tools to add to your photography bag that increase your creativity and help you create stunning imagery.
The post What are photography filters and when should you use them? appeared first on Clickin Moms.


