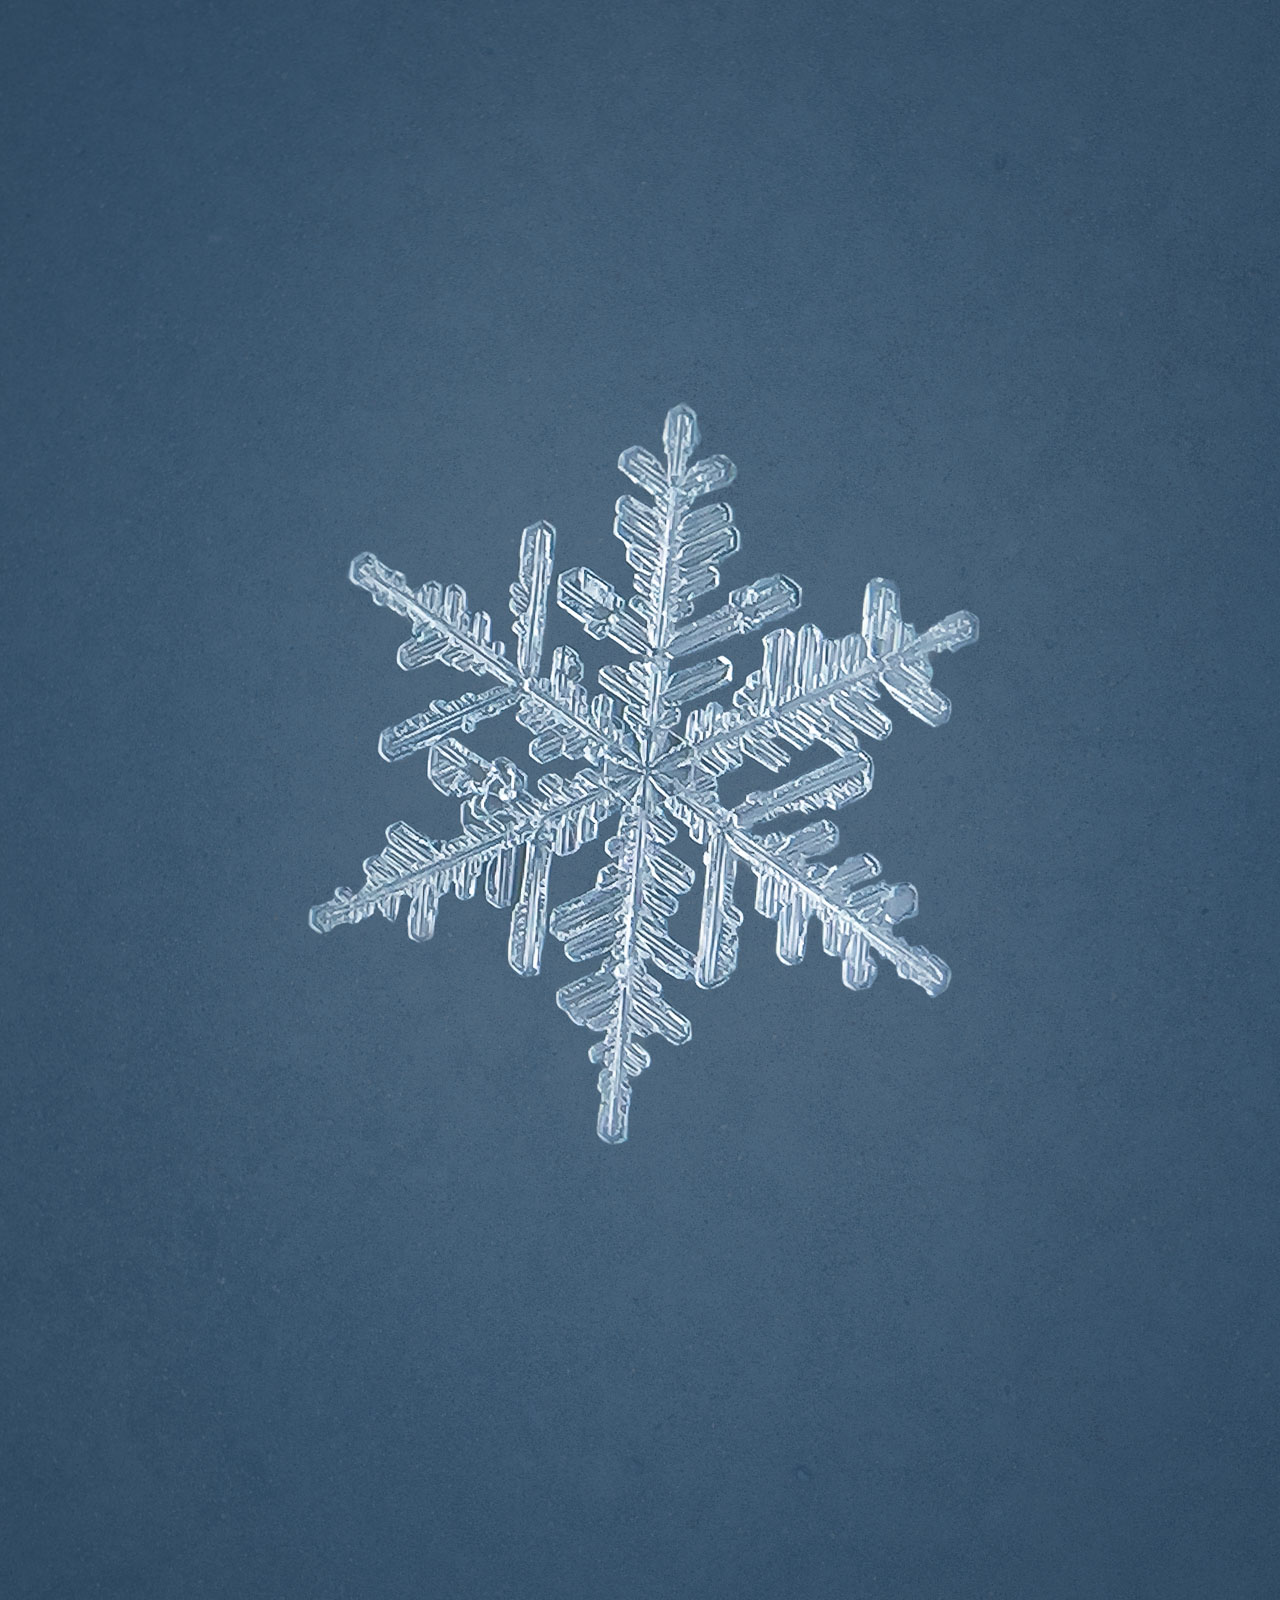
With shorter days and colder temperature, many photographers struggle getting out their cameras during winter.
However, the icy weather brings beautiful snow which can provide great inspiration.
Photographing macro snowflakes can be a fun and rewarding winter challenge, especially since no two snowflakes are the same!
Gear
Many snowflakes are only millimeters in diameter. This means you’ll need a way for your camera to magnify the snowflakes and get as close as possible. A few options are:
- Macro lens: A macro lens that can provide a 1:1 magnification factor is a great starting point.
- Macro extension tubes: These fit between the camera body and the lens and extend the lens to get closer to the subject. They can be used individually or stacked together.
- Macro filters: Like reading glasses for your camera, these attach to the end of the lens and provide magnification.
- Mobile macro lens: These small, light lenses attach directly to your smartphone, making them a great option if you don’t want to take your nice camera outside in the snow. You might also be surprised by the quality of the photos as the cameras on most smartphones are getting better each year. (all the photos here were taken with my iPhone and olloclip)
Related: How to create macro pictures without a macro lens
Be sure to take care when bringing your camera in and out of cold, wet weather. Use a camera cover to avoid water damage while you’re outside.
Then, before coming back inside, place your camera in a zipped bag. Once inside, wait until it has come to room temperature before taking it out of the bag.


Weather conditions
Snowflakes are obviously formed when it’s cold. But, it’s helpful to understand and observe the weather conditions that create the kind of snowflakes you want to photograph.
In my experience, the best conditions are when it’s lightly snowing with no wind. With heavy snowfall, it’s more challenging to get a shot of a snowflake without other snowflakes photobombing your frame.
Temperature is also a major contributor. It’s best if the ground temperature is at least several degrees below the freezing temperature of 32° F. Higher temperatures only give you a few seconds before the snowflake melts.
In addition, colder air temperatures and higher humidity in the clouds result in more complex and elaborate crystal designs in the snowflakes as they fall through the moisture-rich atmosphere.

Backdrops and surfaces
With your gear ready and an eye on the weather forecast, you can also prepare by identifying some interesting backdrops or surfaces against which to shoot.
It’s hard to see a snowflake on a light background like the snow-covered landscape that is most often present on a snowy day. So find a background that is darker than the snowflake such as tree branches, leaves, a building, or a car.


You can also use interesting textures to shoot against such as blankets, scarves, mittens, or other fabrics. I like to set material out in the cold (or even the freezer) for a few minutes before shooting, so that the snowflakes don’t melt immediately.

One of my favorite ways to capture snowflakes is from the comfort and warmth of my home by shooting through the glass in a window or door. Watch for snowflakes to land on the glass, and then quickly shoot them before they blow away.


Getting the shot
Because snowflakes are so incredibly small, the focus window is very narrow. As a result, a cluster of snowflakes could look like a big blurry mess.
So, as the snow lands on your surface, look for a snowflake that is all by itself and isn’t broken. You can use a toothpick or small paintbrush to gently separate snowflakes, move other snowflakes out of the way, or nudge your snowflake into a better position.
Generally, snowflakes are flat, which is quite helpful when focusing. In order to get as much of the snowflake in focus, angle your camera lens so that it is as parallel to the snowflake as possible. Starting with a smaller aperture like f/11 is also helpful to get all of the snowflake in focus, adjusting for exposure as needed.
You can also take multiple shots and combine them in post processing with focus stacking.

Post-processing polish
To take snowflake images to the next level, I love to add some editing magic. This usually involves cloning out distractions like other snowflakes, rogue fibers, or dust on the glass. I also add clarity and contrast to the snowflake to highlight all its intricate details.


Winter doesn’t have to be all gloomy and grey. So consider photographing nature’s ordinary miracle with the next snowfall and be sure to have a mug of hot chocolate ready to enjoy afterward!

The post How to take macro pictures of snowflakes appeared first on Clickin Moms.


