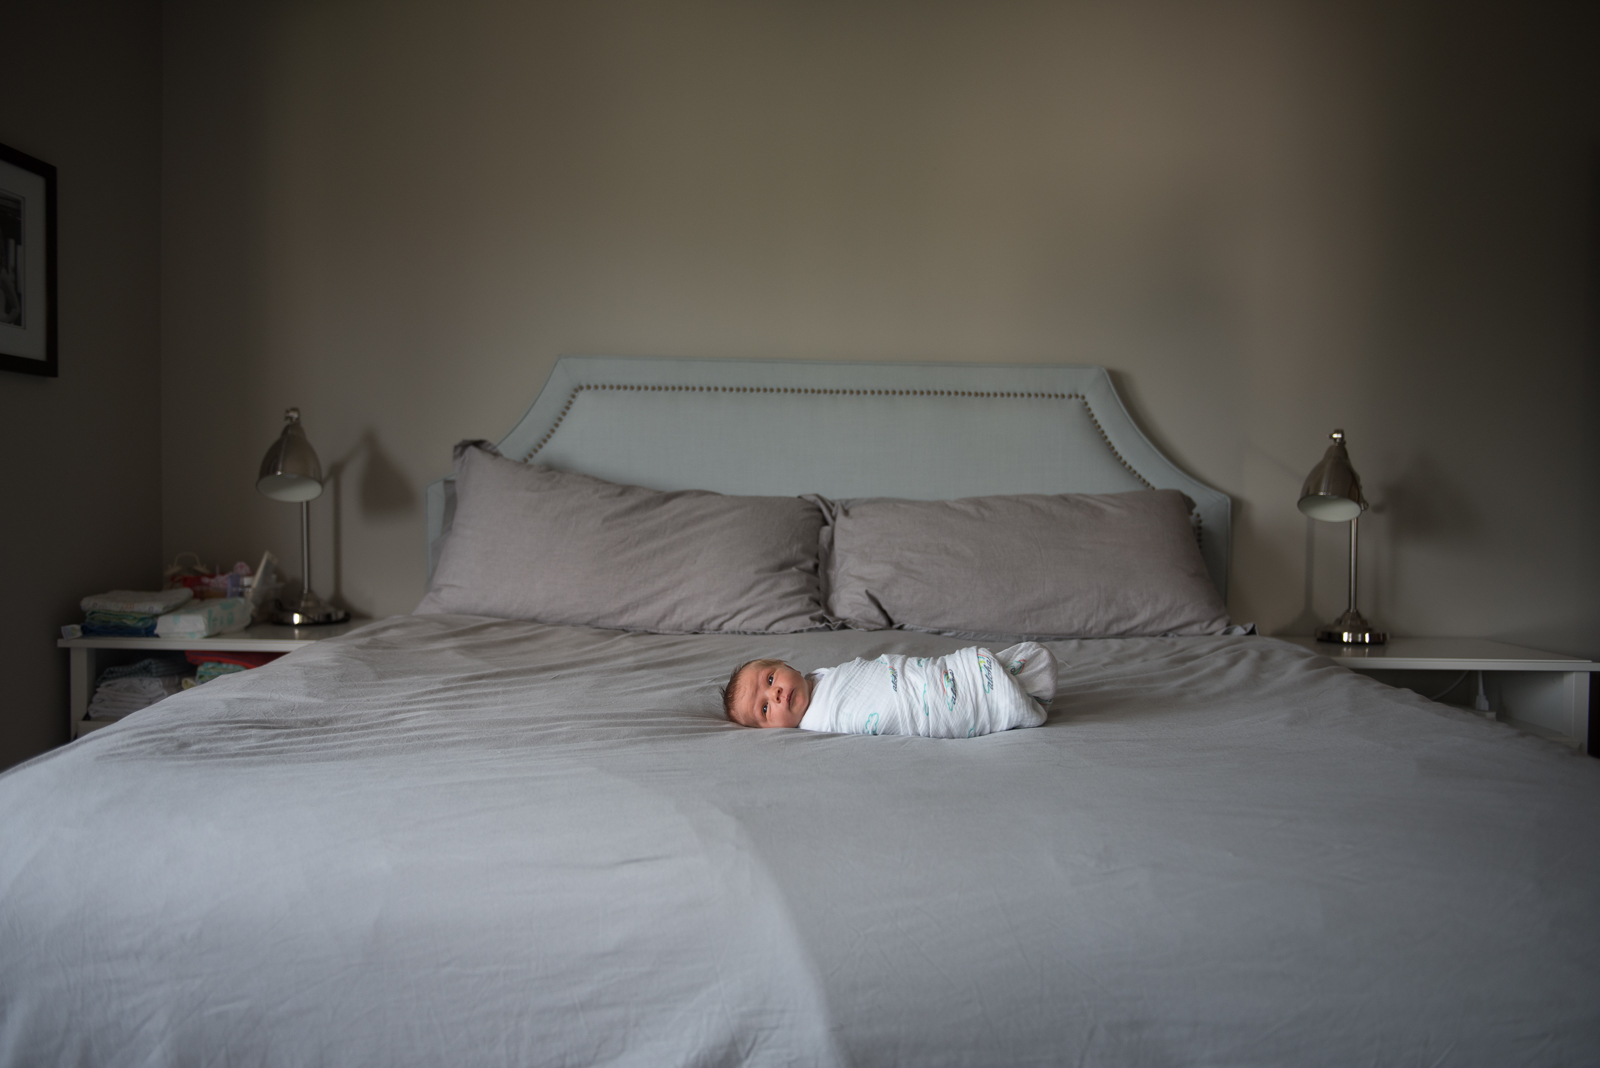
original photo

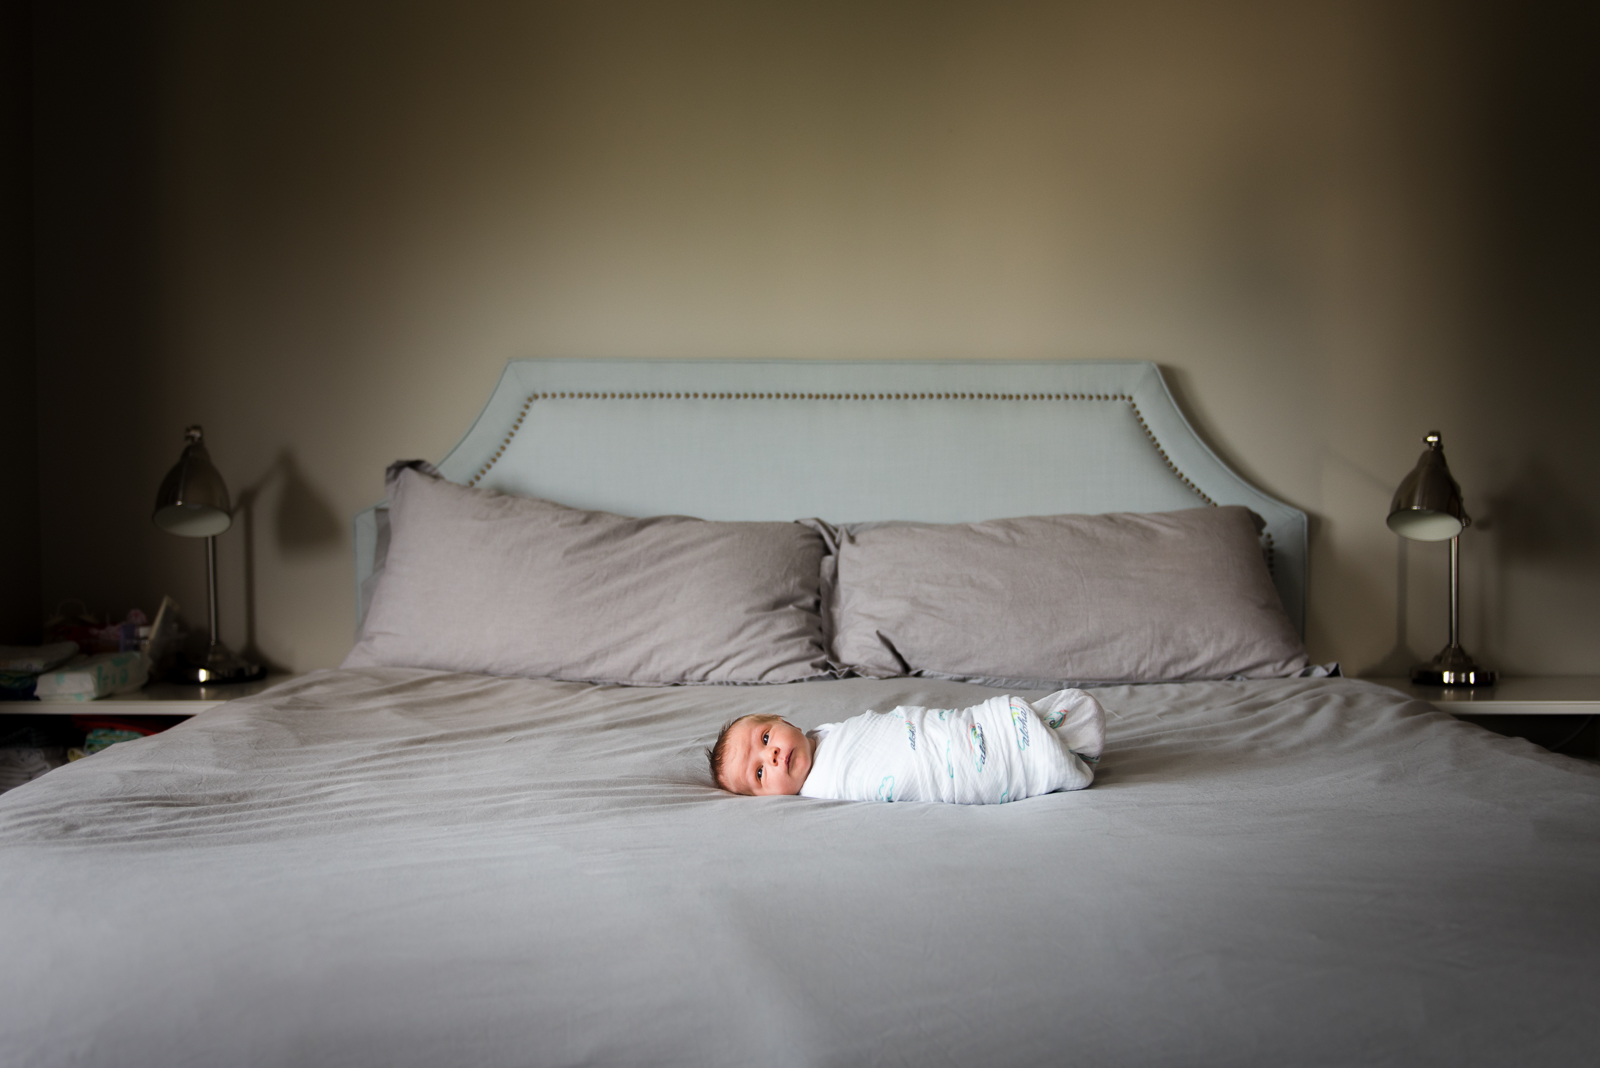
after image
My goal when photographing a newborn session is to make the best possible image in camera.
Then, I enhance what’s already there during the editing process.
My editing program of choice is Adobe Lightroom CC and I edit about 95% of my images there. There are times that I will pull an image into Photoshop for more detailed cloning but for the most part, Lightroom can do exactly what I need it to do.
In the video below, you’ll see how I take a straight out of camera RAW photo of a newborn from basic to polished without using any Lightroom presets.
The video goes into quite a bit of detail which results in the edit taking longer than it normally would if I were simply editing without explaining. Normally, this would be a 5-10 minute edit in my standard workflow.
Related: See more editing tutorials for Lightroom and Photoshop here.
For reference, the final settings are listed below.
- Exposure: +0.55
- Contrast: 0
- Highlights: +17
- Shadows: -55
- Whites: +11
- Blacks: -14
- Clarity: 0
- Vibrance: +10
- Saturation: 0
Tone curve: changes manually made to tone curve by adding 2 points (see the video)
Hue: no adjustments made
Saturation:
- Red: -7
- Orange: -5
Luminance:
- Red: +9
- Orange: +8
Split Toning: no adjustments made
Sharpening:
- Amount: 25
- Radius: 1.0
- Detail: 25
- Masking: 80
Lens Correction:
- Enable profile corrections: checked
Transform: no adjustments made
Camera Calibration:
- Blue primary hue: +2
- Blue primary saturation: +10
The radial filter was added around the baby with exposure, highlights, shadows and blacks pulled down and temp increased.
The clone stamp was used, set to heal to remove large wrinkles from the duvet.
In order to help decrease the wrinkles, the graduated filter was added from the bottom and left side with contrast and sharpening pulled down.

The post Before and after: A lifestyle newborn edit in Lightroom appeared first on Clickin Moms.


