
In my last post I covered the basics of cell phone photography. In this post I want to go over how you can edit photos with different apps on your phone. Of course, you can always import photos from your phone onto your computer and edit them with your software of choice, but if you plan to share images on social media and want to upload them directly from your phone, you can save a few steps by doing everything on your phone.
For the purposes of this article, I’m going to assume that you have experience editing photos on a computer. I’m not going to cover the basics of photo editing and what all of the different controls do (if you need more information on editing basics, this is a great place to start). You also might consider our Level 1: Workflow and Post-Processing Basics video.
1) Why Edit Images?
If you’re used to using your DSLR or mirrorless camera for photography and typically shoot JPEG, the images probably come out of the camera looking pretty good. Of course, almost any image can benefit from a few adjustments in post processing, but this is especially true with phone photos. The lenses on cell phones don’t have the same quality glass and special coatings as the lenses for your camera, so you’ll often find the images you capture with your phone need edited before you’re happy with them.
If you followed my advice in the last article, your images should be properly exposed, but there’s more to a good image than proper exposure. At the very least, almost every phone image can benefit from a boost in contrast and saturation. You might also need to adjust the tint and white balance a bit. Finally, editing images is an opportunity to put your personal touch on an image and make it your own.
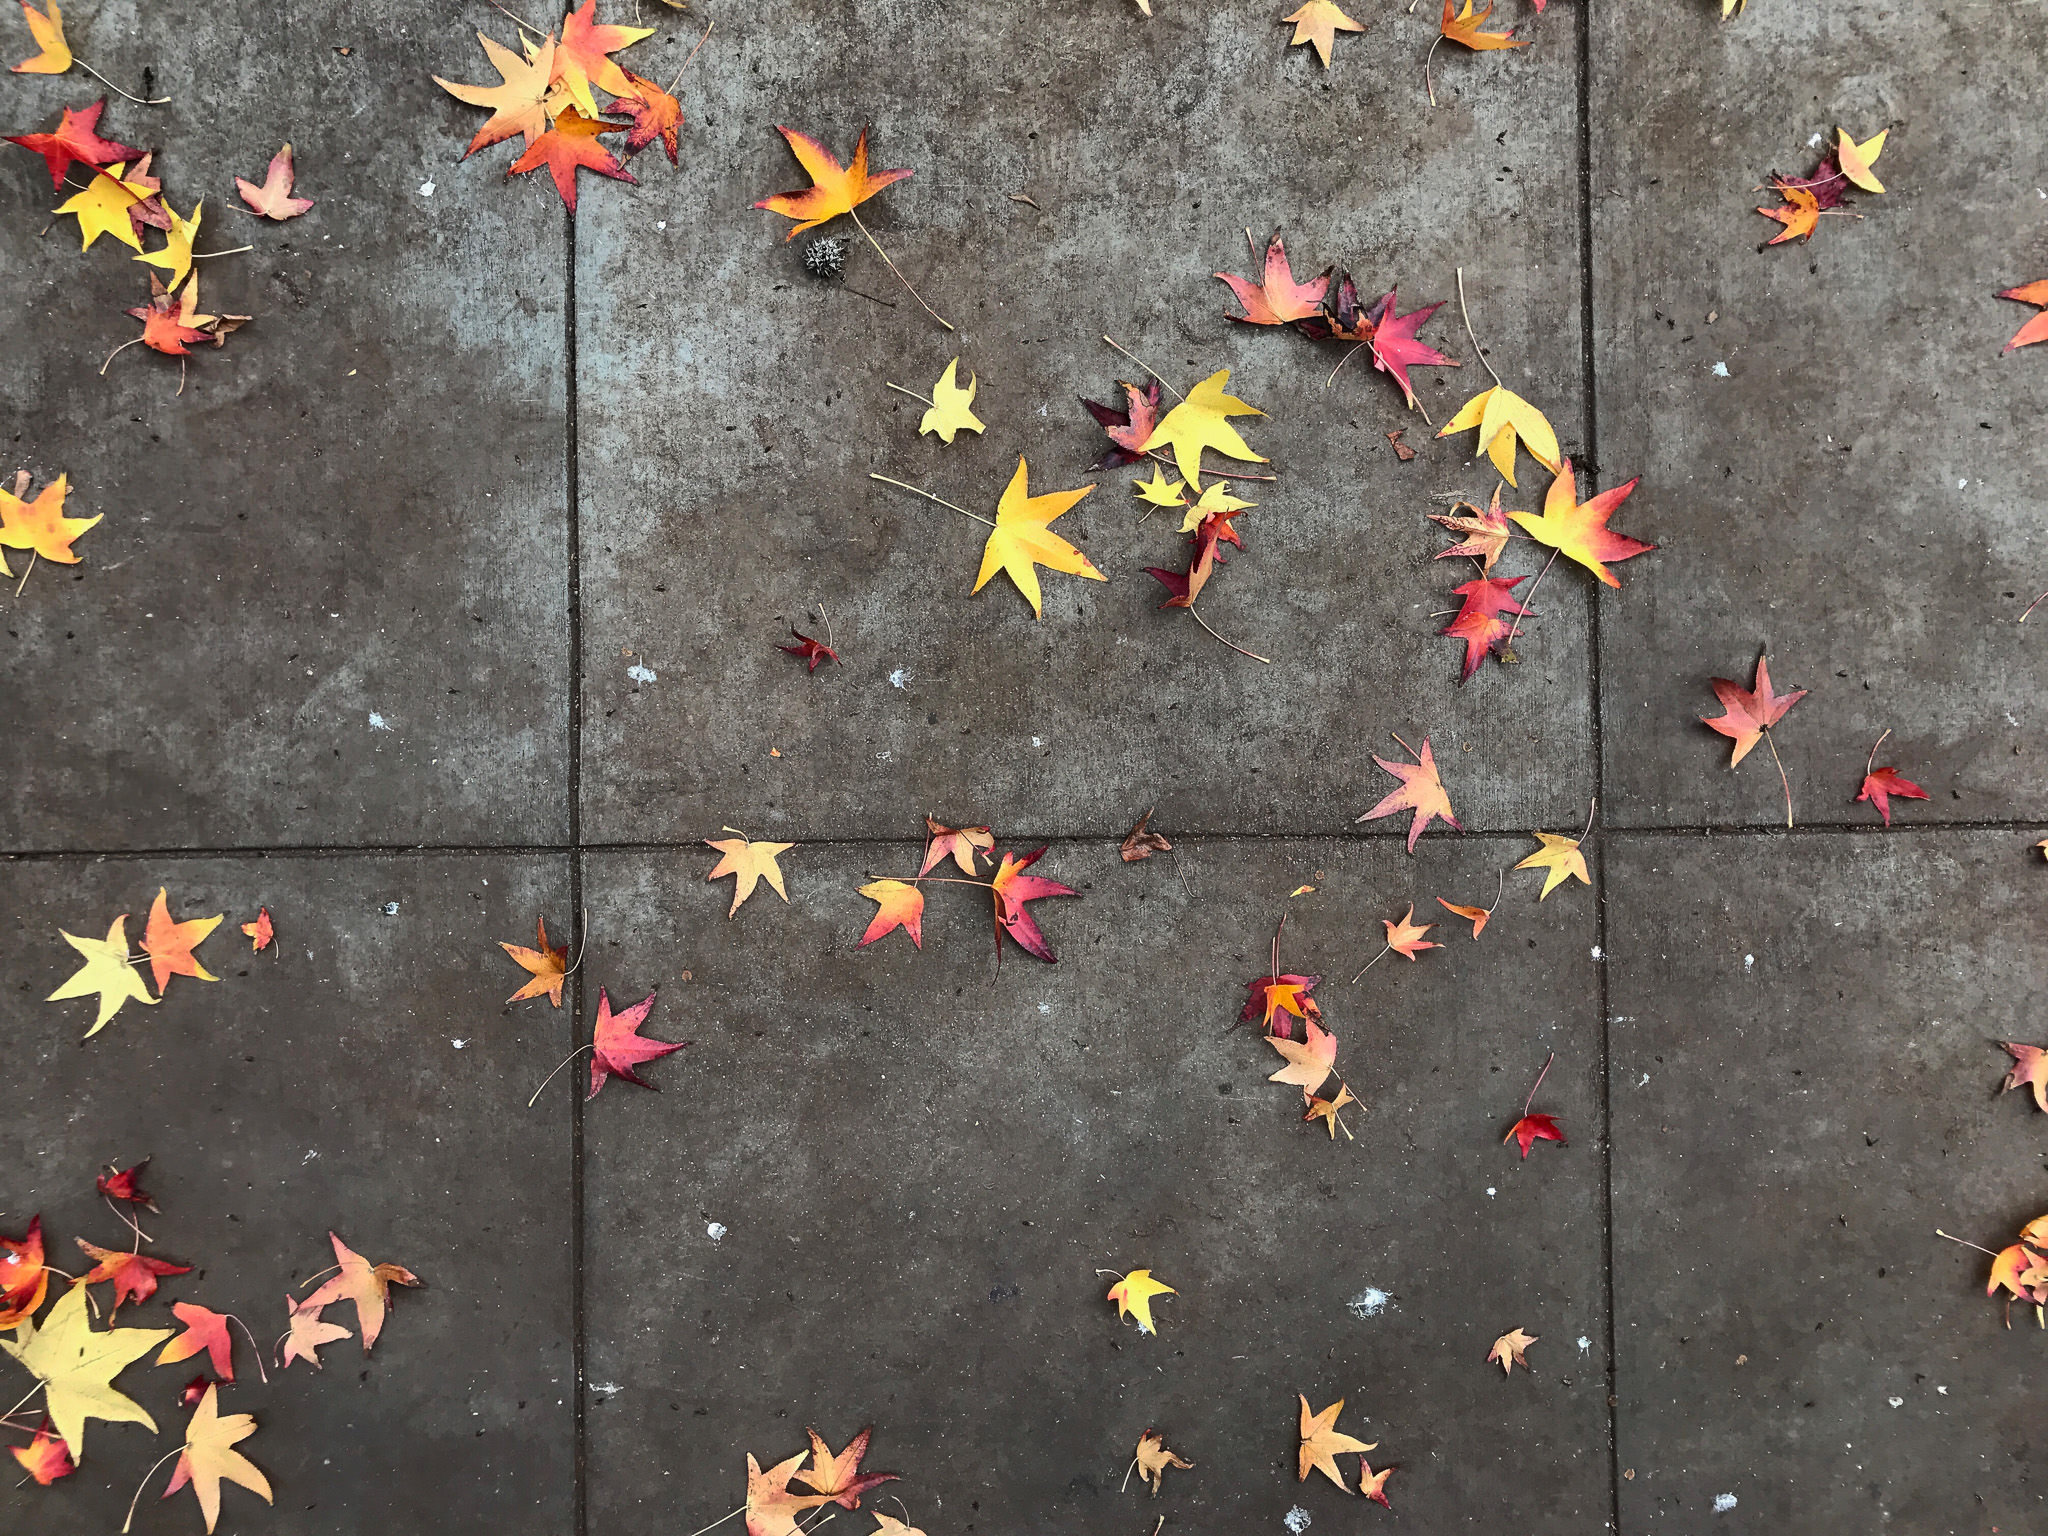
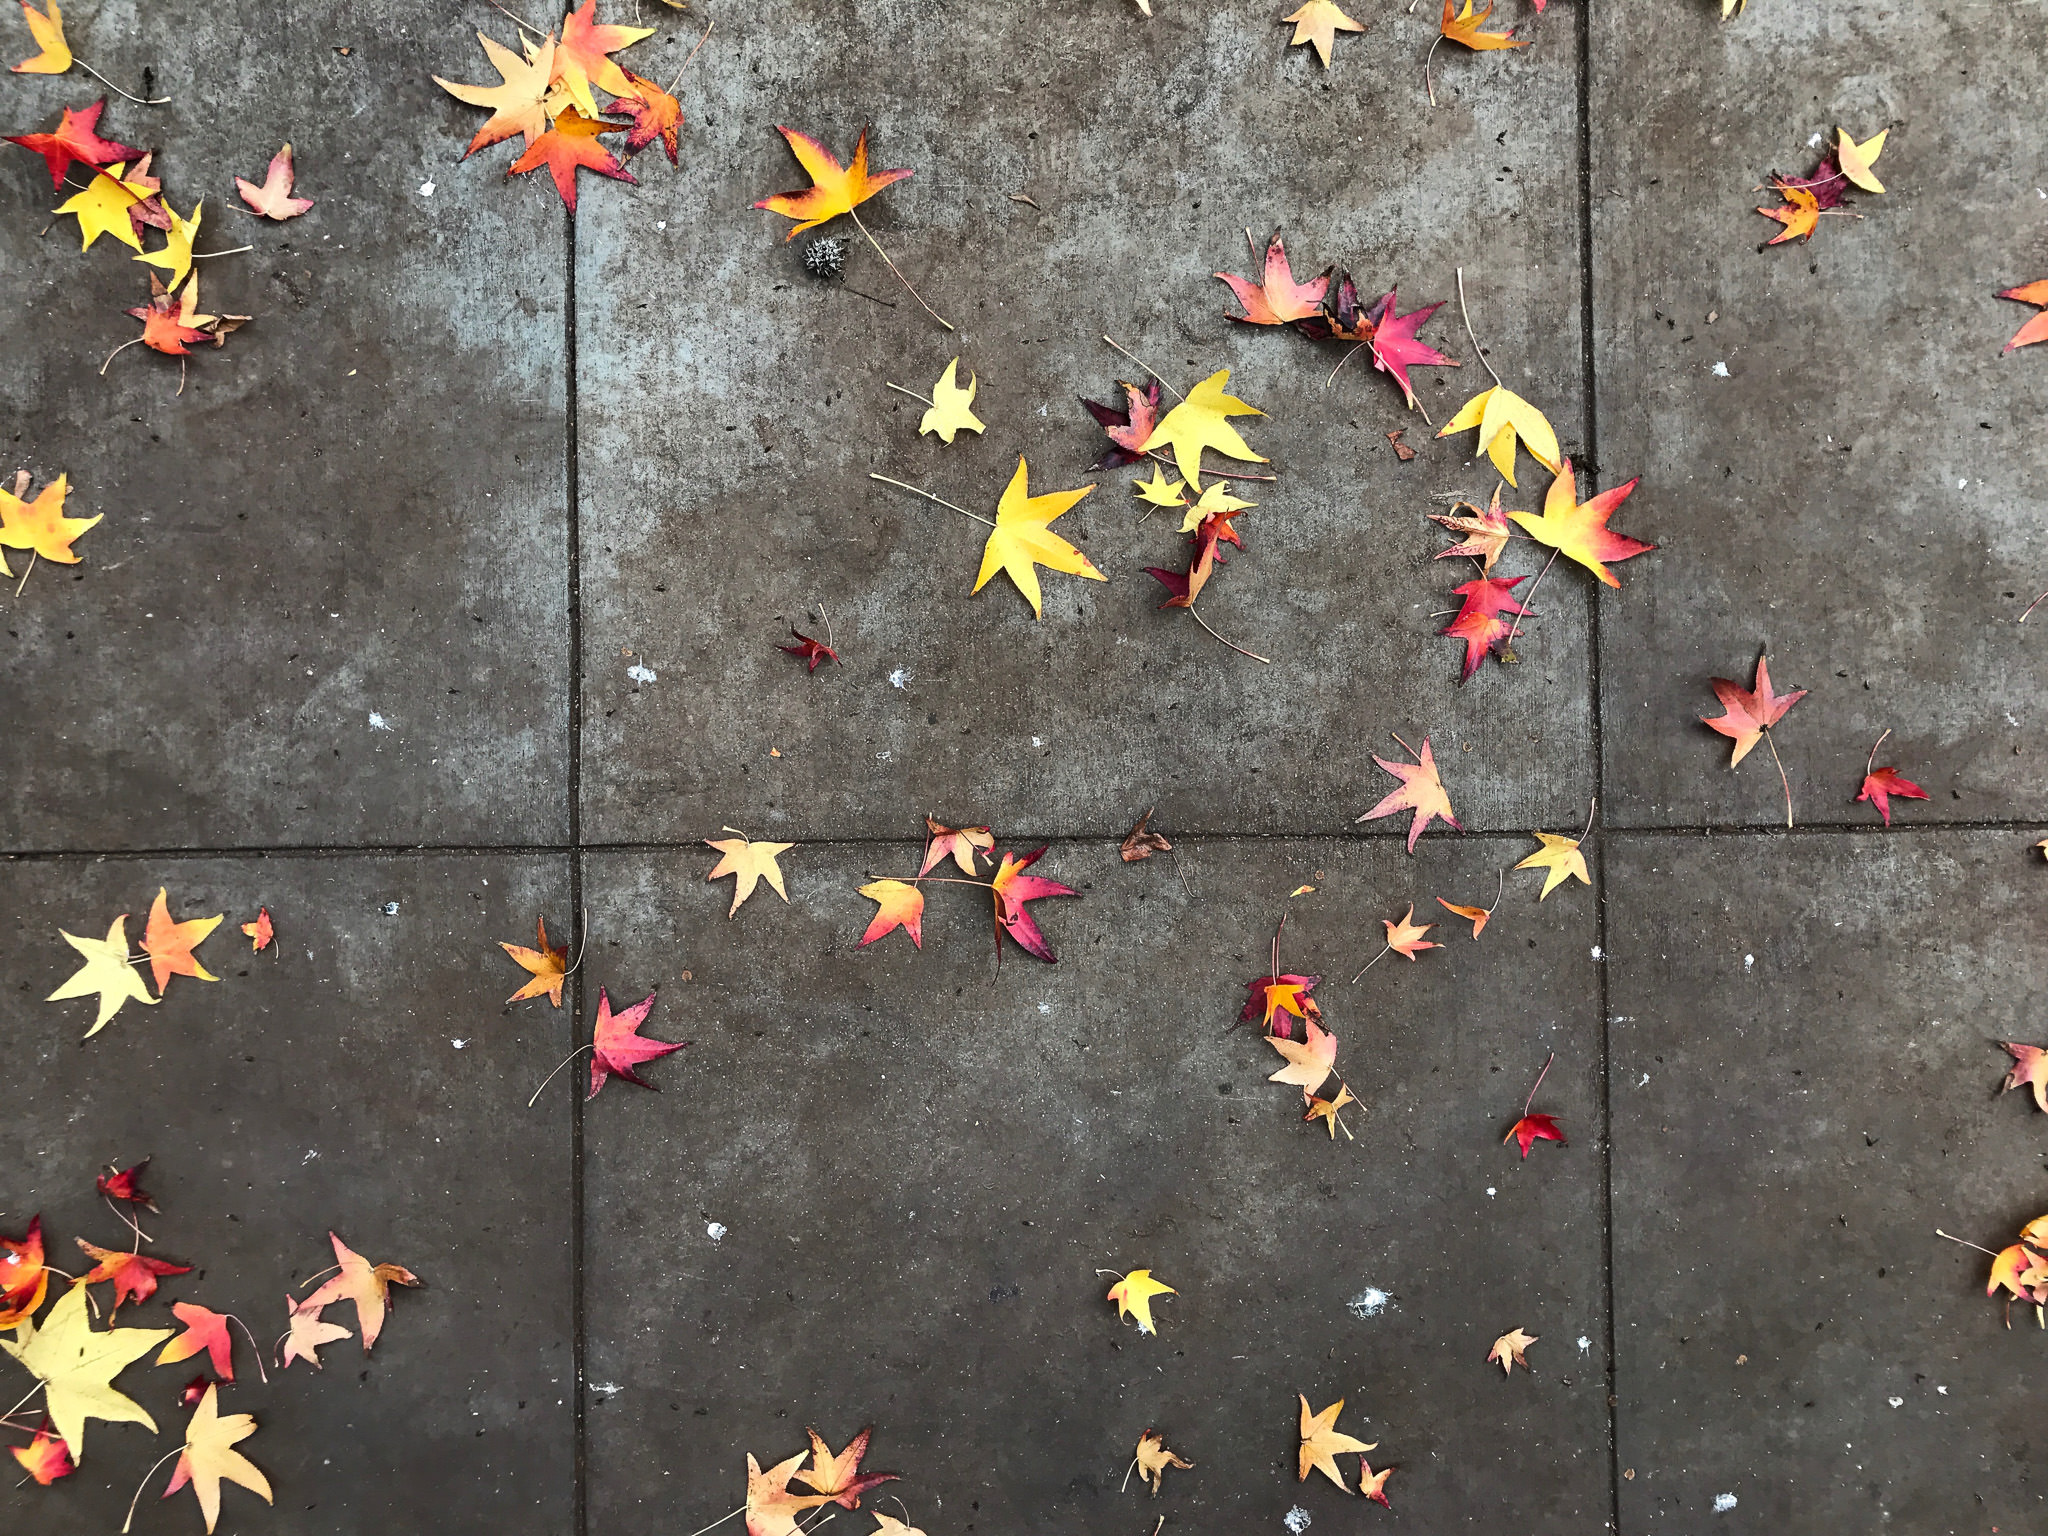
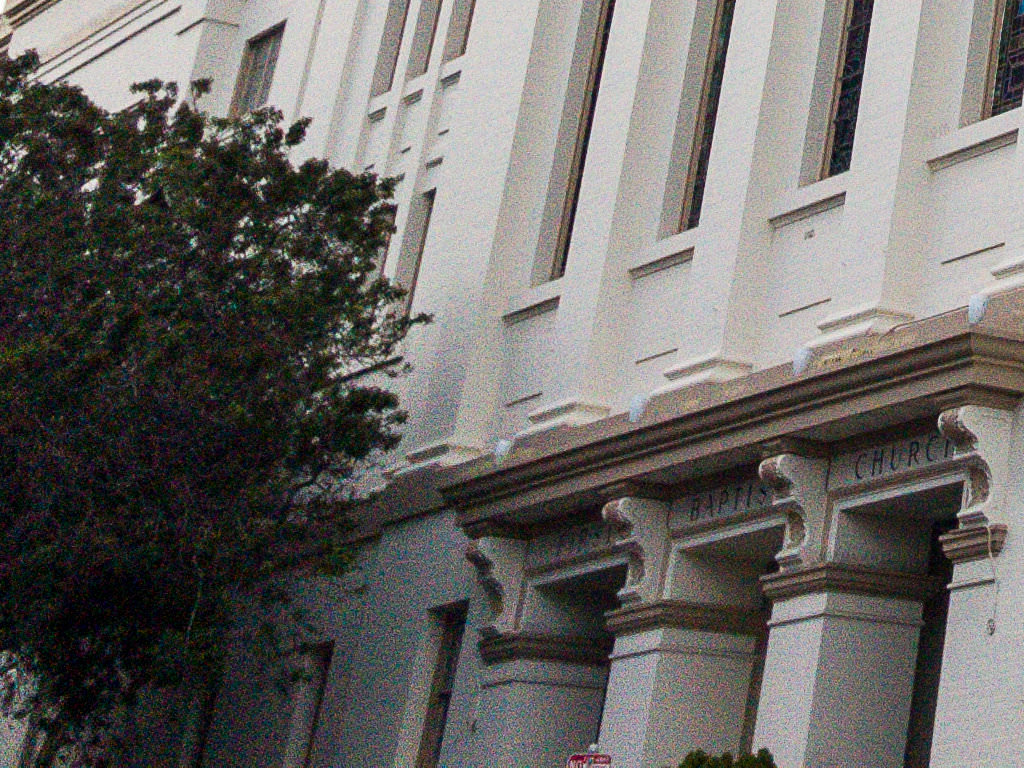
Throughout this post, I’m going to use the same image and edit it in different apps. Hopefully this will show that they’re all pretty similar in the results they can produce. Of course, the more editing options an app has, the more complicated your edit can be.
2) App Overload
Once you start looking for an app that you can use to edit photos, the first thing you’ll notice is that there are a lot of them out there. How do you decide which to use? I’m going to go over a few of the most popular options out there, as well as offer up my personal opinions about each one. Most are free, so there’s really no reason not to try out a few different ones and see which you like best.
One thing to keep in mind is that you are editing JPEG images. Images that you’ve captured with your cell phone camera are always going to be JPEGs (unless you specifically used a phone and app that can shoot in DNG), so expect some limitations on how far you can push things.
There are going to be some differences in which apps are available for iOS and which are available for Android. All of the apps that I discuss in this post are available for both (with the exception of Camera+). Almost every default camera app will have some basic editing capabilities built in. Since all different builds and brands of Android phones will have a different default camera app, I can’t promise that the one that you’re using will be able to edit photos. Also, they’re all going to have different options, so I suggest exploring the options within your phone’s camera app and deciding if it will work for you or if you need to download something that gives you more control over the final look of your image.
2.1) Default Camera App
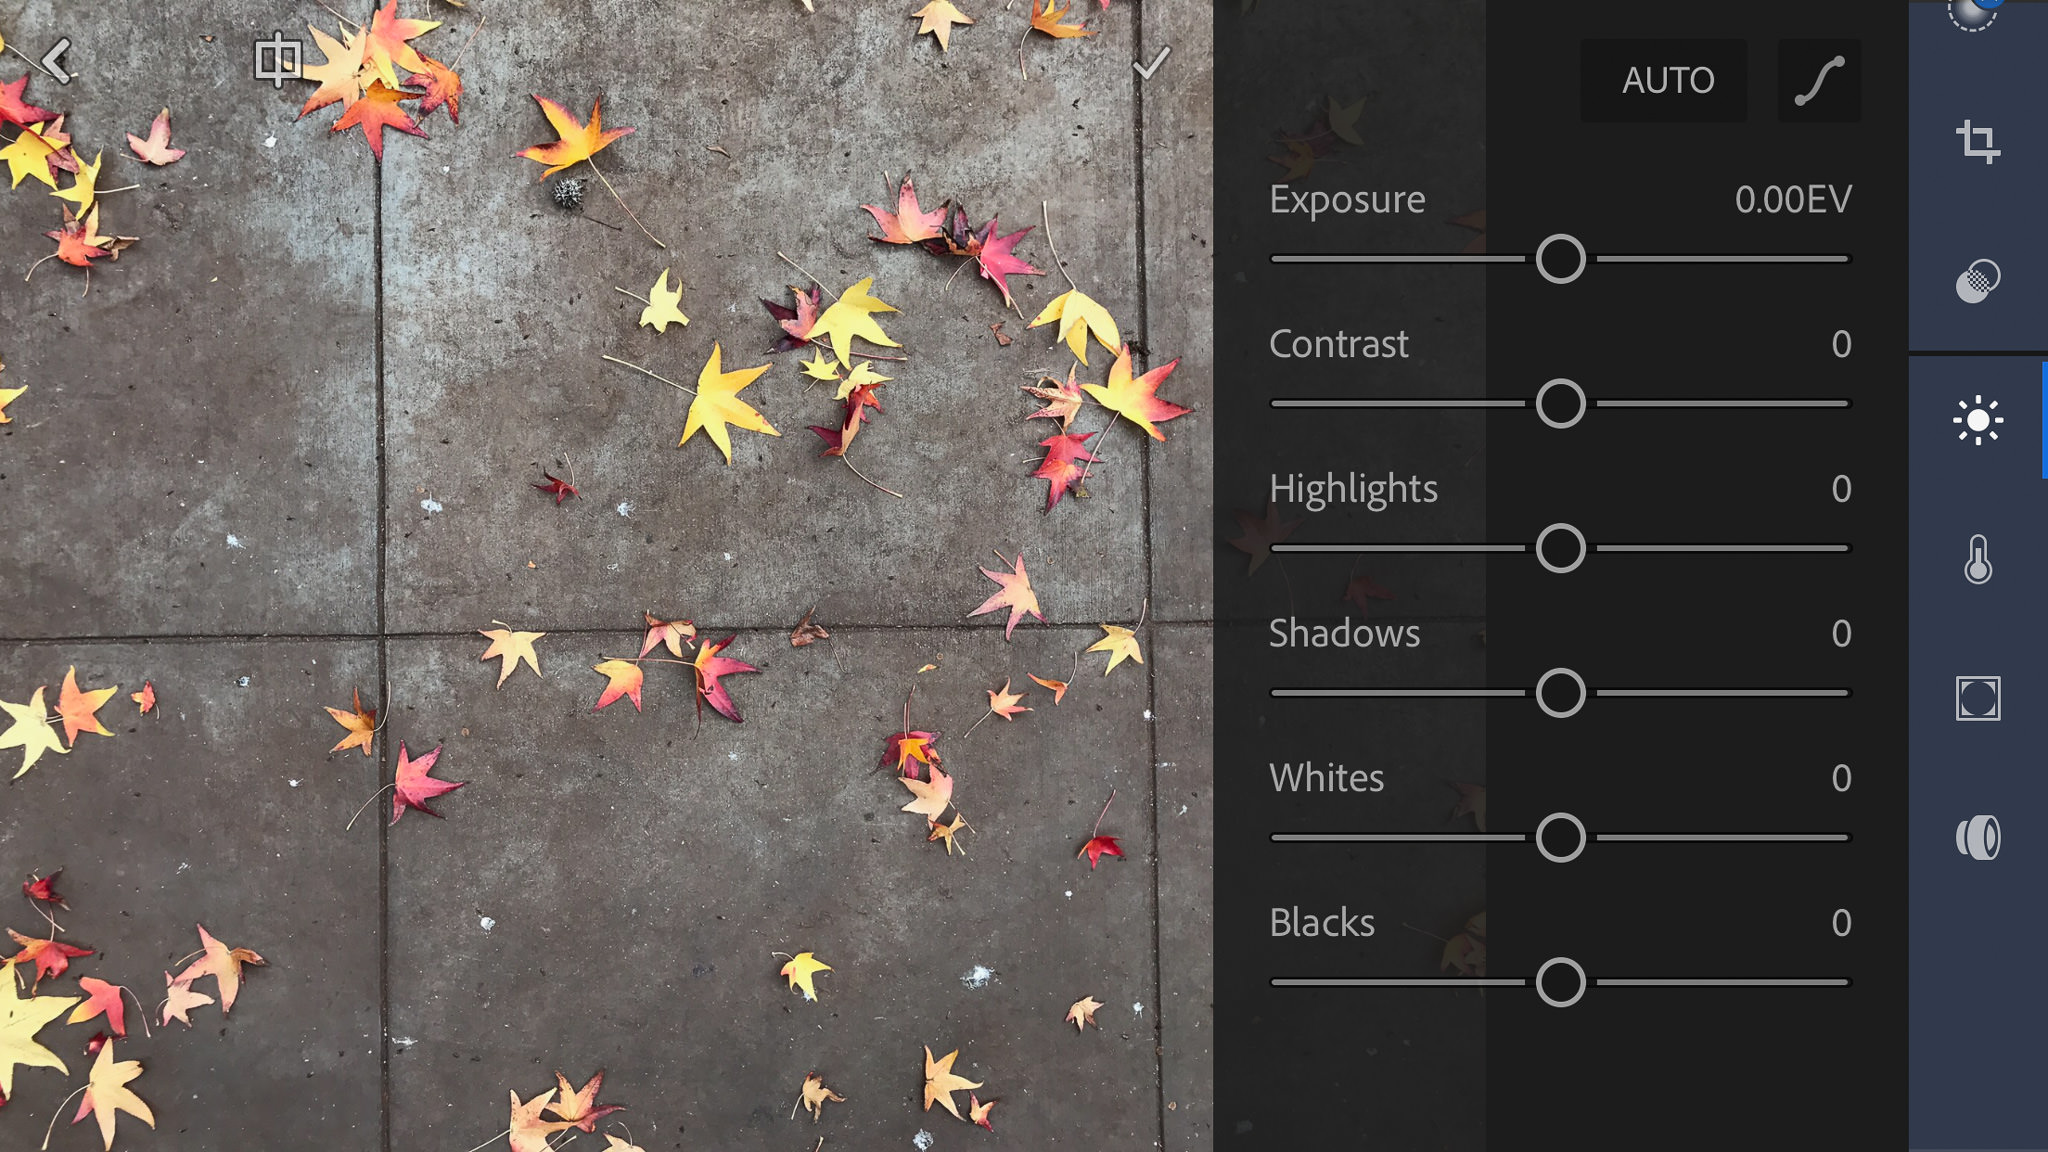
Let’s start out by covering the default editing capabilities that come with your phone. I shoot with an iPhone 7+ (running iOS 10.2), so that’s what I’m going to cover first. The editing options aren’t actually found inside the camera app, but can be found when you’re reviewing images. View an image that you took (either in the camera app or inside Photos) and at the bottom you’ll see three lines that look like sliders. This gives you access to the editing options.
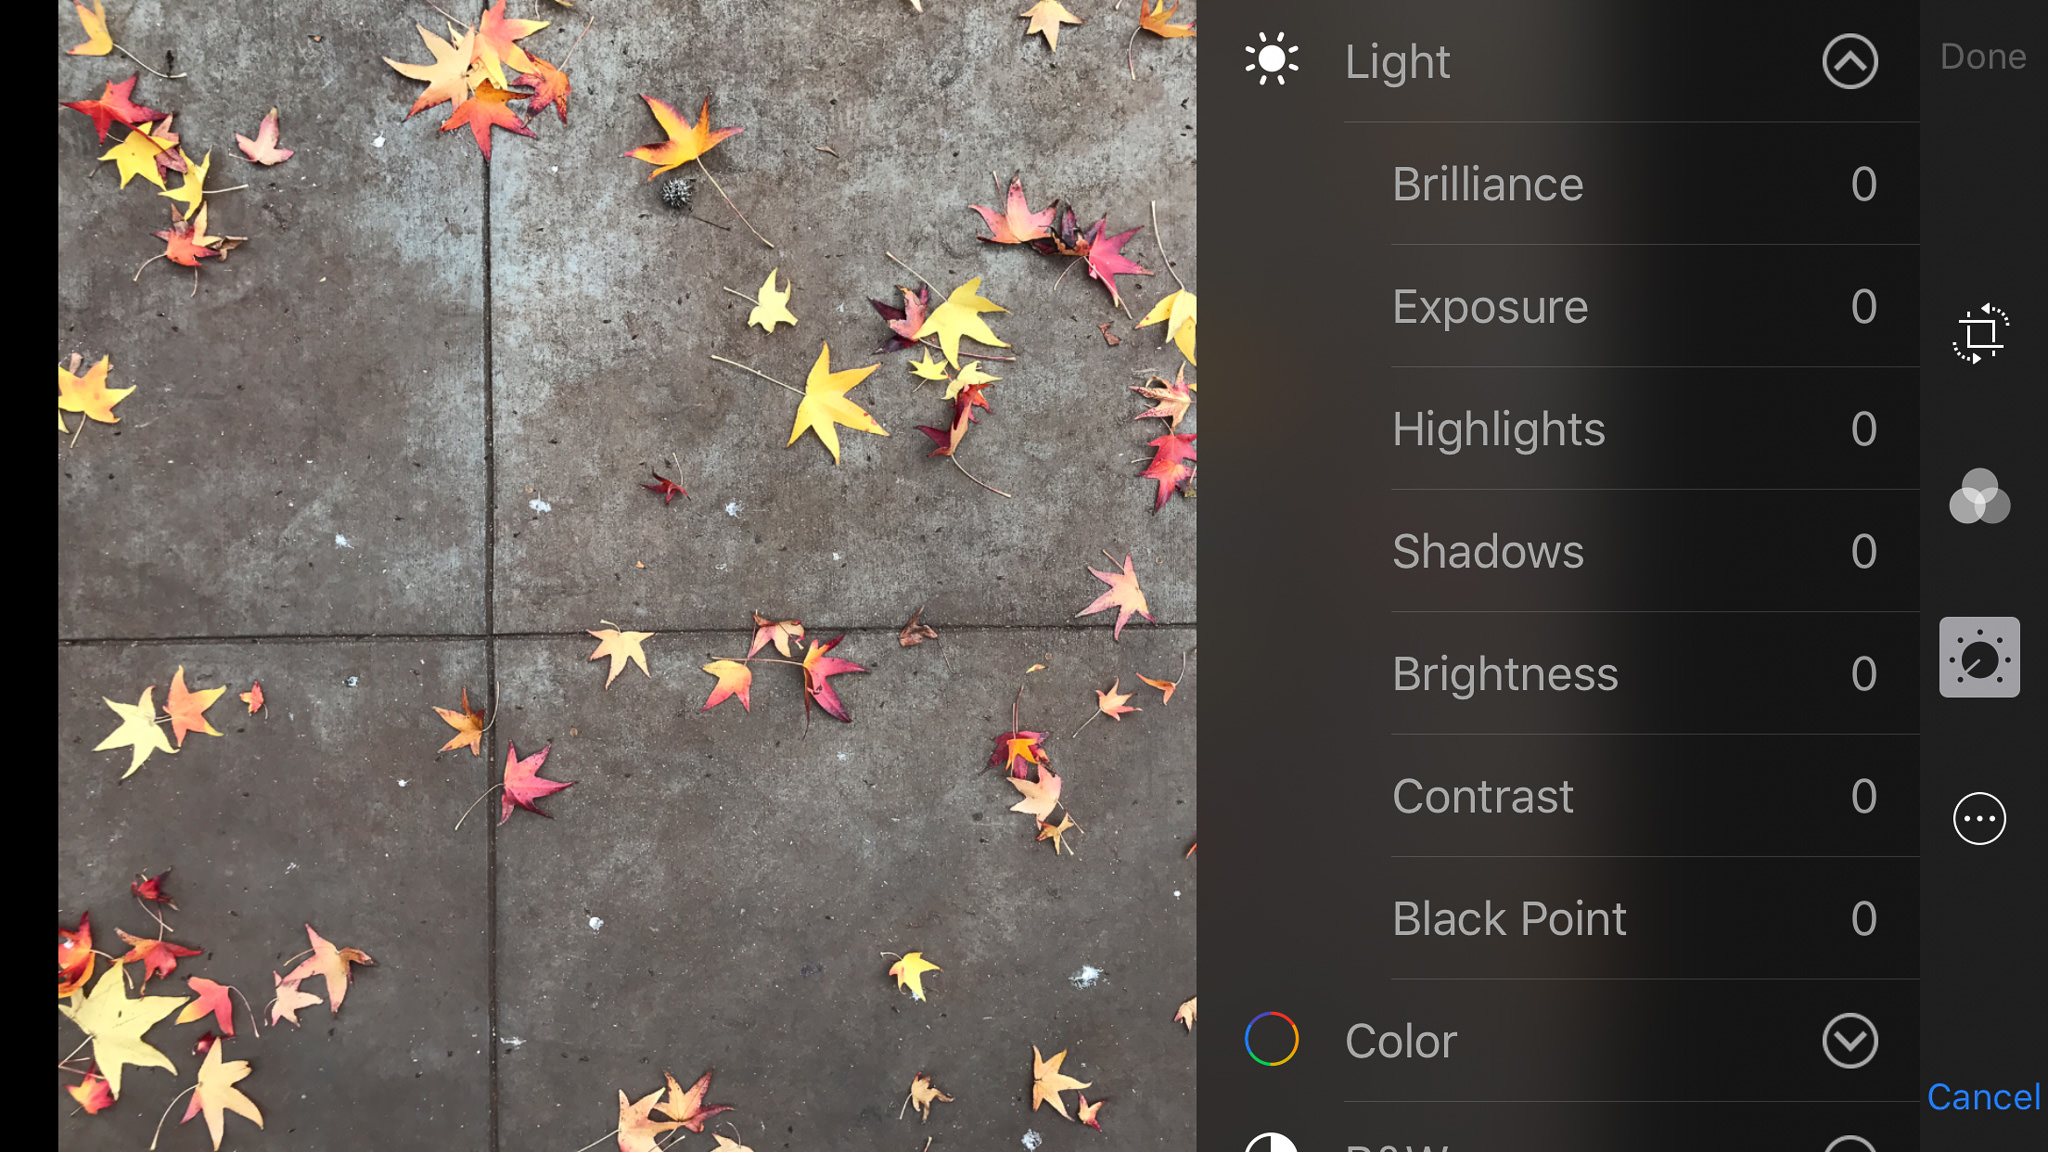
iPhone Editing Screen
If you just want a quick fix, you can press the magic wand in the upper-right corner and some quick adjustments are made to the image. If you want more control, you’ll need to go through the icons on the edge of the screen. From here you can crop and straighten, add filters, adjust image properties like exposure, contrast, highlights/shadows, color and even have control over properties of B&W conversions like intensity and grain.
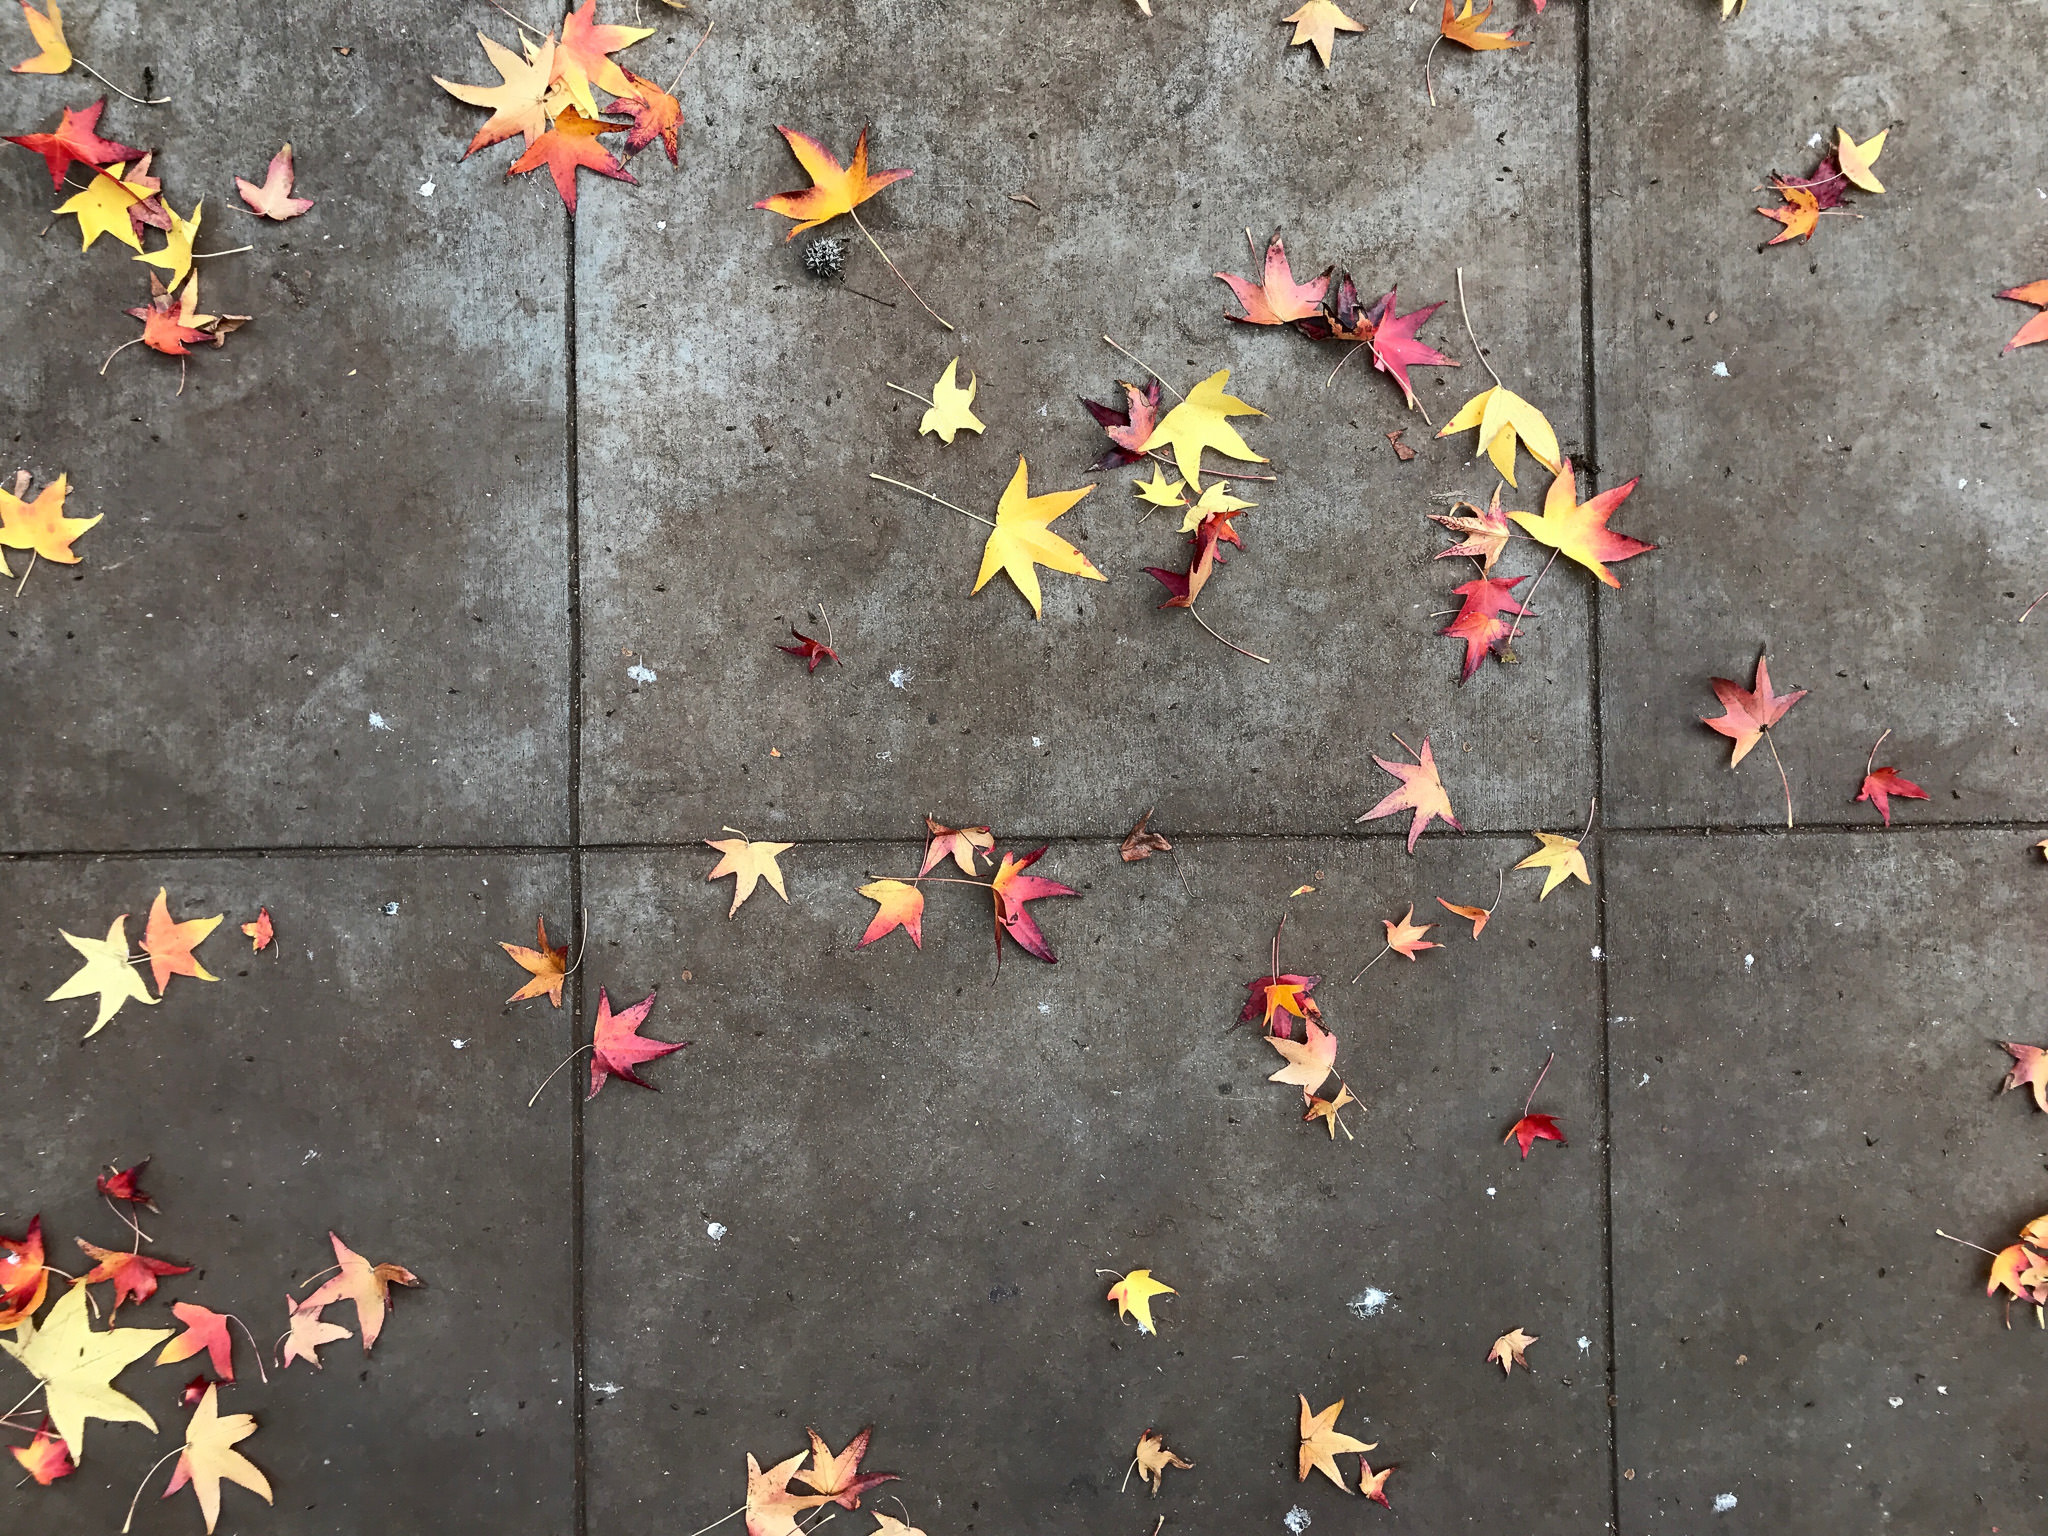
iPhone 7 Plus @ 3.99mm, ISO 20, 1/180, f/1.8 – JPEG image edited with iPhone default app
As for Android, the only example I have is my wife’s Samsung Galaxy Note5. I was not at all impressed with the editing options on her phone. They were very basic and had strange names that don’t really relate to most editing software. If you have a different phone or even a different version of the operating system, you might have different options, but I personally would not use the default editing app on her phone.
Regardless of what phone you’re using, the editing options that are part of the default camera app are basic and capable of some quick image corrections. If you have a little image editing experience, you should be able to take a photo from boring to polished without much trouble.
2.2) VSCO
One of the most popular photo editing apps around is VSCO (pronounced “vis-co”, stands for Visual Supply Company). One of the reasons for it’s popularity is that it has presets that can quickly and dramatically change the look of your images. If you apply a preset but want to personalize it, you can tweak it until you’re happy with the look of your image. Unfortunately, when you apply a preset you can’t see what changes were actually made to the image, so it’s tough to adjust one specific aspect of a preset. Sometimes you’re stuck with the changes that were made. For example, if the preset you like adds too much fade, you can’t reduce the amount of fade, you can only increase it. On the other hand, if it cools off the image too much, you can always warm it up by adjusting the white balance.
VSCO Editing Screen
If you’re not a fan of presets, you can also edit your images with manual controls. You’ll notice the tools aren’t named, which means there is a bit of a learning curve as to what each one does. You’ll have to take my word for it that a lot of the adjustments in VSCO are the same ones that can be found in the default editing app. In addition to those, you also have options like perspective control, skin tone, vignetting, and even split toning. VSCO is my go-to app for photo editing. I’ve used it to create both clean, simply edited images and complex, moody images.

iPhone 7 Plus @ 3.99mm, ISO 20, 1/180, f/1.8 – JPEG image edited with VSCO
VSCO is free to download and comes with some basic presets. Additional presets are available, both for free and for purchase.
2.3) Instagram
Many people who use their cell phones for photography also choose to share their images on Instagram. By default, Instagram comes with capable photo editing tools. If you want to share images on Instagram and don’t want the extra step of editing your photos in a different app, here’s what you can expect to find when you open it up.
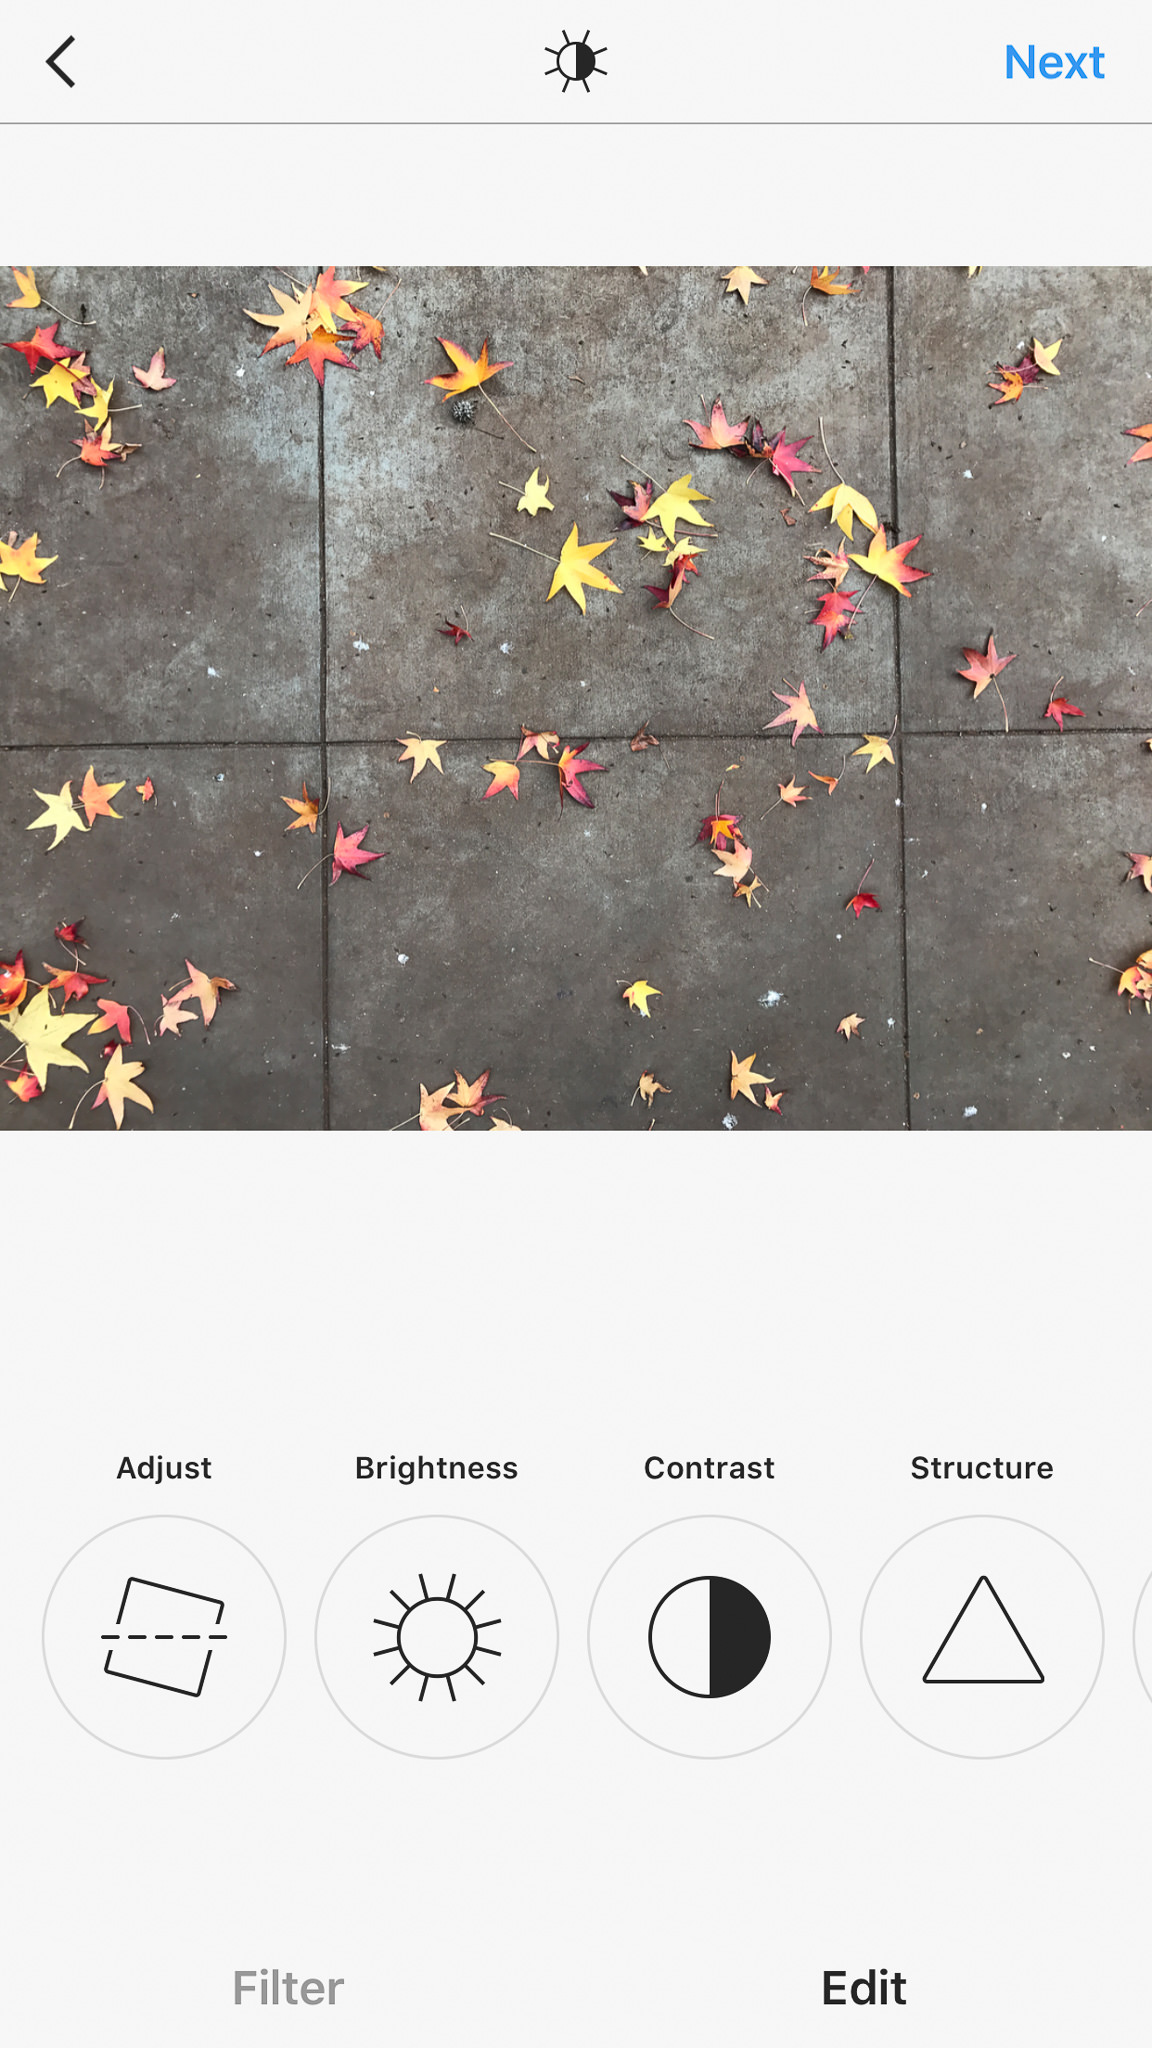
Instagram Editing Screen
Instagram’s first claim to photo-editing fame was the ability to add filters to images. When it was first released, it didn’t even have the option to edit images. The only way you could change the way a photo looked was to add a filter. Over time, Instagram became more sophisticated and eventually offered basic editing capabilities. All of the usual suspects are here (brightness, contrast, color, etc…), including one of the original tools that made Instagram unique: a simulated tilt-shift effect.
iPhone 7 Plus @ 3.99mm, ISO 20, 1/180, f/1.8 – JPEG image edited with Instagram
One word of warning about using Instagram to edit your photos. Once you edit an image using the Instagram app, you have to somehow share it within the app to get the edited image to appear with the rest of the images on your phone. You can not directly export it for personal use. For this reason, I would suggest only using Instagram for photos you plan to share with the app.
You can download Instagram here. You can also take a look at my Instagram page, which is strictly cell phone photography (although I mainly use VSCO for editing my images).
2.4) Lightroom Mobile
If you’re used to using Lightroom on your computer, Lightroom Mobile will be very familiar. Of all the different apps I’ve tried, this one is definitely the most professional and photographer-friendly. In addition to the expected filters and basic adjustments, there are lens correction and even curves adjustments available! Of course, the more advanced controls that are available to you in the computer version of Lightroom aren’t available on the mobile version, but it’s still one of the most feature-rich apps around.
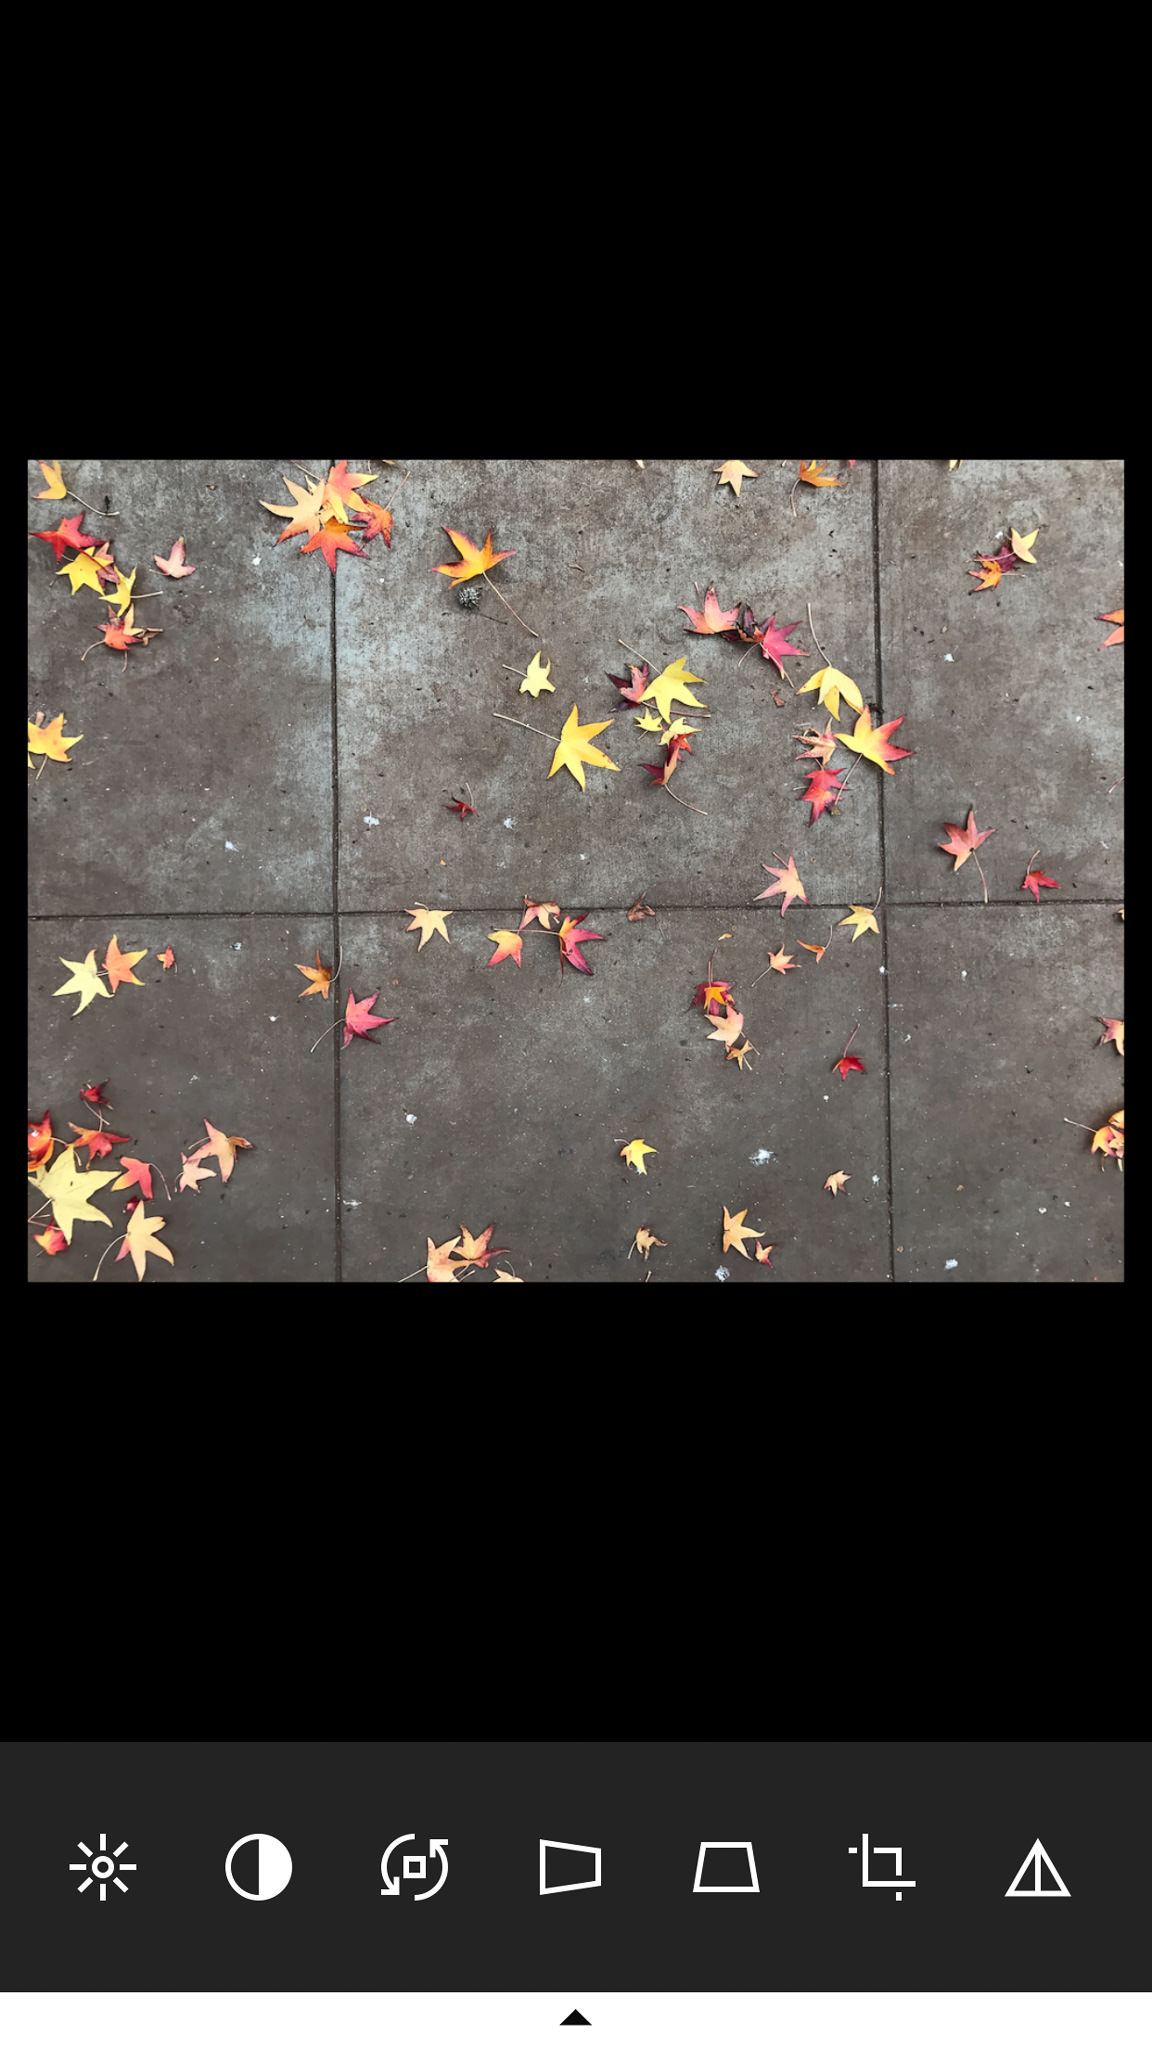
Lightroom Mobile Editing Screen
If you have a phone that can shoot in DNG, this is a great app to use both for capturing and editing images. Keeping everything within one app definitely helps with photo organization. If you decide not to use the camera function of Lightroom Mobile, you can still use it to edit JPEGs you take in other apps (although you can’t use it to edit DNGs taken in other apps unless you’re an Adobe CC subscriber).
iPhone 7 Plus @ 3.99mm, ISO 20, 1/180, f/1.8 – JPEG image edited with Lightroom Mobile
You can download Lightroom Mobile here.
3) Editing DNG Cell Phone Images
Is it worth it to use an app that can shoot DNG images on your cell phone? How much more dynamic range is available to you? Do all of the traditional reasons for shooting DNG apply? Do the images look better without the default camera’s JPEG compression? Let’s take a look.
Here are two images that I took at roughly the same time. The first is a JPEG that was taken and edited with the default camera app on my iPhone 7+, while the second is a DNG that was taken and edited with the Lightroom Mobile app. Please ignore the differences in color temperature, as I edited them separately and didn’t match them perfectly.

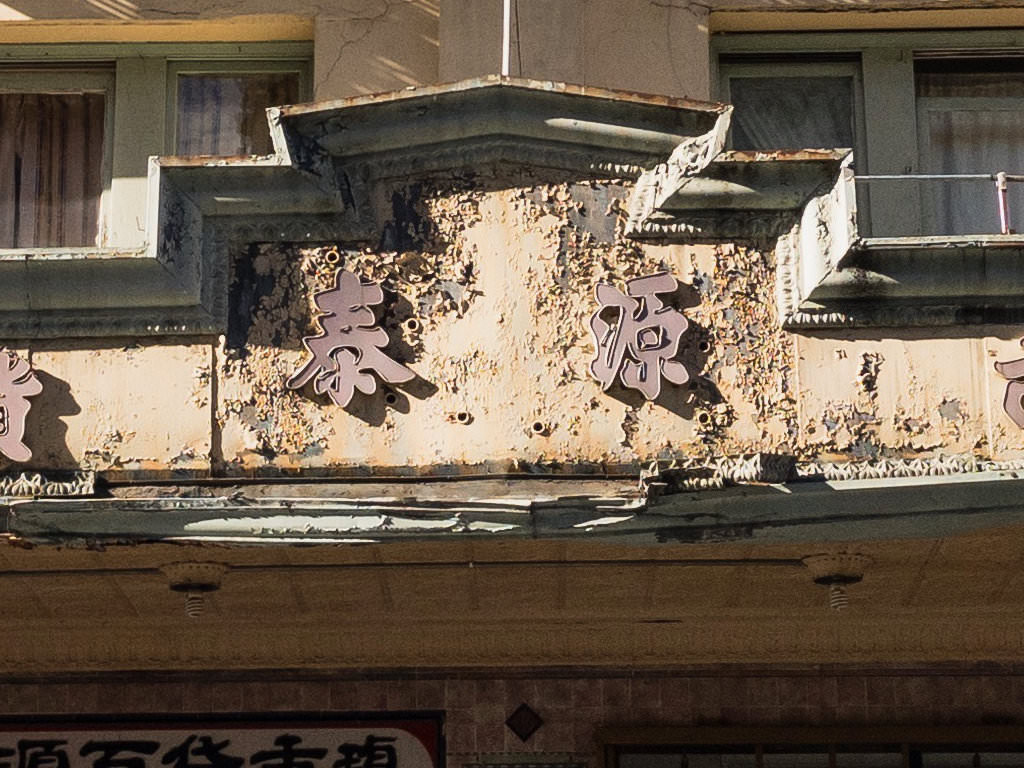
iPhone 7 Plus @ 3.99mm, ISO 20, 1/1500, f/1.8 – JPEG image shot and edited with default camera app

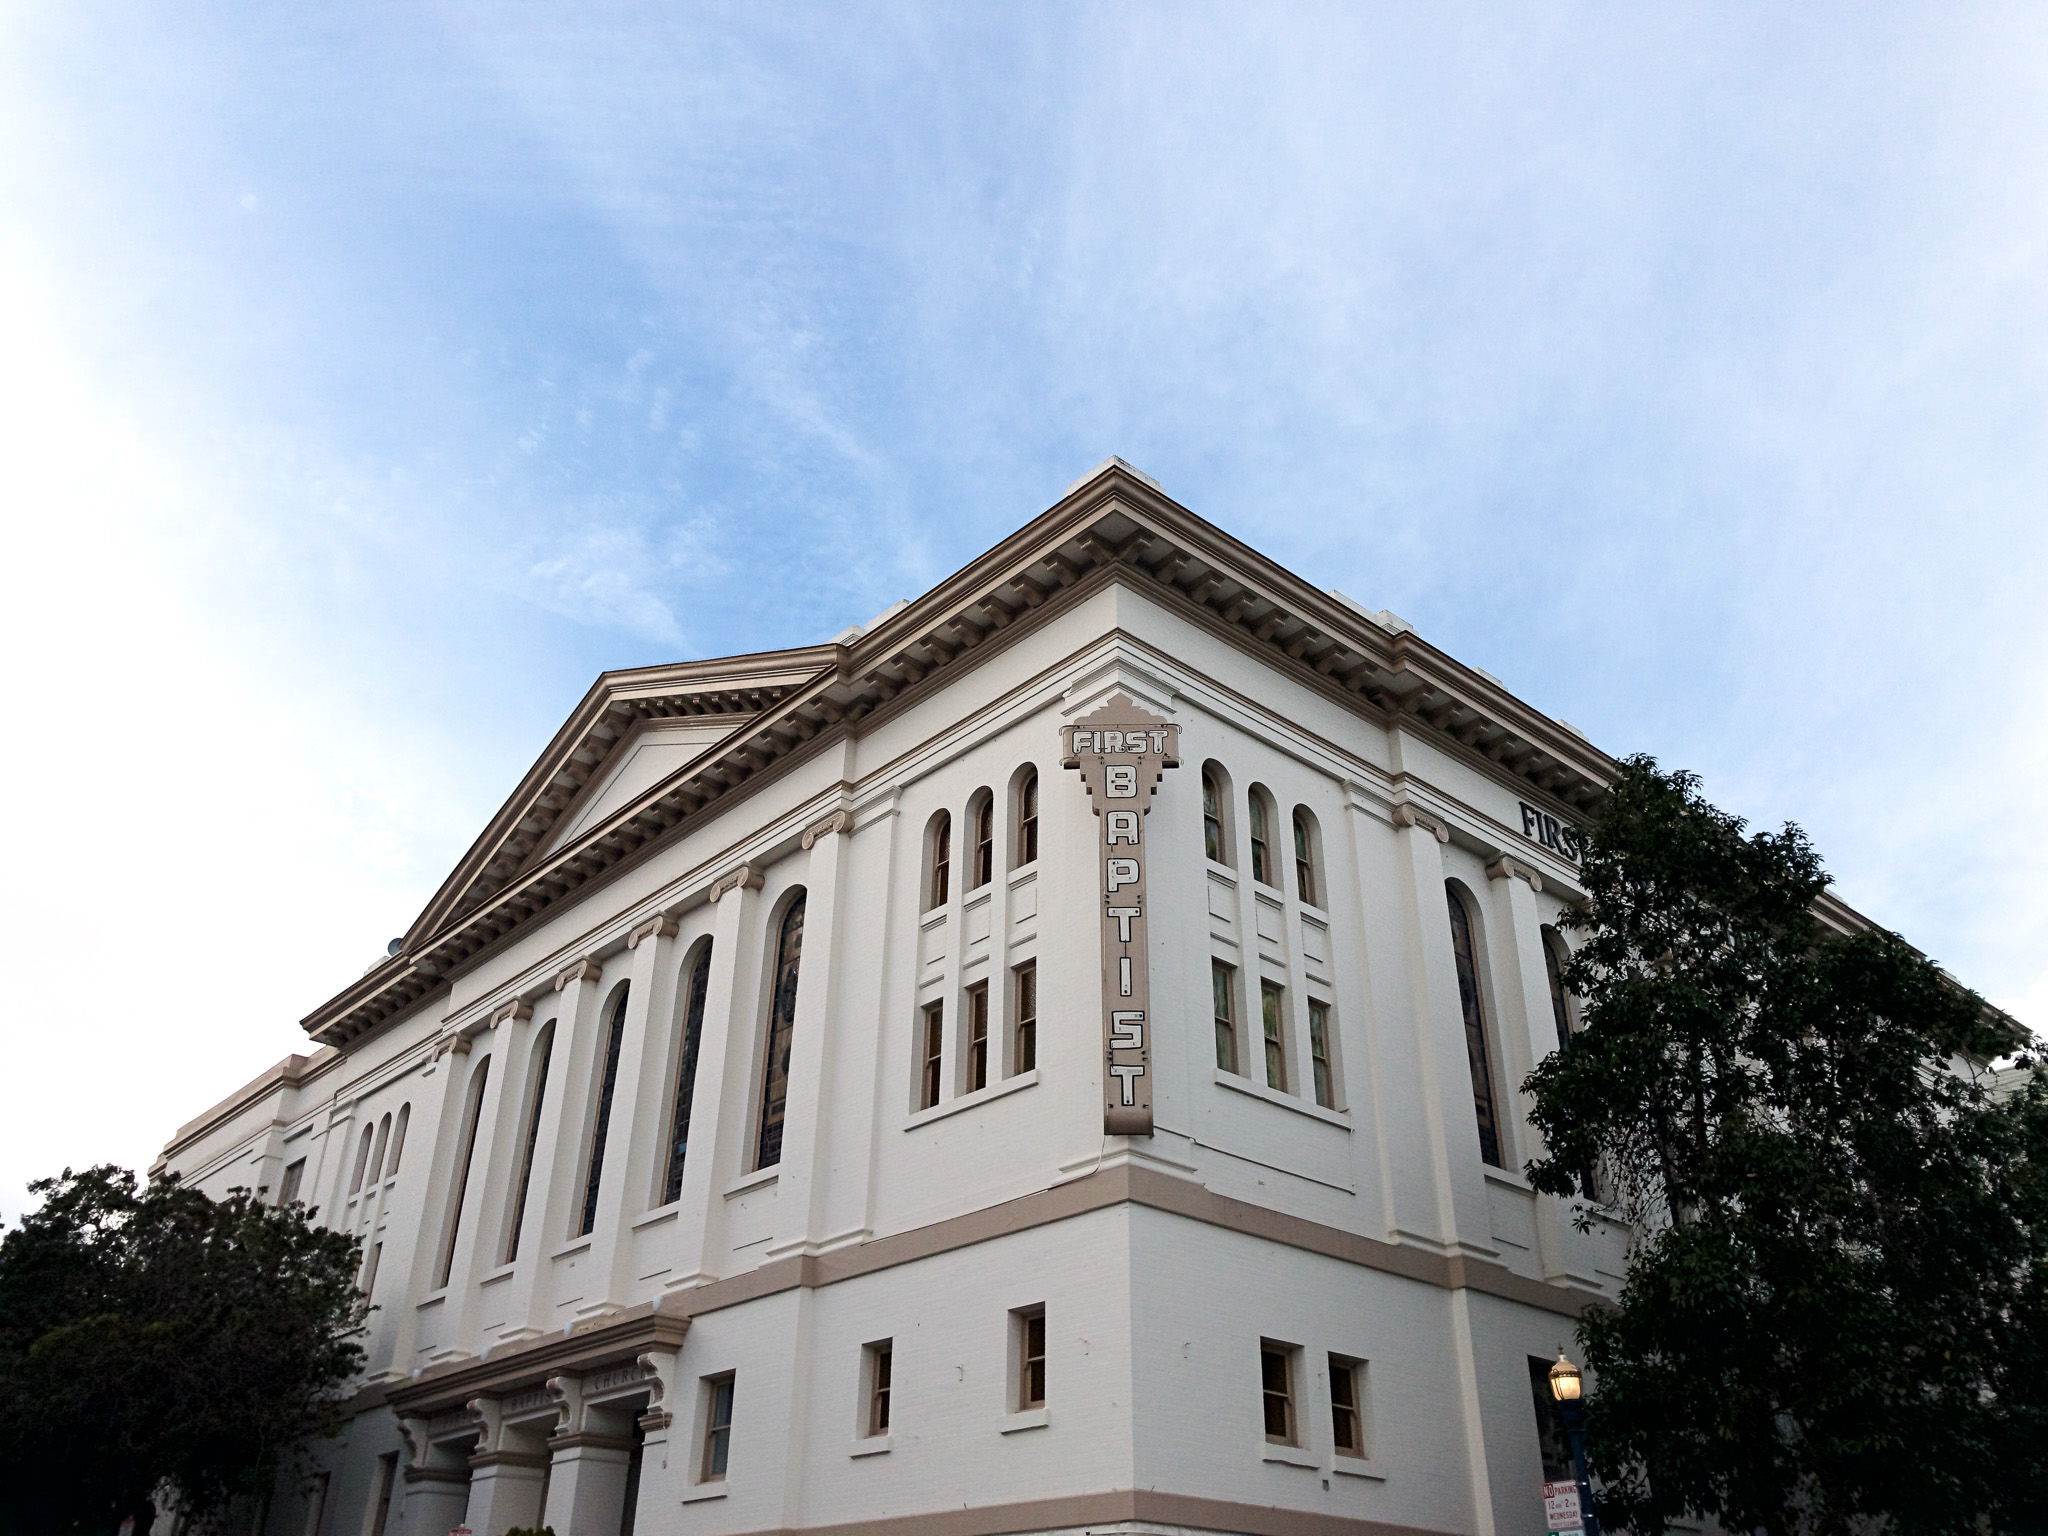
iPhone + iPhone 7 @ 3.99mm, ISO 20, 1/1250, f/1.8 – DNG image shot and edited with Lightroom Mobile
Is there a difference between the two images? Let’s zoom in to 100% in the same area and see how things look.
100-percent crop of iPhone JPEG
100-percent crop of iPhone DNG
As you can see, there really isn’t much of a difference. You can’t see more detail in the DNG compared to the JPEG and it looks like there’s the same amount of shadow information.
I wanted to see if editing the DNG on a computer version of Lightroom made any difference. I figured the compression on export might be less noticeable and show a bit more detail. Unfortunately, before I ever got started I ran into a snag. Apparently, if you use Lightroom Mobile to shoot images in DNG, they are stuck within the Adobe ecosystem. It prevents you from exporting or downloading the DNG images from your phone (unless you sync Lightroom Mobile to Lightroom CC). Fortunately, you don’t have to use Lightroom Mobile to shoot in DNG.
To work around this restriction (since I’m not a Lightroom CC user), I had to go out and shoot some new images. This time I used Camera+, an app that’s only available for iPhone. With Camera+, I was able to shoot in DNG and then download the images to my computer to edit in Lightroom.
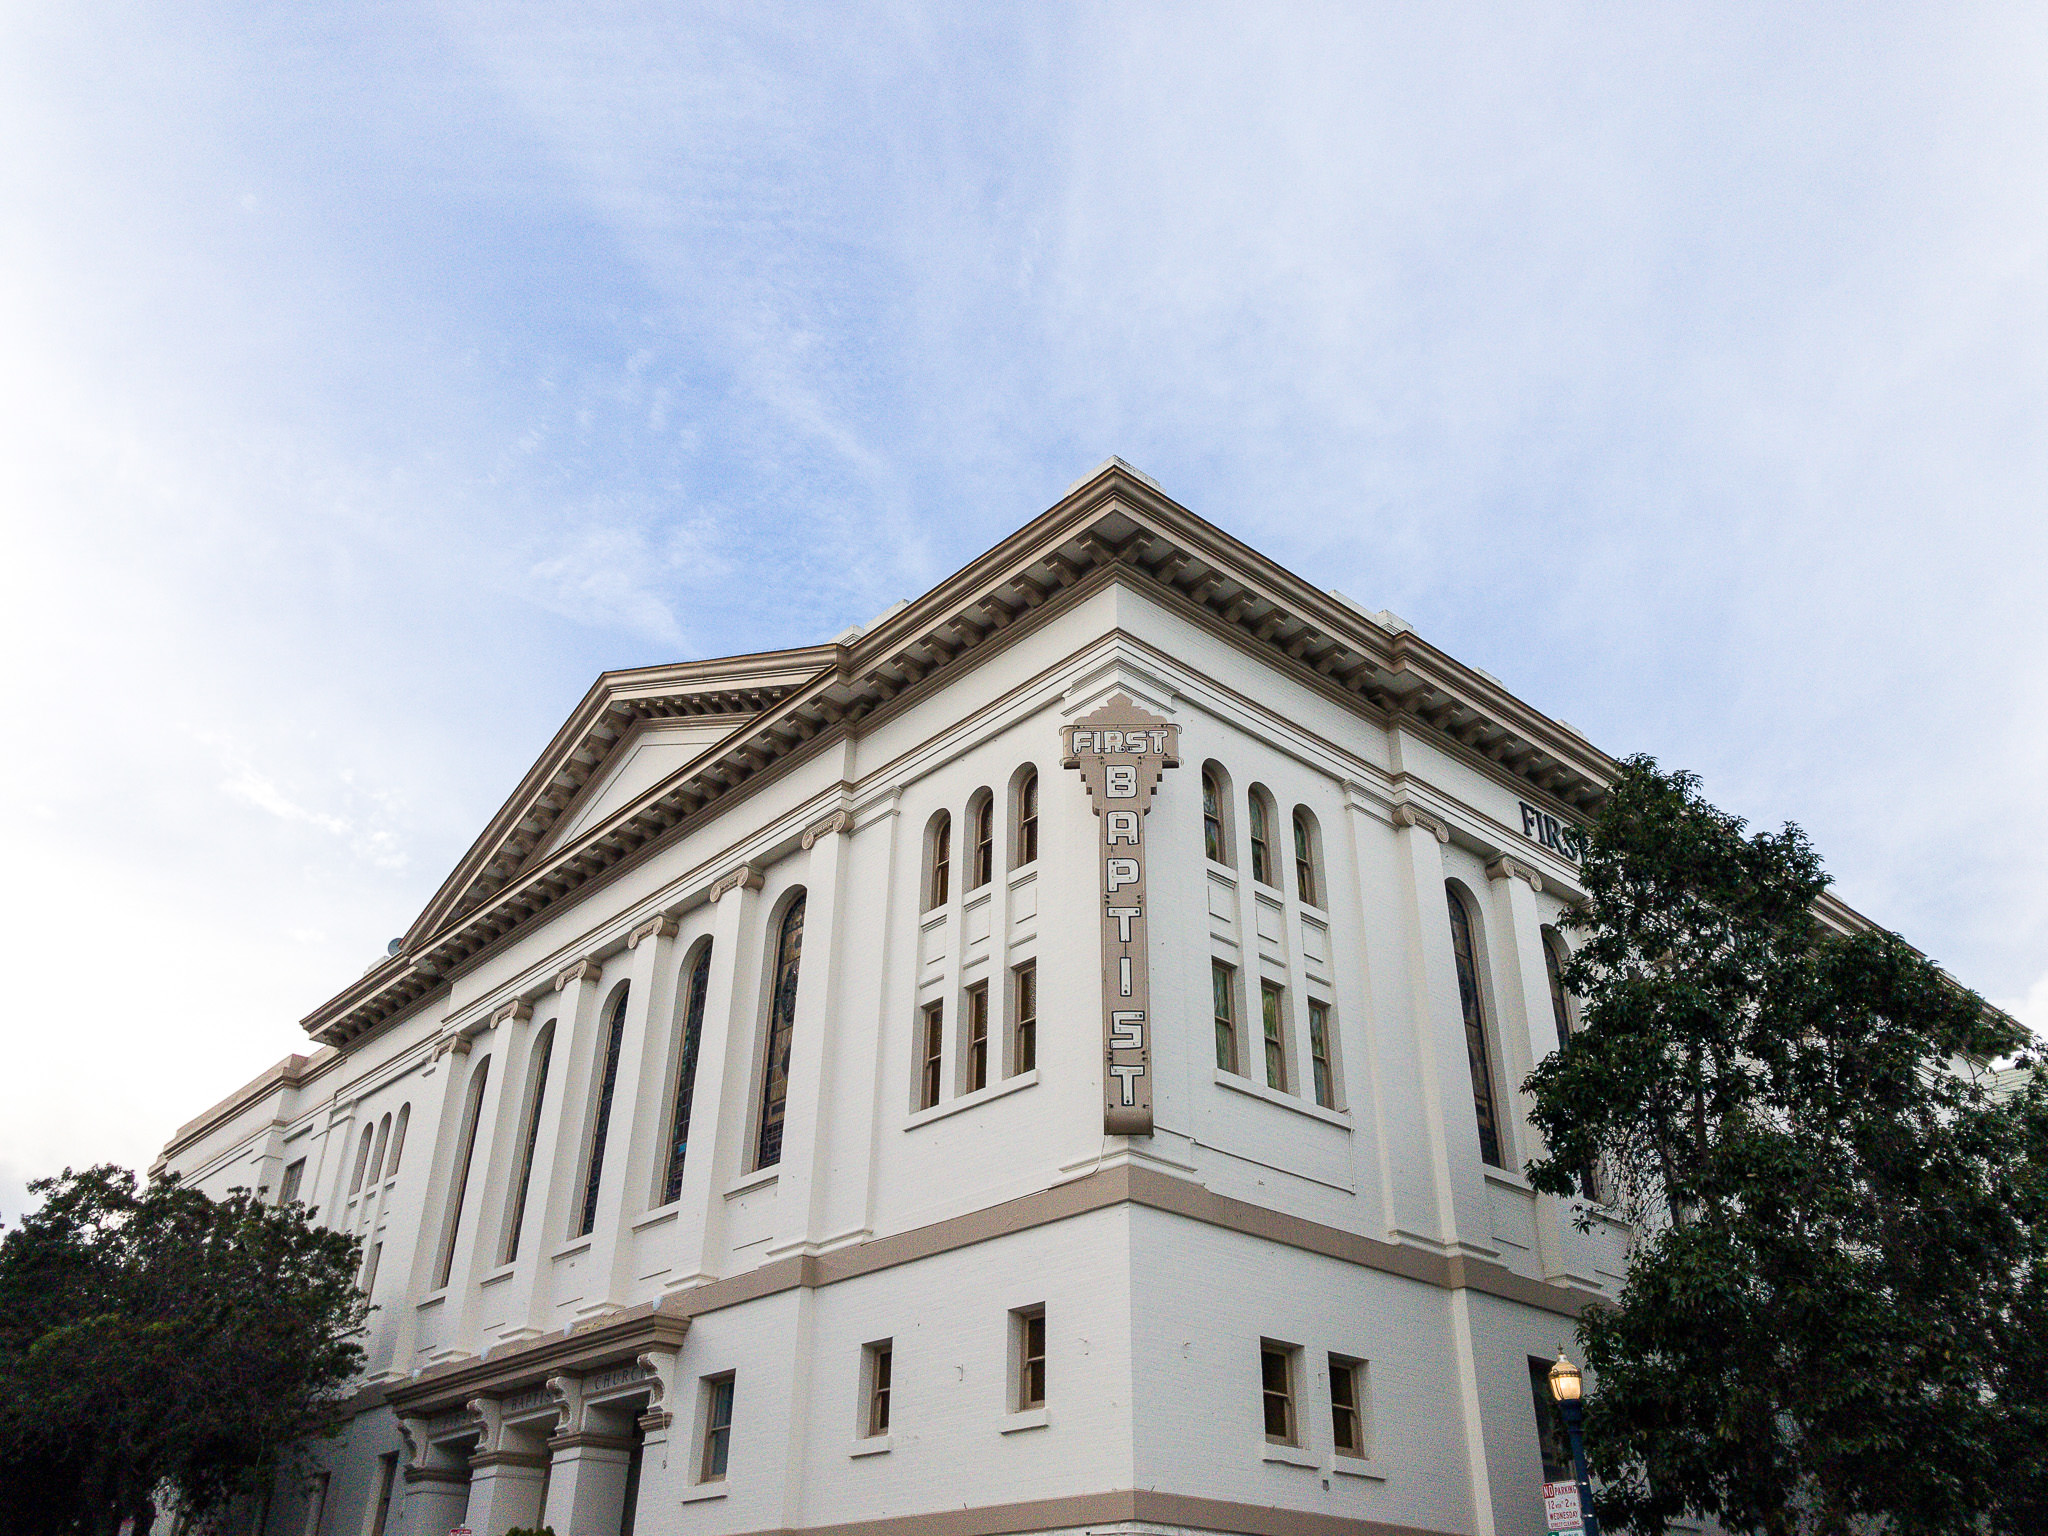
iPhone 7 Plus @ 3.99mm, ISO 20, 1/1500, f/1.8 – DNG Image Edited In VSCO App
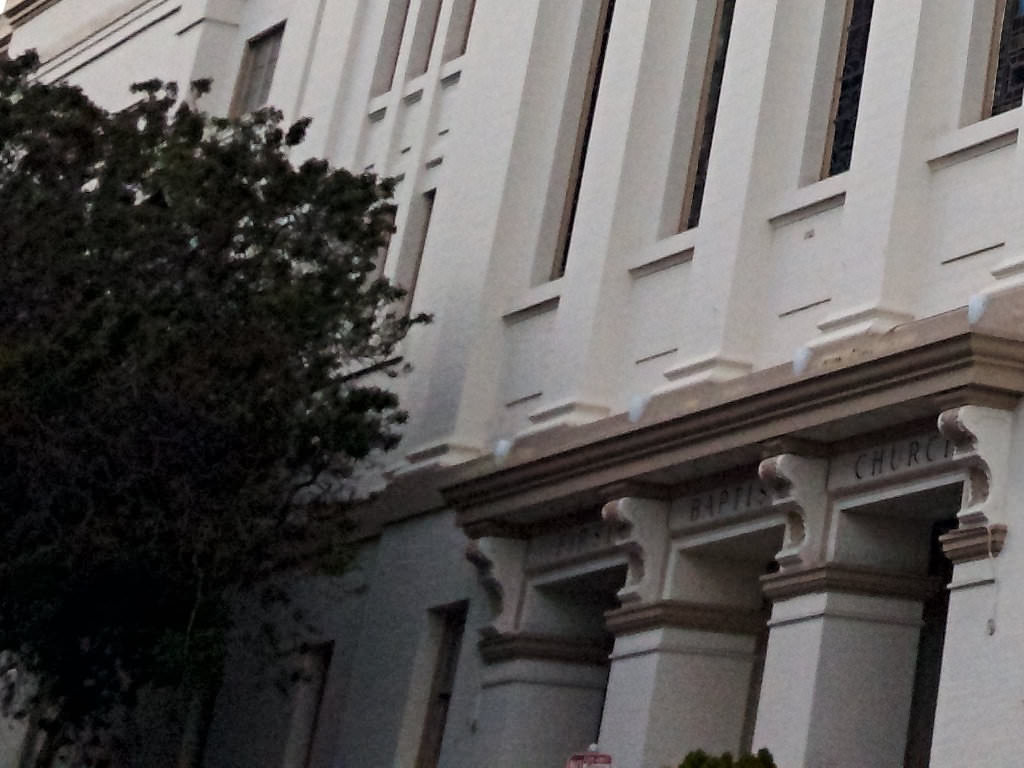
iPhone 7 Plus @ 3.99mm, ISO 20, 1/1500, f/1.8 – DNG Image Edited In Lightroom On A Computer
Here are the 100% crop side-by-side results of an edited DNG. One edit was done on my computer in Lightroom, the other on my phone using VSCO.
100-percent crop of DNG edited in VSCO app
100-percent crop of DNG edited in Lightroom on a computer
You can see that I was able to recover more of the highlight and shadow detail when I edited the same DNG file in Lightroom instead of VSCO. What really surprised me was how much noise is present in the image that was processed in Lightroom. Even though it says it was taken at ISO 20, there is a lot of noise in the shadow areas and even some in the sky. I guess this is why images processed in apps look so soft… it’s not the JPEG compression, but the noise reduction that gets applied.
4) Other Considerations
Non-Destructive Editing: One very important thing to note is that many apps like VSCO and Lightroom Mobile are non-destructive editing tools. The edits you make in them do not actually alter your original image. On the other hand, if you edit your image with the default editing app, chances are your original image will actually be altered. On my phone, the edits made with the default app are saved and can be reverted, but this might not be the case on all phone models. As a rule of thumb, if you have to import your image into the app, it should be non-destructive.
Spot/Blemish Removal: If you usually edit images on a computer, you’re probably used to having access to spot removal tools. Unfortunately, very few image editing apps have such tools. The only app I’ve found that includes full editing capabilities as well as a spot healing tool is Photoshop Express. They are very limited capabilities, but in a pinch can be useful.
Other Apps: The apps I’ve mentioned are by no means the only ones out there, they are just the ones that I find myself using the most. Here are a few others I’ve used in the past that you might try out: Afterlight, Snapseed and Priime.
5) Conclusions
There are a lot of different apps available for you to use to edit images on a cell phone. Your phone should include basic editing capabilities within the default camera app itself. If you want something a little more advanced, Lightroom Mobile is a great choice if you’re used to using Lightroom on your computer, or VSCO is a great choice if you like creating images with a bit more mood and toning to them.
If you plan to shoot in DNG, unless you’re a Lightroom CC subscriber, I’d highly suggest that you use an app besides Lightroom Mobile. To be honest, I don’t know if there’s even a need to shoot in DNG. I’m using the latest phone out there and there is so much noise in the images, even at ISO 20, you’ll need to add so much noise reduction your images will look about the same as if you’d just shot and edited a JPEG. While you might get better highlight and shadow recovery, I personally don’t think it’s worth it.
Regardless of whether you choose to shoot in JPEG or DNG, if you decide to edit images on your phone you’ll have a lot of different editing apps to choose from. Be sure to download a few different ones and try them out, as they all have something different to offer.
The post Cell Phone Photography – Part 2: Editing Images appeared first on Photography Life.


