
So you bought those gorgeous presets that you’ve been eyeing all year long and now you can’t seem to figure out why your images still don’t look right.
I’m going to walk you through five simple ways to tweak your presets to make them work for your images and give you the look you’ve been trying to achieve.
Lightroom presets are a great way to speed up your workflow and to get the look you want to achieve without spending a lot of time making adjustments. Many of us have all spent a lot of money over the years purchasing presets from our favorite photographers so that we can achieve the same look as them in our own images.
Unfortunately, we tend to come across the same problem with almost every preset – one click of a preset just doesn’t get the job done.
Our images look nothing like the sample photos we drooled over before making our purchase.
I remember the first time I discovered what presets were and I was so excited until I edited that first image. I was devastated.
After all, I was just starting out in photography and it took me forever to save up the money to buy them. At the time, I didn’t have any income from photography and I certainly wasn’t going to get any income with images looking the way they did with those presets.
After a while, I realized that it takes some tweaking to get most presets to work for your images. Why? Your use of light, your camera settings and the type of camera you’re using will all make a difference in how the preset will affect your image.
Here are five simple ways to tweak your presets to make it work for you!
1. Exposure
Starting off with the correct exposure can make a big difference in how your preset will affect your image. It’s best to get the correct exposure in camera when shooting. However, you can adjust it in Lightroom if needed.
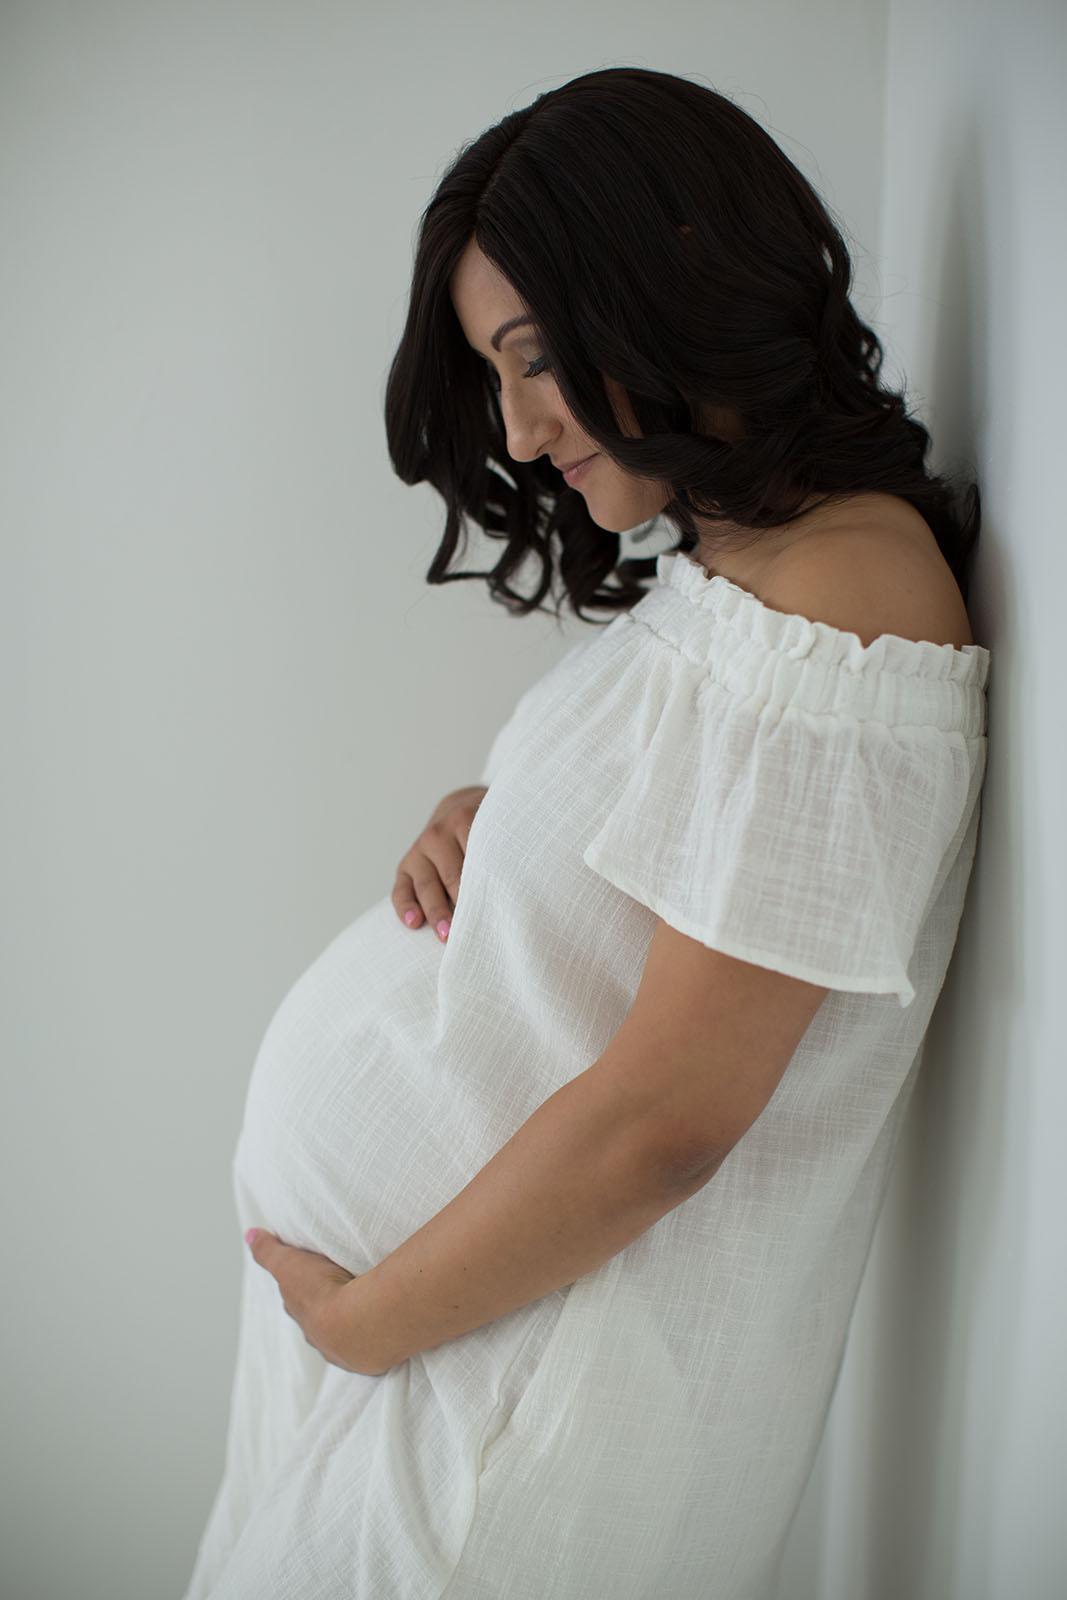
If your exposure is correct and your image still looks a bit off, sometimes even a little bump in exposure (0.1 to 0.3) or a slight decrease (-0.1 to -0.3) is all it takes for an image to look great with your chosen preset. In the sample below, I needed to increase exposure +0.7, which is more than usual, but it made a huge difference.

2. White balance
Correct white balance is EVERYTHING!
Many presets have a ton of color adjustments made to them and to ensure that the skin tones are still looking great after you apply your preset you have to make sure your white balance is spot on. If your whites are white then the rest of your colors will be the same colors seen in the preset sample images.
I use Kelvin when I’m shooting and do my best to get the white balance correct in-camera. Sometimes I’m in a hurry and it’s not perfect so I still need to adjust the white balance in Lightroom.
To do that, I use the white balance eye dropper located in the Basic panel. This allows you to set the new neutral in the image and the rest of the colors will adjust appropriately.
Most of the time, the dropper is all that is needed. If not, I make slight adjustments to the temperature or tint sliders as needed. If the overall image appears too cool, I adjust the temperature sliders to the right. Still see a green tint throughout an image? I move the tint slider toward the right to add magenta to balance out the green.
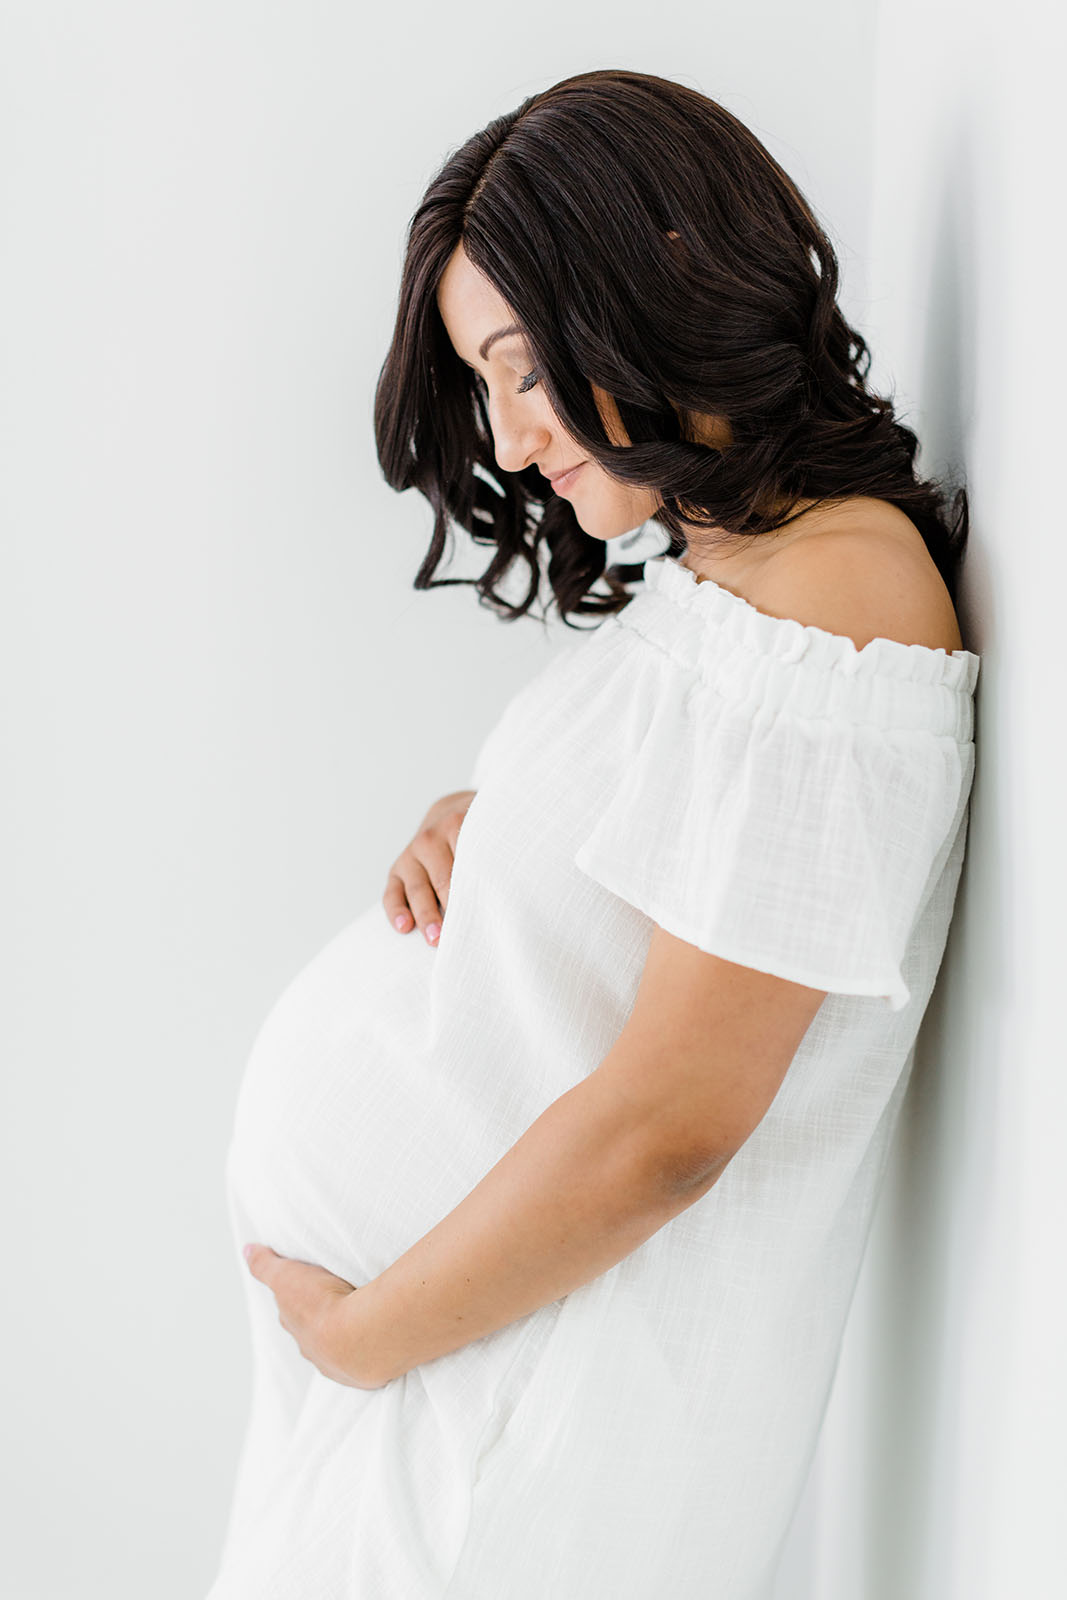
In the sample below all I needed to do was use the white balance dropper to get me closer to the look I wanted from my preset.


3. HSL Panel (Hue-Saturation-Luminance Panel)
If you’ve checked your white balance and exposure and think your image still isn’t looking right, move on down to the HSL panel.
Sometimes a preset that was applied could simply be enhancing a color cast in your image. Or the preset could be changing the overall colors too much and simply need to be toned down a bit. To correct this, I use the HSL panel.
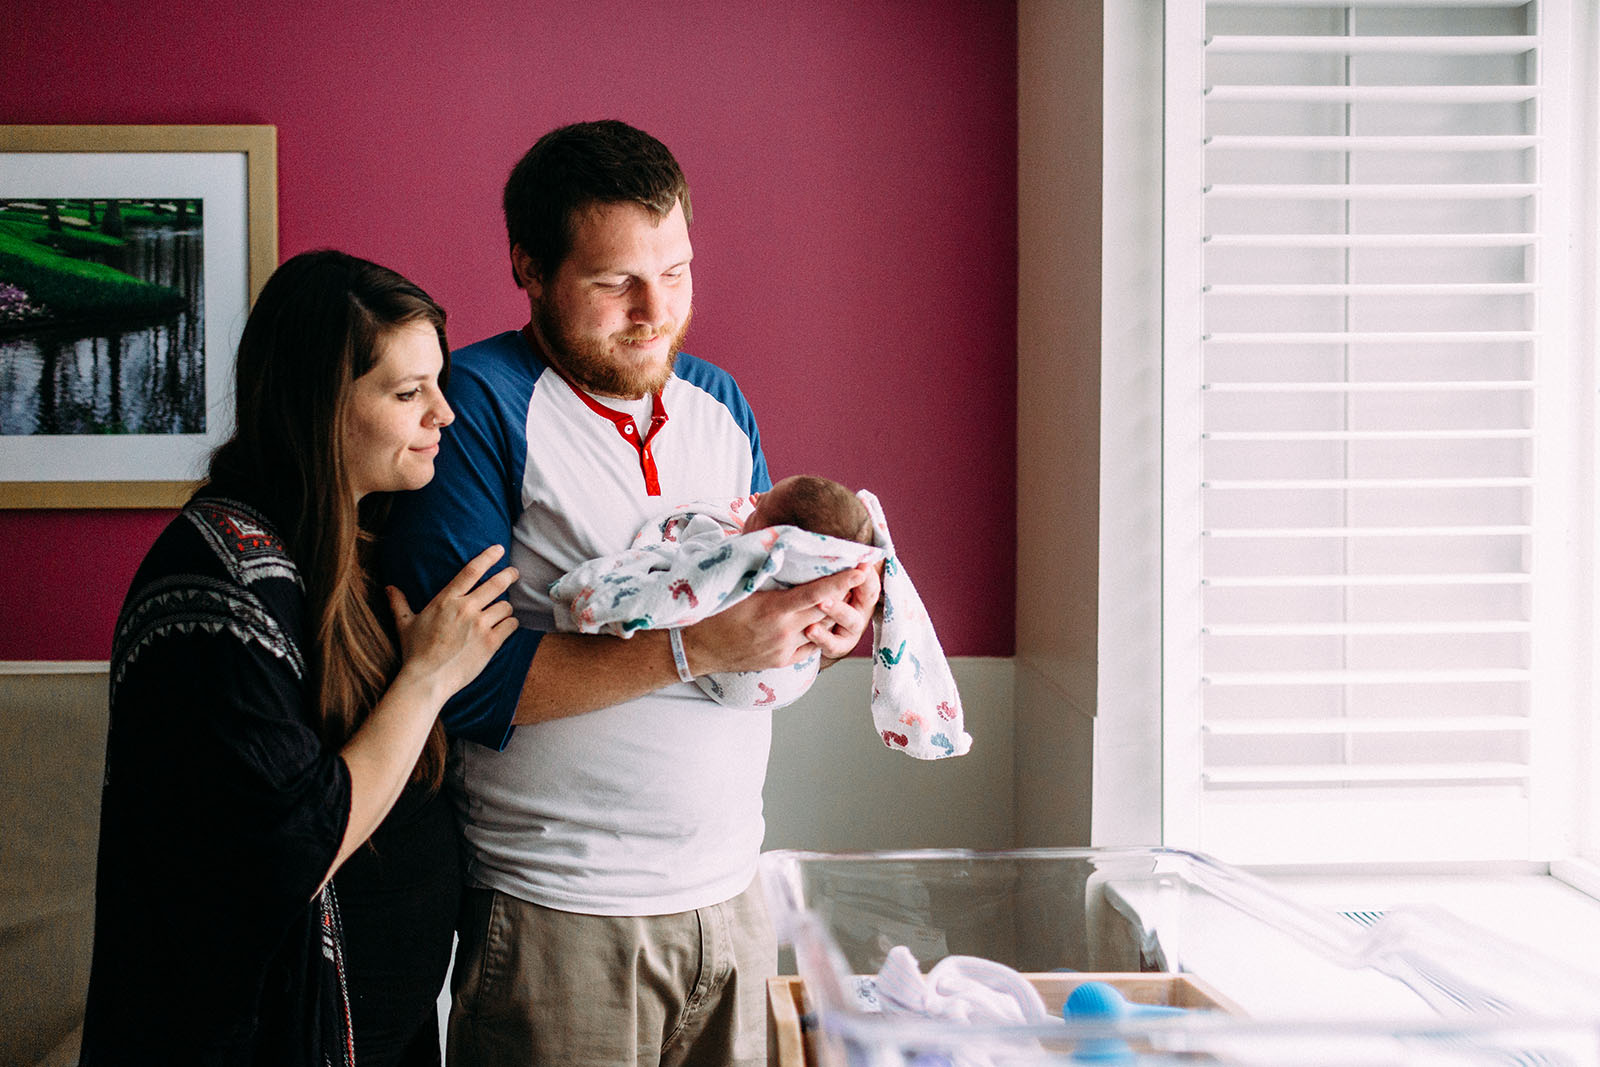
The HSL panel is a great option because it allows you to adjust each color individually as needed. In this image, the only changes I made were to the yellow saturation slider by decreasing it to -100. I then reduced the exposure slightly because removing the yellow made the image appear brighter.


HUE
I tend to avoid making adjustments to the Hue sliders because doing so will change the shade of the color, taking you too far from the look of the preset.
SATURATION
The saturation sliders allow you to adjust the intensity of each color. Most of the time a simple desaturation of a specific color will make your image look better.
I tend to always decrease the yellow saturation slider for indoor images and decrease the green saturation slider for outdoor images. If you’re trying to figure out what color you will need to decrease, look for a color cast in your image then pull that color saturation slider down to fix it.
For example, I have terrible yellow-orange hardwood floors and when I’m shooting in my living room during the day the natural light from the windows reflects off the floors creating an orange color cast on my subject. The easiest way for me to fix the color cast from the floor is to pull down the orange or yellow saturation slider until I feel the skin tones look correct.
Another example would be if you’re shooting outside in the grass or in the woods, noticing a green color cast on your subject’s skin. Pulling the green saturation slider down just enough to take the color off their skin will make a huge difference.
Related: What are color casts and how to avoid them
LUMINANCE
The Luminance panel will allow you to adjust how bright or dark a color is. I will only adjust this if I feel like a color is too distracting, decreasing the slider to make it darker and less noticeable.
Keep in mind that the best ways to avoid needing to make color adjustments in the HSL panel is to place your subject in good light and to avoid shooting in situations that reflect a color cast. For natural light photographers, sometimes that can be a bit more challenging. If we can avoid color casts, it will make your editing workflow much faster.
When I’m outdoors, I try to find a natural reflector to not only bounce good light in front of my subjects but to also deflect any color cast that might affect my subject’s skin tone. I use a neutral colored building, neutral colored concrete sidewalks, white gravel, etc.
If I’m indoors and plan to stand pretty close to my subjects while shooting, I wear a neutral colored shirt like white, gray, or black and avoid orange, yellow, or bright green colored clothing.
4. Tone curve
The tone curve panel can appear a little overwhelming at first glance and most people tend to skip right past it. If you’re using a preset and you like the image how it is after making the previous adjustments we talked about, you can certainly skip making adjustments here.
I like to use the tone curve to help my images pop and stand out more. You can either move each of the sliders in the tone curve panel until you have the look you want or you can use the “s curve” technique to make quick adjustments.


5. Detail Panel
Sometimes after applying a preset, I notice that my image seems softer than I like it to look. If so, I go to the detail panel and increase the sharpening amount.
After I have the sharpening amount where I like it, I will hold down the ATL or OPTION key and click on the masking slider until I see an overlay. The white of the image is showing where the sharpening is being applied. I will then move the masking slider to the right, just until the subject’s skin shows solid black. Doing so removes the sharpening from the areas in black which allows your subjects skin to still appear smooth and the bokeh to still appear creamy.


These simple steps will help guide you as to where to go to make adjustments to your new presets to make them work for your images.
Each session will most likely need a whole new set of tweaks so you’ll likely find that the changes you’ve made on one session may not be the same changes you need for your next session. But once you know where to look to make those adjustments, your editing workflow will be much quicker and you will fall in love with your new preset collection all over again!
And if you’re interested, my favorite presets to use are Mastin Labs Fuji Pro Pack for outdoor photos and VSCO Film 05 for indoor photos!

The post 5 Simple ways to tweak your presets to make them work for you appeared first on Clickin Moms.


